Let’s see how to paint and weather some military style rubber wheels. There’s a lot of ways to do this obviously and lots of different effects to reproduce. I’ll show you how to achieve a dusty flat look typical of vehicles operating in the modern urban environment. I’ll be using oil paints for this mostly as I’d like to show you how versatile and effective they can be. This SBS is a part of my BRDM-2 project, use the link below if you’re interested in the full story.
Mask the centre of the wheel and paint the tyre matt black.
Whatever you decide to paint first, the tyre or the wheel hub, careful masking is essential.
Step 2:
Highlight the sides with a dark grey colour. I used a dedicated Ammo Mig Rubber and Tyres paint.
If you’re mixing your own shade of grey, make sure to add just a bit of a warm colour like orange or red brown. It will make the finish less pale.
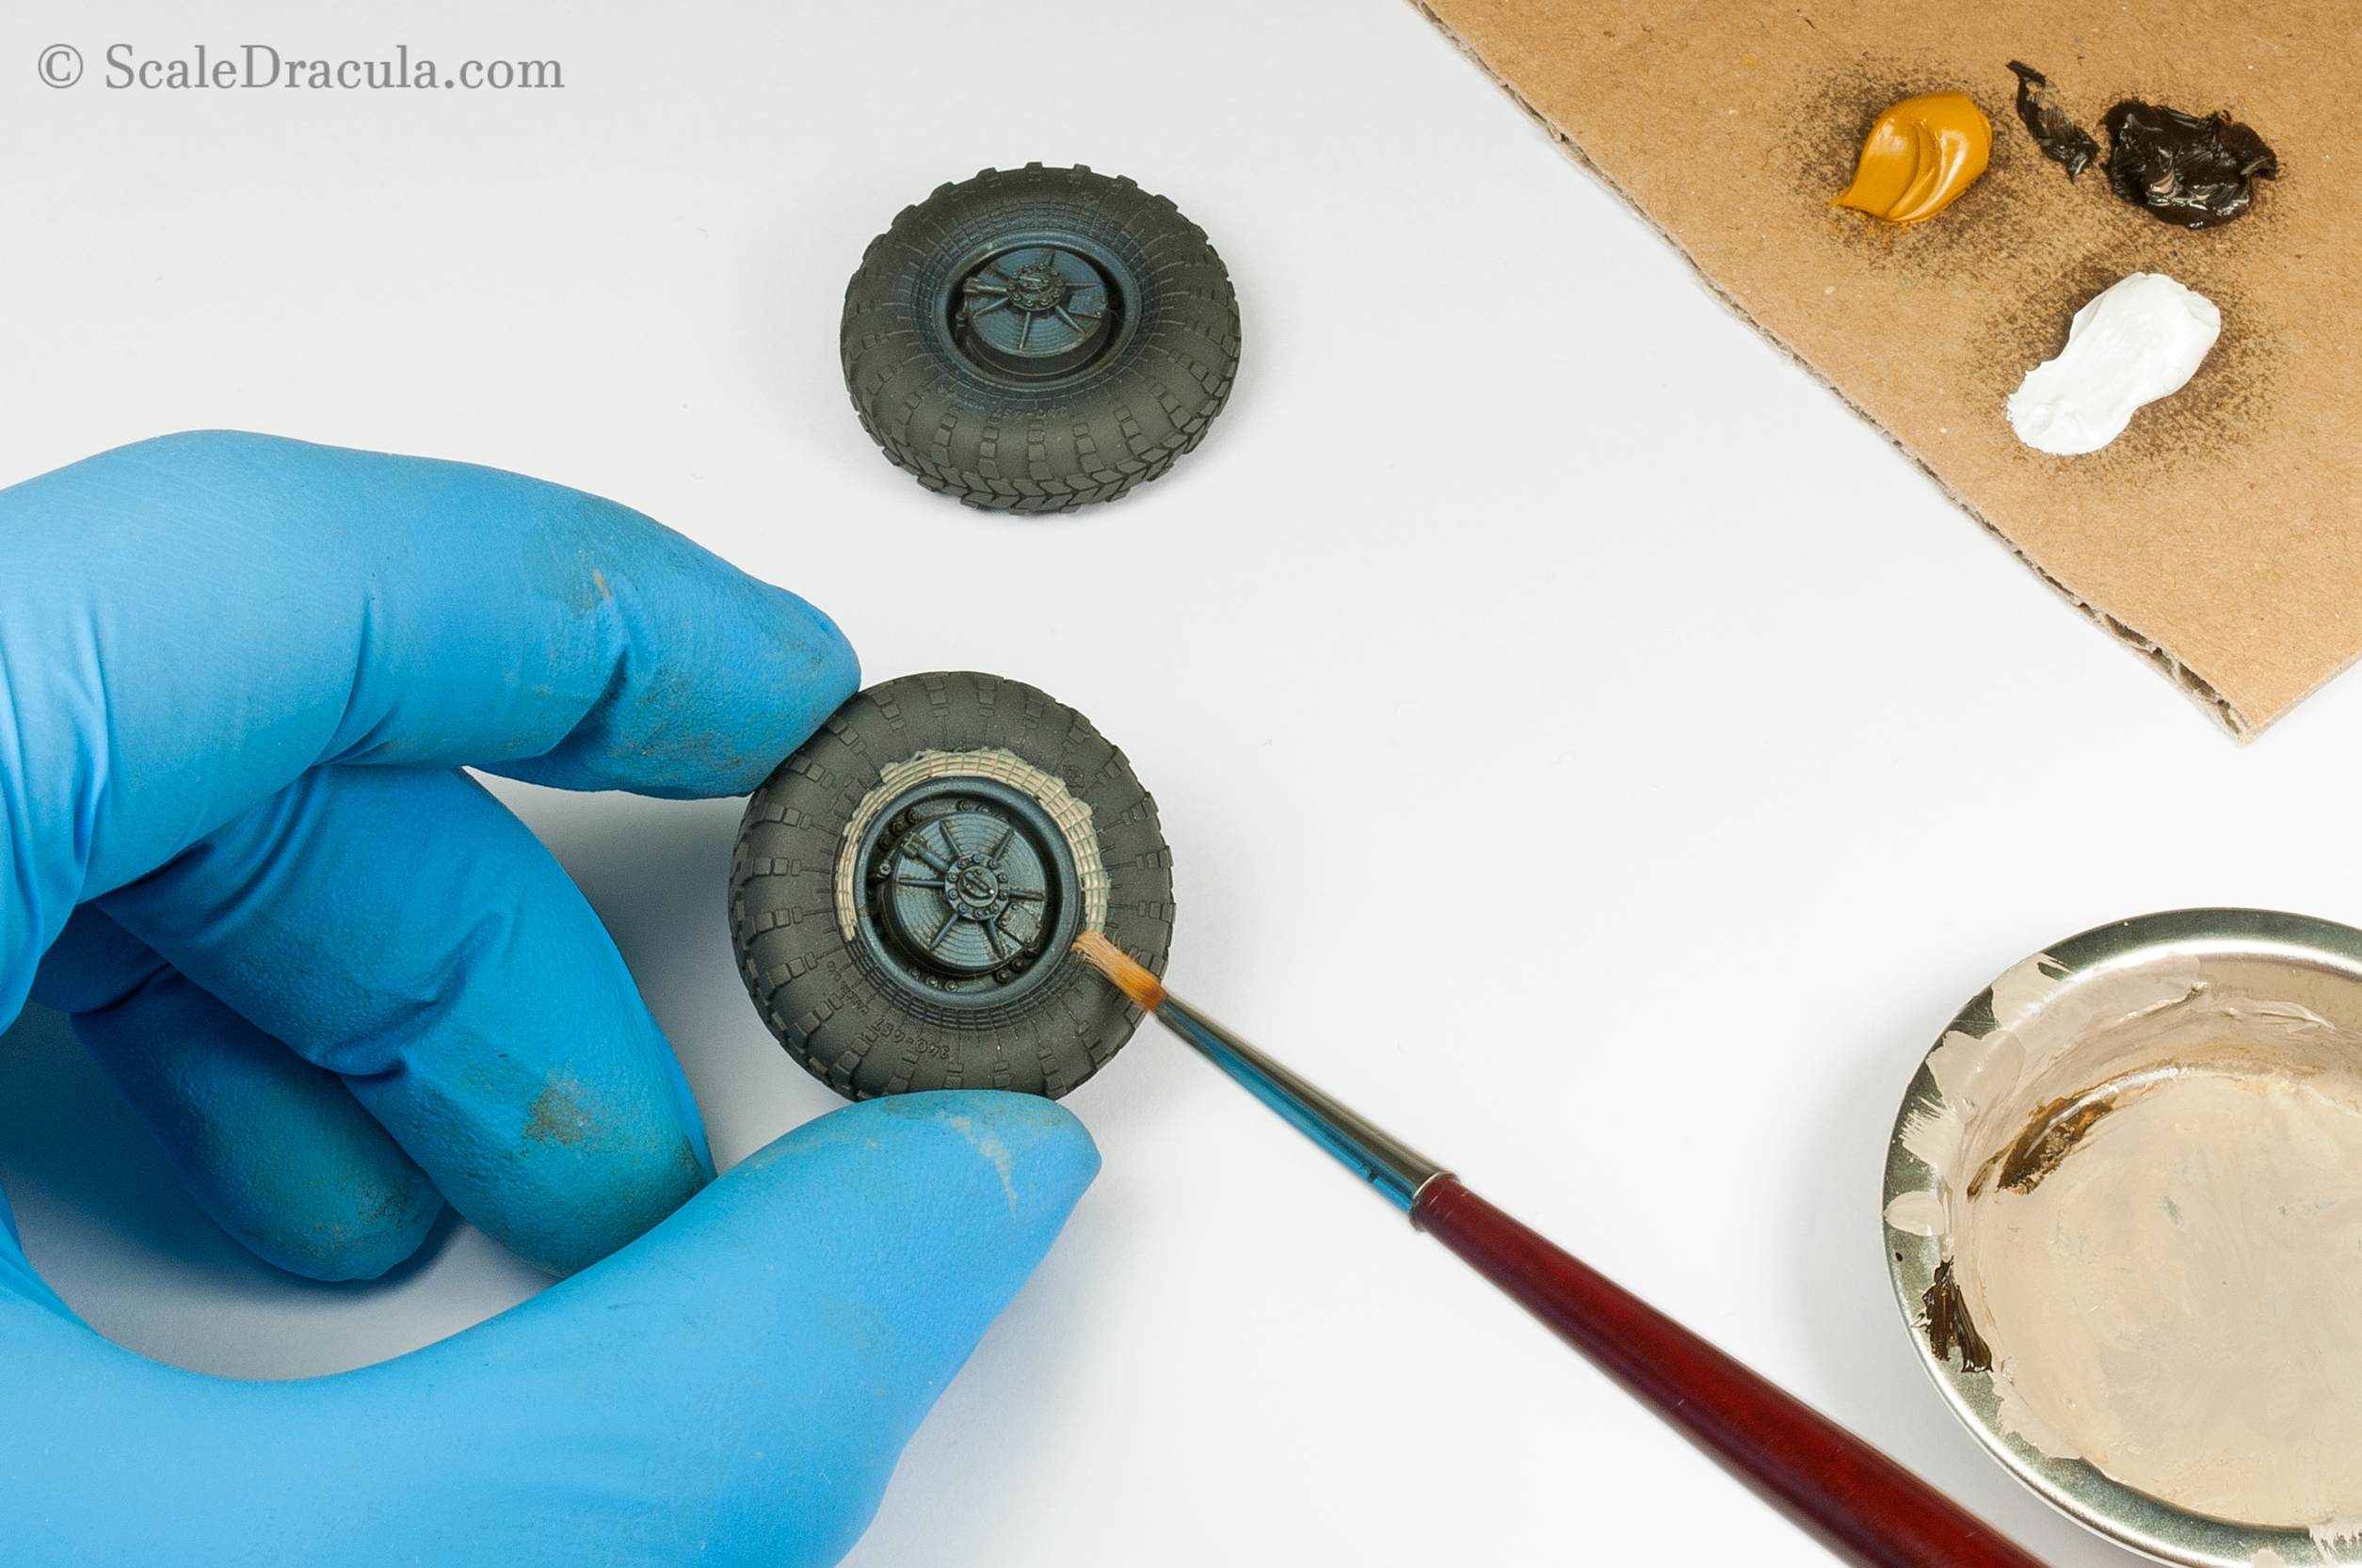
Step 3:
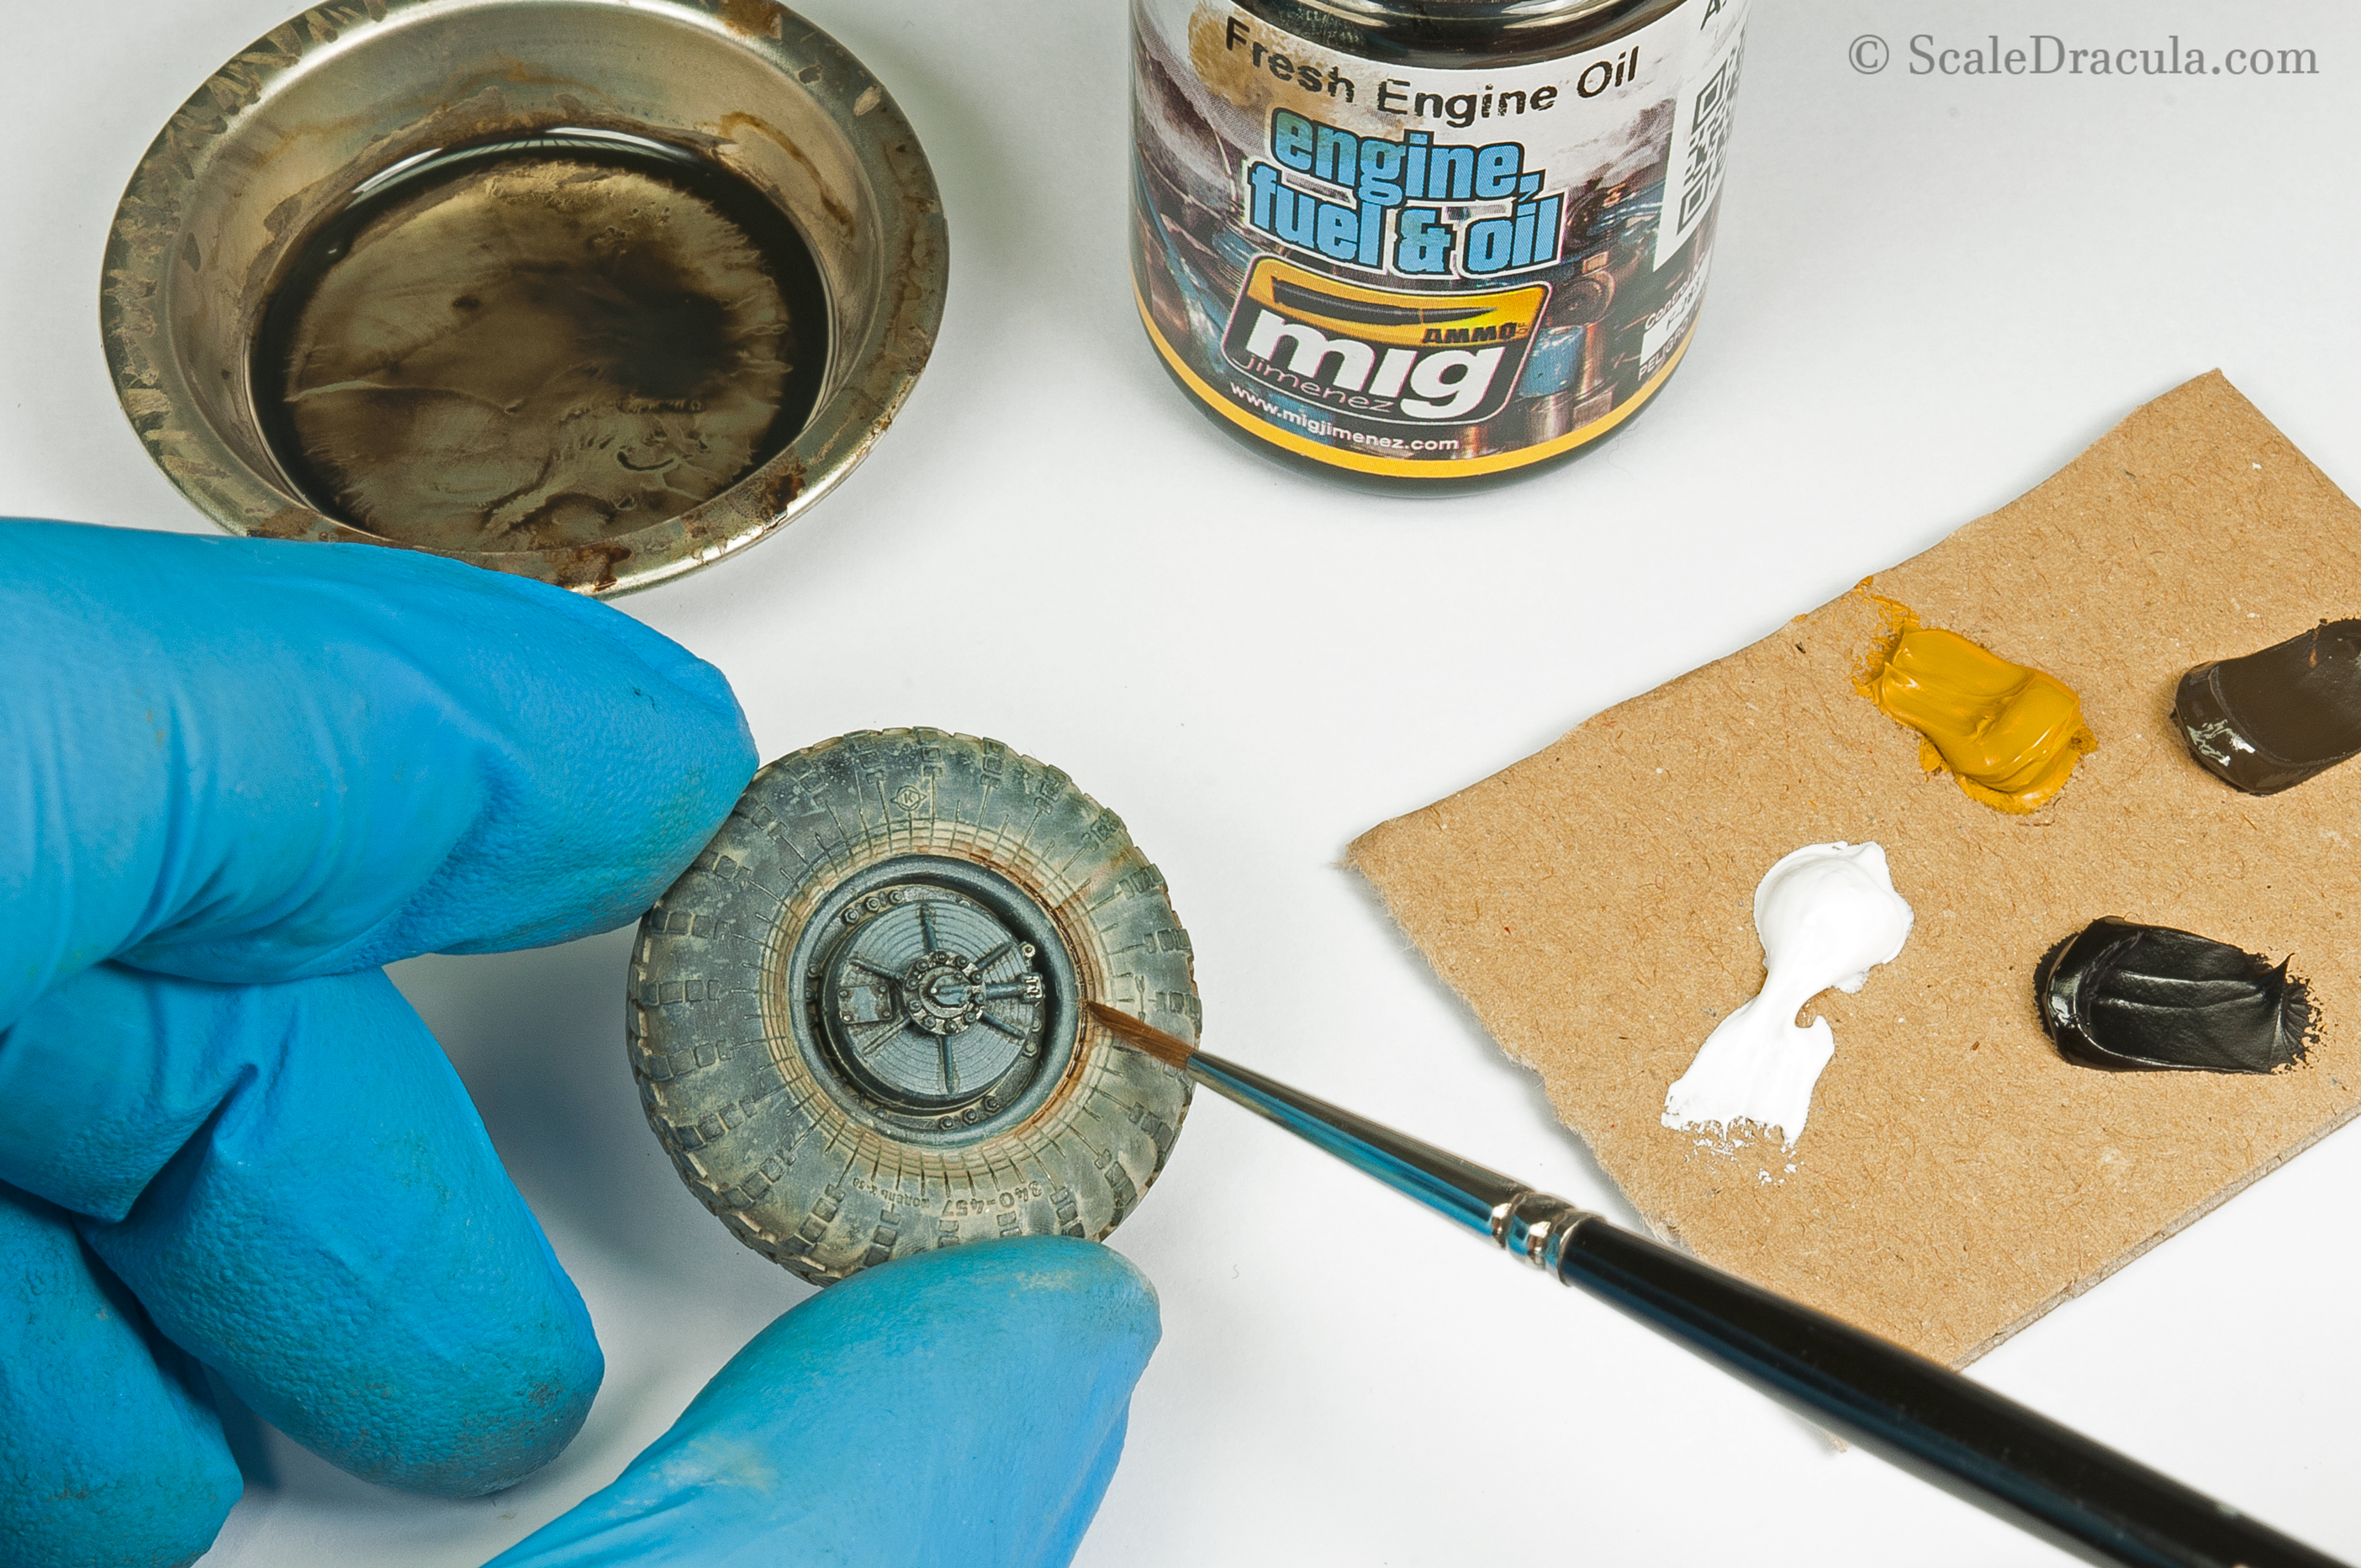
Prepare a palette of oil paints. Mix a basic dust colour adjusting it to the environment you want to set your model in. Light colours will usually look better creating a lot of contrast with the rubber.
A good idea is to concentrate the effect around the rim where the dust accumulates.
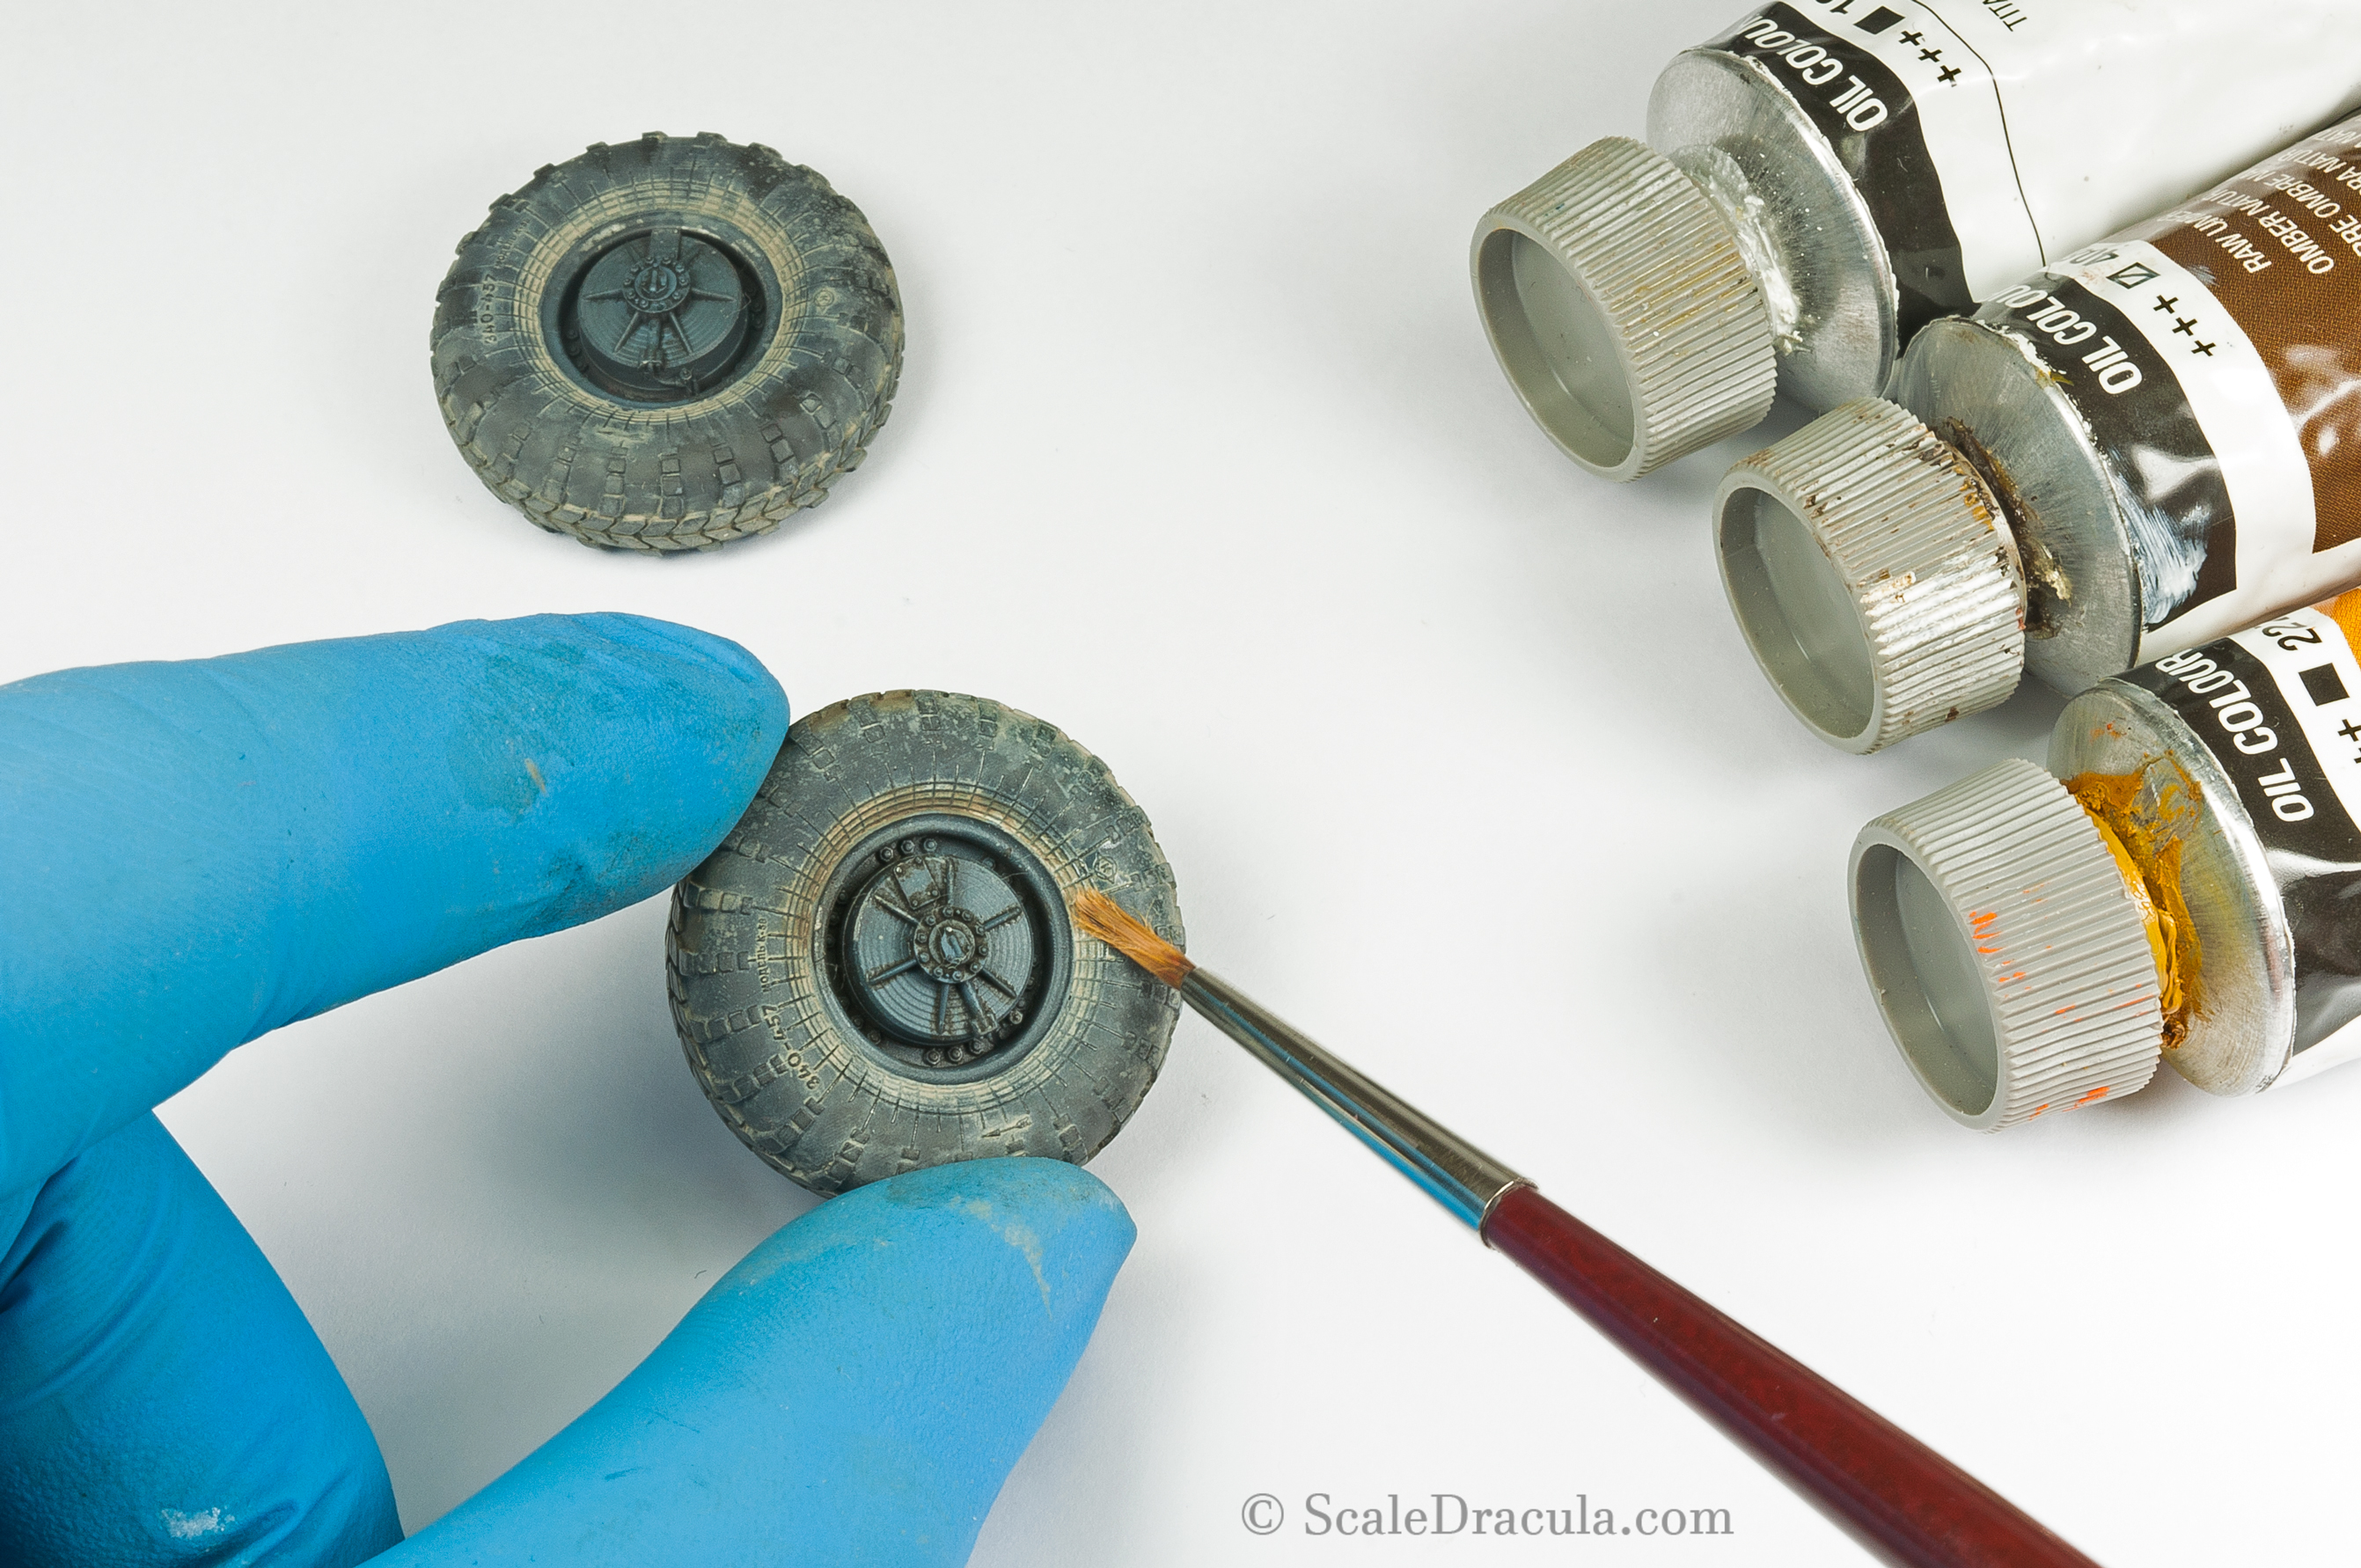
Step 4:
Prepare a medium brush moistened with white spirit. Then blend the paint by dragging it towards the centre of the wheel. You can create some streaks as well.
I also added a second colour of mud here, more yellowish and slightly darker. The more colour variations, the better the final effect.
Step 5:
Create some splashes with a loaded brush and a toothpick. They will give more variety to the surface. Also, it’s a great way to mask some blending issues from the previous step.
The more paint on the brush, the bigger the speckles.
Step 6:
Make some contrasting glossy stains with a dedicated enamel product. I used Ammo Mig Fresh Engine Oil with just a bit of dark oil paint to increase the opacity. Some tinted glossy varnish will work here as well.
Concentrate the effect around the rim. This is the last place that goes dry.
Step 7:
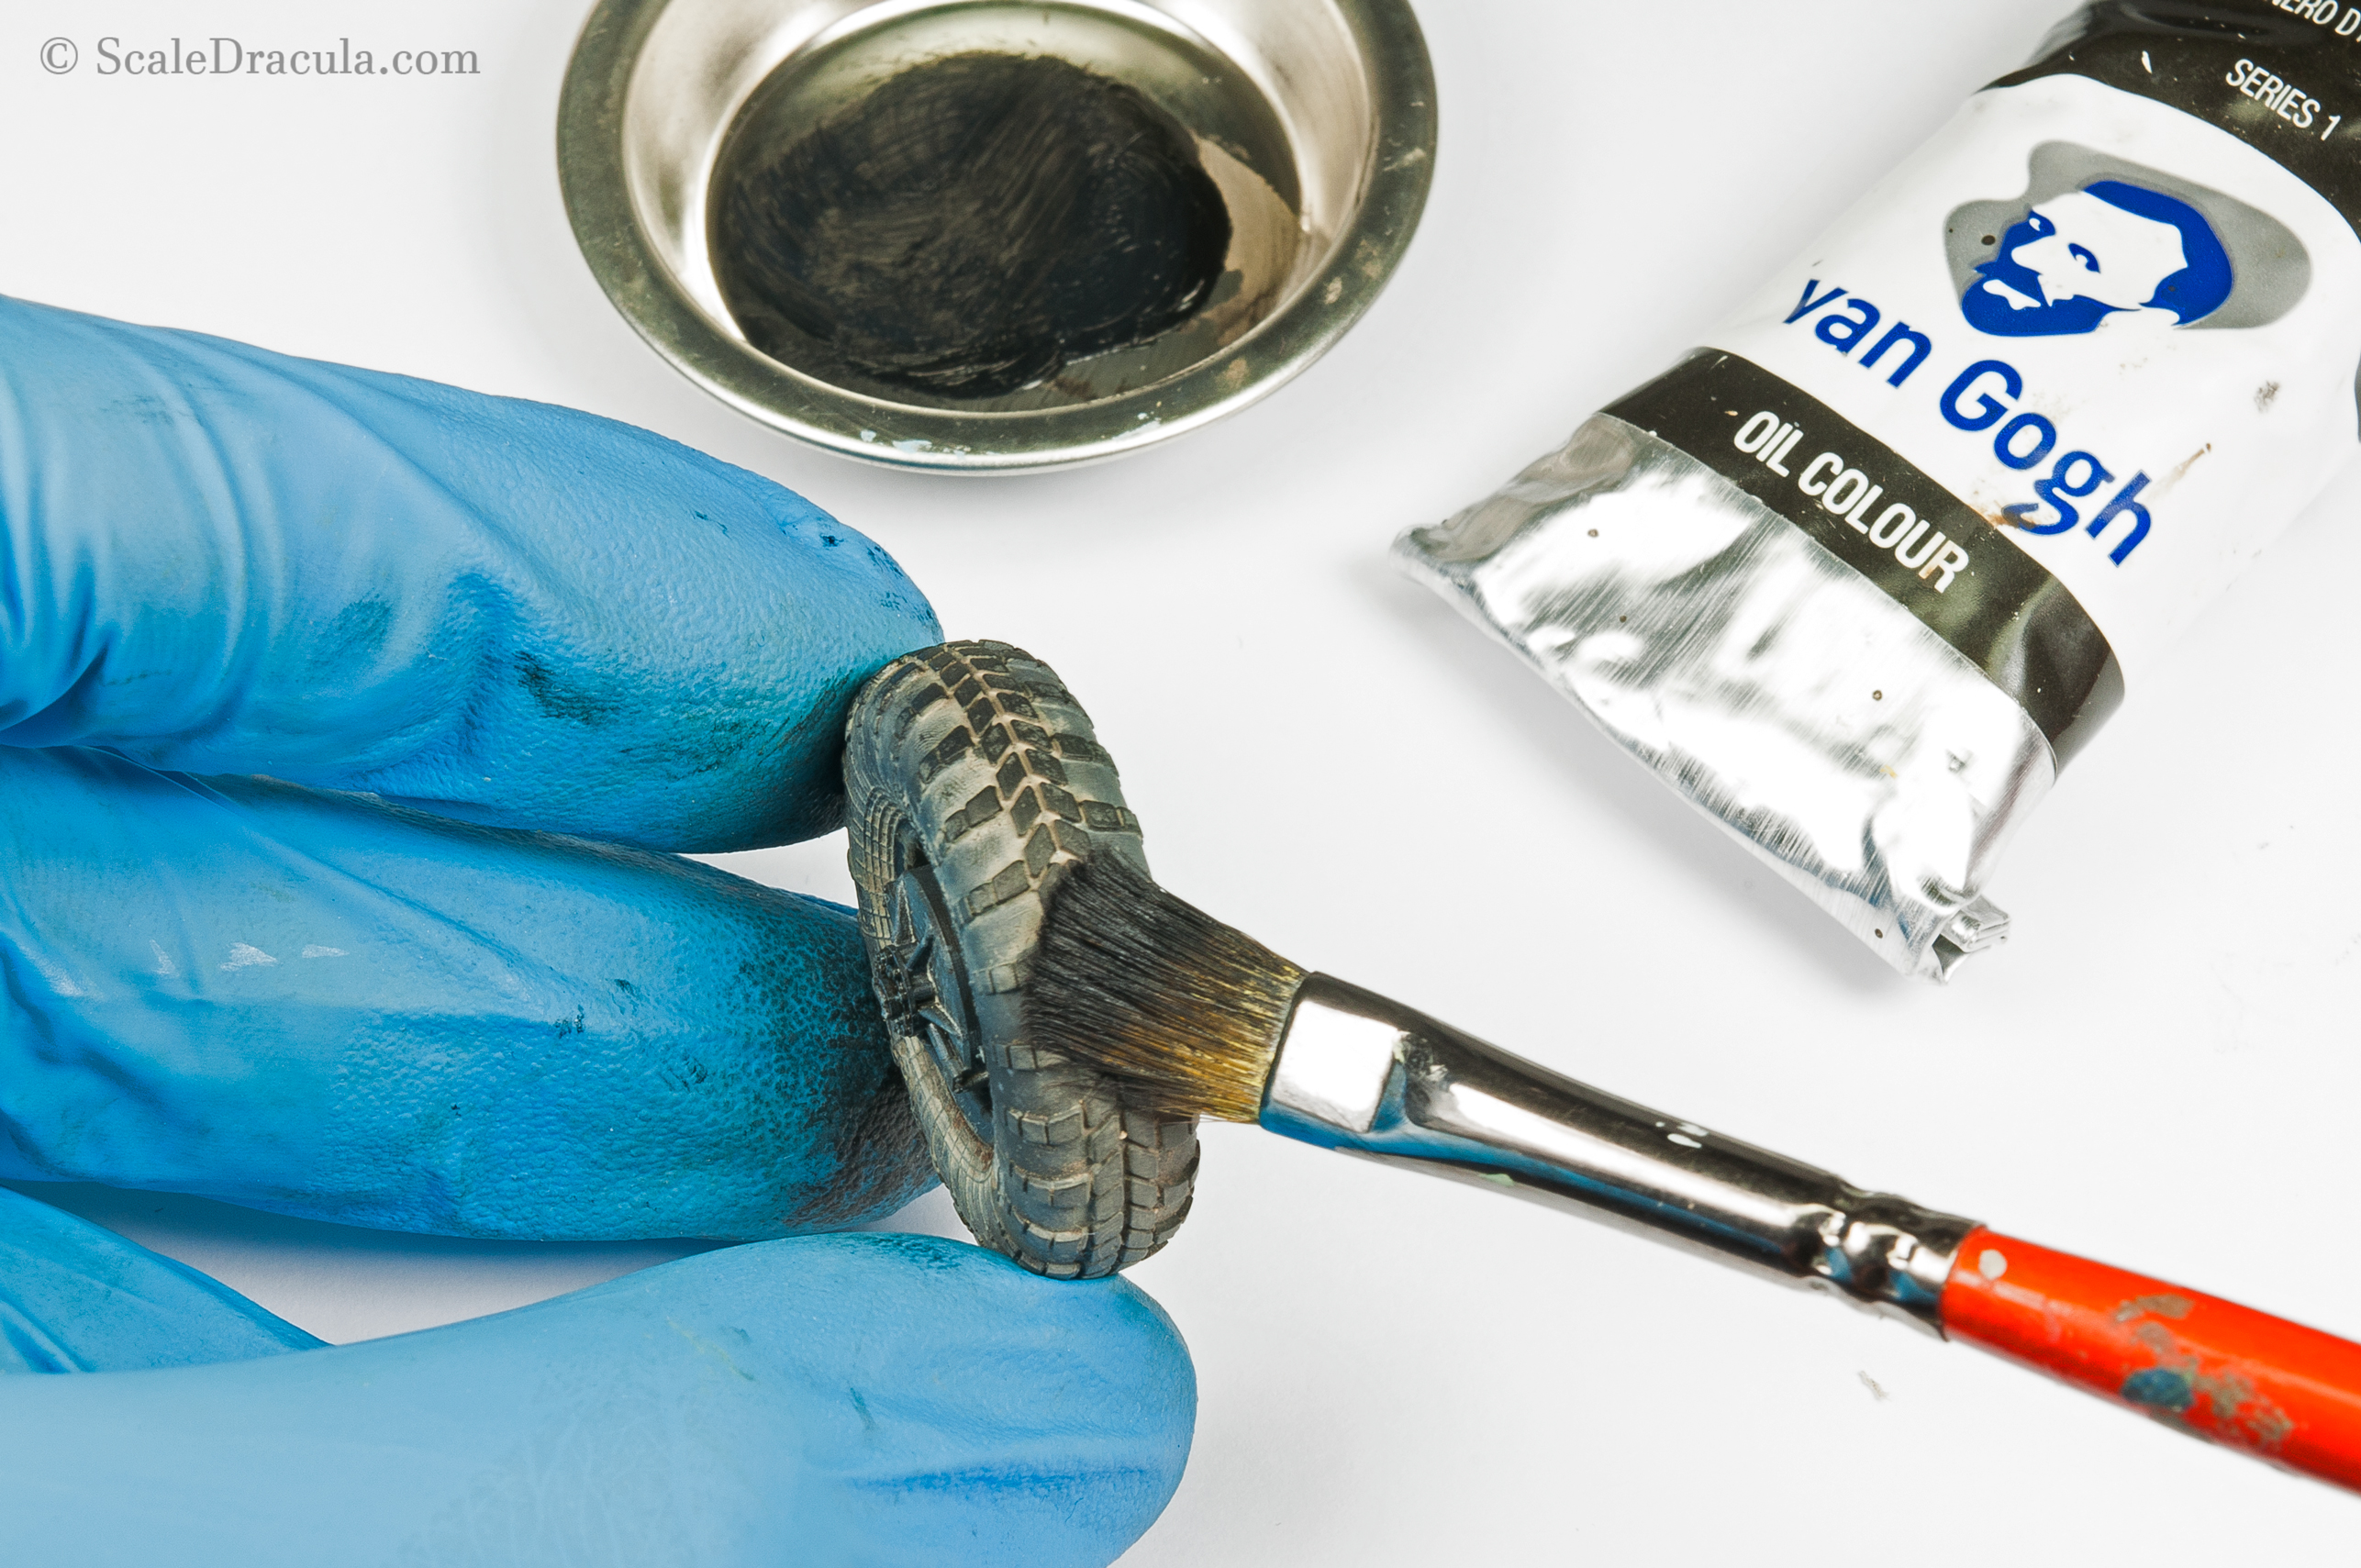
Dry brush the tread with a matt black colour. I used an oil paint again but any thick black colour will do here. You can dry brush the front side of the wheel as well but try to be gentle about it.
The tread is usually free of dirt and dust because of the constant friction with the surface.
Step 8:
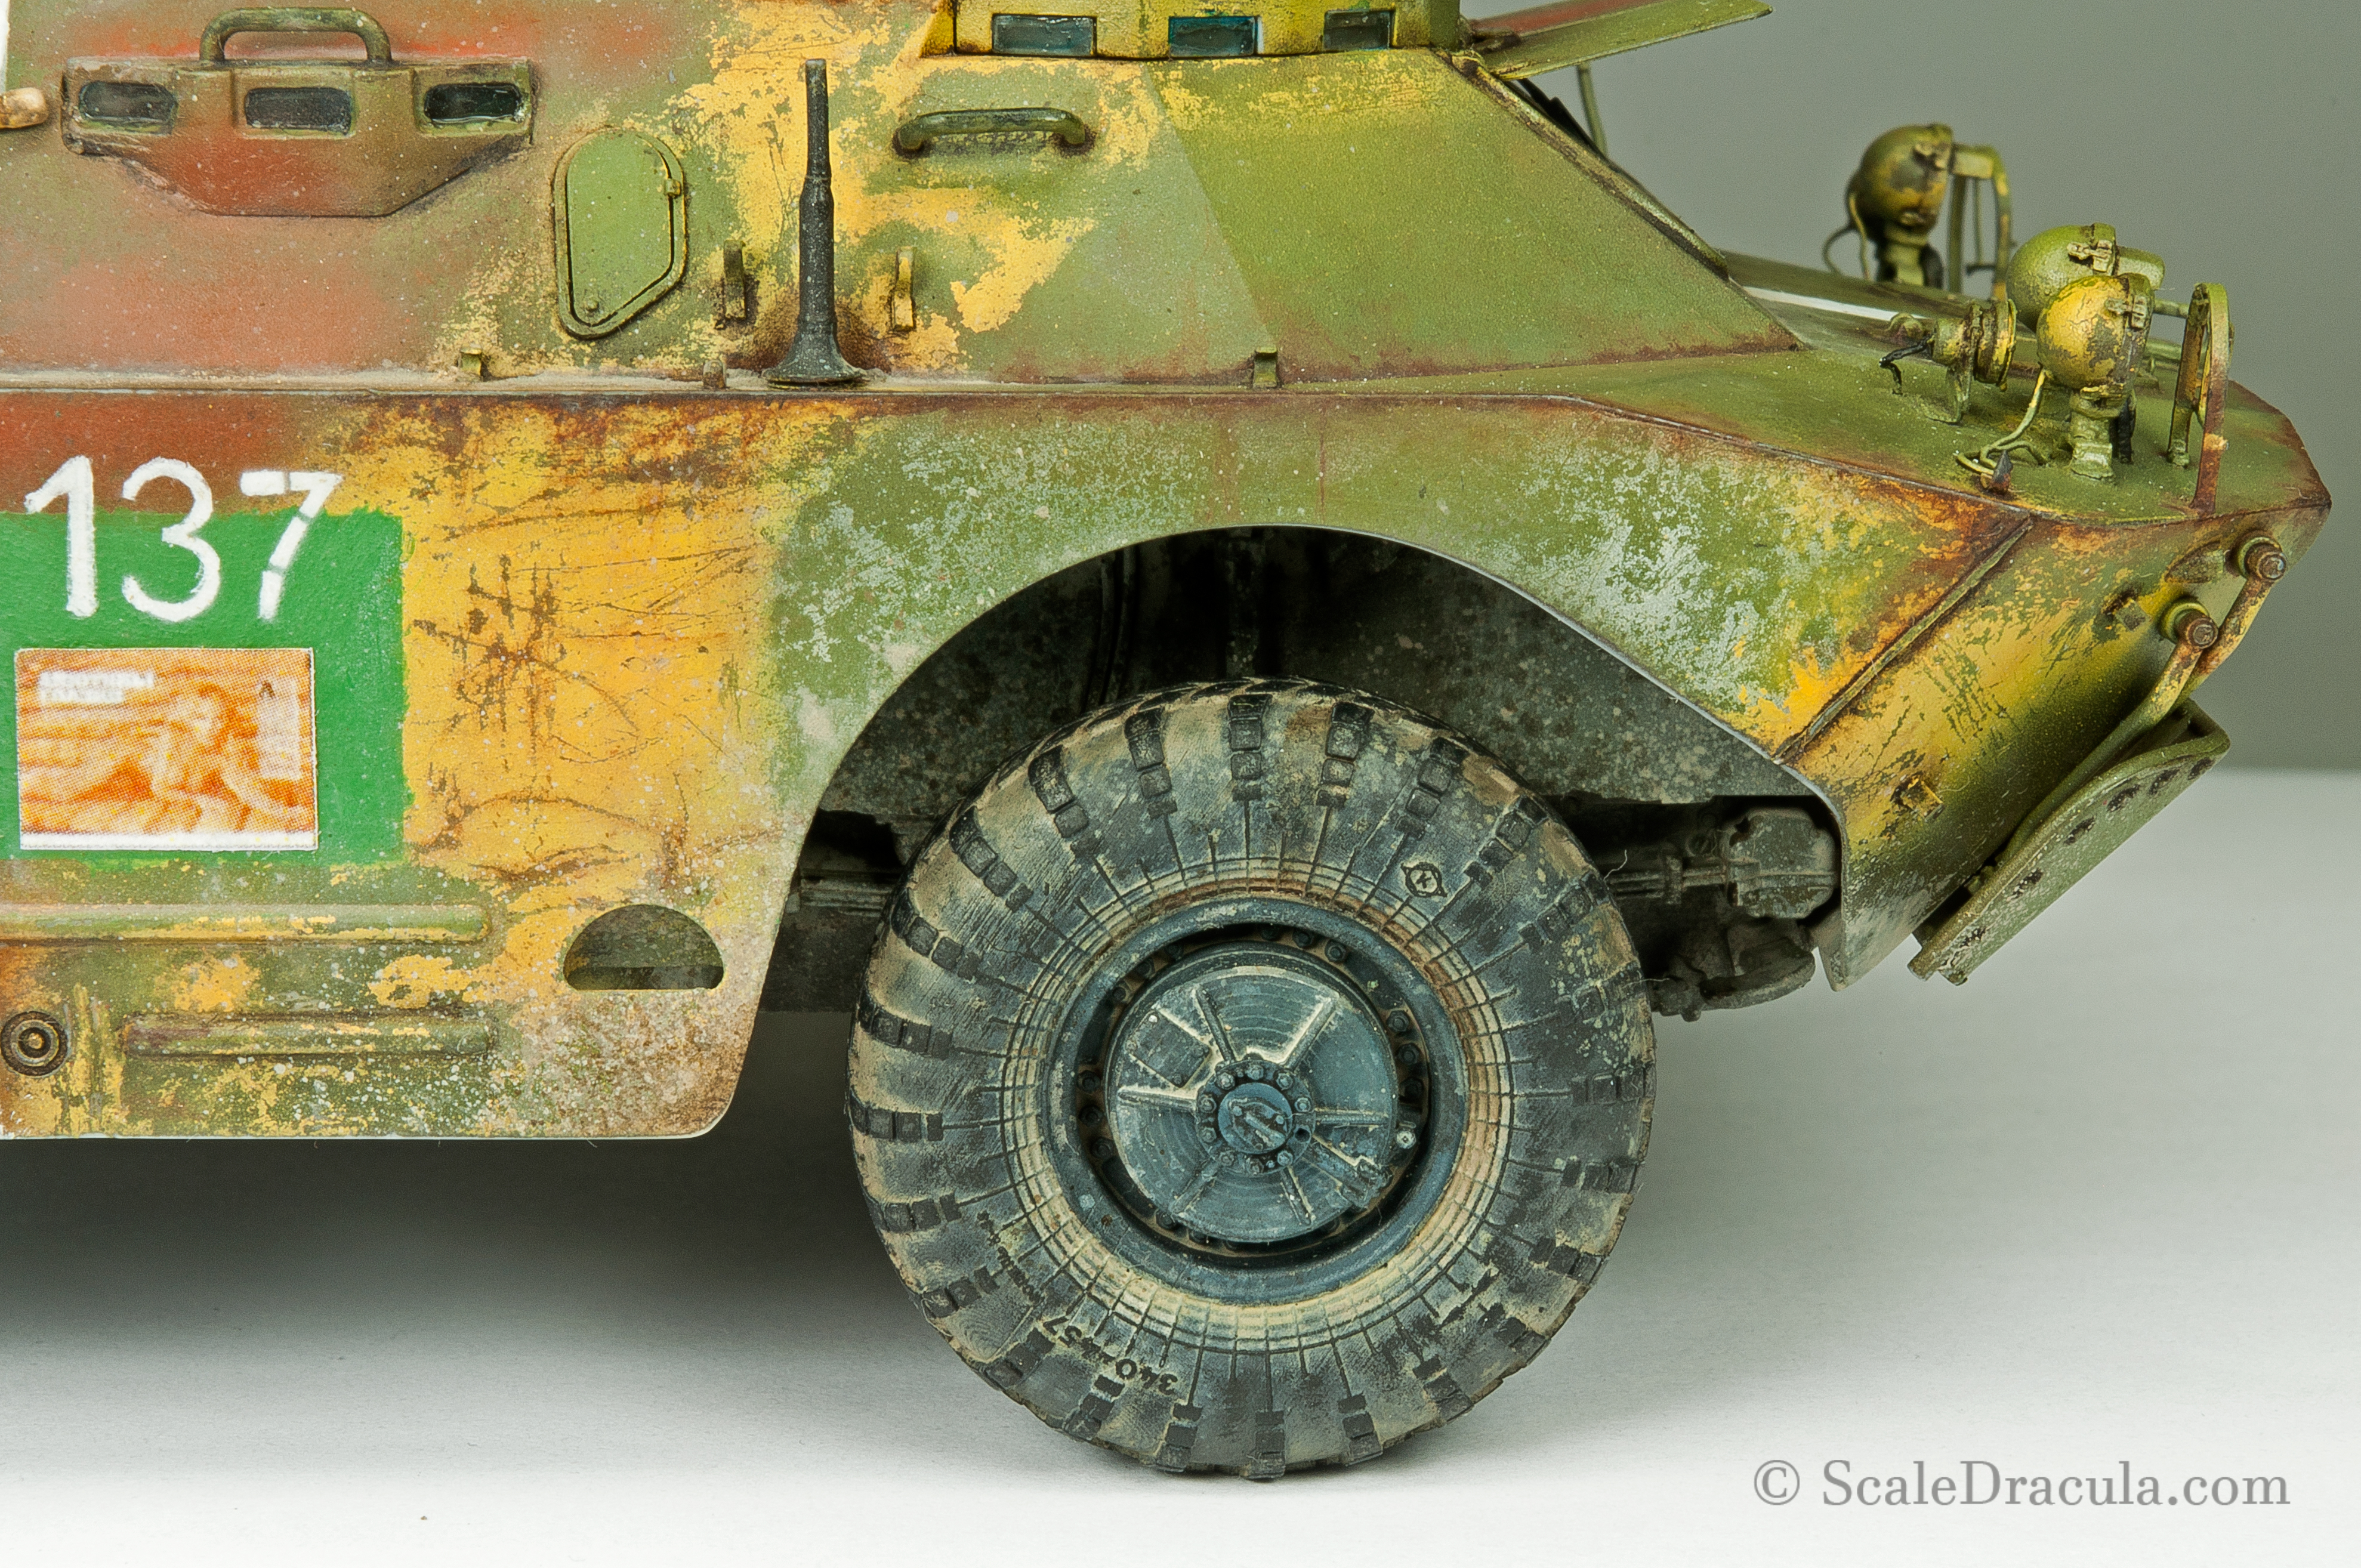
Attach the wheels to your model. Make sure you use similar colours and techniques on the adjacent areas of the model so that the wheels can blend in nicely.


2 Comments
Daniel
10 April 2019 at 21:41Great guide! Just discovered your blog, great guides keep it up.
Della
3 December 2019 at 11:32Saved as a favorite, I like your blog!