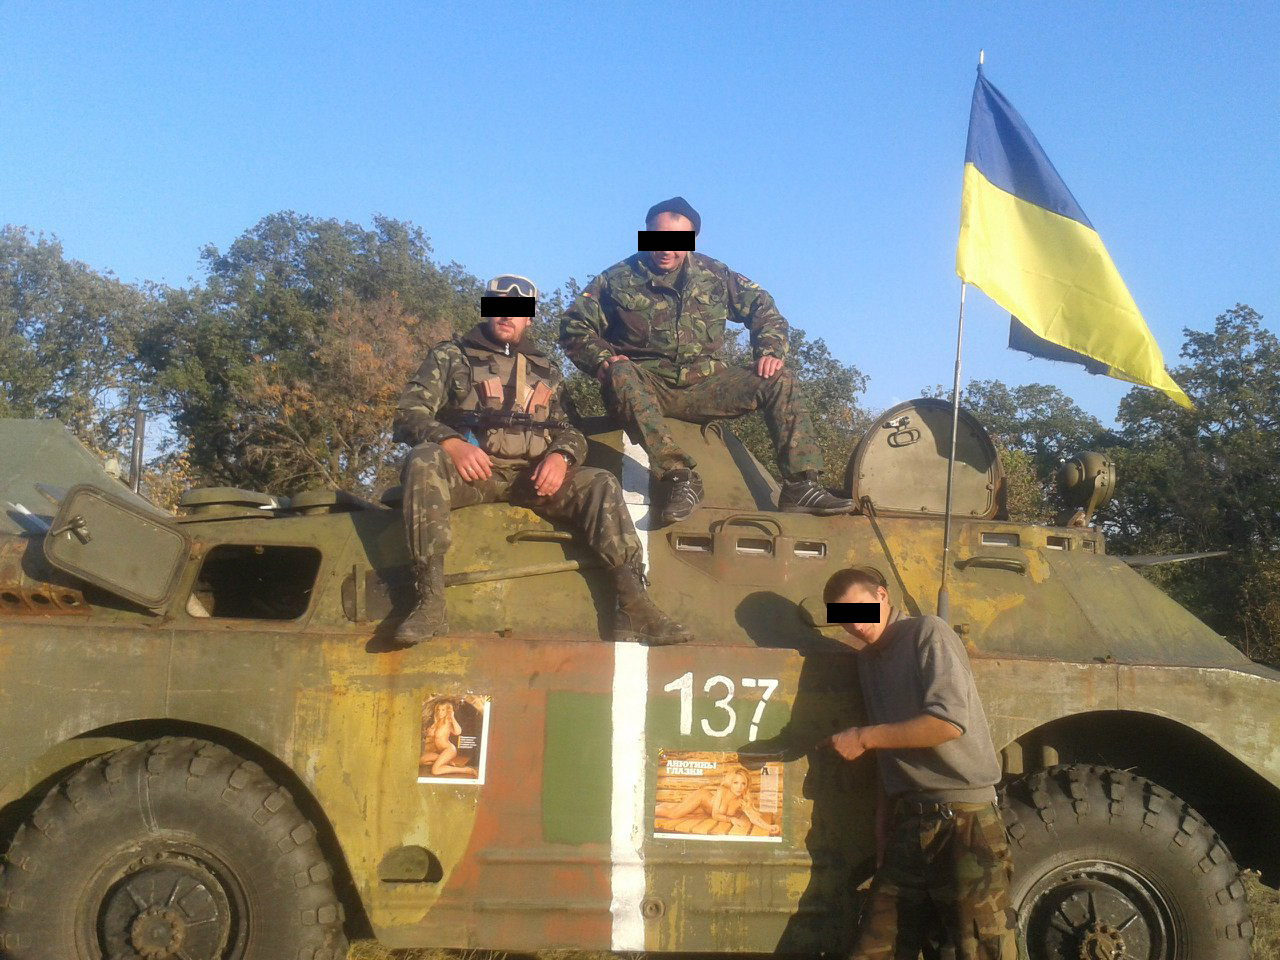
Last time I introduced my new BRDM-2 project. There was a lot of history an theory jibber-jabber. Now it’s time to do some actual modelling work. Today I’ll show you the supplies I gathered for my project. Then I’ll guide you through the first part of the construction process. Use the link below if you’ve missed the introduction.
There’s little competition as far as the BRDM-2 kits go. Trumpeter takes it all with, like, 6 version of the vehicle released recently. The alternative is a Dragon model from 1995. I saw some pictures of it online aaaand… No, thank you.
I’ve heard good things about Trumpeter’s kit, so hopefully I won’t loose time correcting any mistakes.
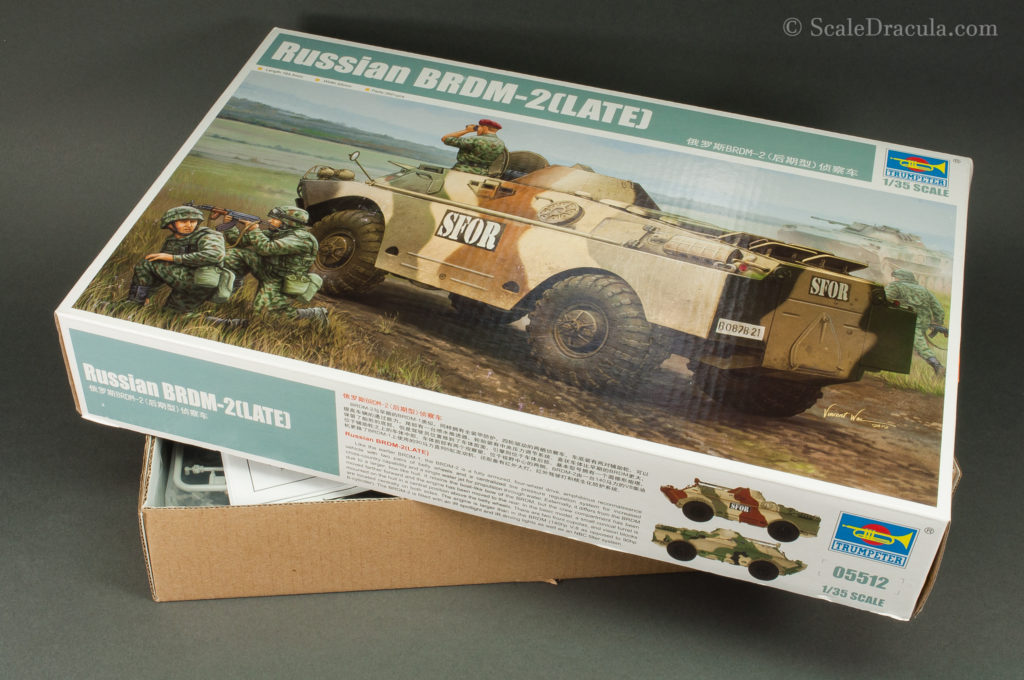
I like the details on the kit. Most of them look legit.

Here’s the top part of the main hull. This model will actually be bigger than I expected.
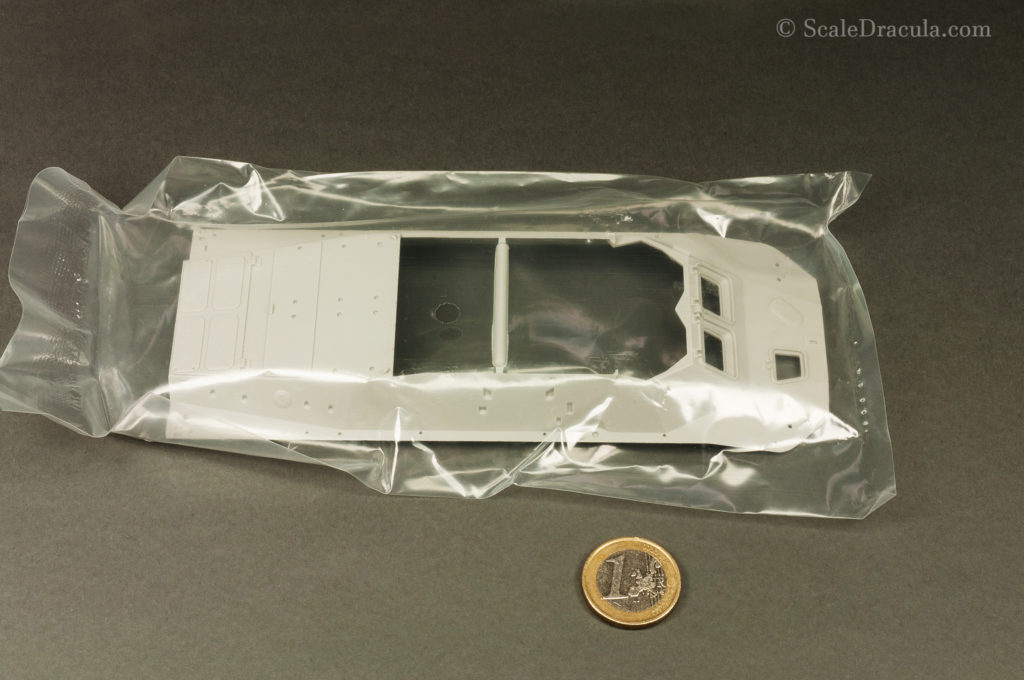
The kit comes with a small piece of PE, rubber (agrhhhrh!) tyres and obviously some decals.

I was surprised by not being able to track down a dedicated PE set for this kit. I didn’t find any late version set at all! Is the early variant that much popular?!
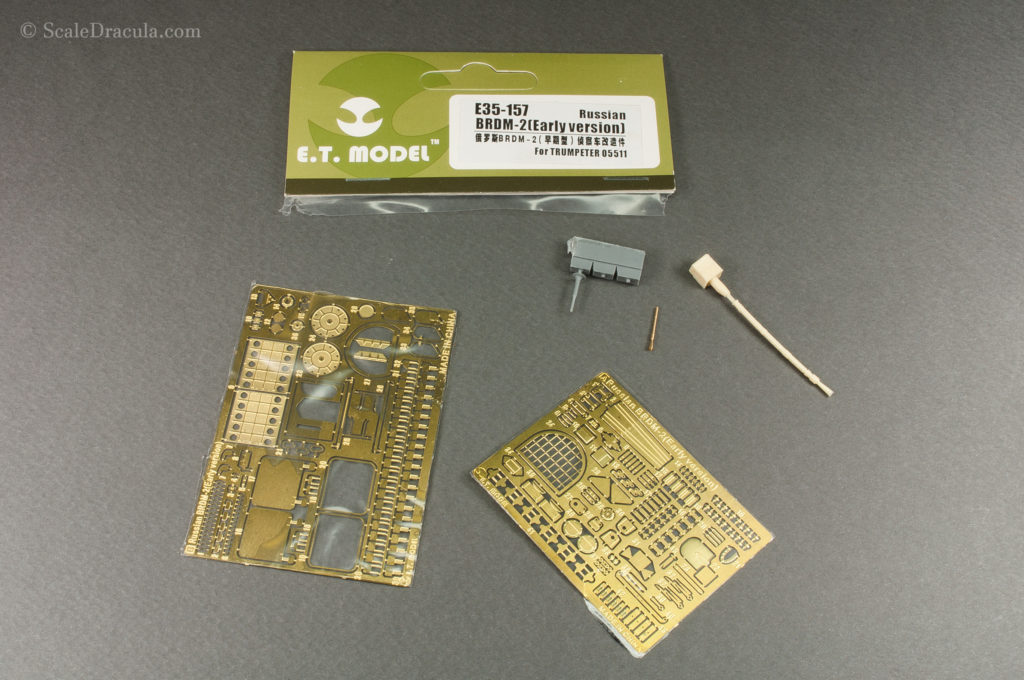
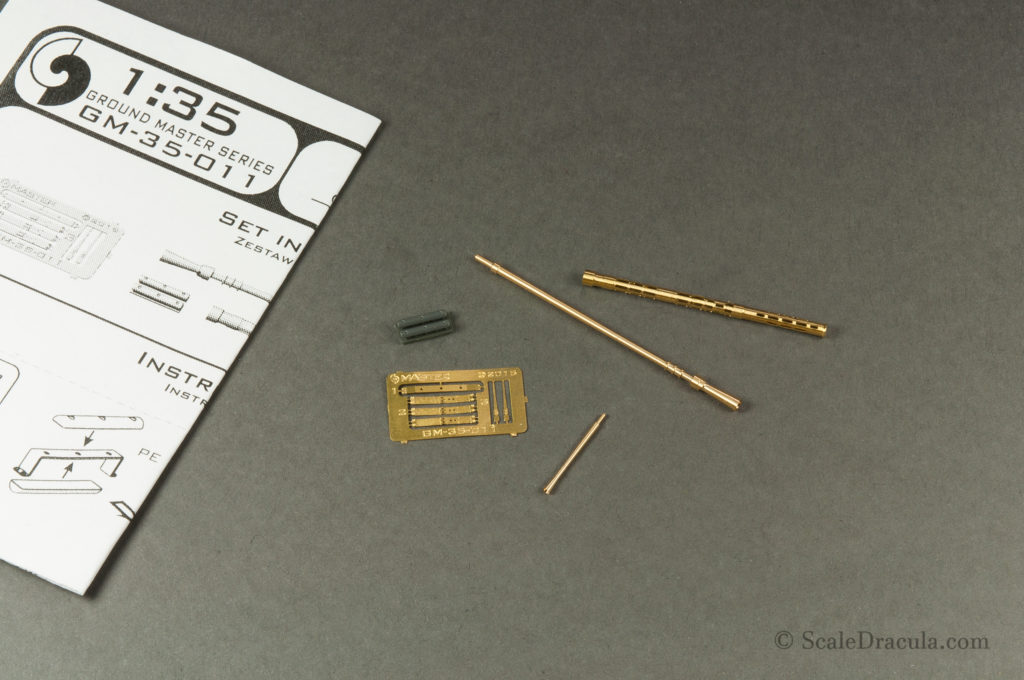
Anyway, I bought what I could. Here’s a E.T. Model‘s set for early BRDM-2. A lot of parts on this versions were the same, so I will be able to use them.
Usually, my go-to PE provider is Aber and I’ve never used any product by E.T. Model. I hope I won’t be disappointed. The set comes with an antenna mount and machine gun barrels which is a nice bonus.
I like that the metal sheets are covered with additional layer of plastic foil. I’m not sure if that’s necessary but you can never be to safe I guess.
I also got a KPVT barrel by MASTER. I was reluctant to buy it at first because I already had an additional barrel from ET Model. Also, the Master’s kit is pretty expensive. But on the other hand, the quality of this piece is absolutely amazing. The cooling jacket is designed as a separate piece so after assembling the parts you can obtain a very realistic and natural effect. A small PE sheet provides some extra details.
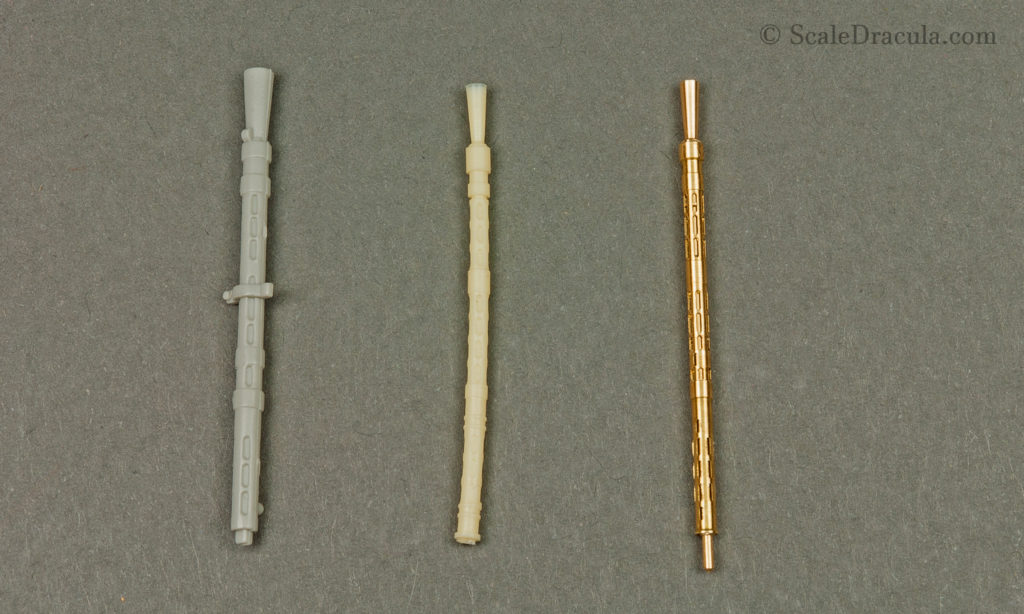
Here’s a side by side comprison of BRDM-2 barrels.
(l-r) stock Trumpeter barrel, ET Model barell, MASTER barrel
Trumpeter’s barrel is to thick. ET Model’s part arrived warped. Other than that it looks like a decent compromise. MASTER is an obvious winner for me quality-wise. You just need to decide by yourself if it’s worth the price.
The construction goes smoothly without many problems. The general design of the kit is very good and the parts fit together nicely. There are some mistakes in the instruction but nothing really serious. I will point out only one.
In the step 4 the manual tells you to make two sets of identical auxiliary wheels.

In fact you need to have 2 mirrored sets. The pictures don’t explain it properly so it took me an extra second to figure it out. The wheels are supposed to look like that when installed:
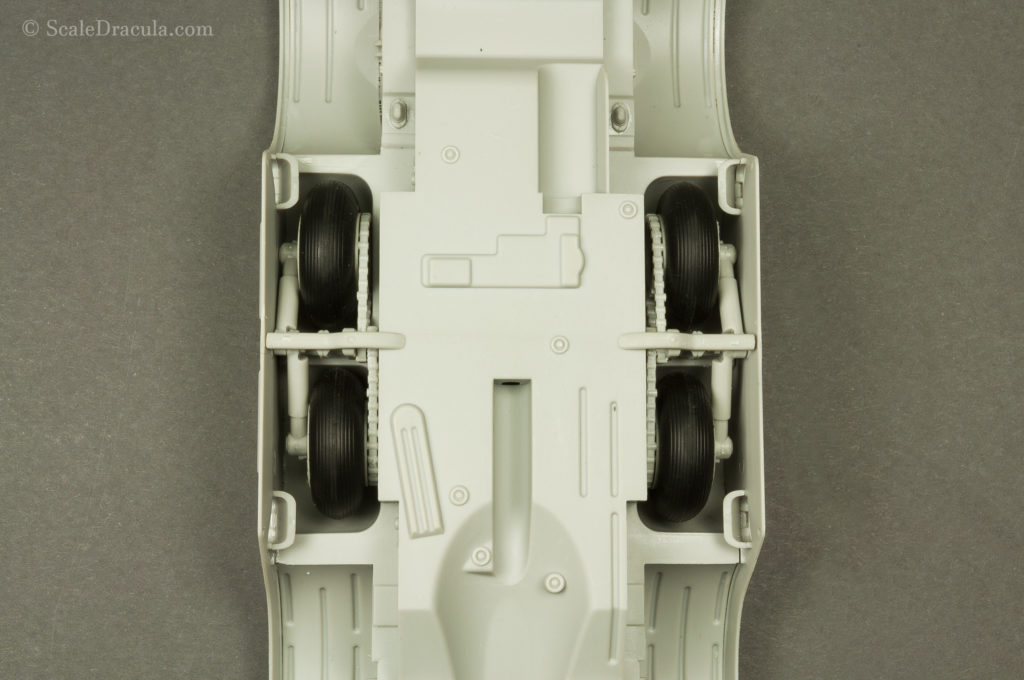
Other than that the construction of the undercarriage goes really smoothy. I was able to finish it in less than an hour.

The propeller is a nice feature of the BRDM-2. PE rudder blades give it some extra detail. I will definitely try to keep this area exposed on the finished model.
Also, Trumpeter provided the parts for gas tanks compartments with the option of making them open. Nice!

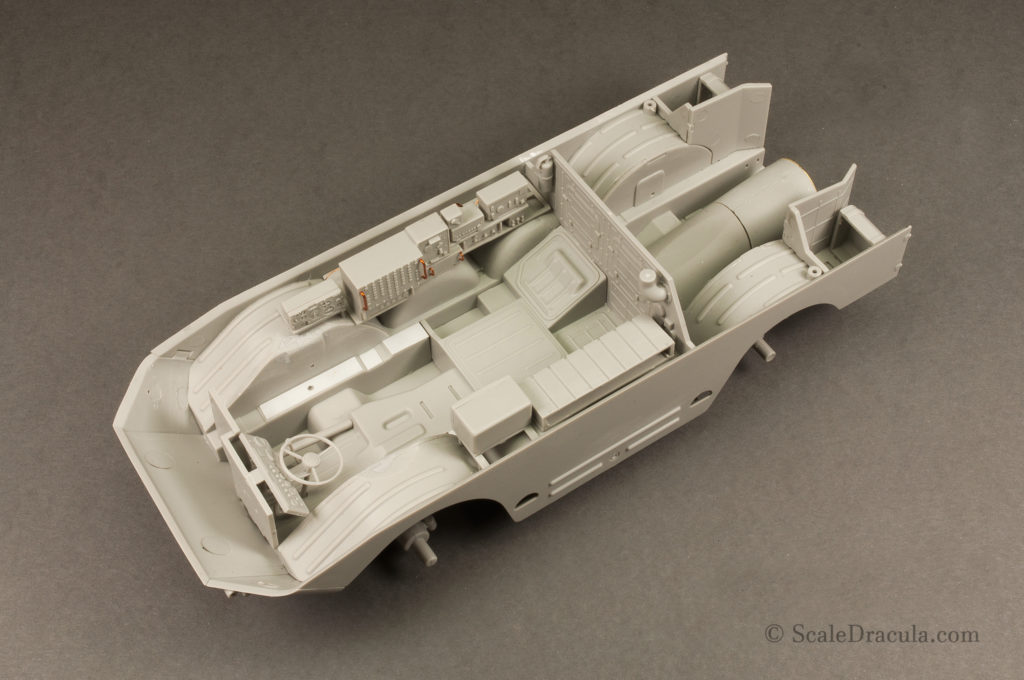
We also have an opportunity to build the interior of the vehicle. It is somewhat basic but considering how little of the area will be visible eventually, the details are just fine.
I’ve added some wires and I covered the ejection marks with styrene strips. Nothing too fancy.
BTW, I’m surprised by the amount of radio equipment this vehicle has. Could it be a commander version?

I’ve checked the fit of the main hull parts and it turned out to be really precise. This allowed me to start working on the top details. I wouldn’t risk attaching them if there were some major fitting and sanding about to happen later.
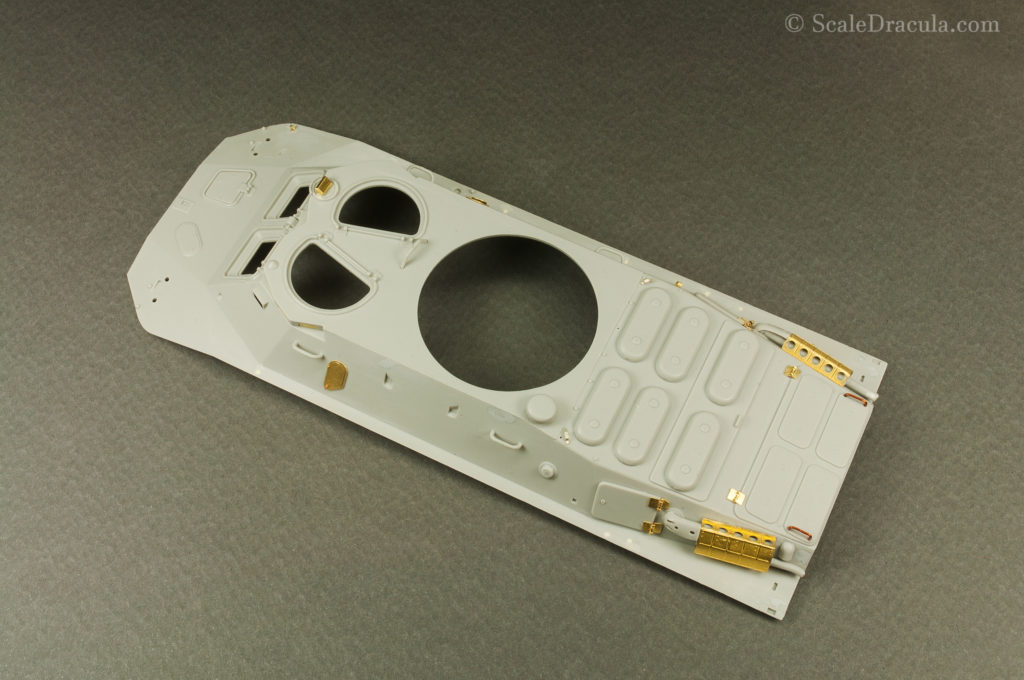
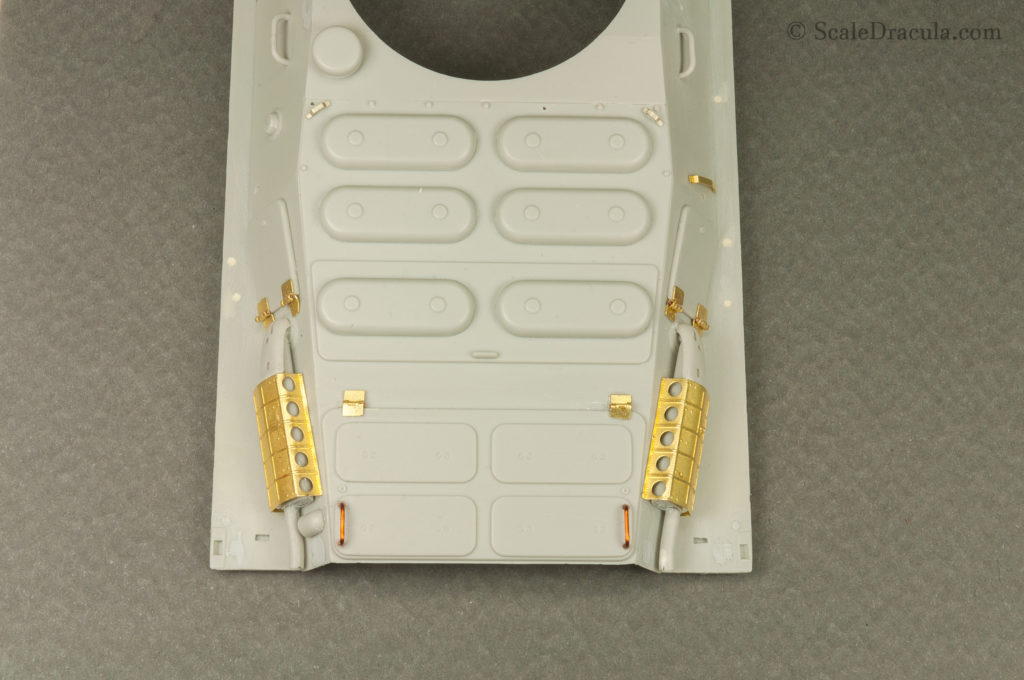
Here’s a close up. I made some handles from copper wire. Also, I’m really happy that I was able to replace the exhaust covers with PE alternatives. It’s one of this cases when styrene plastic just can’t do justice to the part.
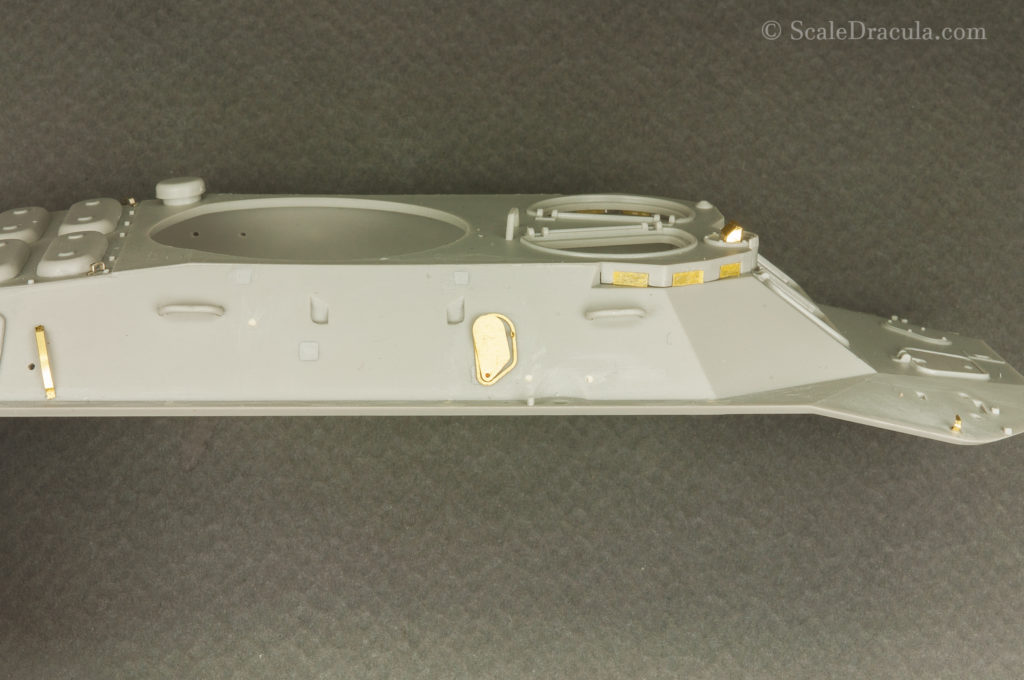
The side view of the main hull. Thanks to the PE set, I was able to make the firing port half-open. With some extra work you can recreate all the details inside it. I also covered the transparent parts with Tamiya masking tape.
Some other details made with PE parts.

And that’s it for now. I really like how relaxing this build has turned out to be. Next time I’ll paint the interior and then I will carry on with the construction.
previous