Last time I finished painting the interior of my ZSU-57-2. I also glued the turret together and finally my model started to look like an actual tank. I really hate to use the glue after the painting. It’s a recipe for disaster. But I guess sometimes it’s inevitable… OK, painting the interior was just a warm-up, let’s see how will it go with the rest of the model.
As always, use the convenient links below to see previous parts of this SBS. If you’re familiar with them, just jump to the next paragraph.
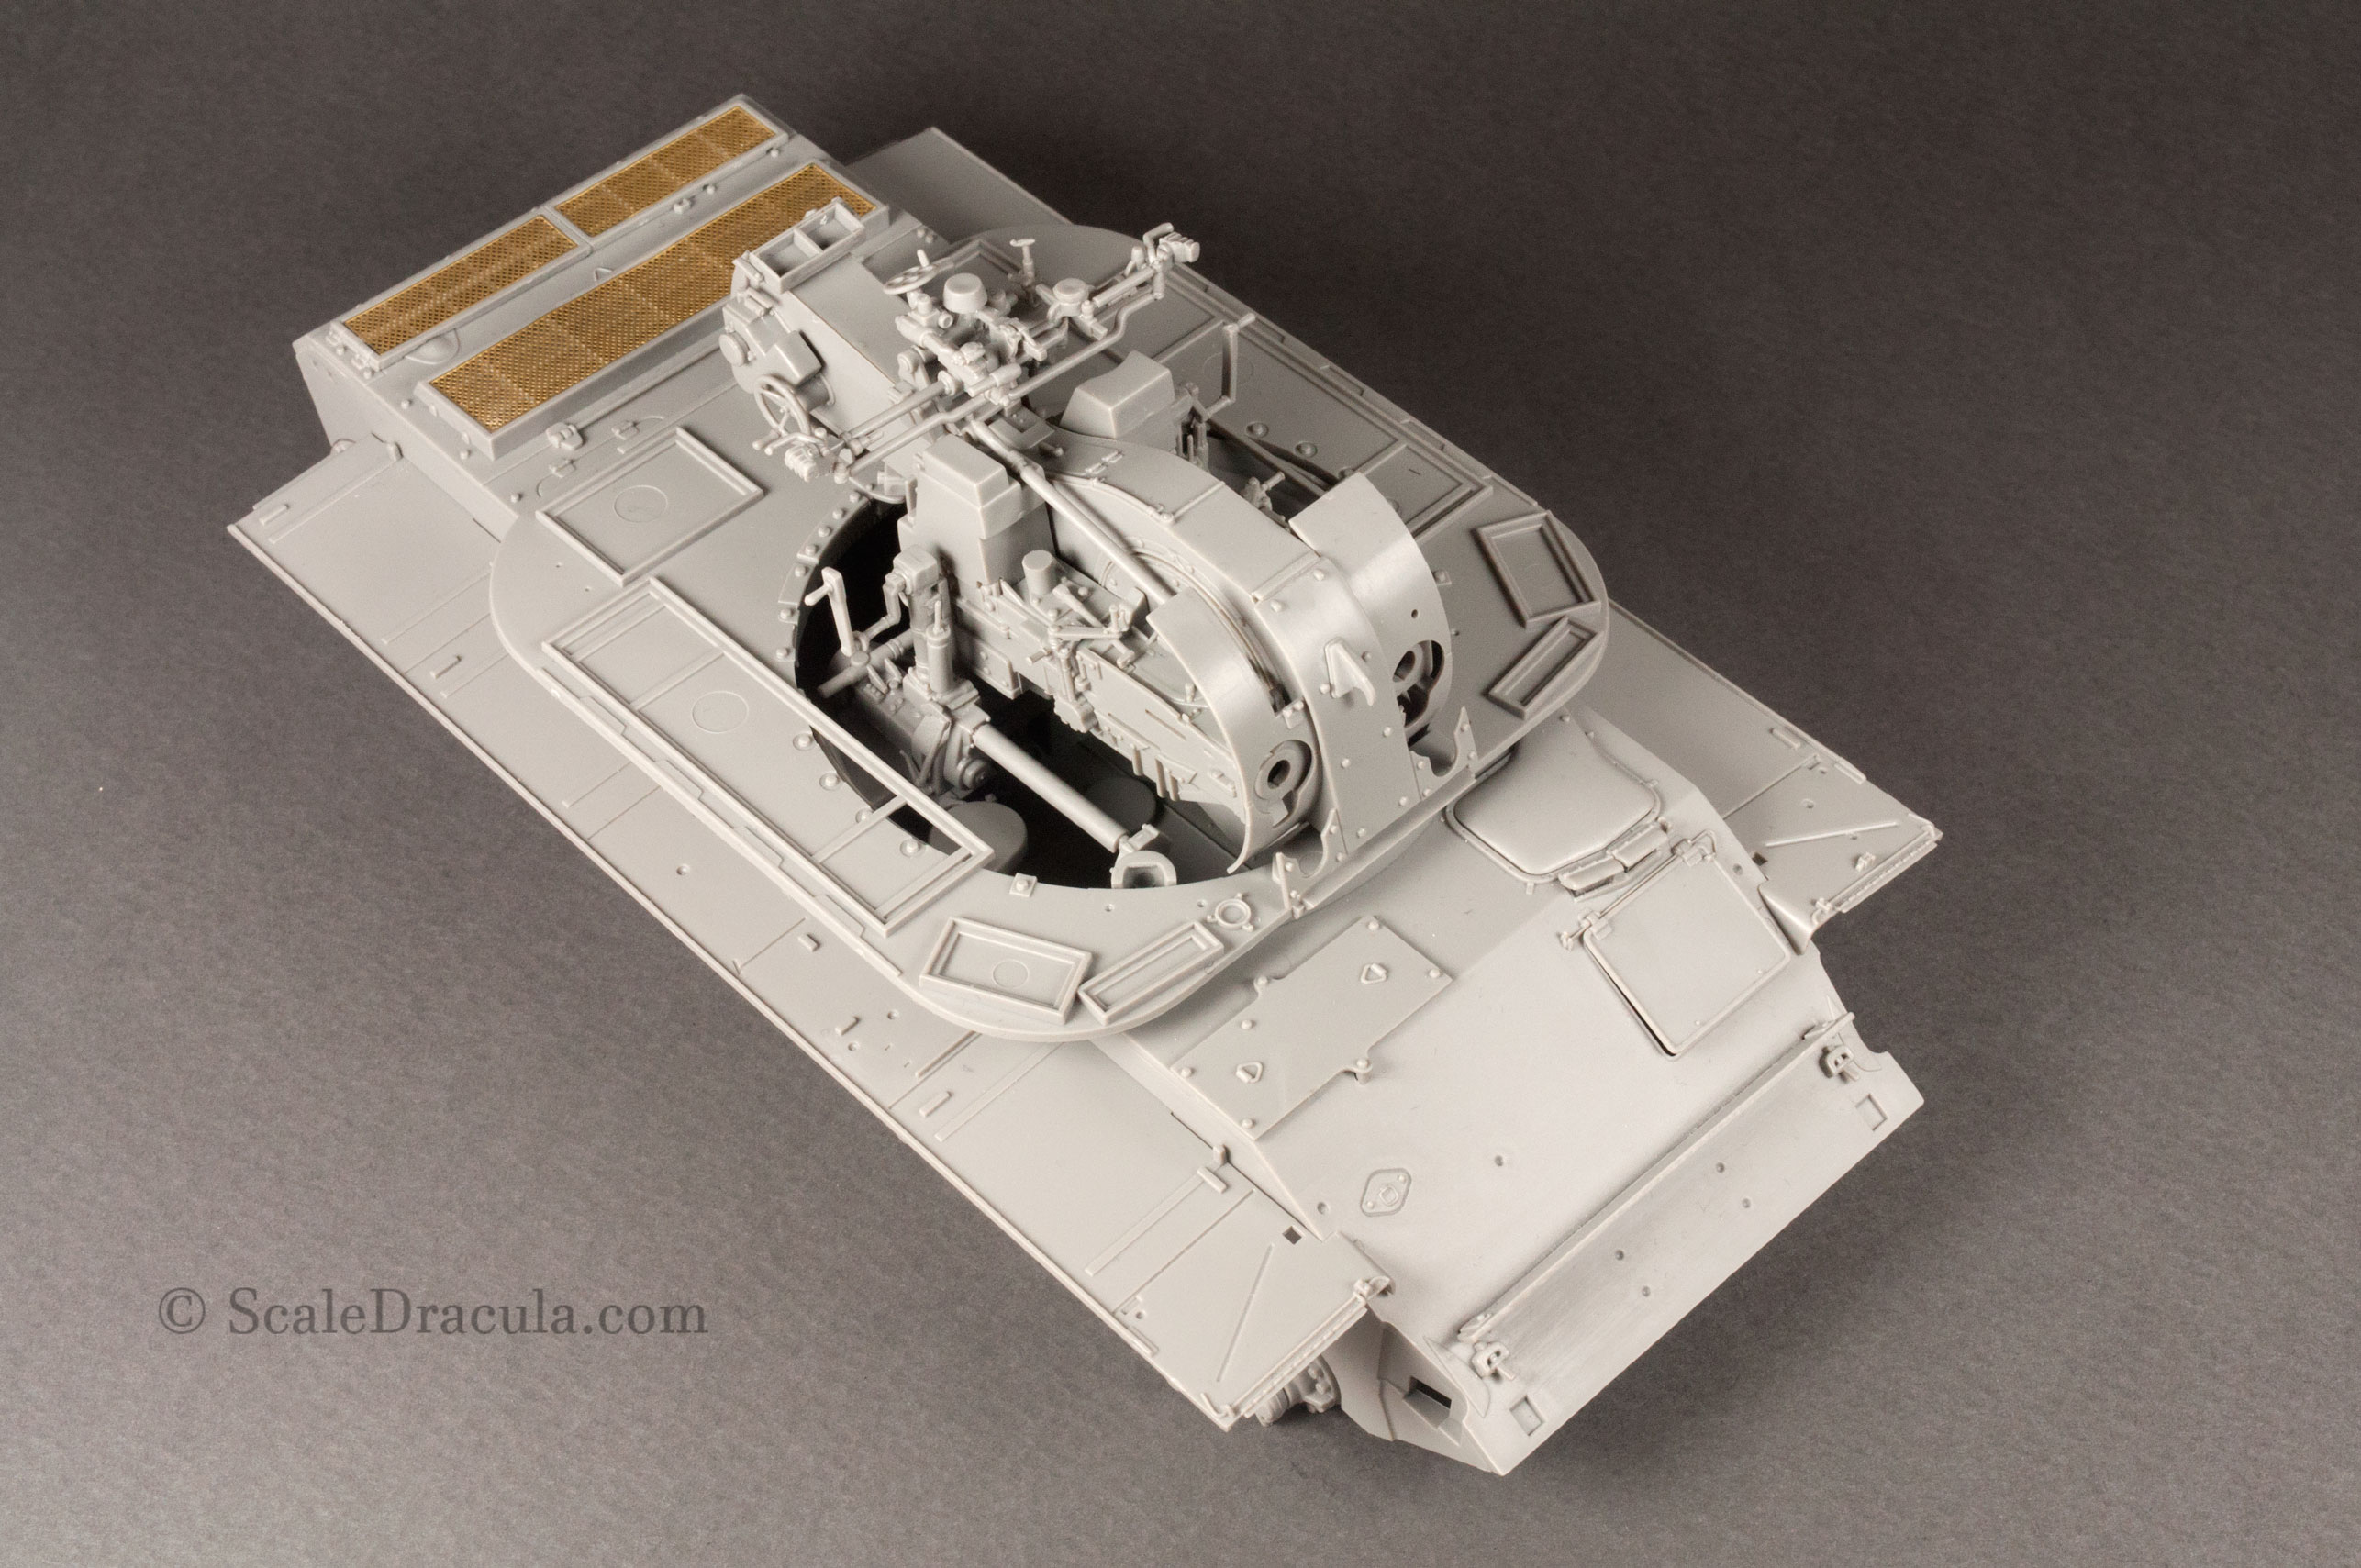
Before I even grabbed the airbrush I secured the open turret with Tamiya masking tape and Maskol. This is a critical step. I would hate to see any overspray on the finished interior so I put a lot of effort to make a durable cover.
Then I sprayed the model with isopropyl alcohol to get rid of grease and all kinds of dirt. A breathing mask is highly recommended while using IPA as it can really mess with your head and lungs.
After that, and just before priming, I swept the surface with a big flat brush to make sure there’s no dust or dirt on the model. I have a habit of doing so before every step of the painting. Is it really that important? YES. Am I a little bit psychotic? MAYBE.

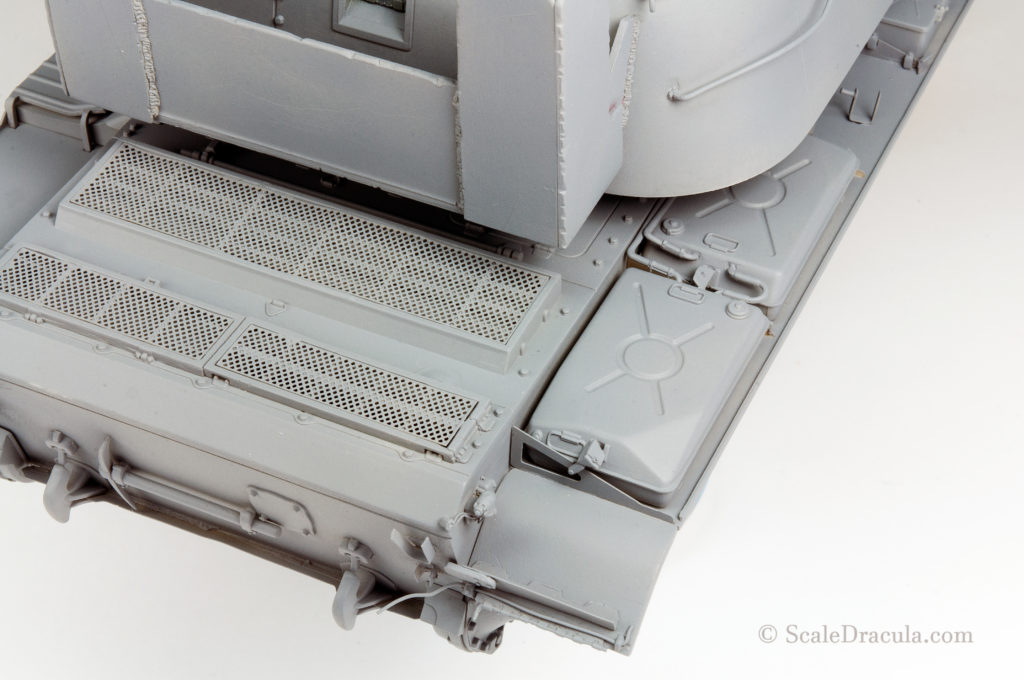
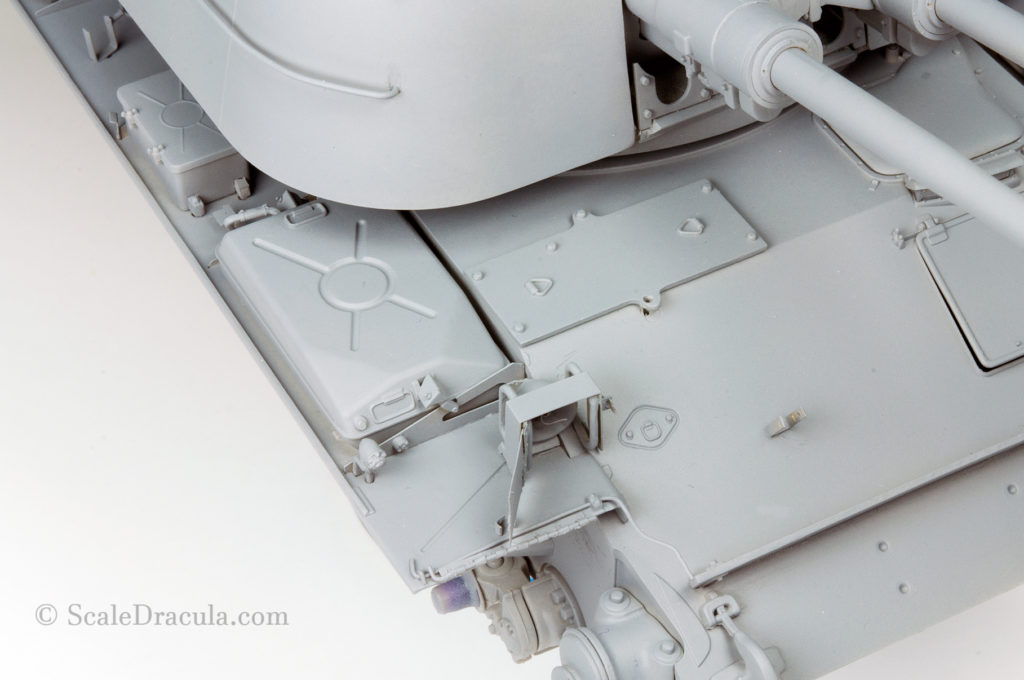
Finally the model gets its first layer of paint. I begin to like working with Ammo Mig One Shot primer. It flows nicely through the airbrush, has a great coverage and leaves a satin finish. The only thing I don’t get is the drip cap. It clogs easily and is hard to clean. What’s wrong with the standard eye dropper cap?

The surface looks nice and clean. I can’t stress enough how important it is to have this solid foundation for all the colours to come.
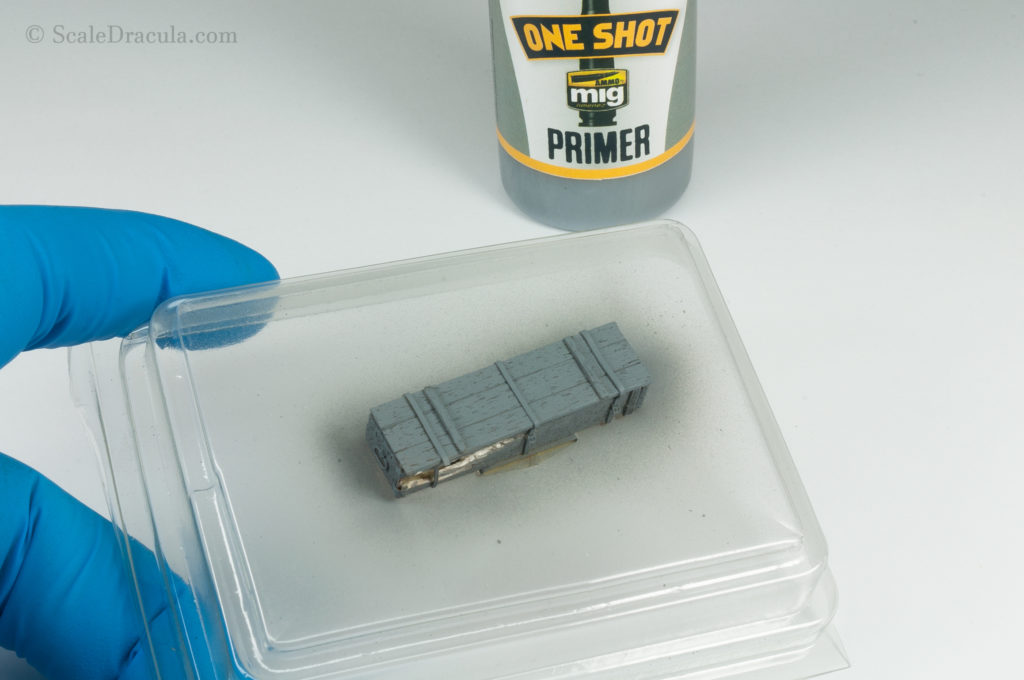
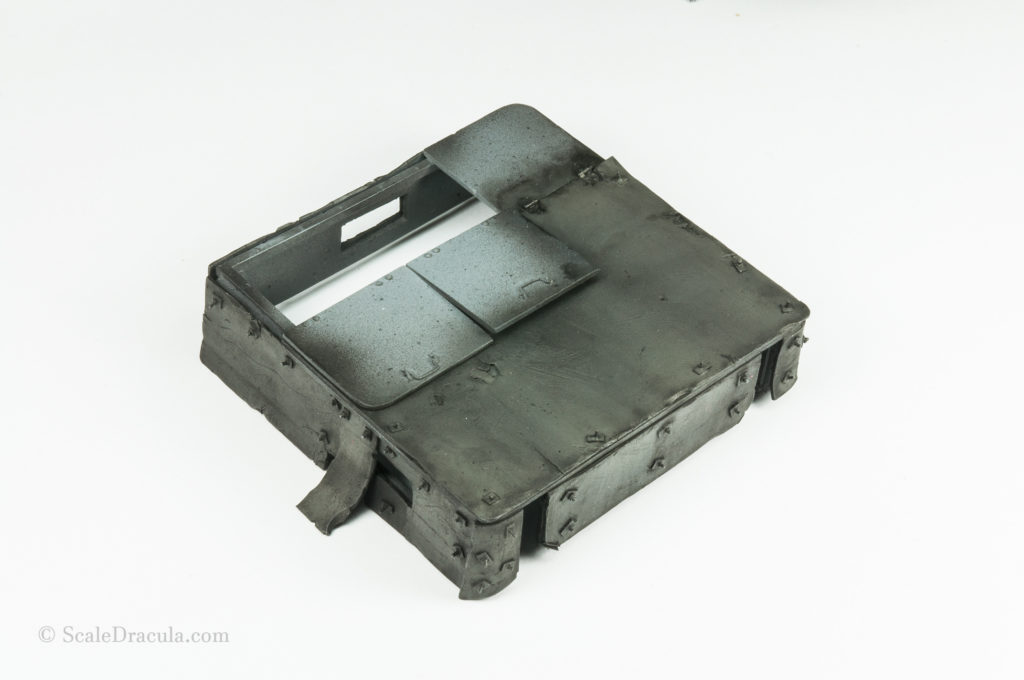
The wooden crate gets its layer of primer as well. As you can see veneer keeps its natural texture even after painting.
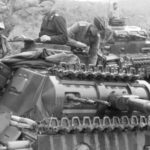
Next up is the Russian Dark Base green from Ammo’s 4BO set. You can call it a preshade but I just wanted to make sure the dark paint gets into every nook and cranny of the model.


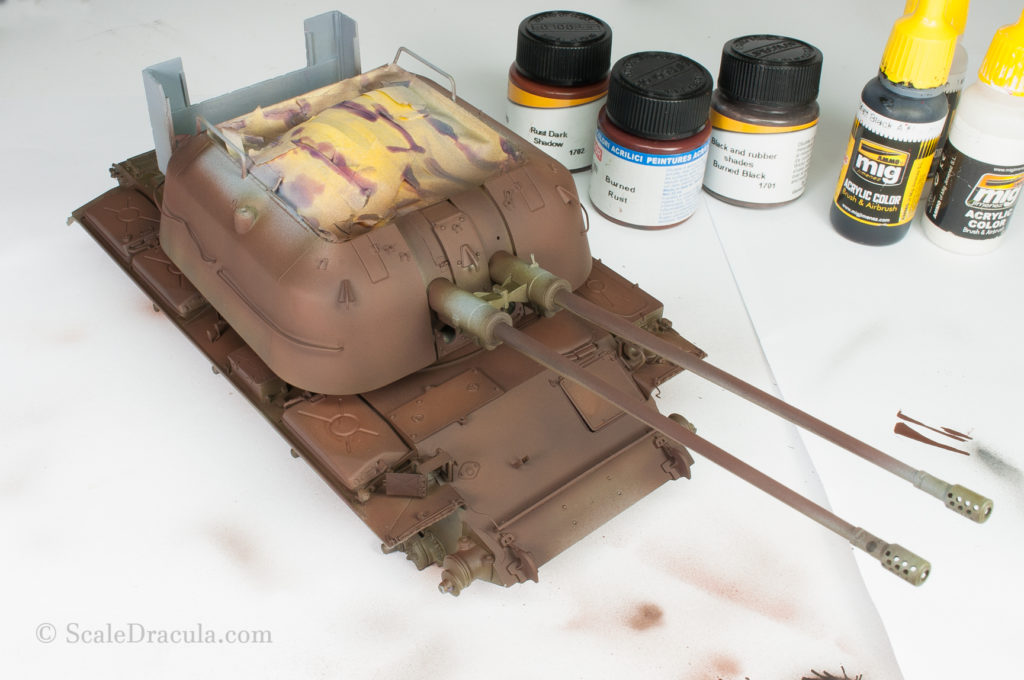
I start to work with Lifecolor paints to build up a solid rust colour for the chipping to come. I’ve mentioned before that I really like Lifecolor rust shades. They have a 100% matt finish and work great with each other.
I start with darker shades like Burned Rust and Rust Dark Shadow and I slowly build up some highlights. If you plan to do only some minor chips you don’t need this step, just paint the whole model in dark brown.

I decided to mess around a bit and train some techniques. I made a quick oil filter on the surface and then sponged some Lifecolor paint on top. The result is interesting, although it’s not going to be seen on the finished model.

Meanwhile I also started to work on the superstructure. I painted it with Ammo Mig Matt Black and made a highlight with Rubber and Tires. Then I applied a black oil wash to sort of blend the colours together and create some shadow effect.
Here’s what I’ve got at this stage. Next step was to cover everything you see below with chipping fluid.

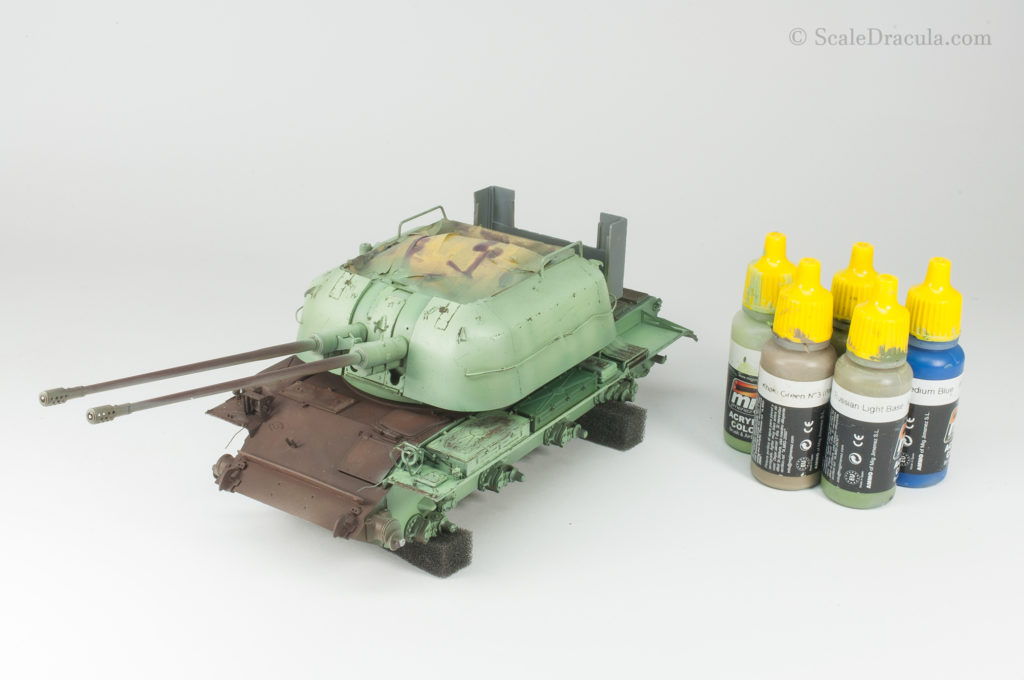
It’s high time to give this model some colour, isn’t it? There’s no Yugoslavian green shade in the palette of Ammo Mig that I usually paint with. So I decided to mix it myself. It took a lot of trial and error, but finally I got what I wanted. I used three shades of green, khaki green No. 3 and medium blue. Sorry, I can’t give you the exact ratio…
As you can see I don’t cover the whole model at once. I prefer to work on individual sections to keep better control over the process.
I usually prefer to make the chips as small as possible. Even if they are hardly visible, they create an interesting texture and break the monotony of the monochromatic surface. I add the bigger chips in the second stage trying to place them logically. Also, I plan ahead which areas will get some more aggressive treatment.
All in all, hairspray chipping is a pretty complex process. There’s lot of factors that affect each other and you really need to master them all to get a realistic effect. I will probably make a separate SBS dedicated to this technique only.
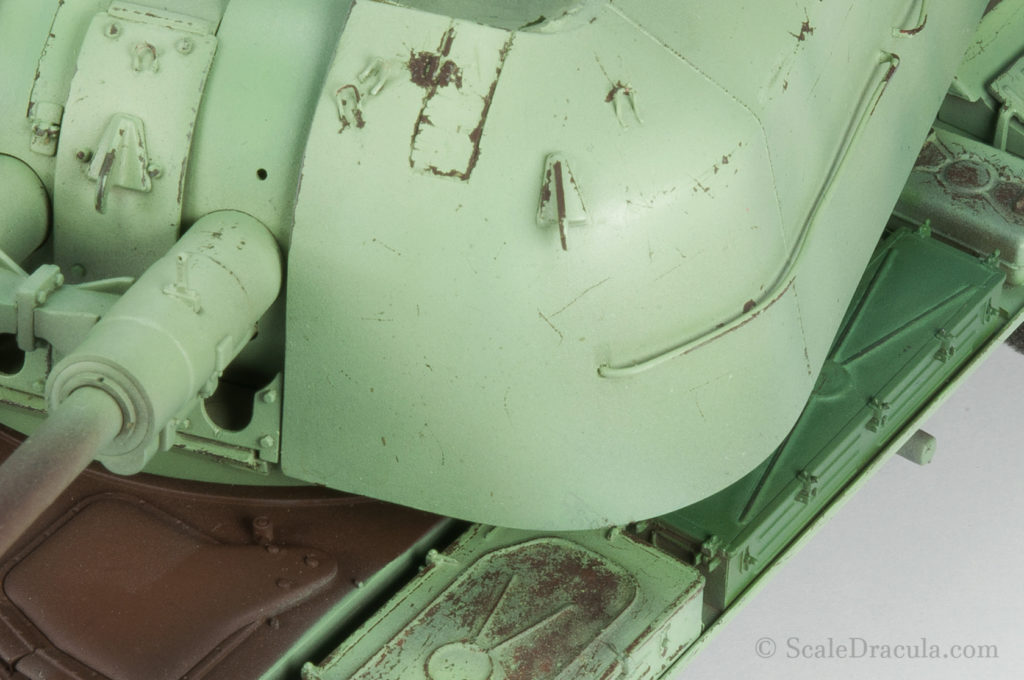
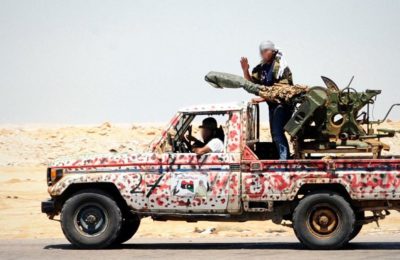
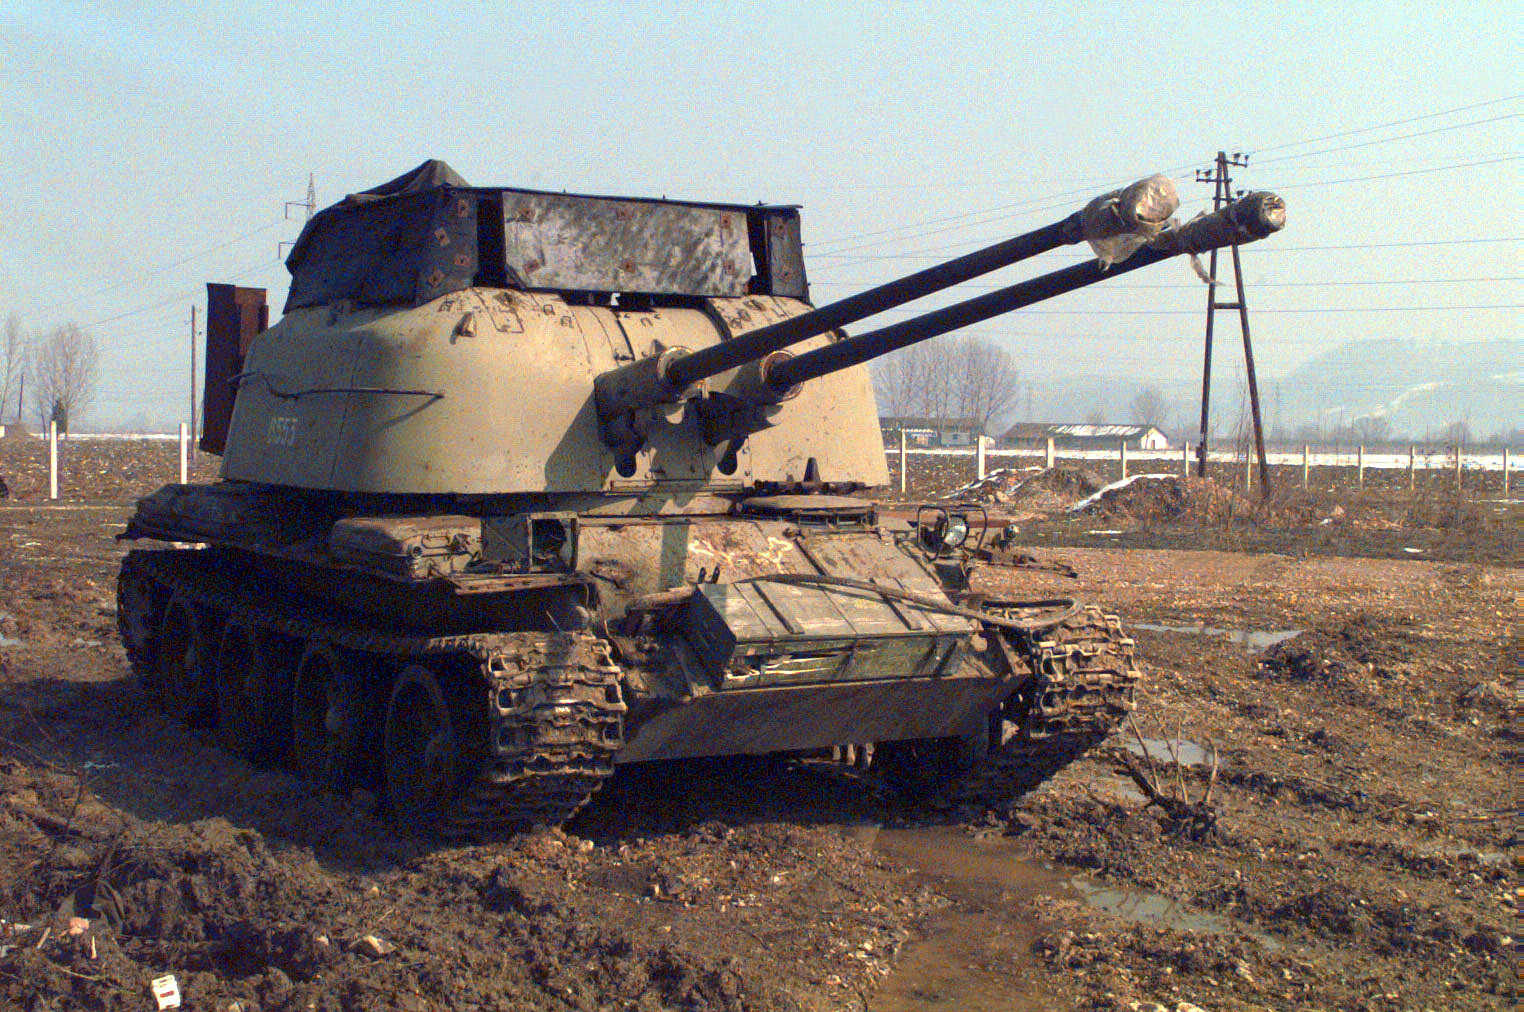
It goes without saying that in this particular project I tried to base the chipping on my reference historical photo.

The ammo crate got its portion of chipping as well. The base paint is beige. On that I applied the chipping fluid and then dark green. Before chipping, I masked and highlighted some parts to make the surface faded and more interesting.

Then I started to work on the wheels. The process is the same as above. I used different colours to create an impression that some of the wheels were late replacements.
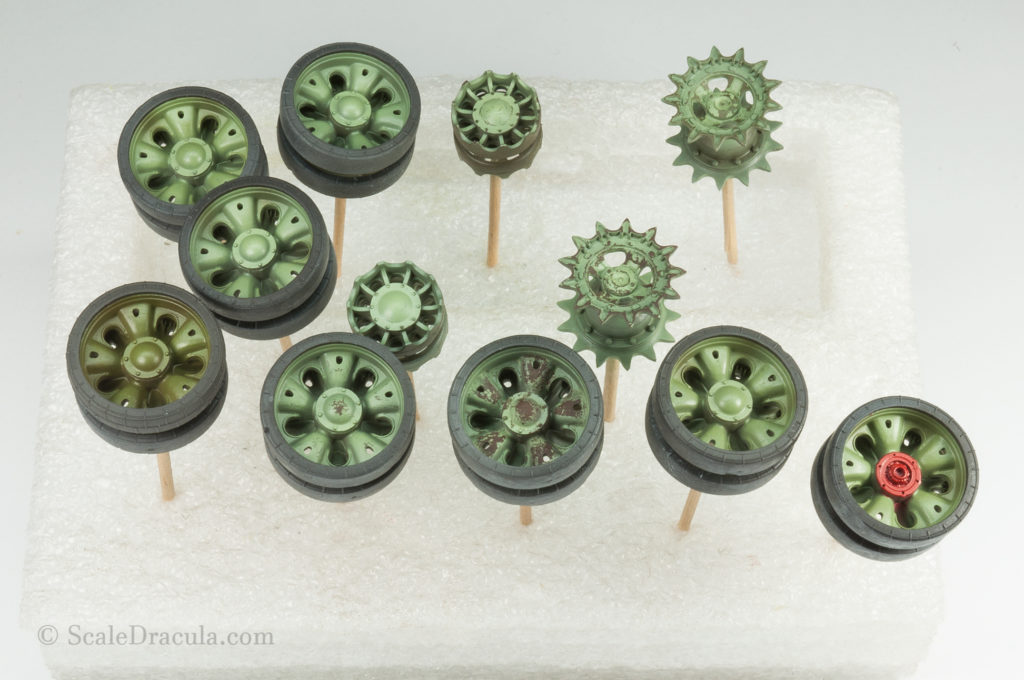
I’ve mentioned before that Takom did a good job separating the tyre from the wheel. But as far as I know you still need to paint this outer rim green.

The chipping fluid can be activated even after days. But for better control try to work on smaller areas and start chipping immediately when the top layer of paint is dry to the touch.
OK, this post is getting getting out of hand. I have to stop here, but I’ll be back really soon to finish the paining SBS. Until then, take care guys!
previous