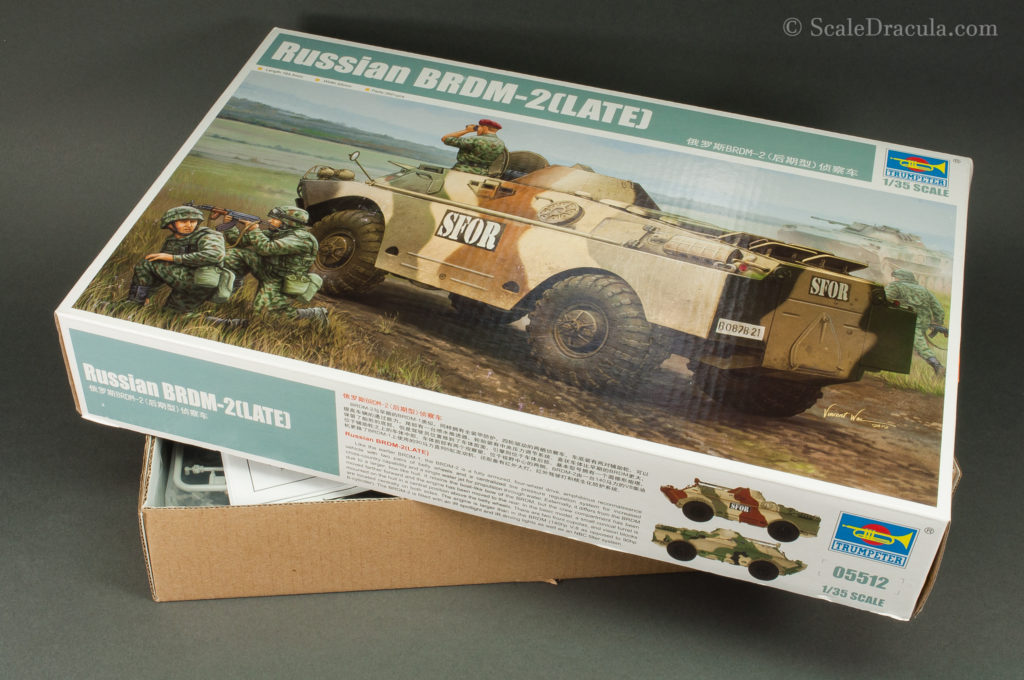
There’s little competition as far as the BRDM-2 kits go. Trumpeter takes it all with, like, 6 version of the vehicle released recently. The alternative is a Dragon model from 1995. I saw some pictures of it online aaaand… No, thank you.
I’ve heard good things about Trumpeter’s kit, so hopefully I won’t loose time correcting any mistakes.
I like the details on the kit. Most of them look legit.
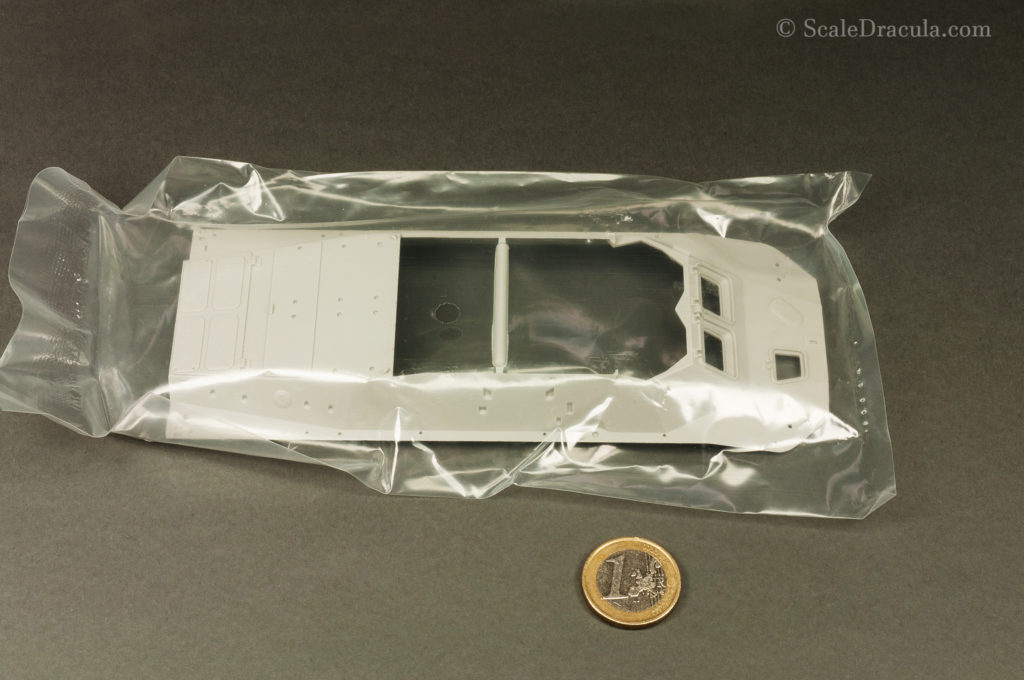
Here’s the top part of the main hull. This model will actually be bigger than I expected.
The kit comes with a small piece of PE, rubber (agrhhhrh!) tyres and obviously some decals.
I was surprised by not being able to track down a dedicated PE set for this kit. I didn’t find any late version set at all! Is the early variant that much popular?!
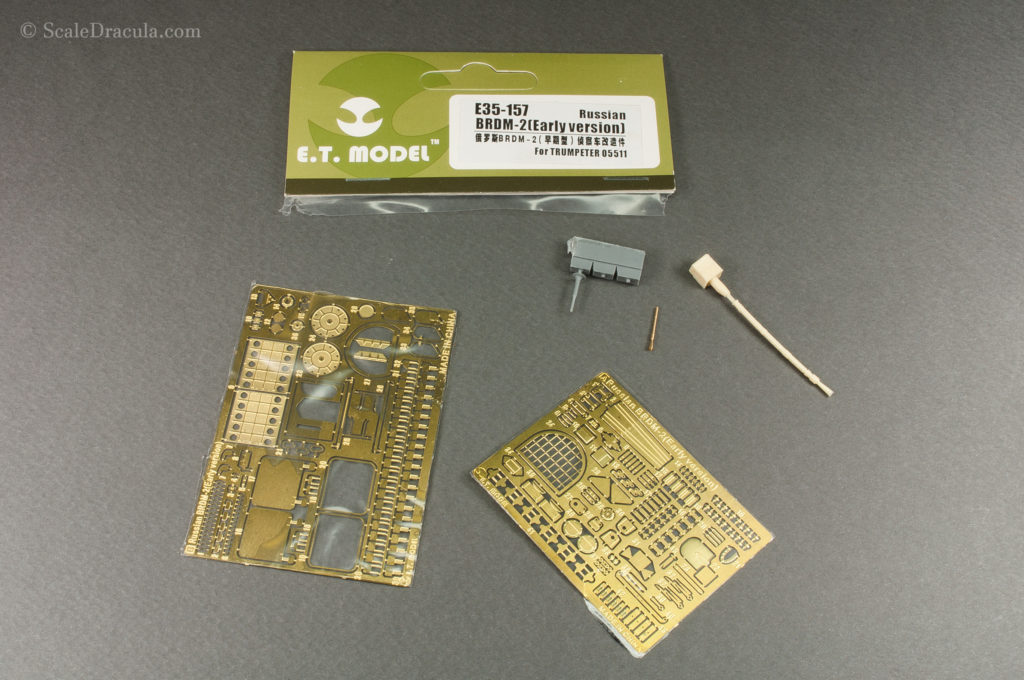
Anyway, I bought what I could. Here’s a E.T. Model‘s set for early BRDM-2. A lot of parts on this versions were the same, so I will be able to use them.
Usually, my go-to PE provider is Aber and I’ve never used any product by E.T. Model. I hope I won’t be disappointed. The set comes with an antenna mount and machine gun barrels which is a nice bonus.
I like that the metal sheets are covered with additional layer of plastic foil. I’m not sure if that’s necessary but you can never be to safe I guess.
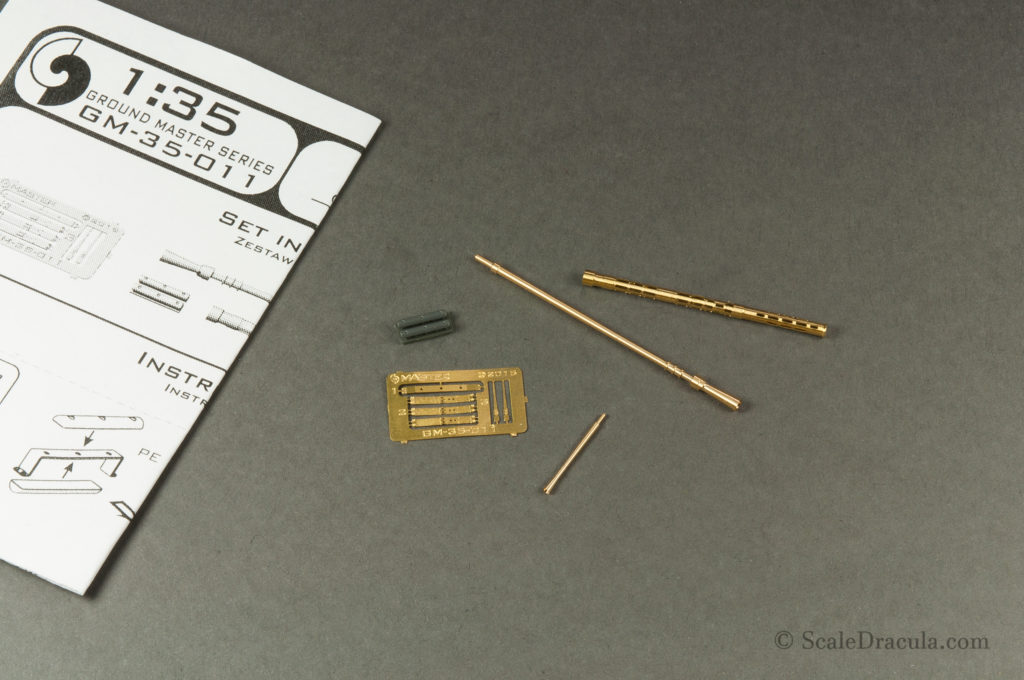
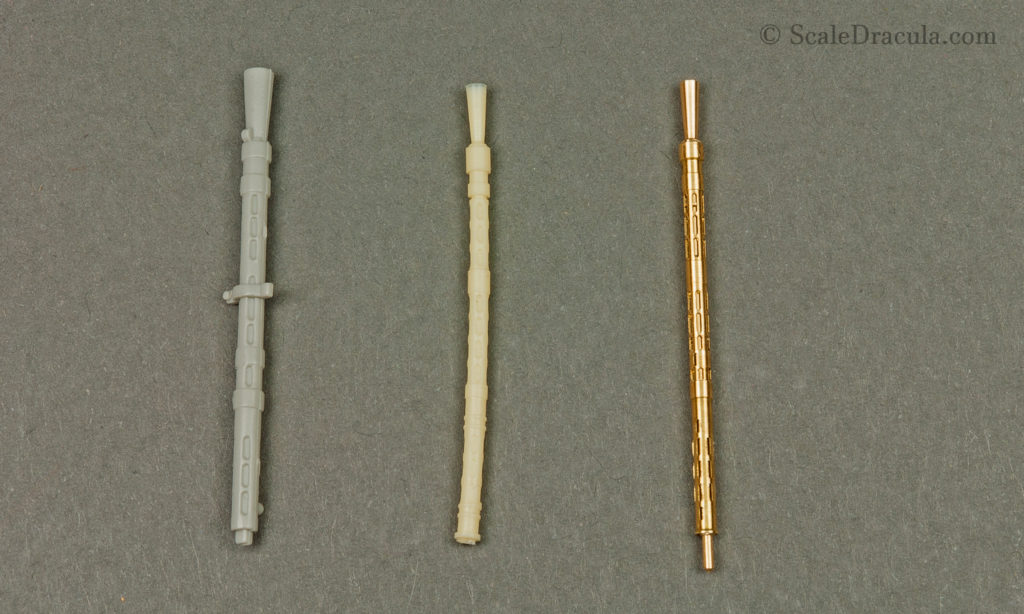
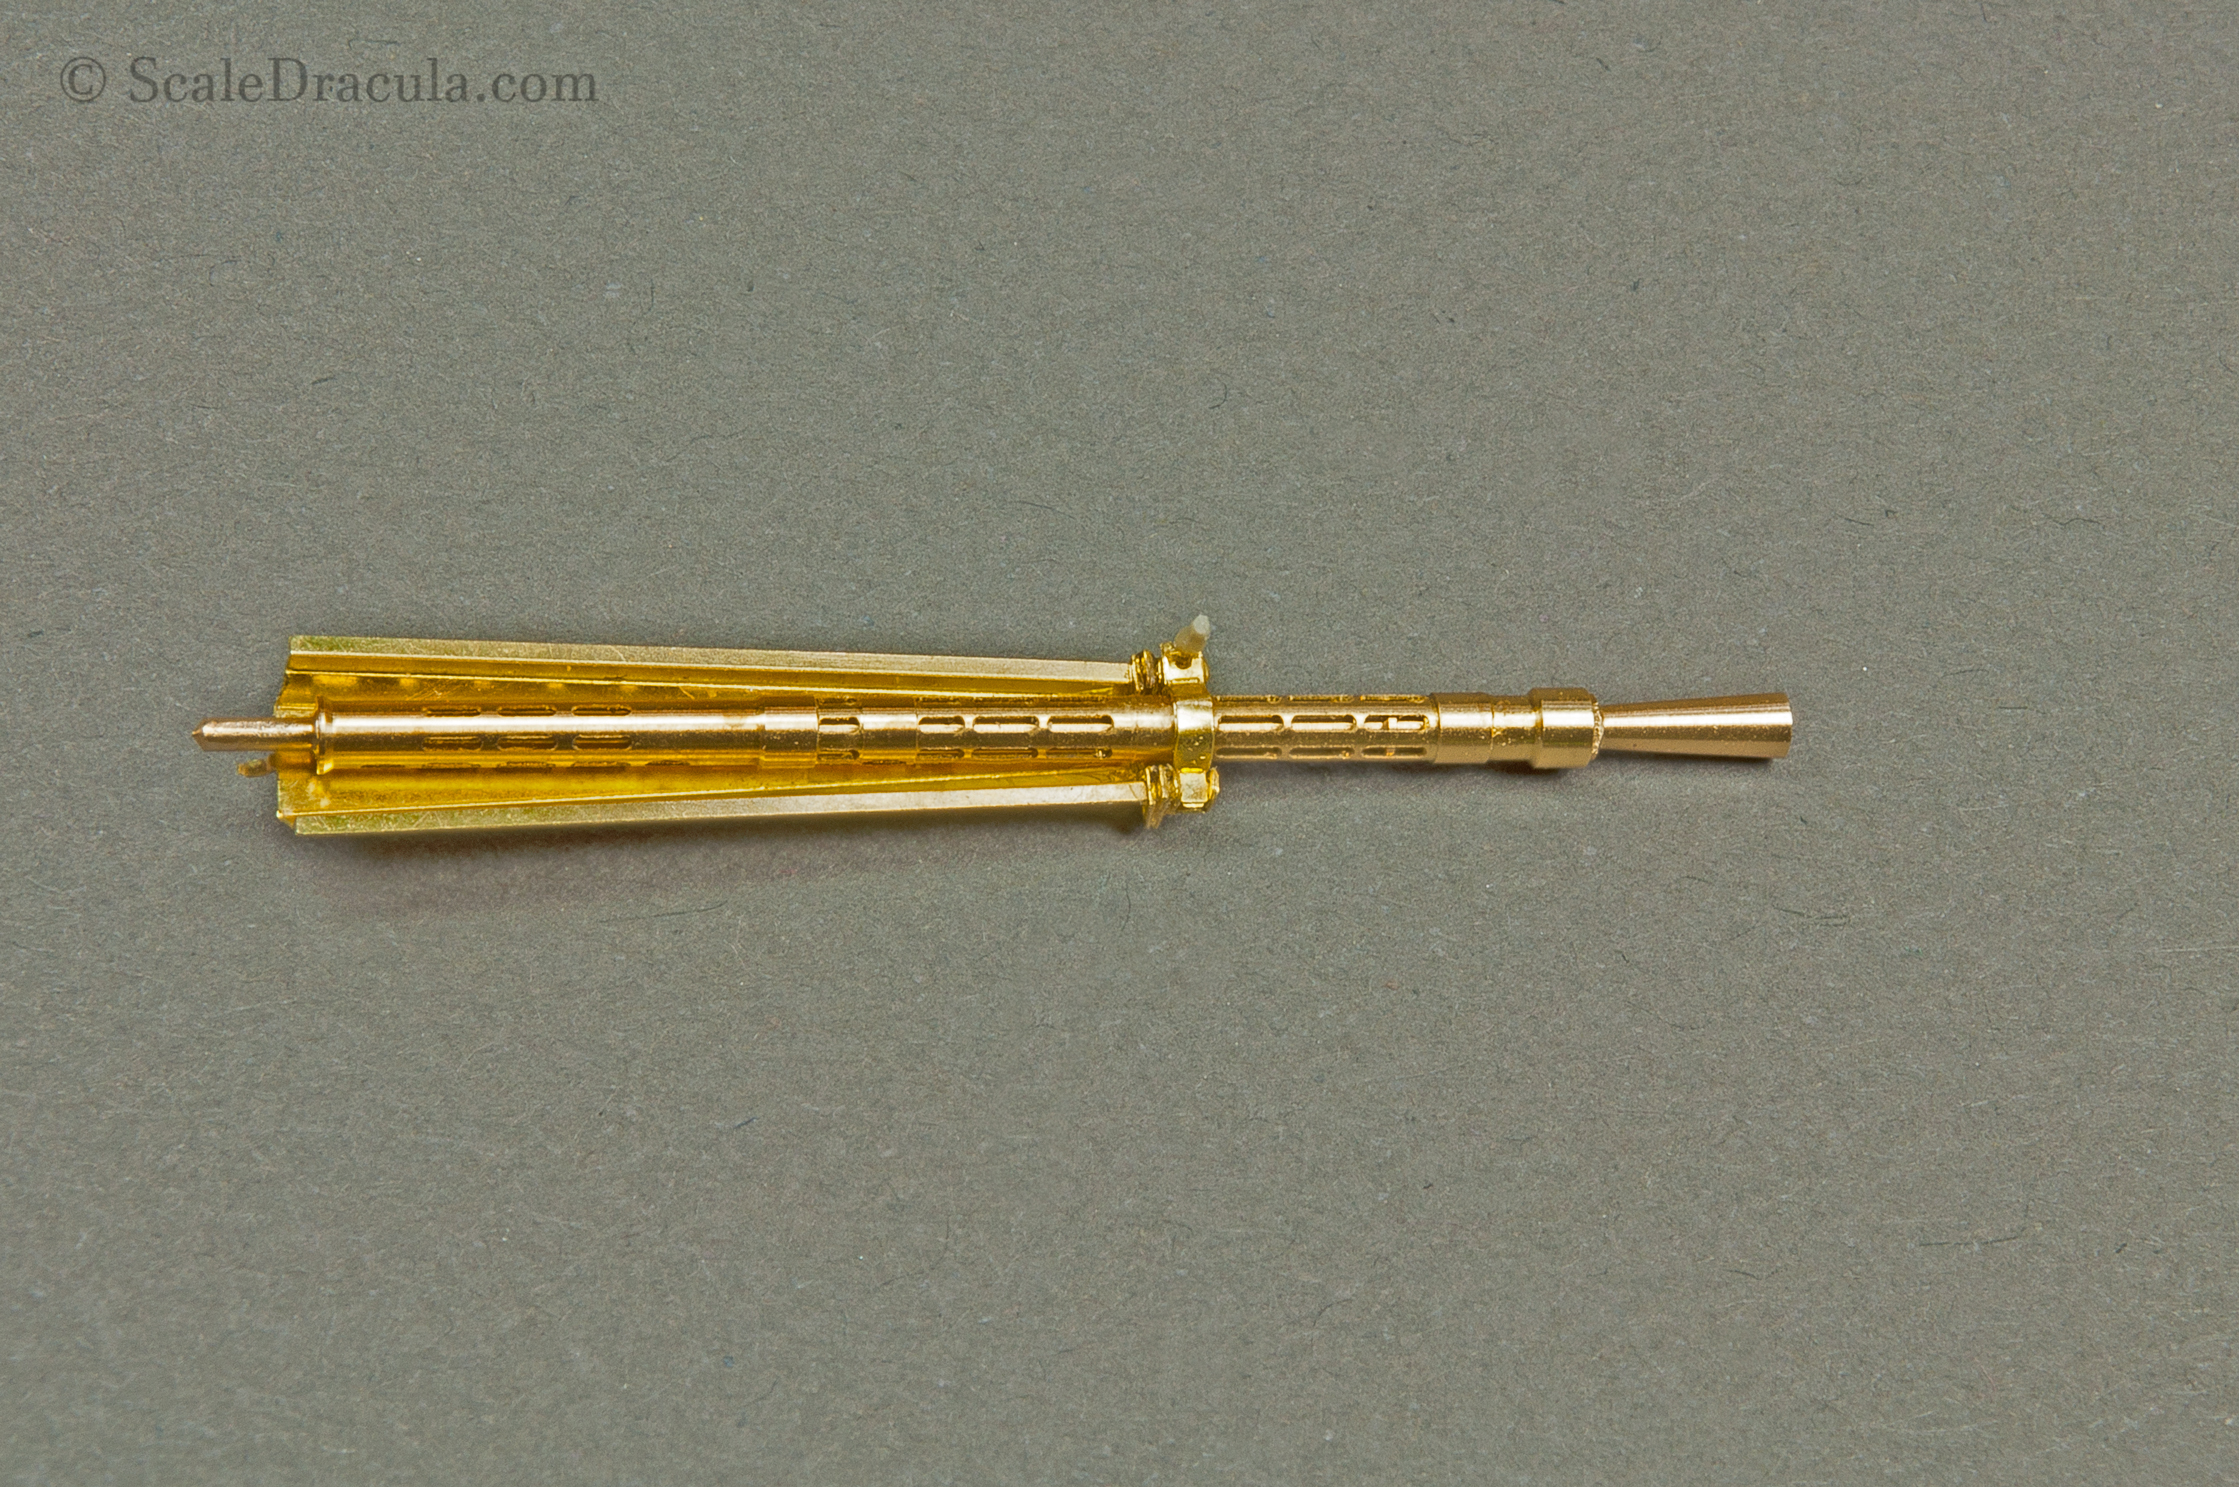
I also got a KPVT barrel by MASTER. I was reluctant to buy it at first because I already had an additional barrel from ET Model. Also, the Master’s kit is pretty expensive. But on the other hand, the quality of this piece is absolutely amazing. The cooling jacket is designed as a separate piece so after assembling the parts you can obtain a very realistic and natural effect. A small PE sheet provides some extra details.
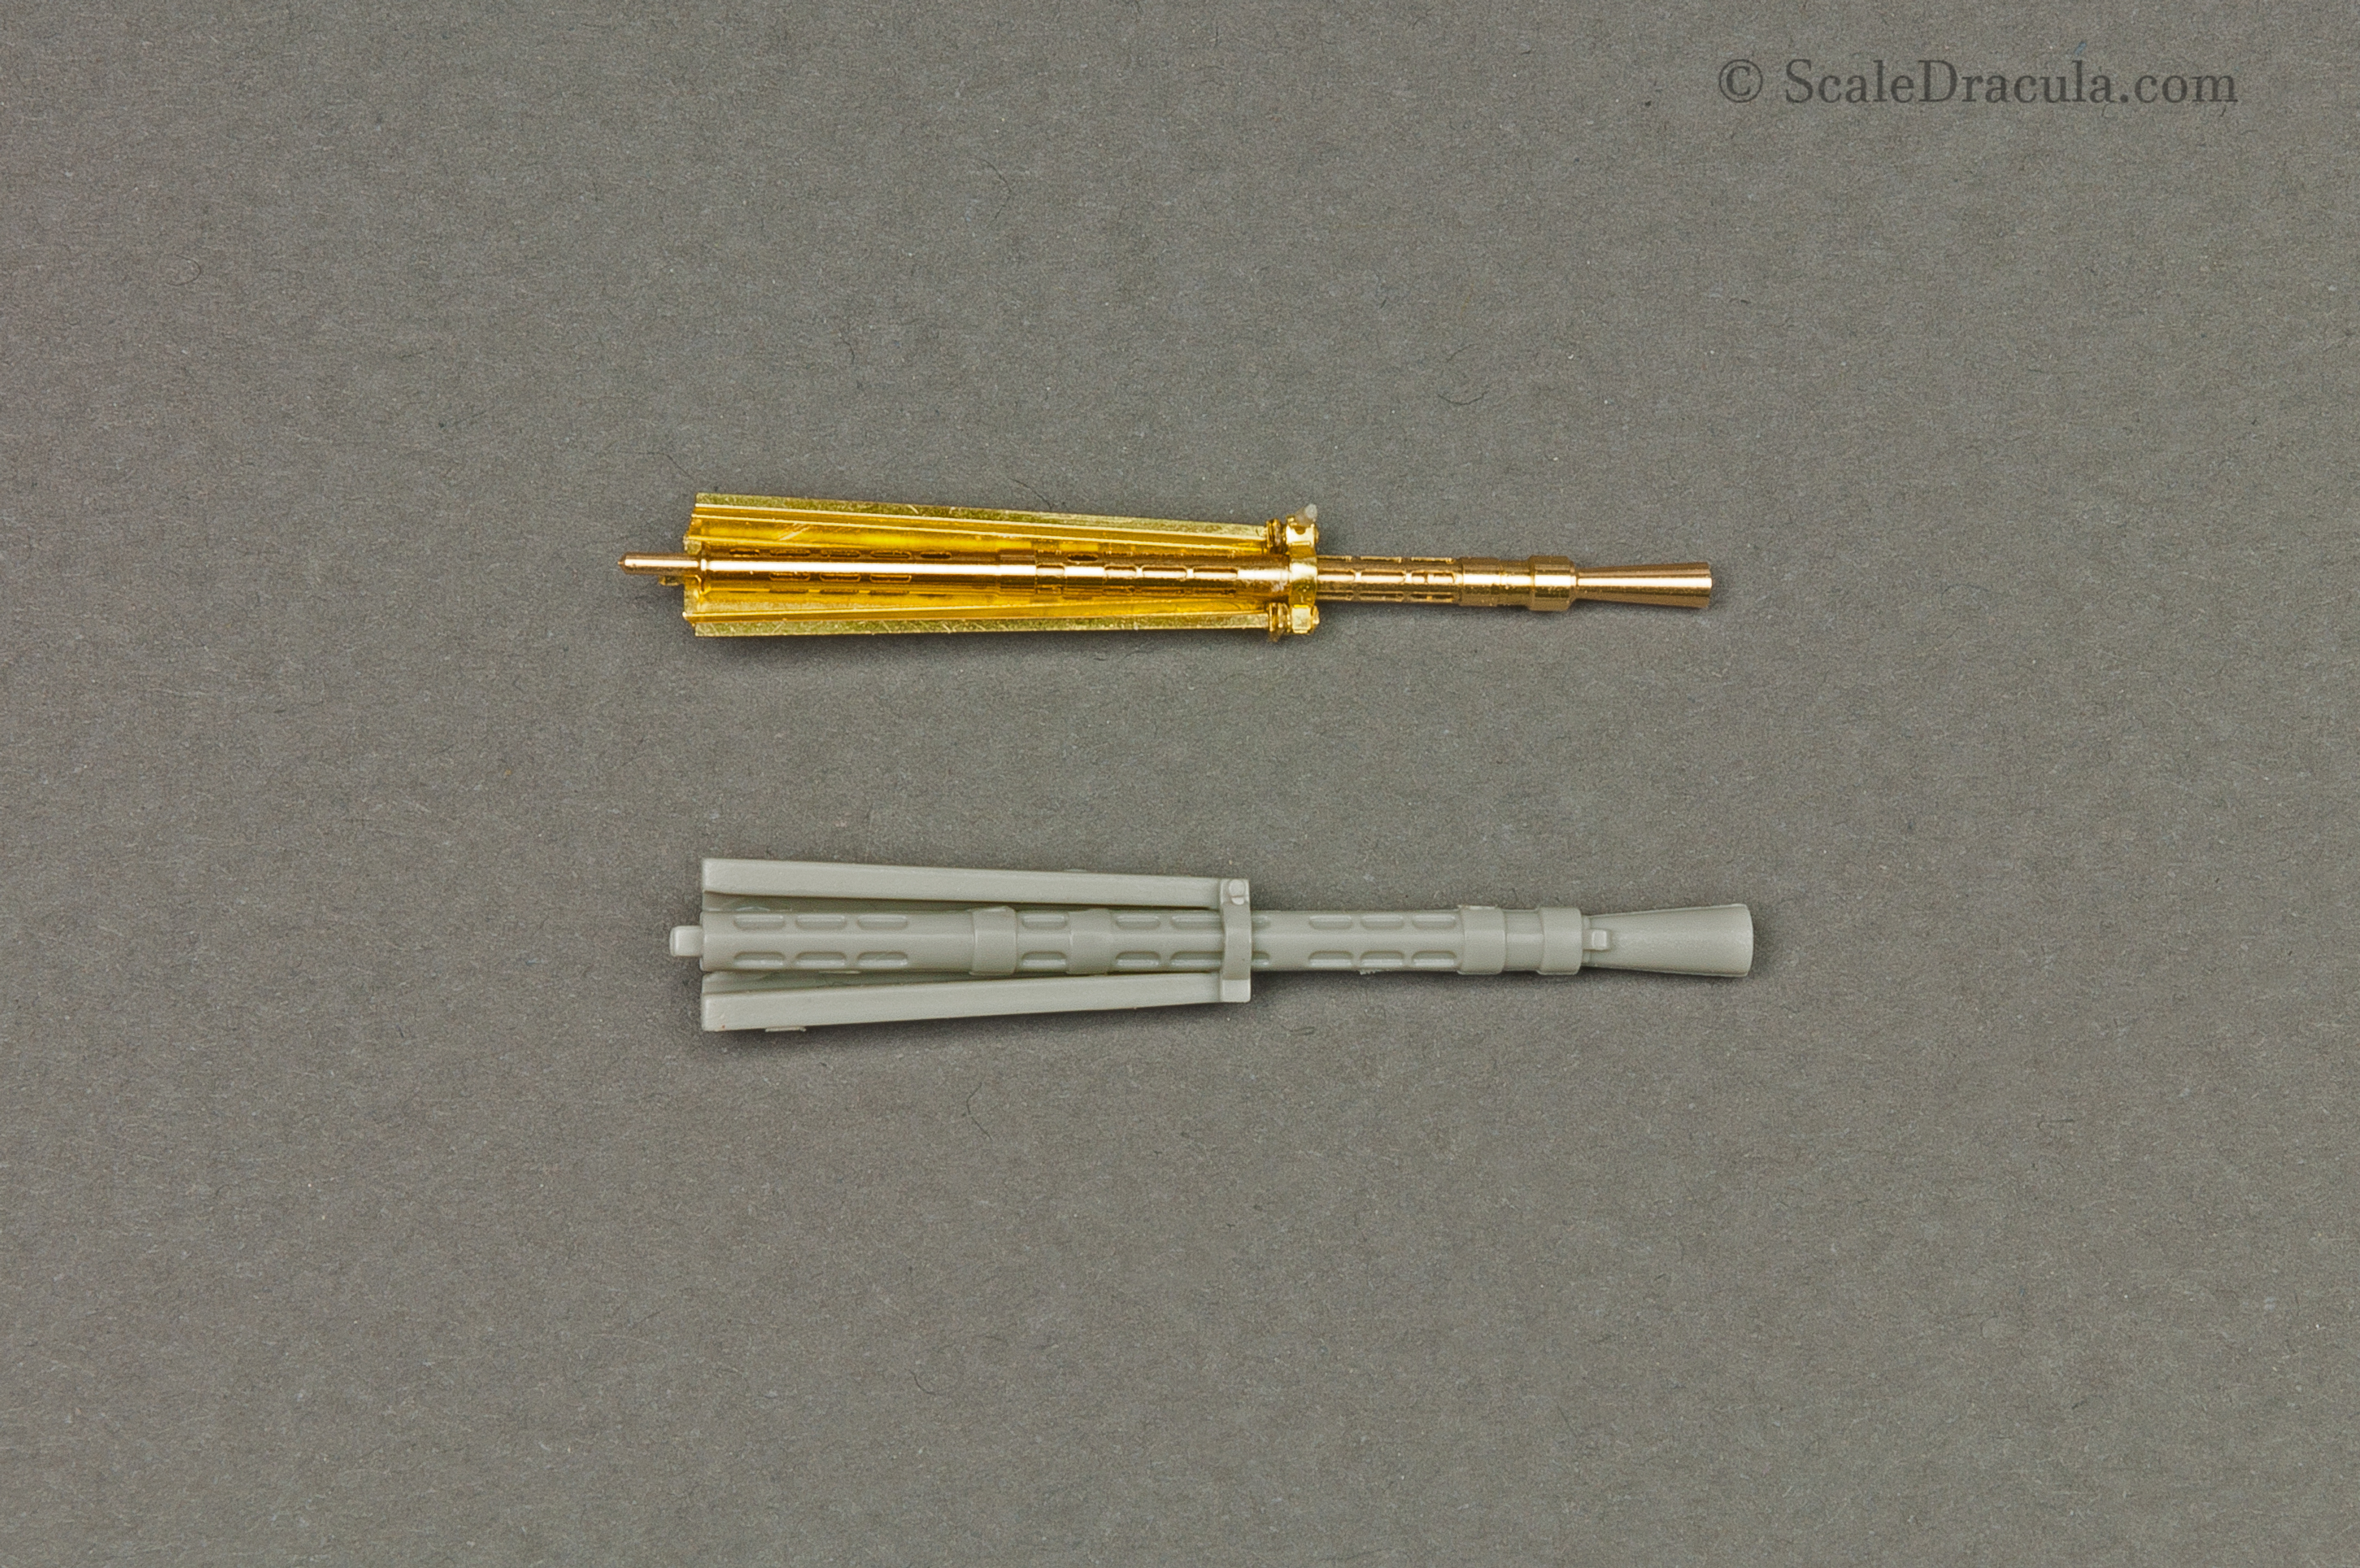
Here’s a side by side comprison of BRDM-2 barrels.
(l-r) stock Trumpeter barrel, ET Model barell, MASTER barrel
Trumpeter’s barrel is to thick. ET Model’s part arrived warped. Other than that it looks like a decent compromise. MASTER is an obvious winner for me quality-wise. You just need to decide by yourself if it’s worth the price.
THE CONSTRUCTION
The construction goes smoothly without many problems. The general design of the kit is very good and the parts fit together nicely. There are some mistakes in the instruction but nothing really serious. I will point out only one.
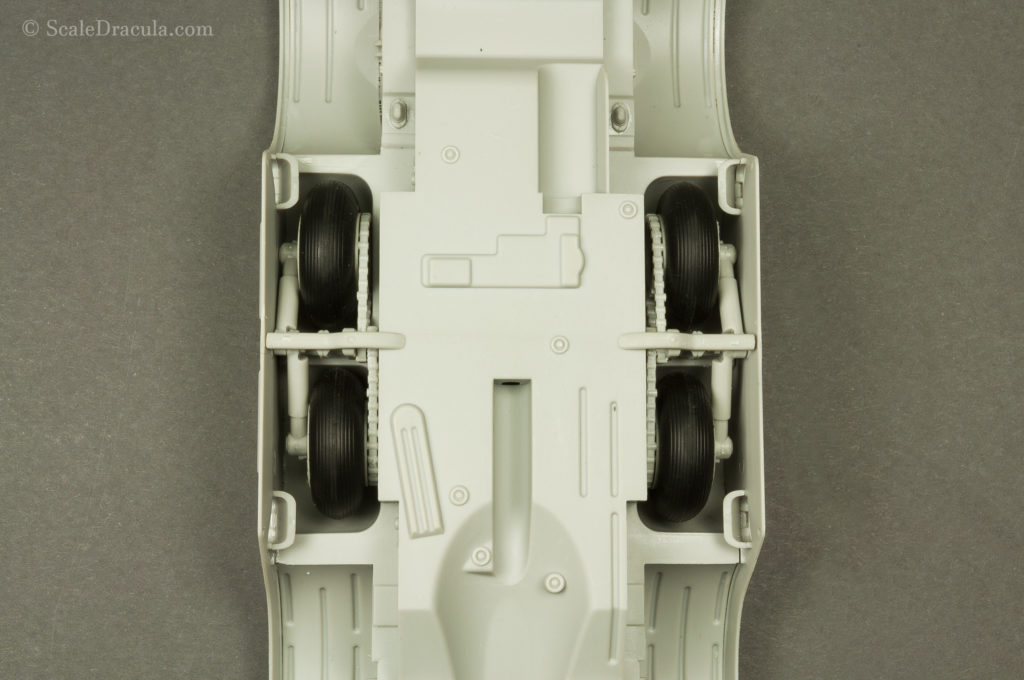
In the step 4 the manual tells you to make two sets of identical auxiliary wheels.
In fact you need to have 2 mirrored sets. The pictures don’t explain it properly so it took me an extra second to figure it out. The wheels are supposed to look like that when installed:
Other than that the construction of the undercarriage goes really smoothy. I was able to finish it in less than an hour.
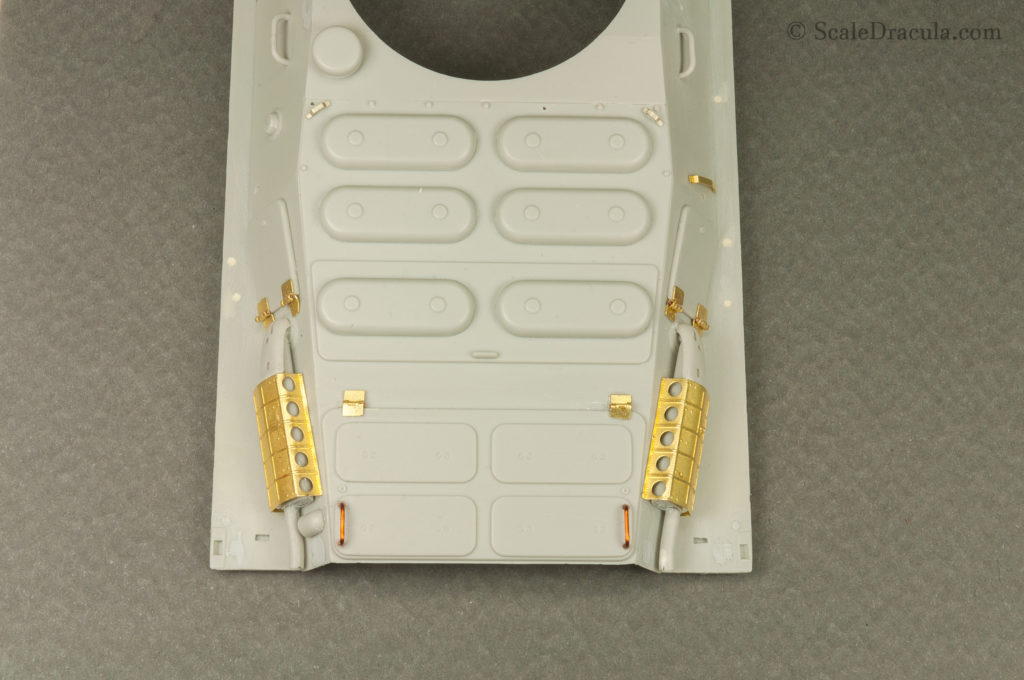
The propeller is a nice feature of the BRDM-2. PE rudder blades give it some extra detail. I will definitely try to keep this area exposed on the finished model.
Also, Trumpeter provided the parts for gas tanks compartments with the option of making them open. Nice!
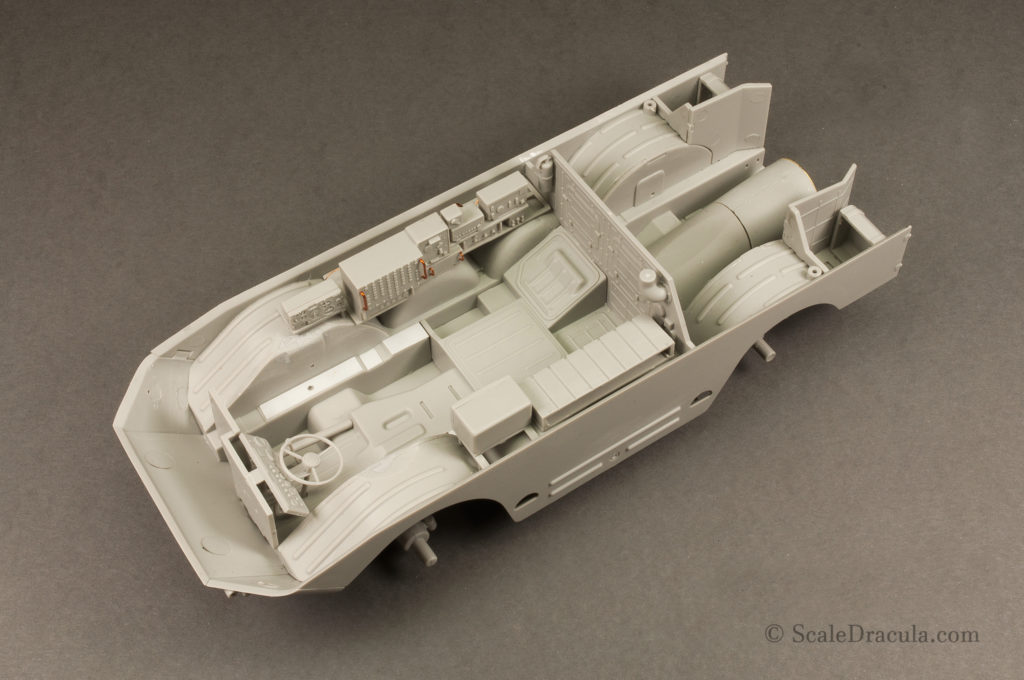
We also have an opportunity to build the interior of the vehicle. It is somewhat basic but considering how little of the area will be visible eventually, the details are just fine.
I’ve added some wires and I covered the ejection marks with styrene strips. Nothing too fancy.
BTW, I’m surprised by the amount of radio equipment this vehicle has. Could it be a commander version?
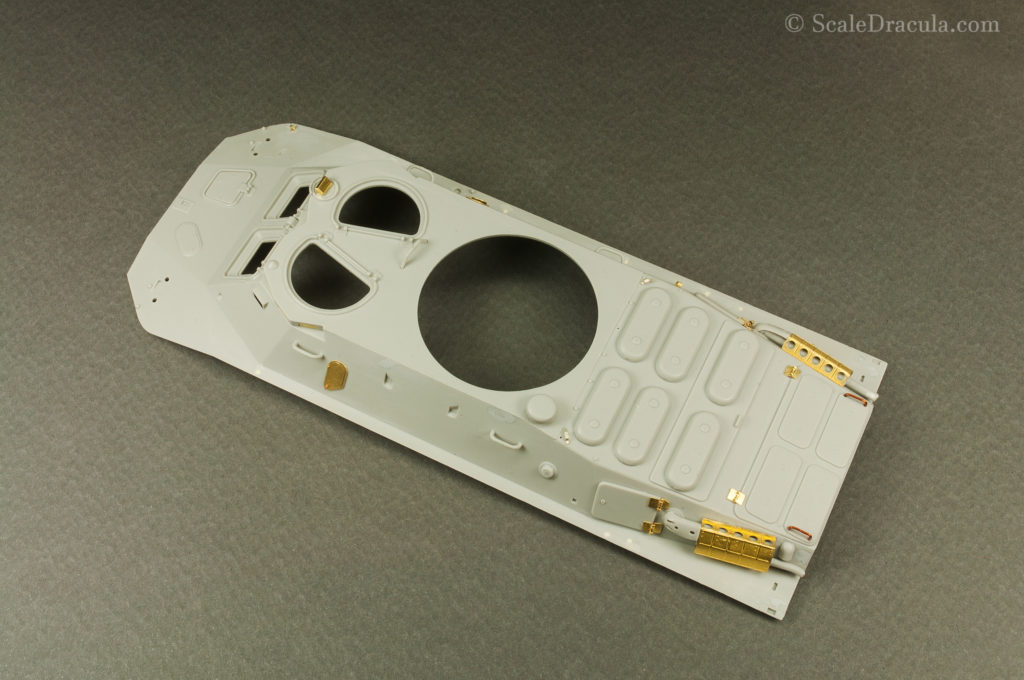
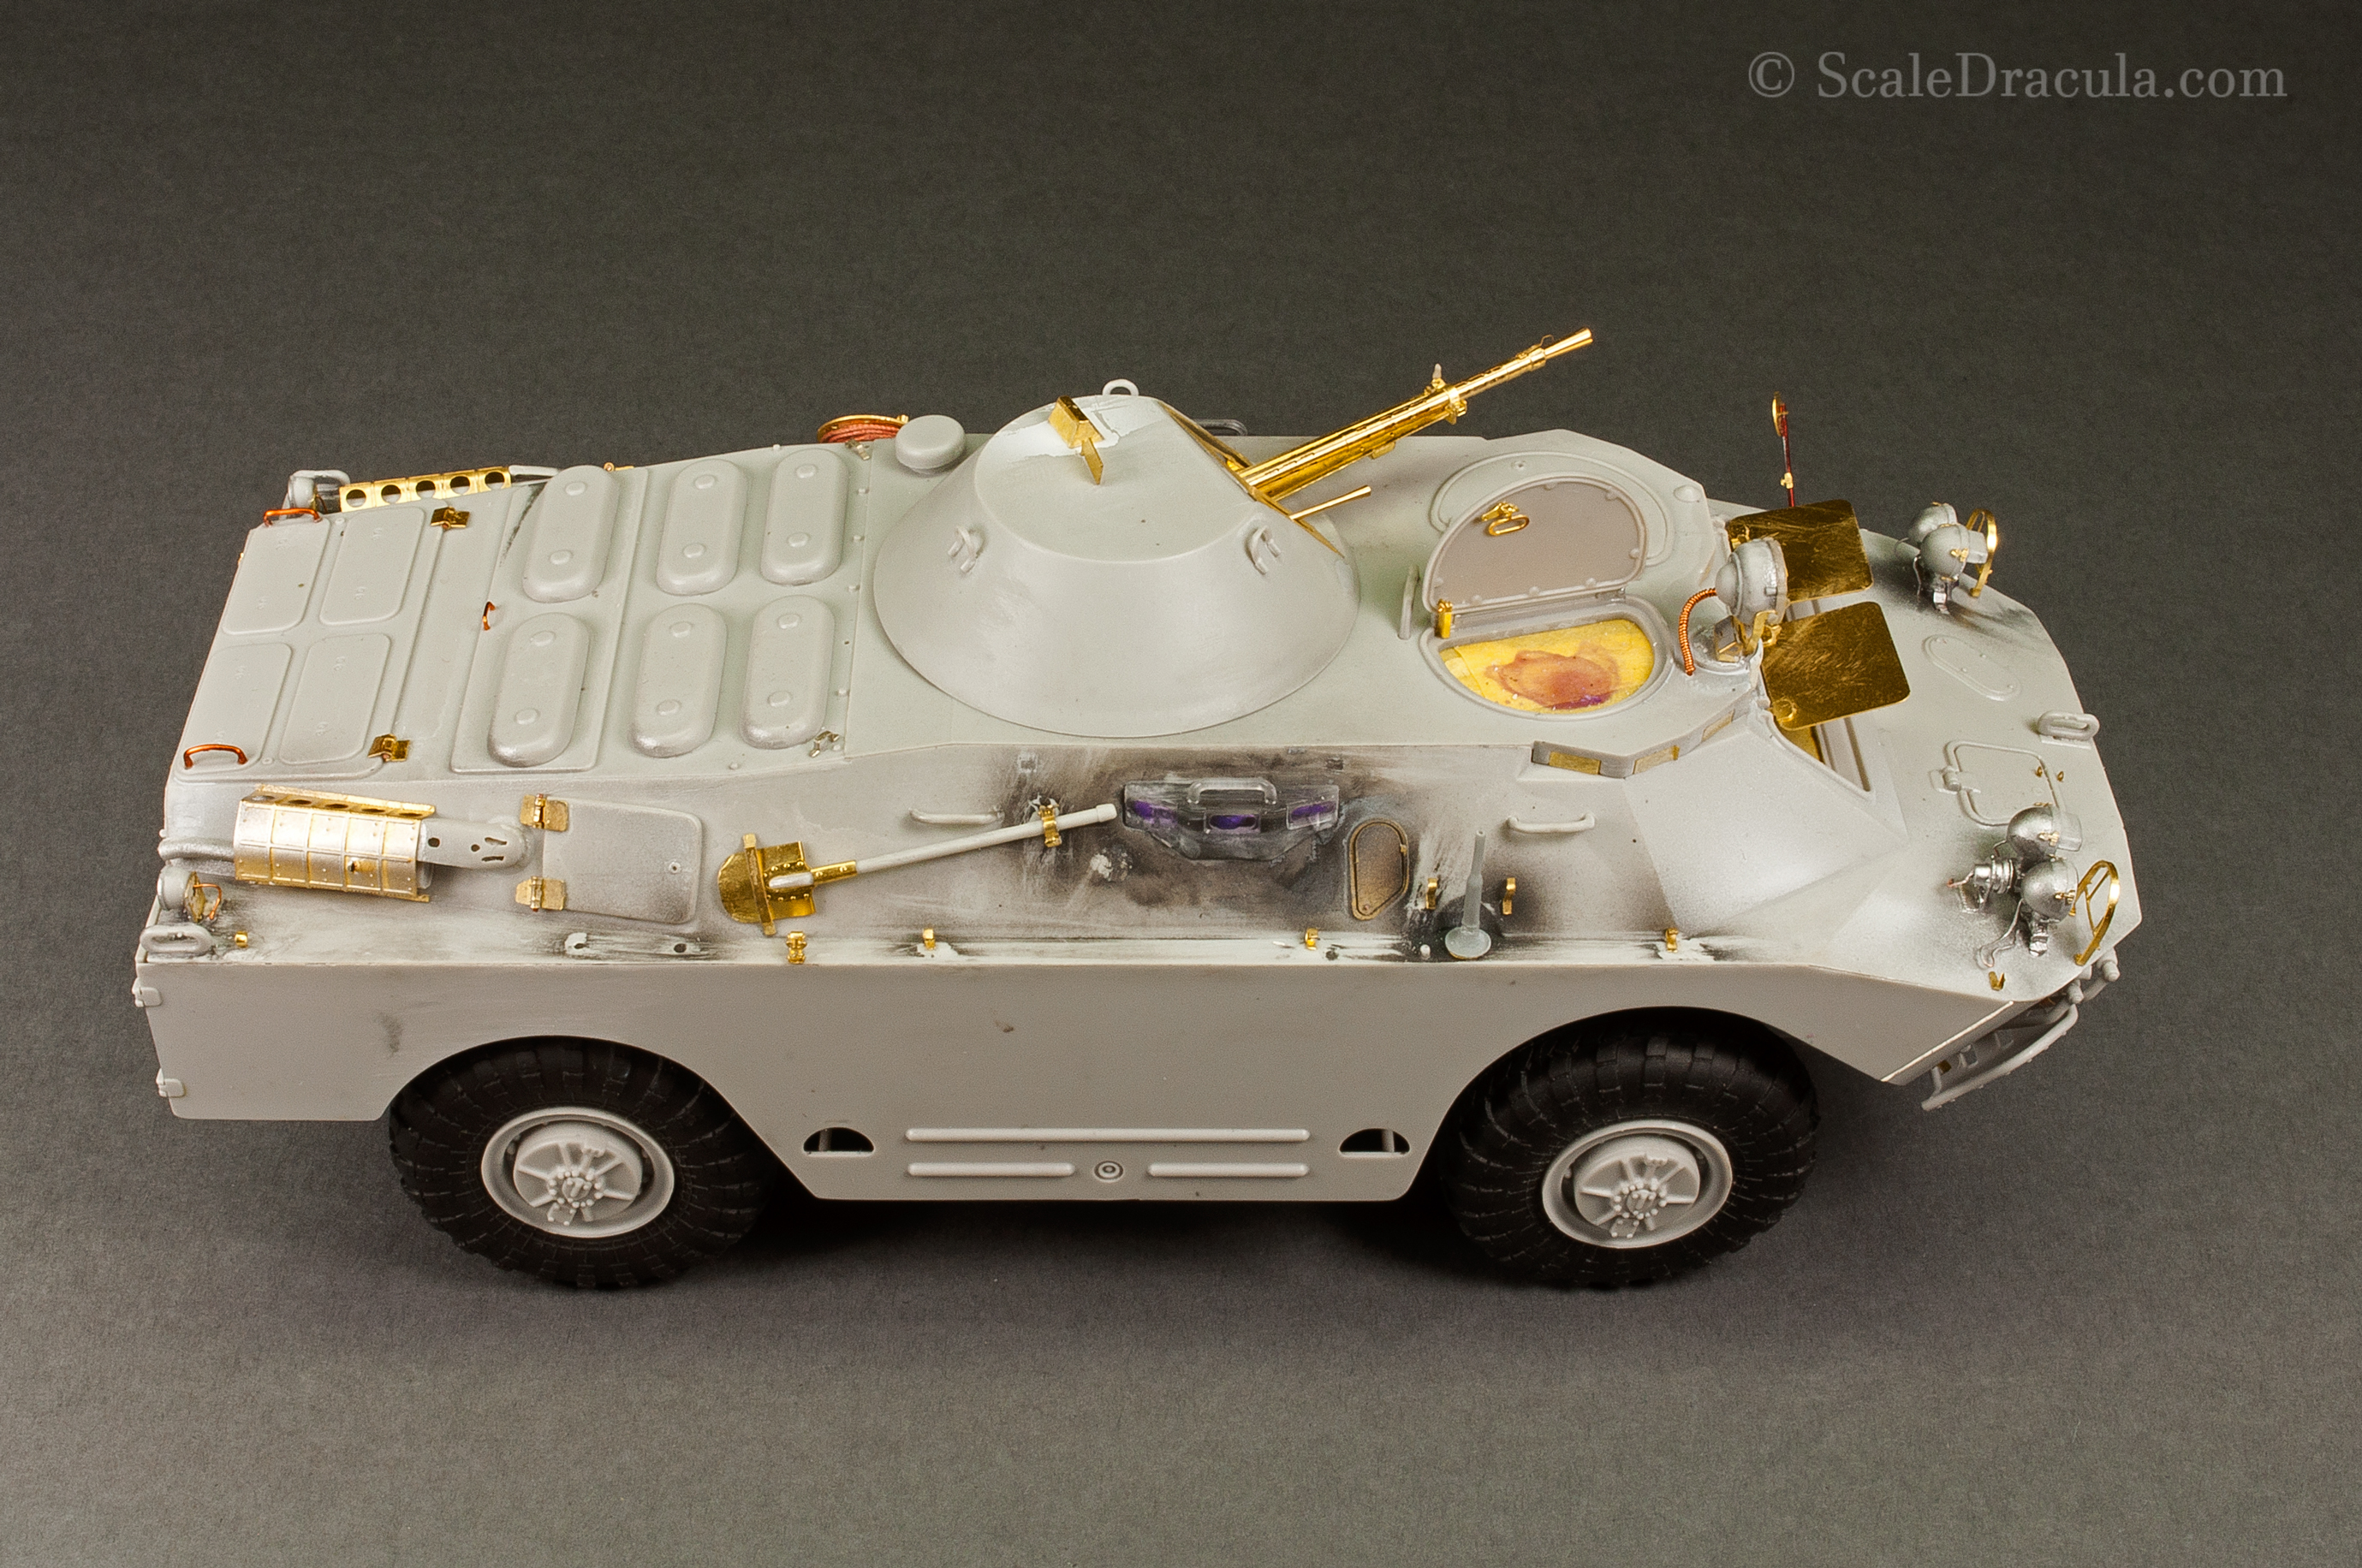
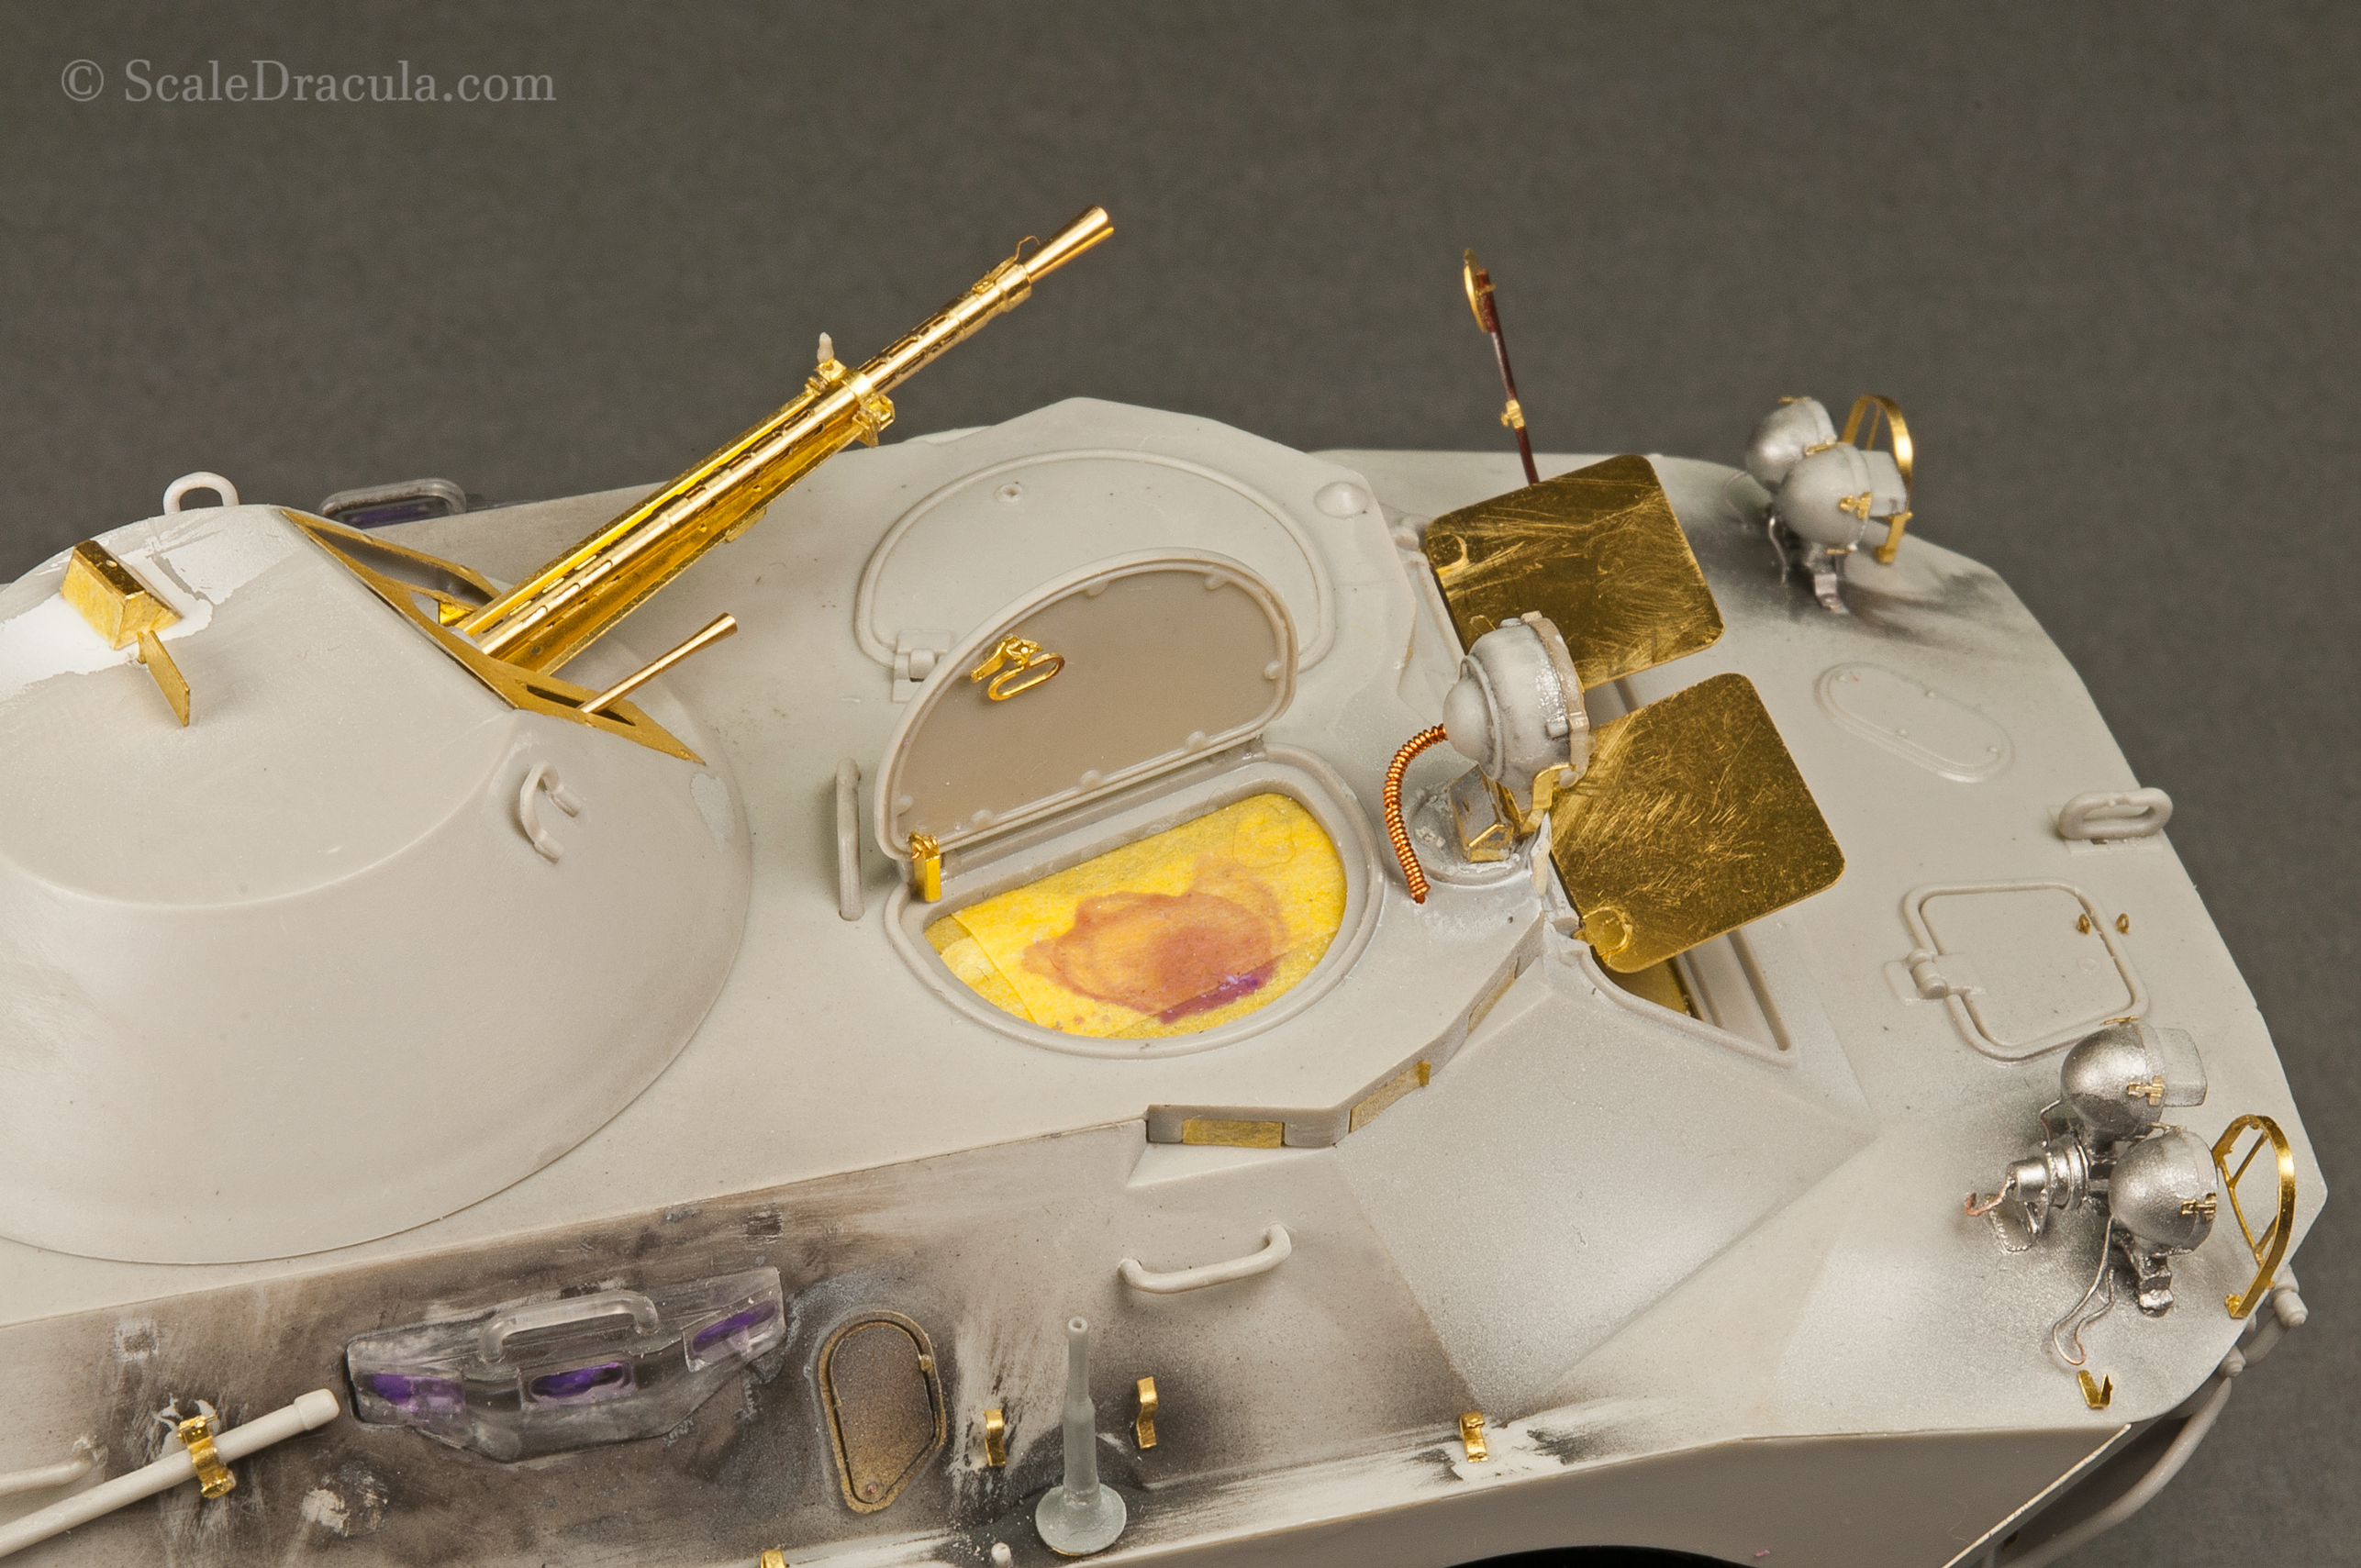
I’ve checked the fit of the main hull parts and it turned out to be really precise. This allowed me to start working on the top details. I wouldn’t risk attaching them if there were some major fitting and sanding about to happen later.
Here’s a close up. I made some handles from copper wire. Also, I’m really happy that I was able to replace the exhaust covers with PE alternatives. It’s one of this cases when styrene plastic just can’t do justice to the part.
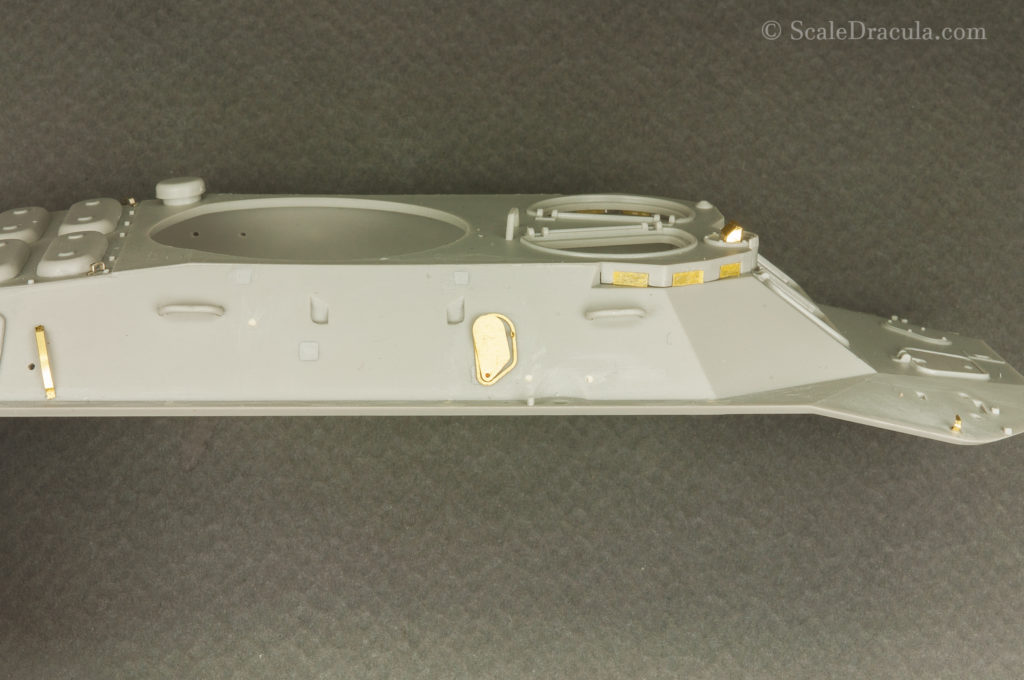
The side view of the main hull. Thanks to the PE set, I was able to make the firing port half-open. With some extra work you can recreate all the details inside it. I also covered the transparent parts with Tamiya masking tape.
Some other details made with PE parts.
THE INTERIOR
I decided to paint the interior as quickly as possible. I’m just tired of wasting time on things that will end up completely covered.
I started the painting as usual with a clean coat of primer. As you can see I covered the edges of the main hull with Tamiya masking tape. I don’t want any paint on surfaces that will be glued later.
Then I painted the base coats: dark grey for the floor and polished aluminium for the radio equipment.
After applying a layer of chipping fluid I painted the radio grey and I started scratching.
The black goo you can see on the vehicle’s floor is Panzer Putty that I occasionally use for masking.
The basic green colour I composed of Ammo’s Zashchitniy Zeleno and Light Green for highlight. Then the chipping begins for the second time.
As I’ve mentioned before, the amount of radio equipment in this kit is puzzling. But on the other hand, there’s plenty of interesting details to work with.
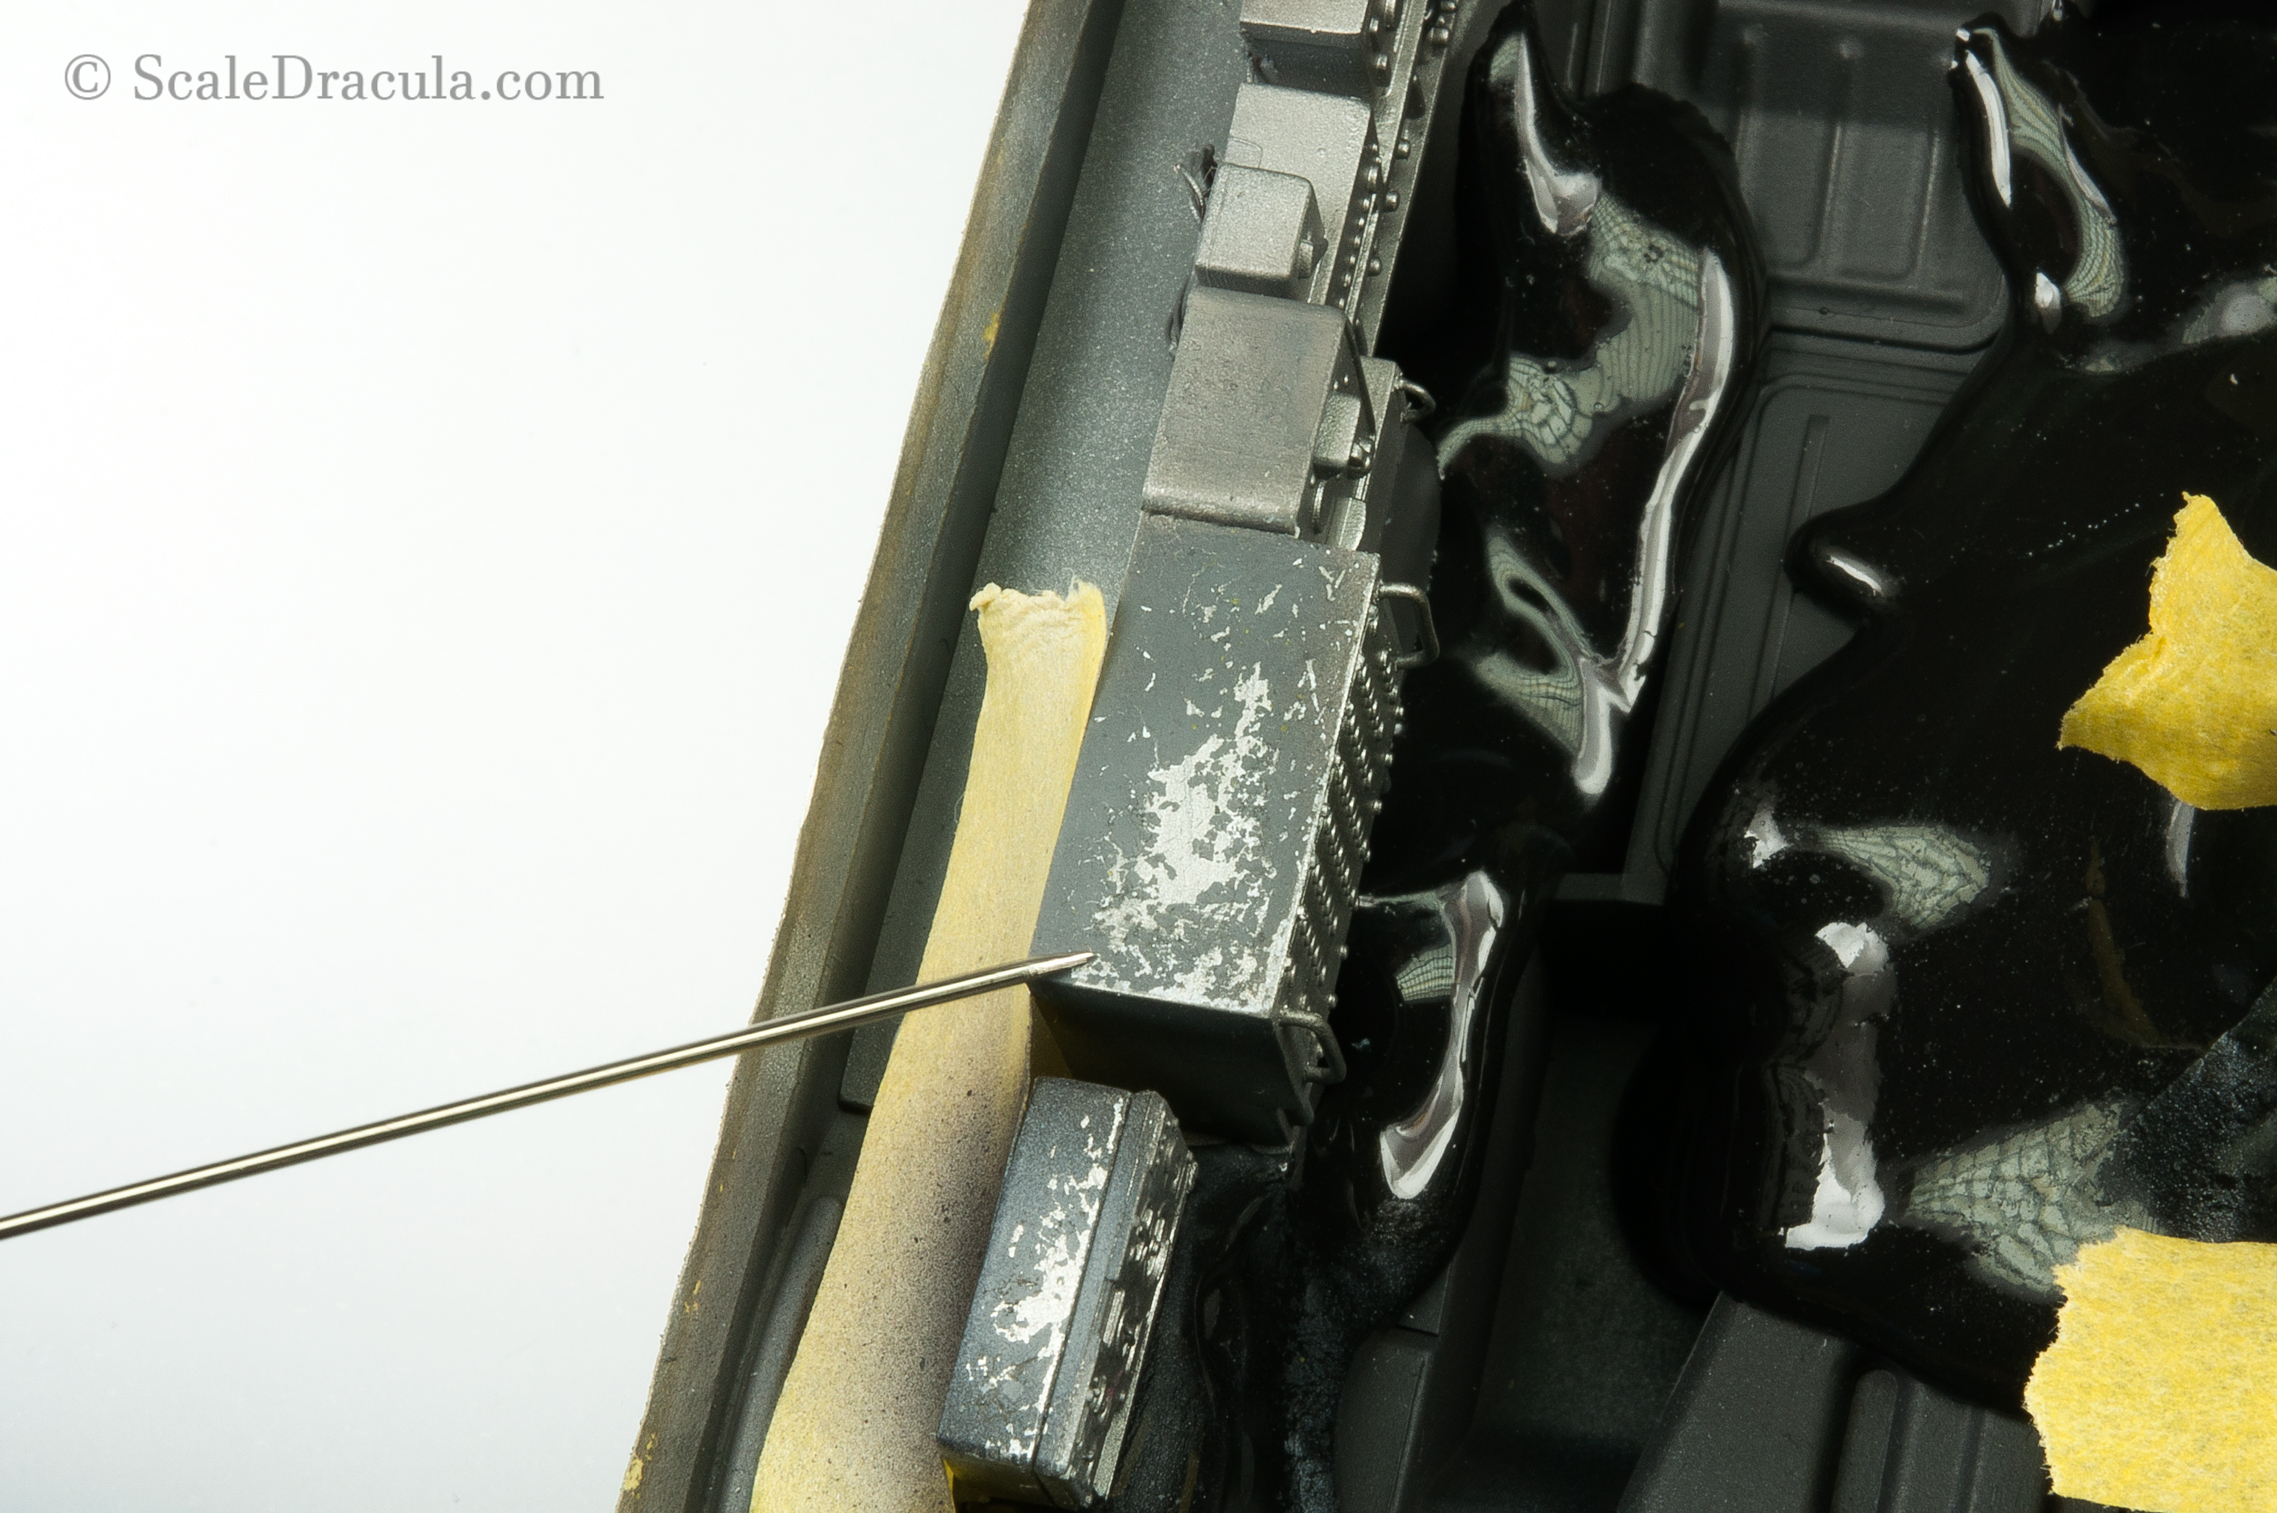
Here’s a quick way to weather aluminium: all you have to do is drybrush it with light grey. Focus on the flat surfaces around the knobs. The paint must be matt to create the contrast with the base aluminium shine.
I painted the knobs with a brush.
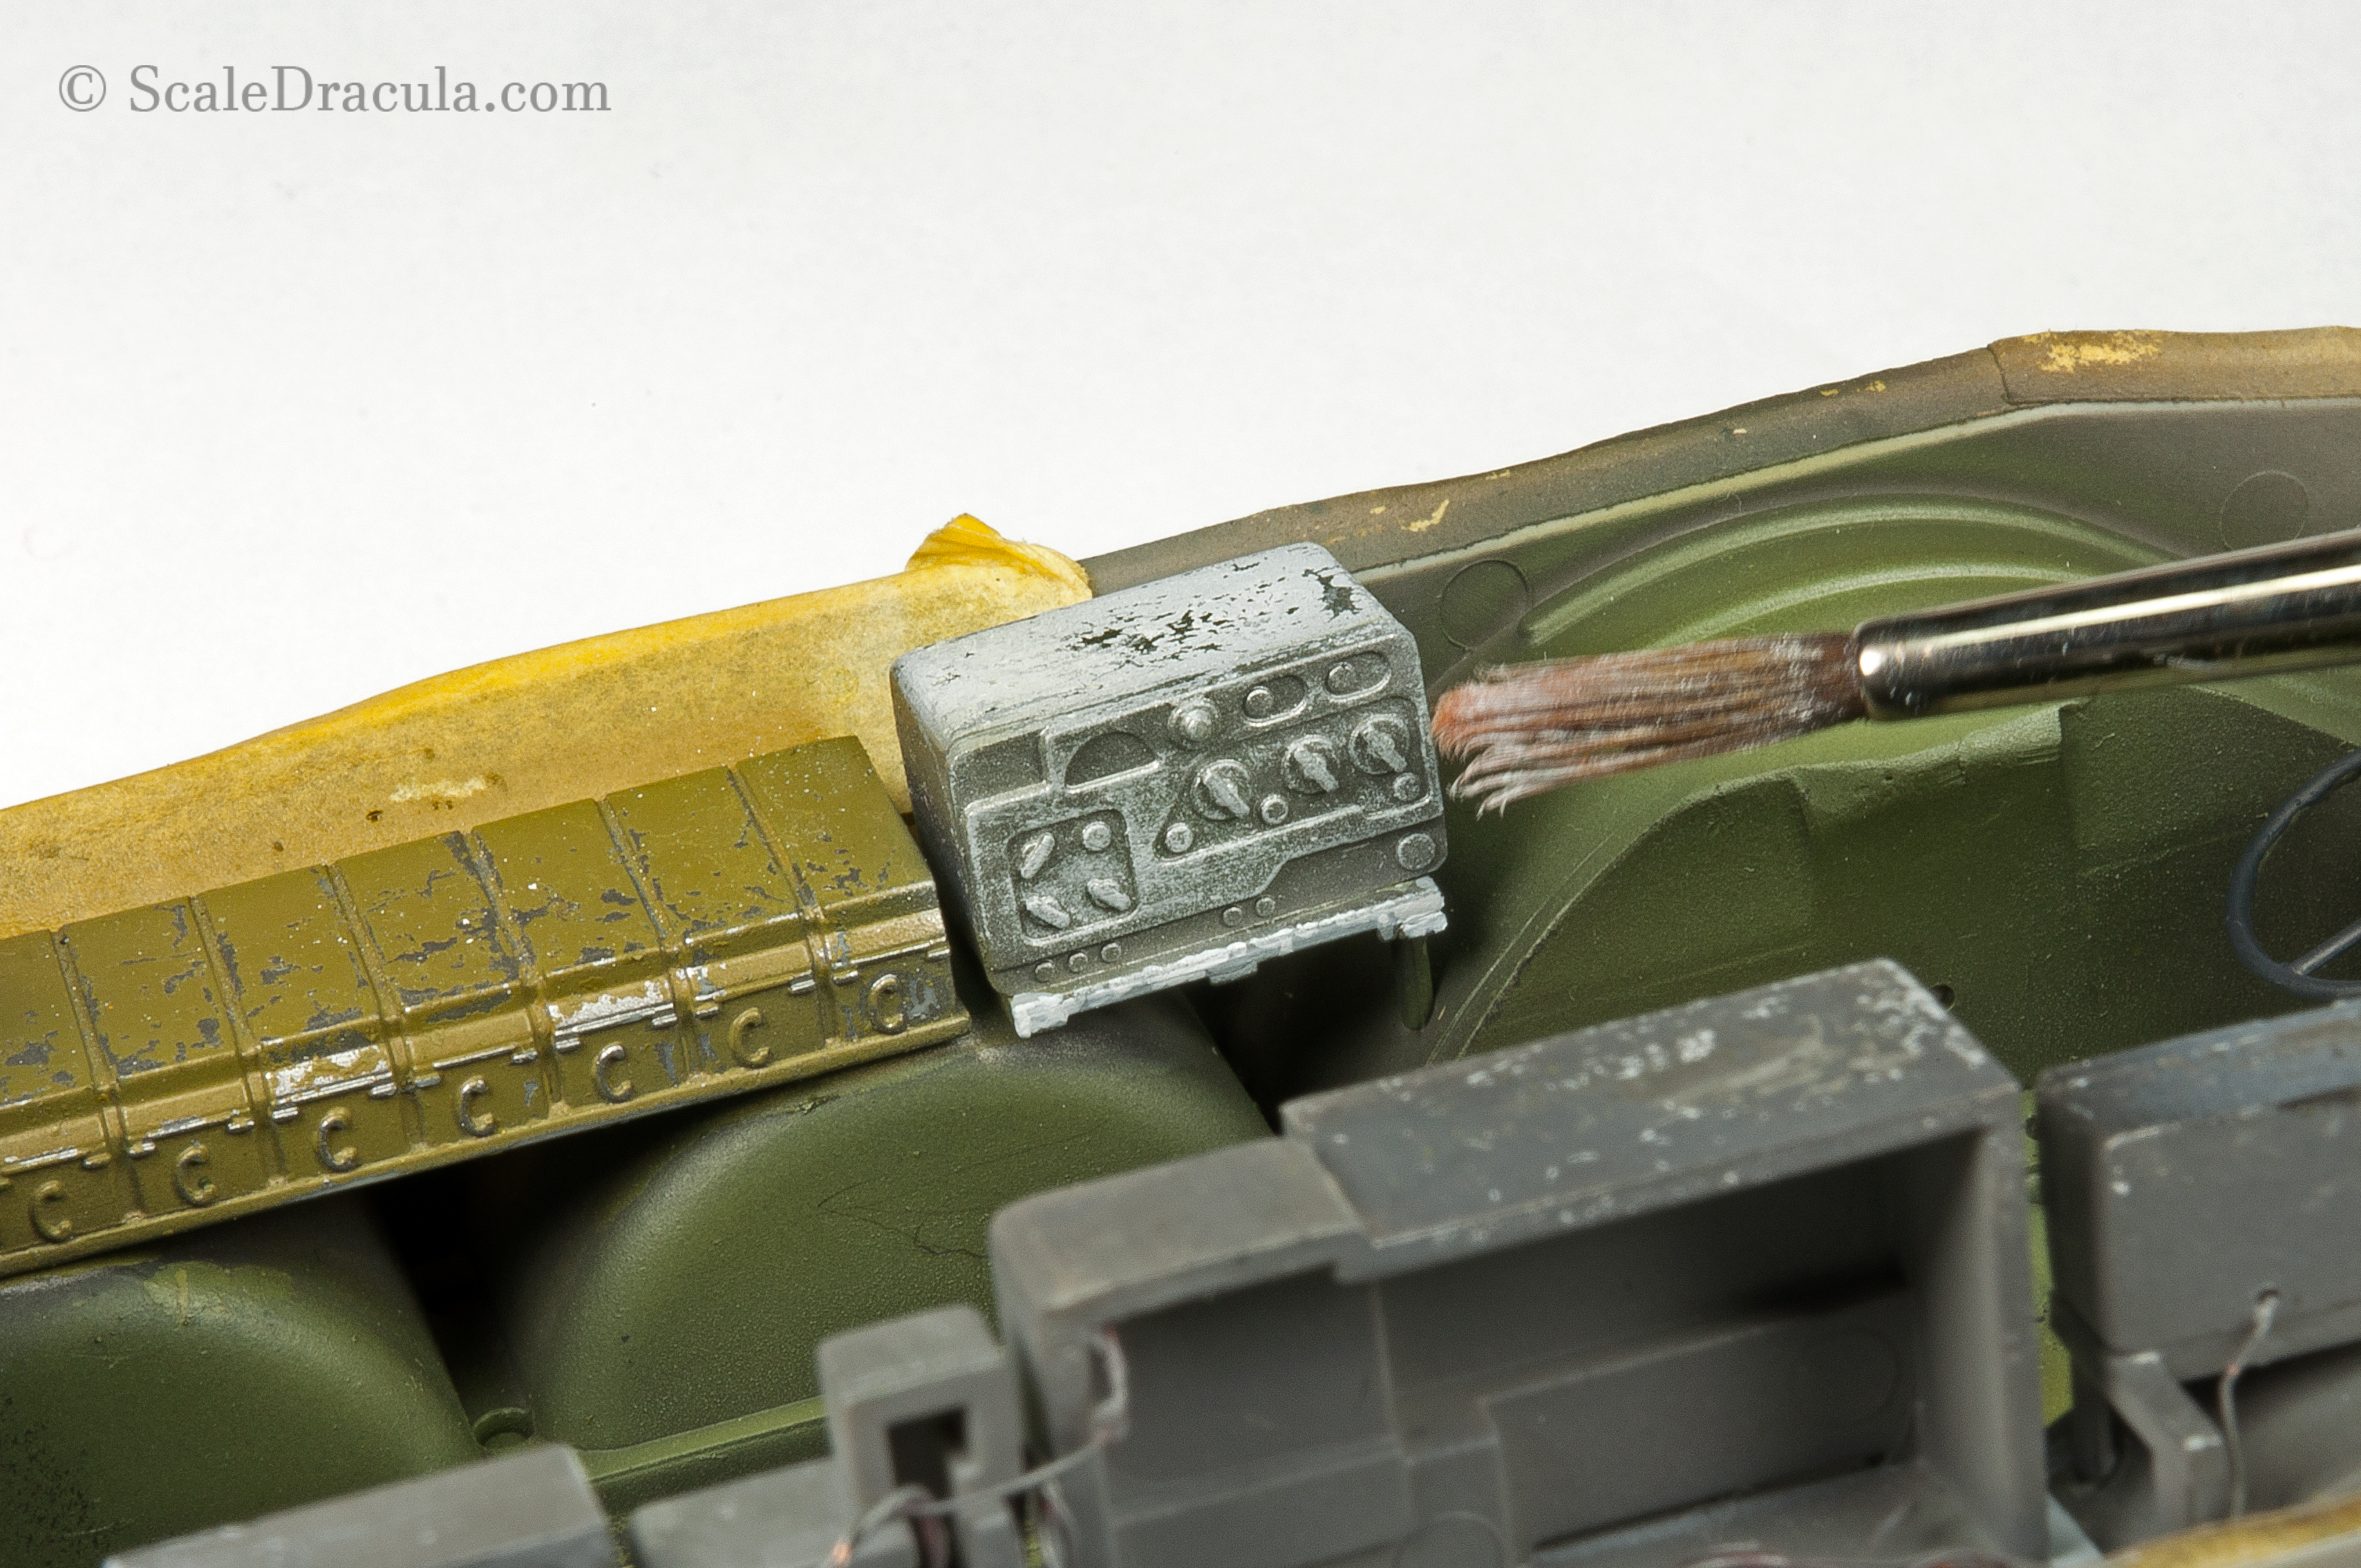
Judging by the photos, my BRDM-2 is not exactly in mint condition. So I went to town with the weathering of the radios. I used van Gogh oil paints: mostly burned umber and black. The paint is gently blended with white spirit. Notice that I focused on the lower parts of each box to create a pattern.
I only find one reference photo for the radio on the far left. With the rest I had to use my imagination.
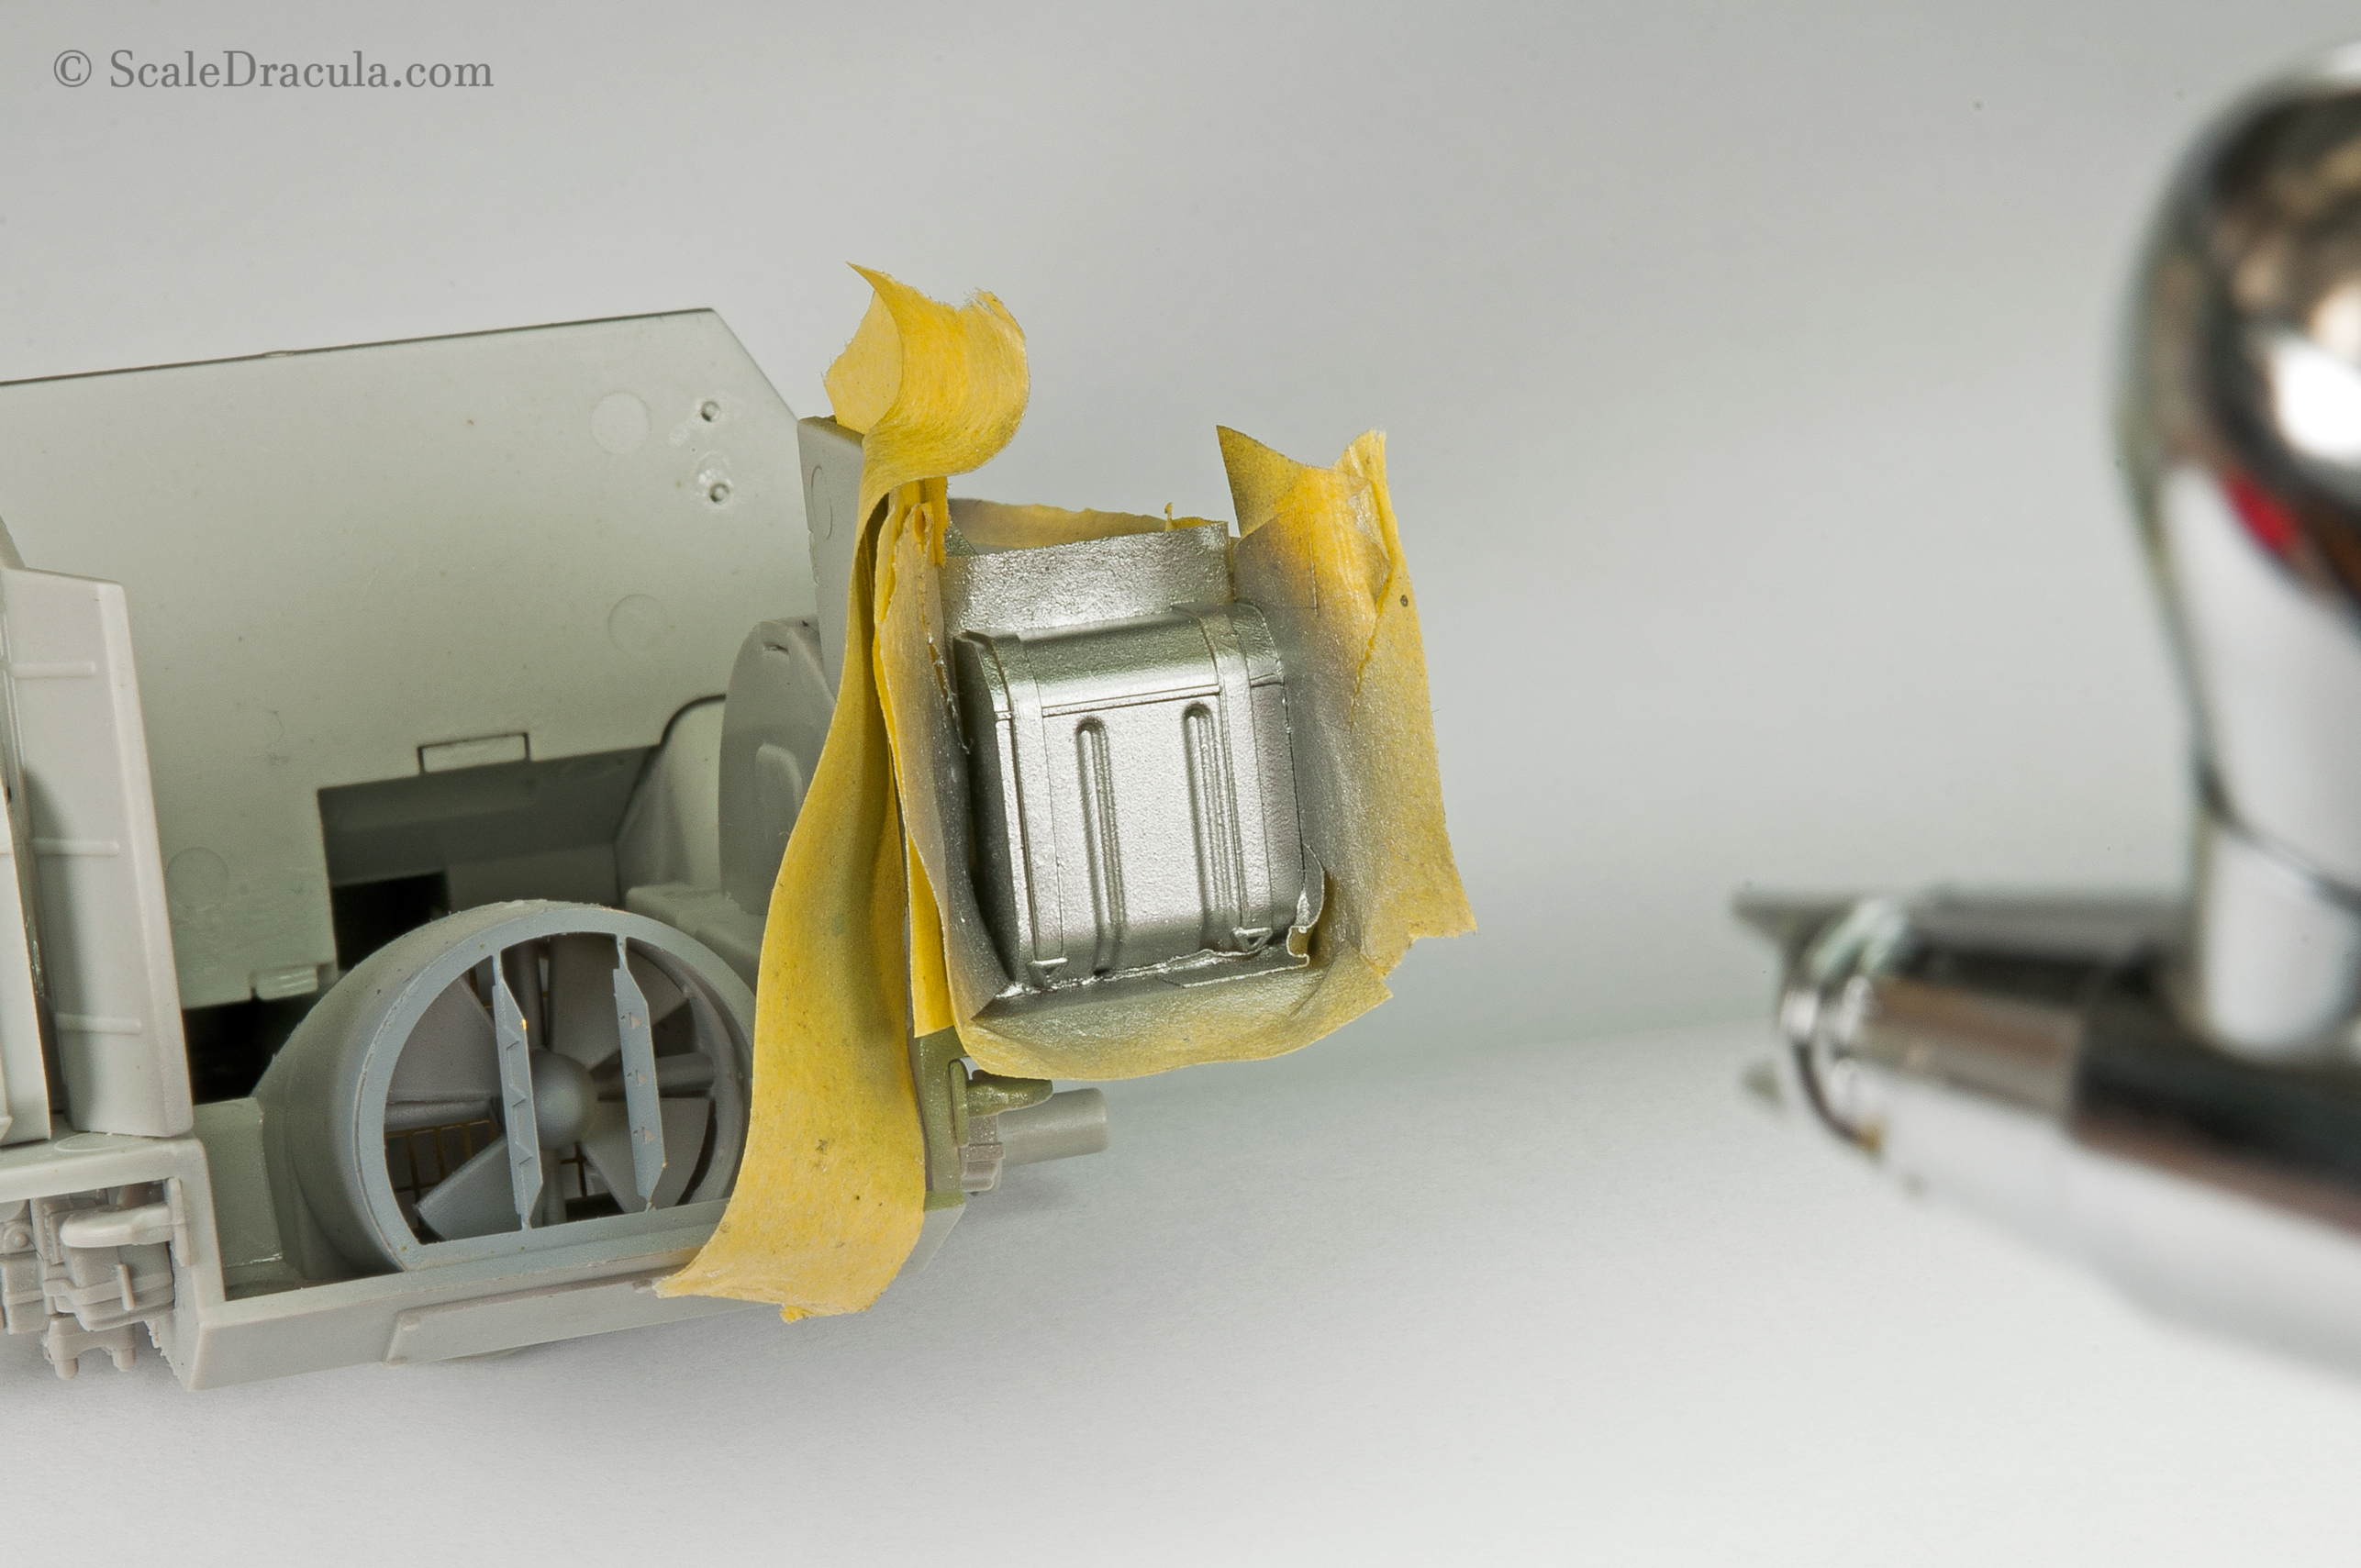
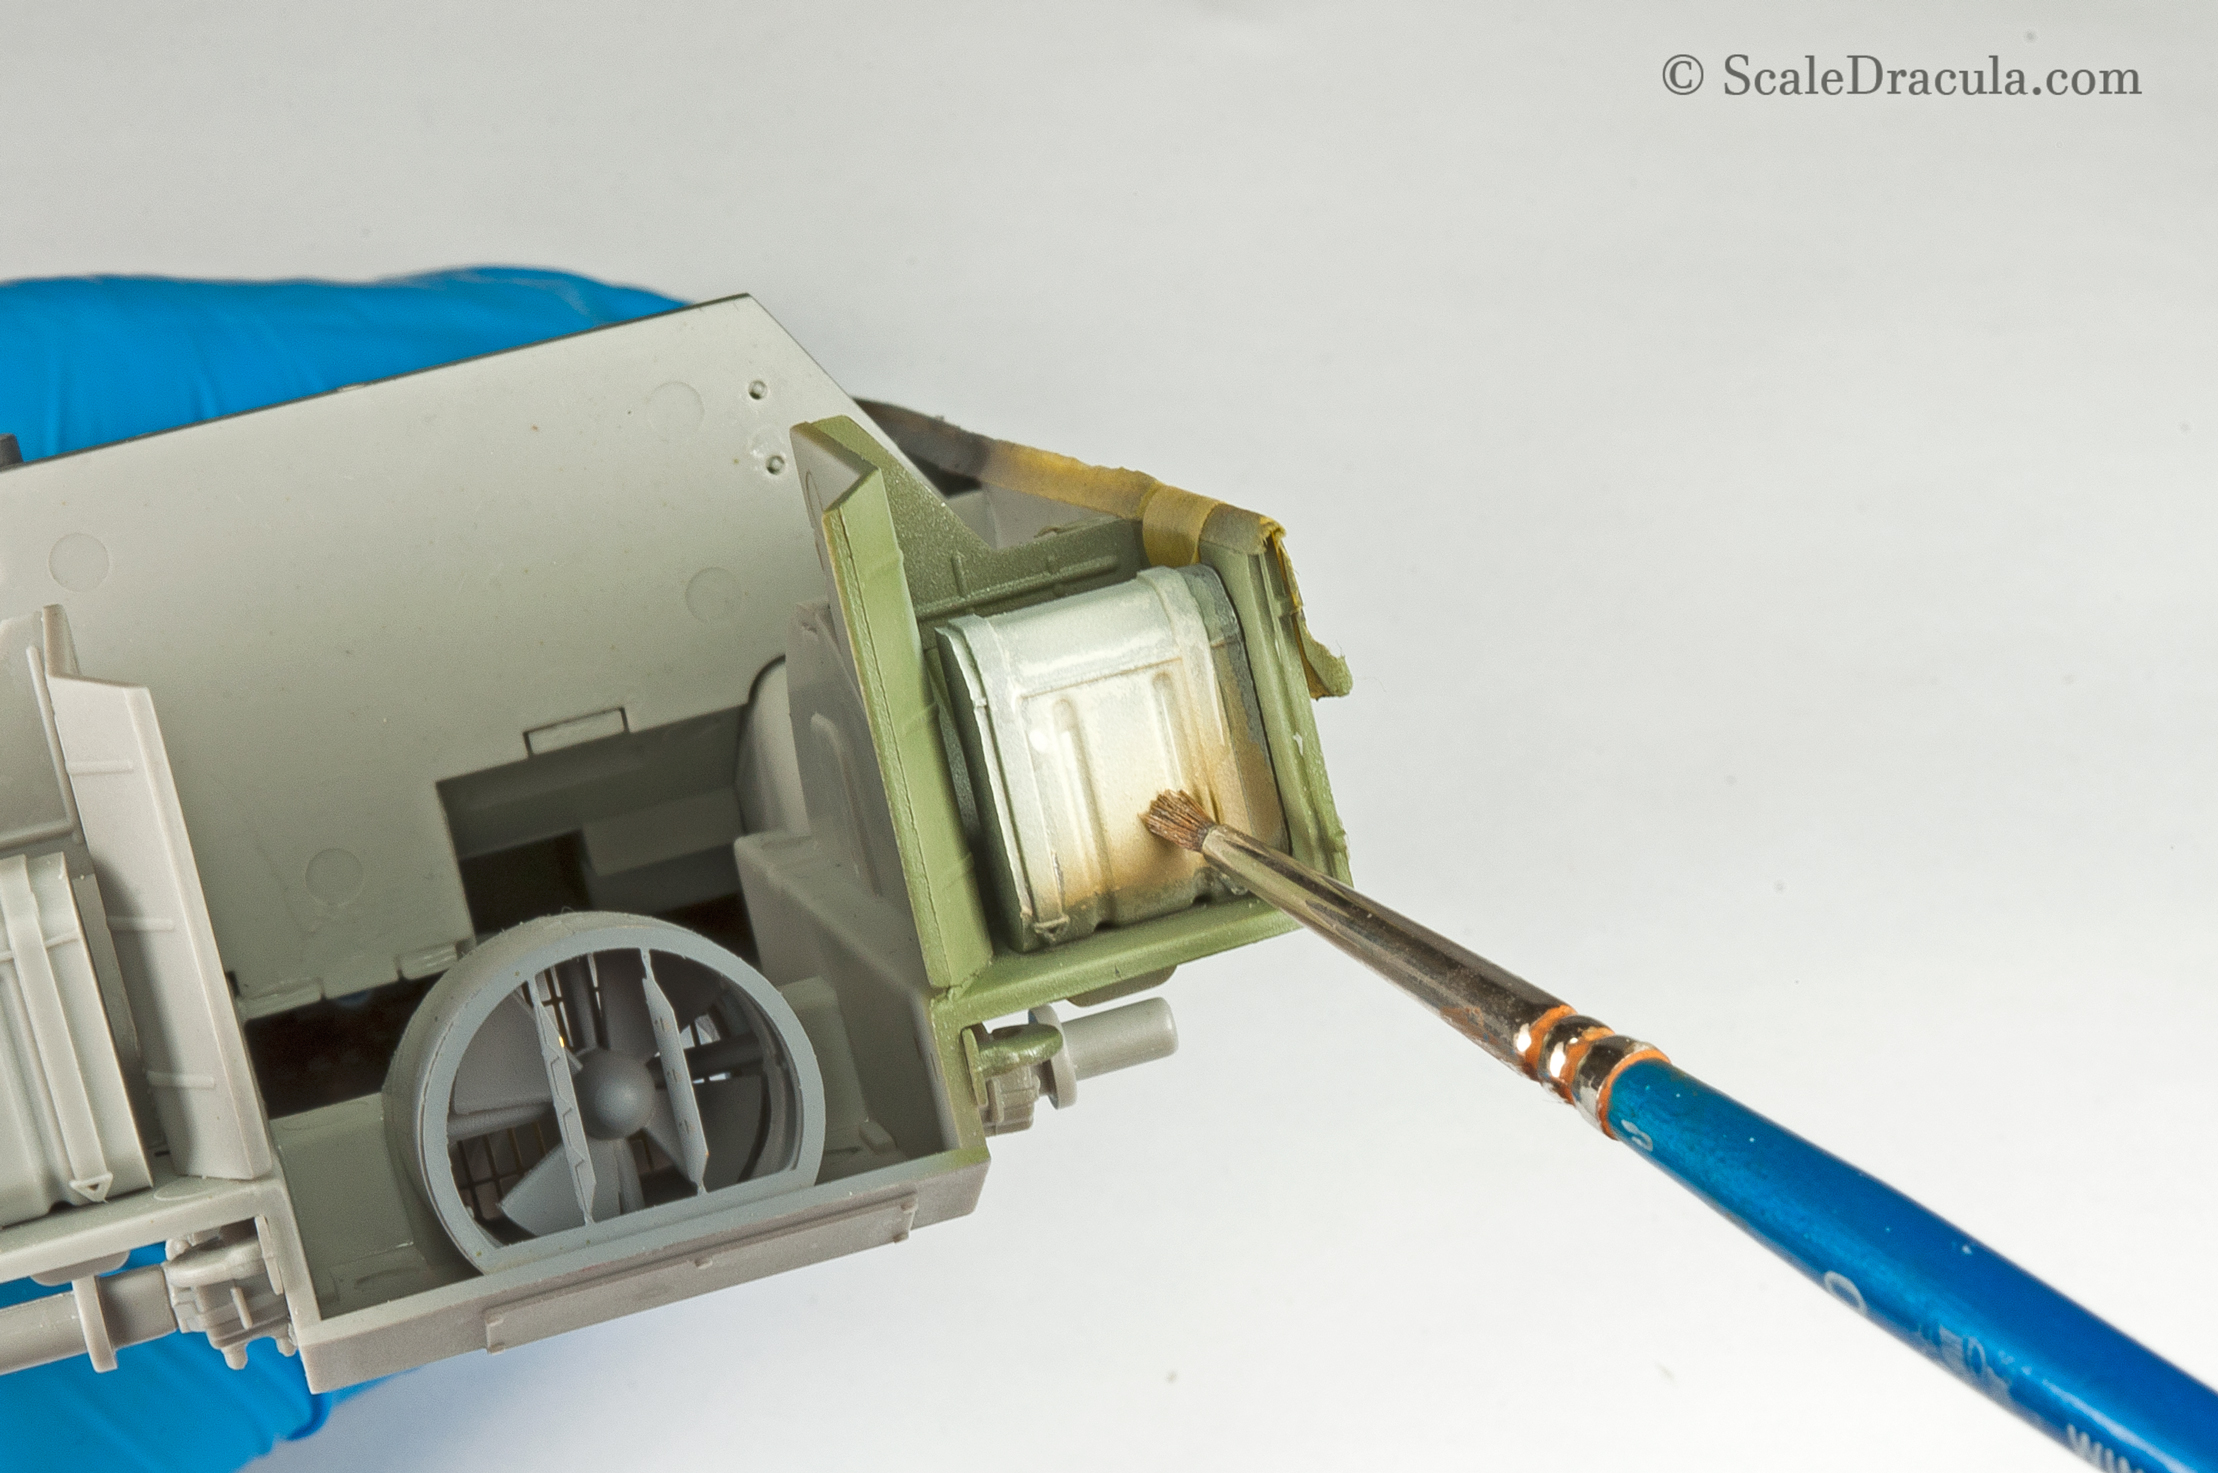
It’s a good time to paint the gas tank. I start with Humbrol’s aluminium again.
After a layer of chipping fluid I sprayed a mixture of white, cremeweiss and khaki.
Then I moisten the surface with water and I remove most of the paint with a trimmed brush.
It’s time to seal the main hull and carry on with the construction. I started with the main gun which is surprisingly complicated build by itself. The set gives you the opportunity to add a nice resin handle but I don’t need it for my project.
Here’s the gun assembled. It looks fantastic!
And here’s the comparison of two options. As you can see the PE gun base is much longer than the original part. I’m not sure which of these is closer to reality. It’s hard to say even comparing them with reference photos.
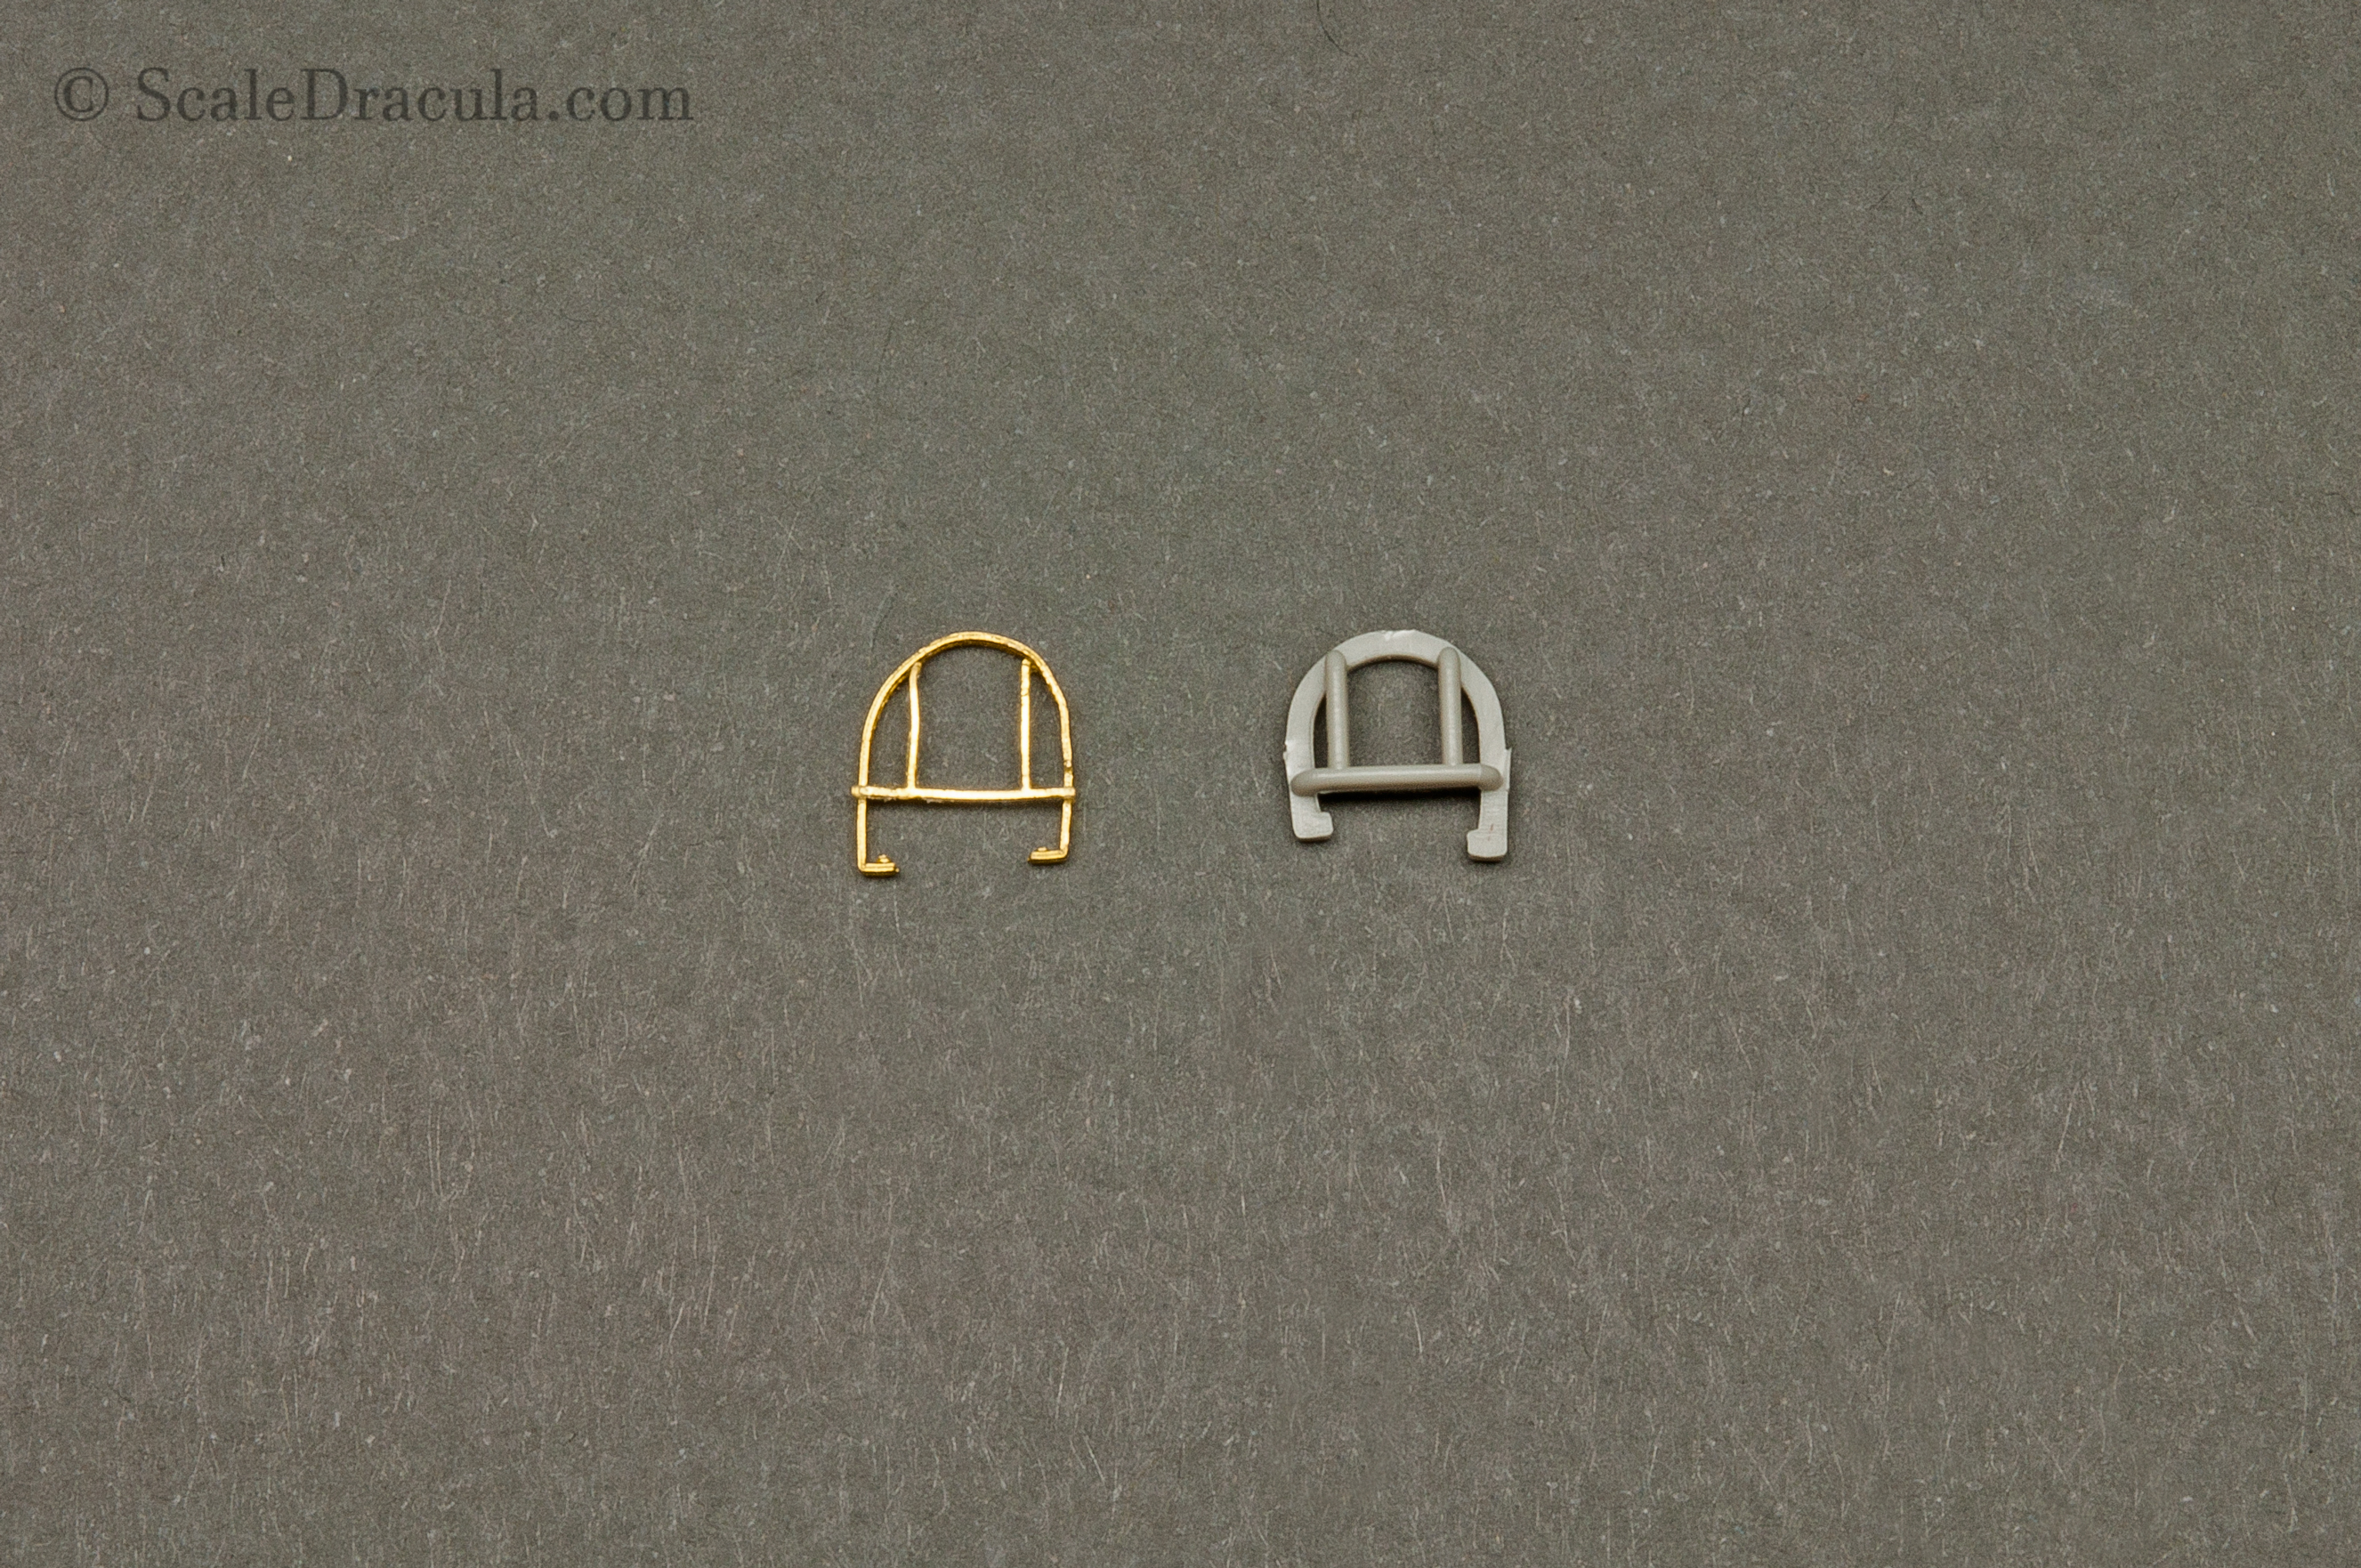
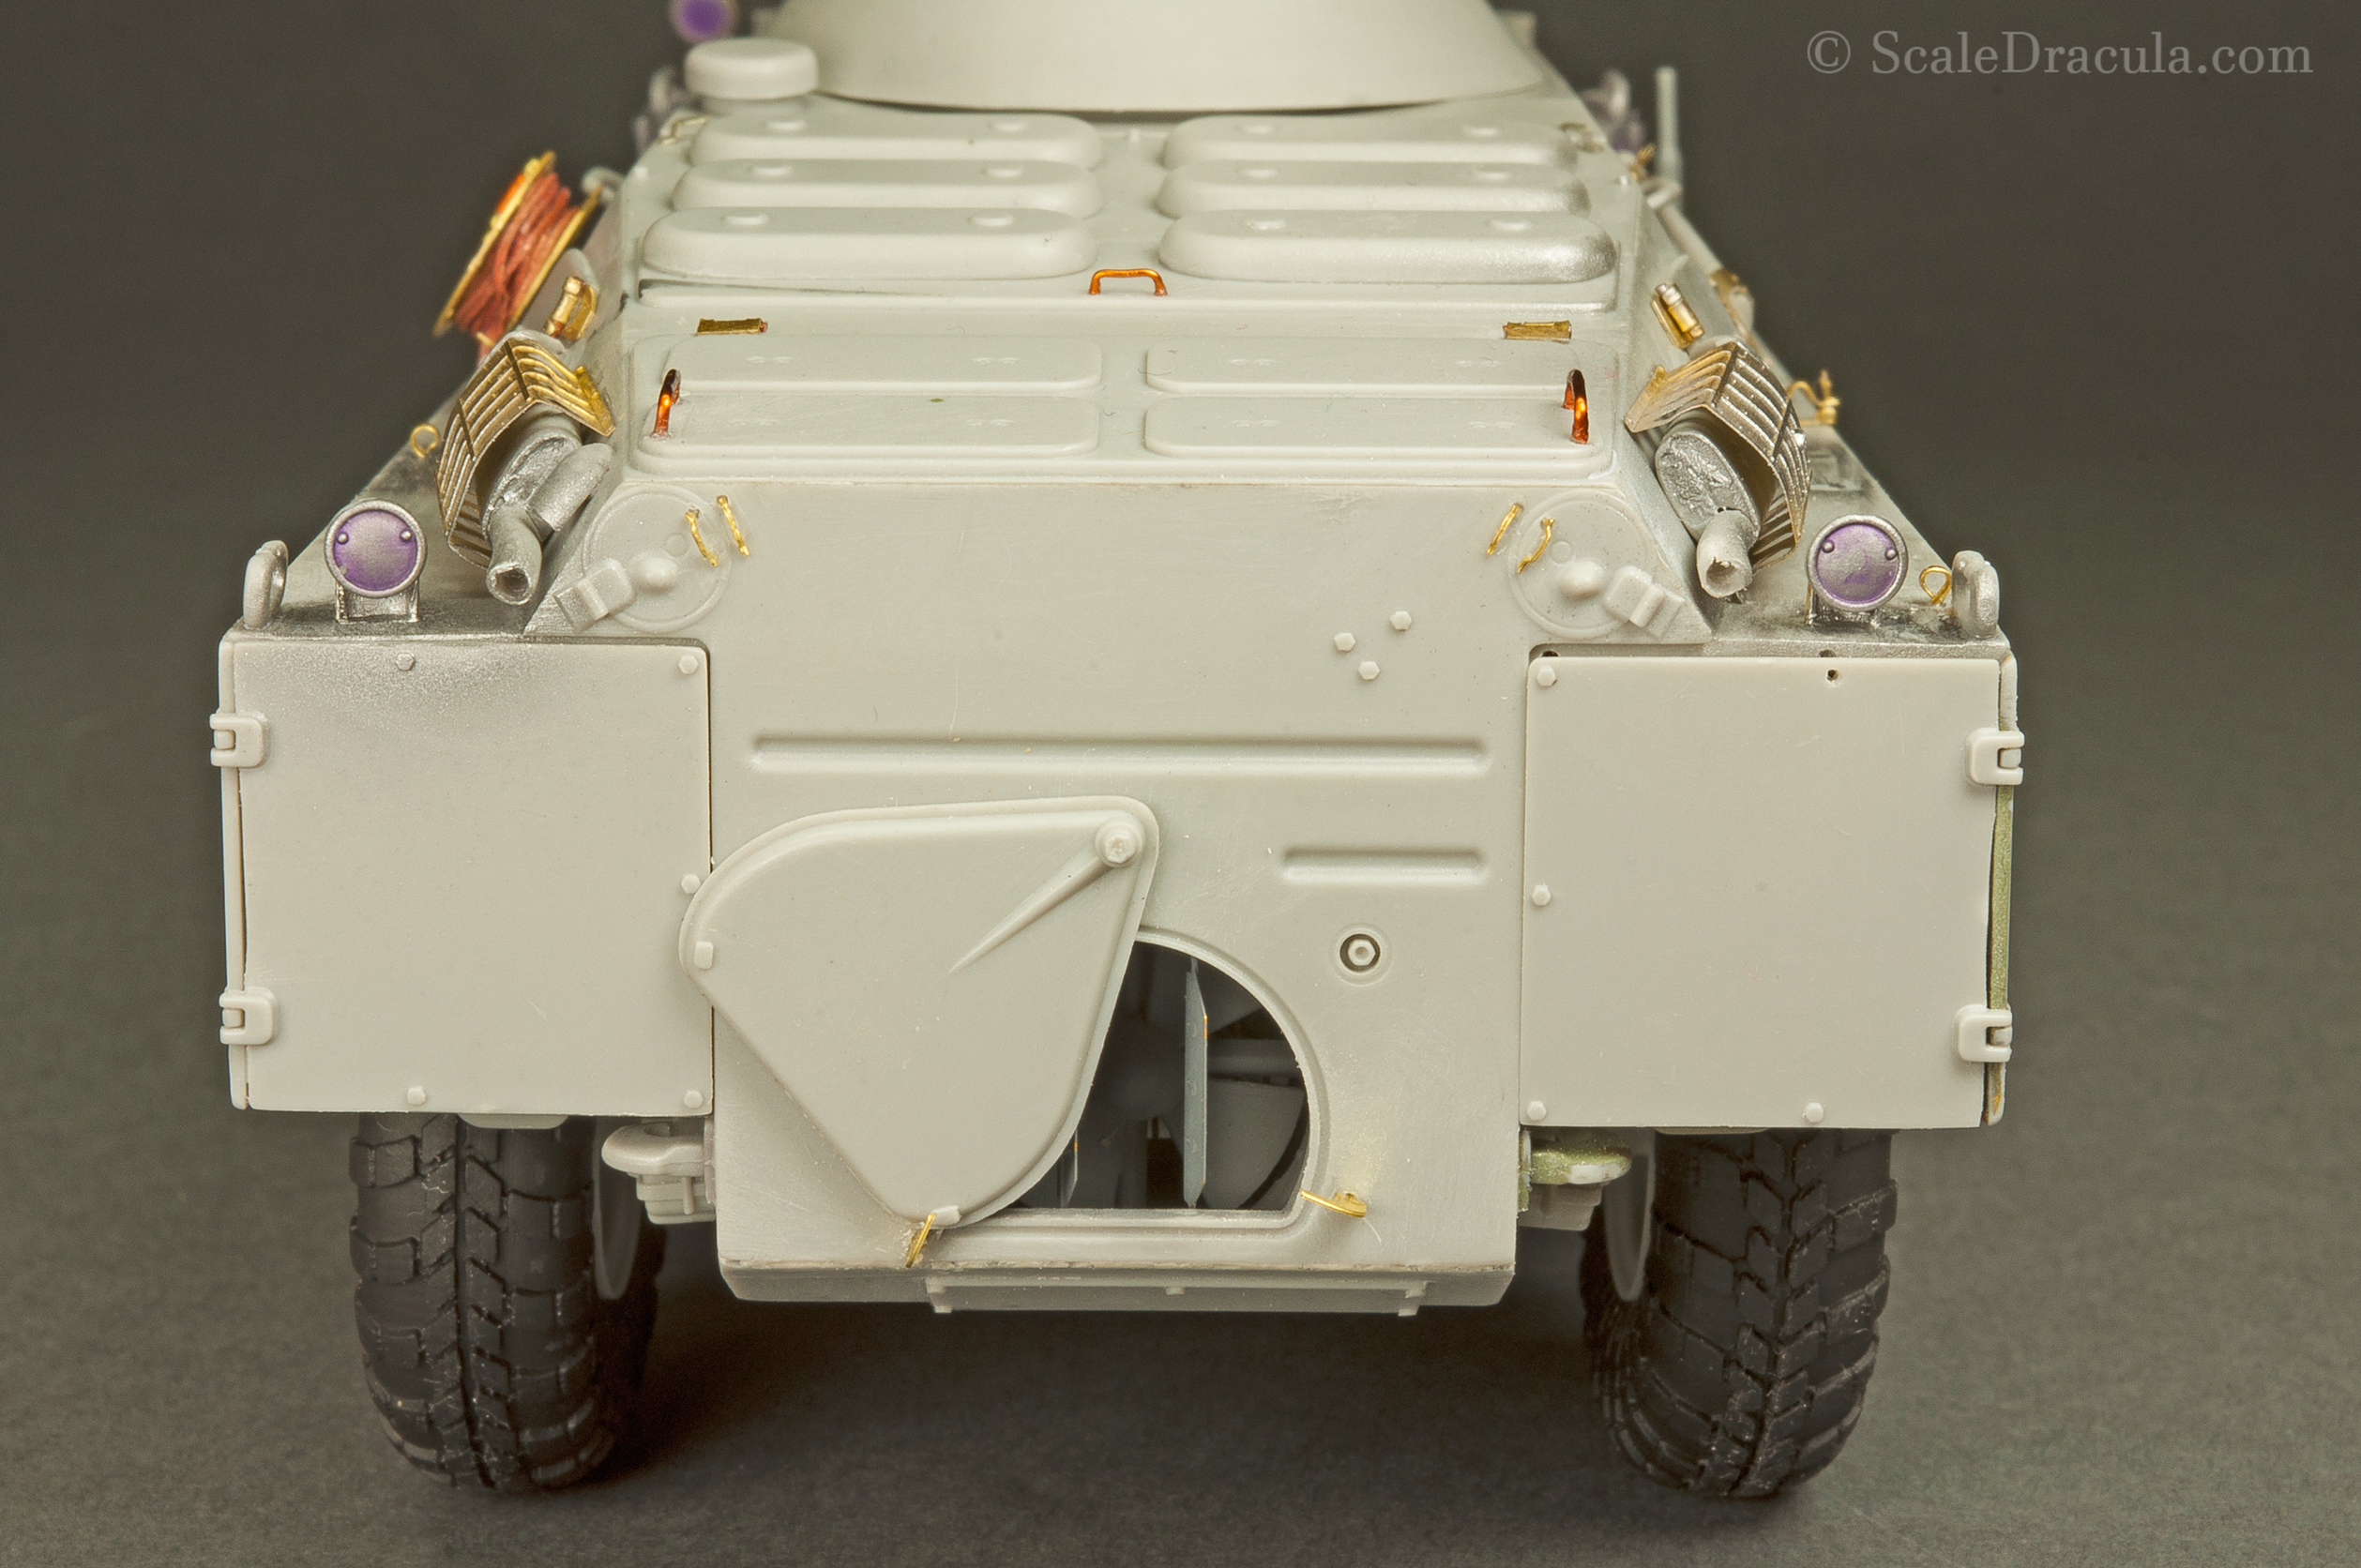
It’s time to go back to the main hull. I started with the details. Here’s the headlight cover. If you doubt the photo-etched parts are any useful, this photo will surely convince you… 🙂
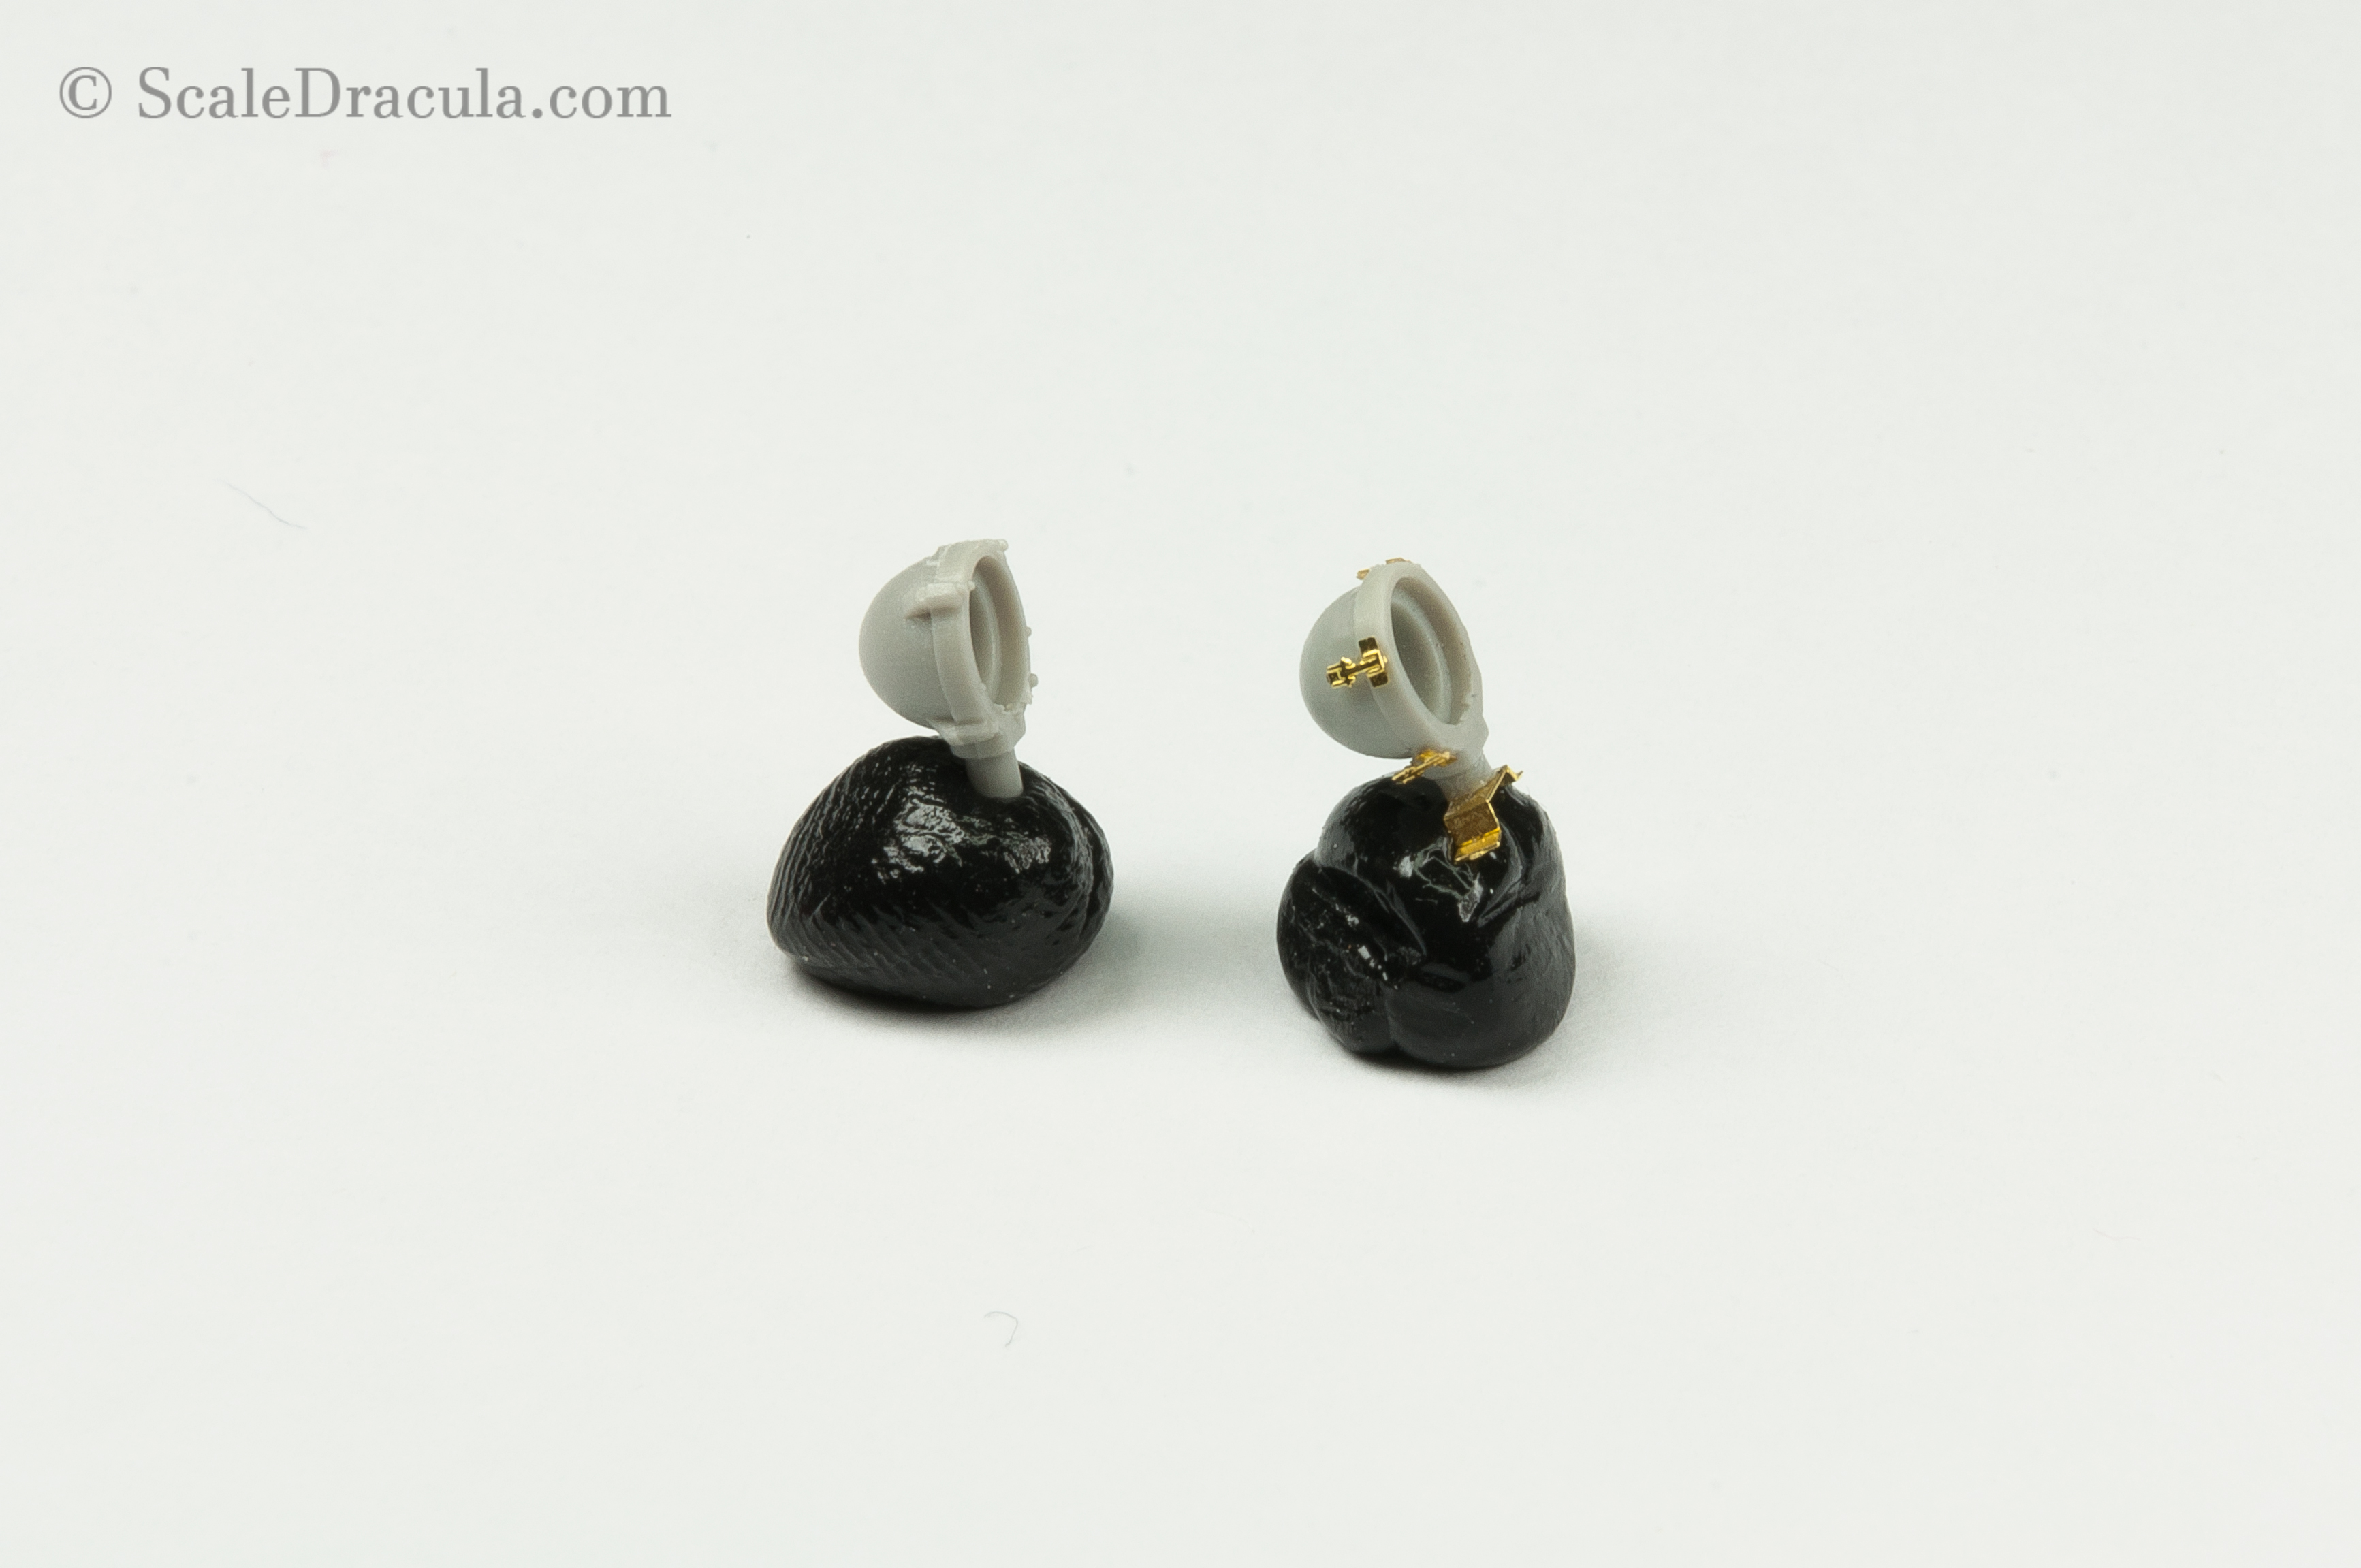
Here’s another example. Headlight details were a nightmare to attach, but they look great!
I closed the main hull. The top part fits really well which was a huge relief as I didn’t feel like sanding at that point. Then I started to attach the details. Here are the headlights with wires.
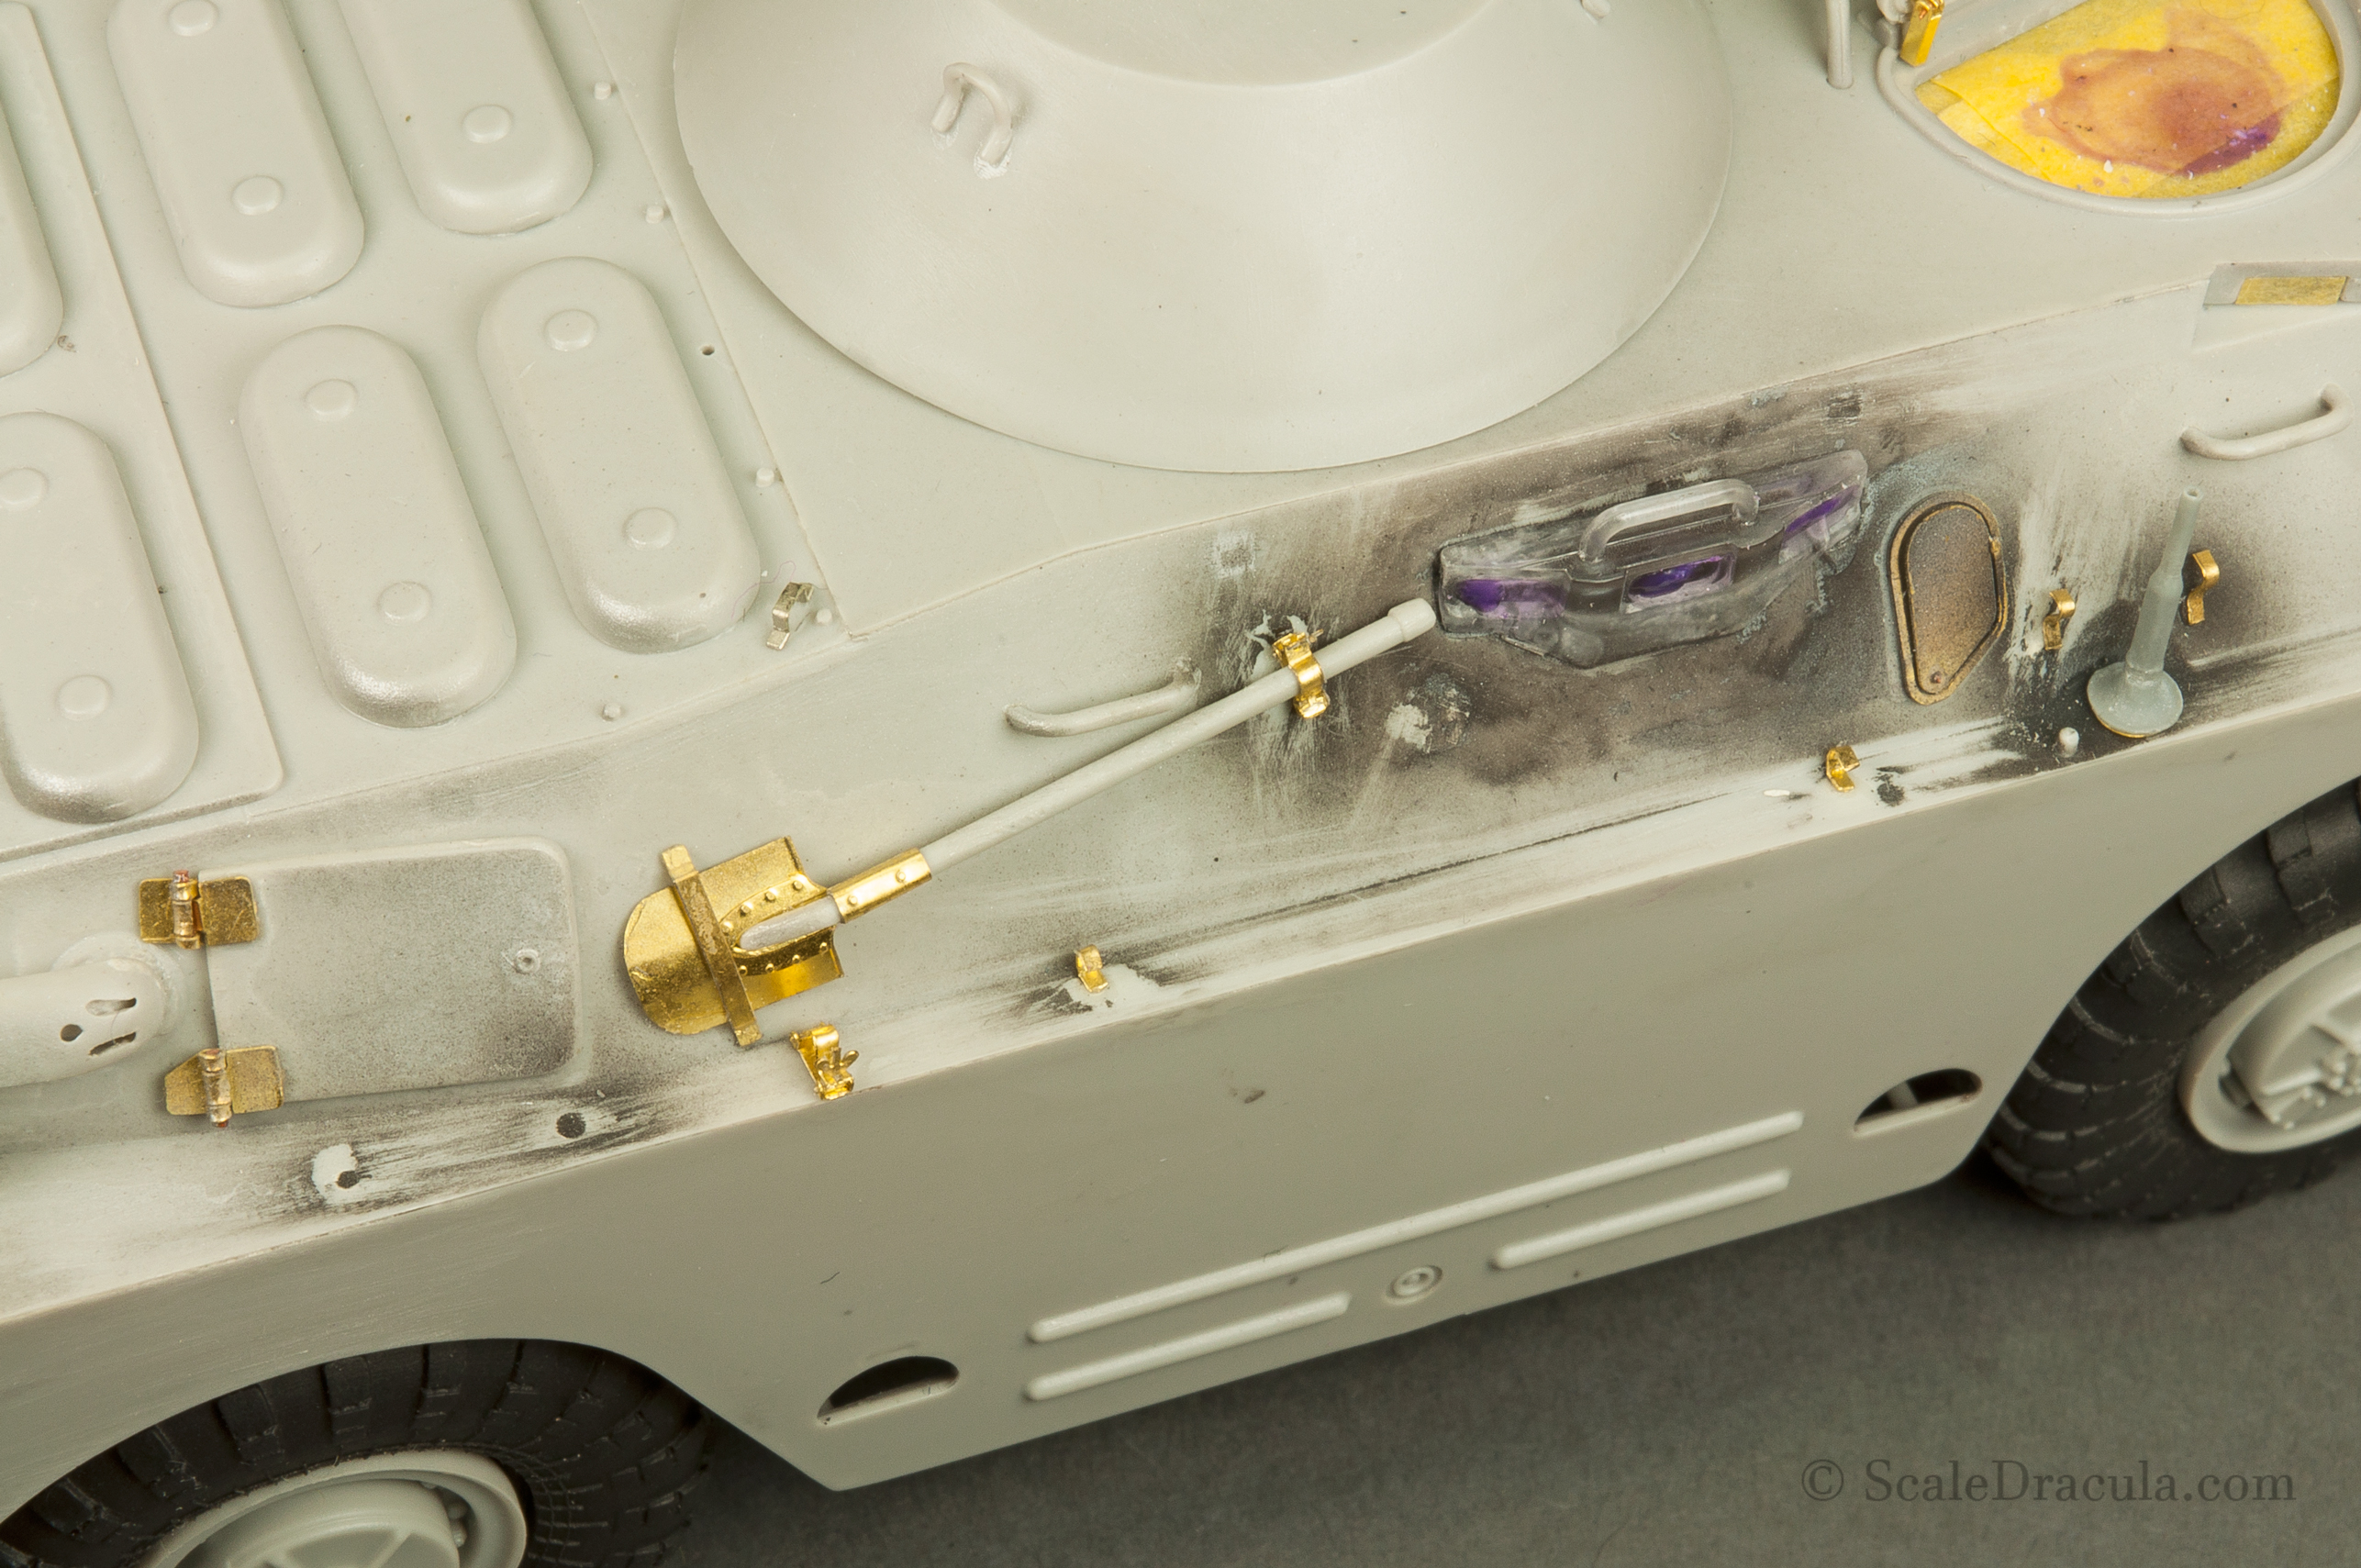
The shovel and some details on the side.
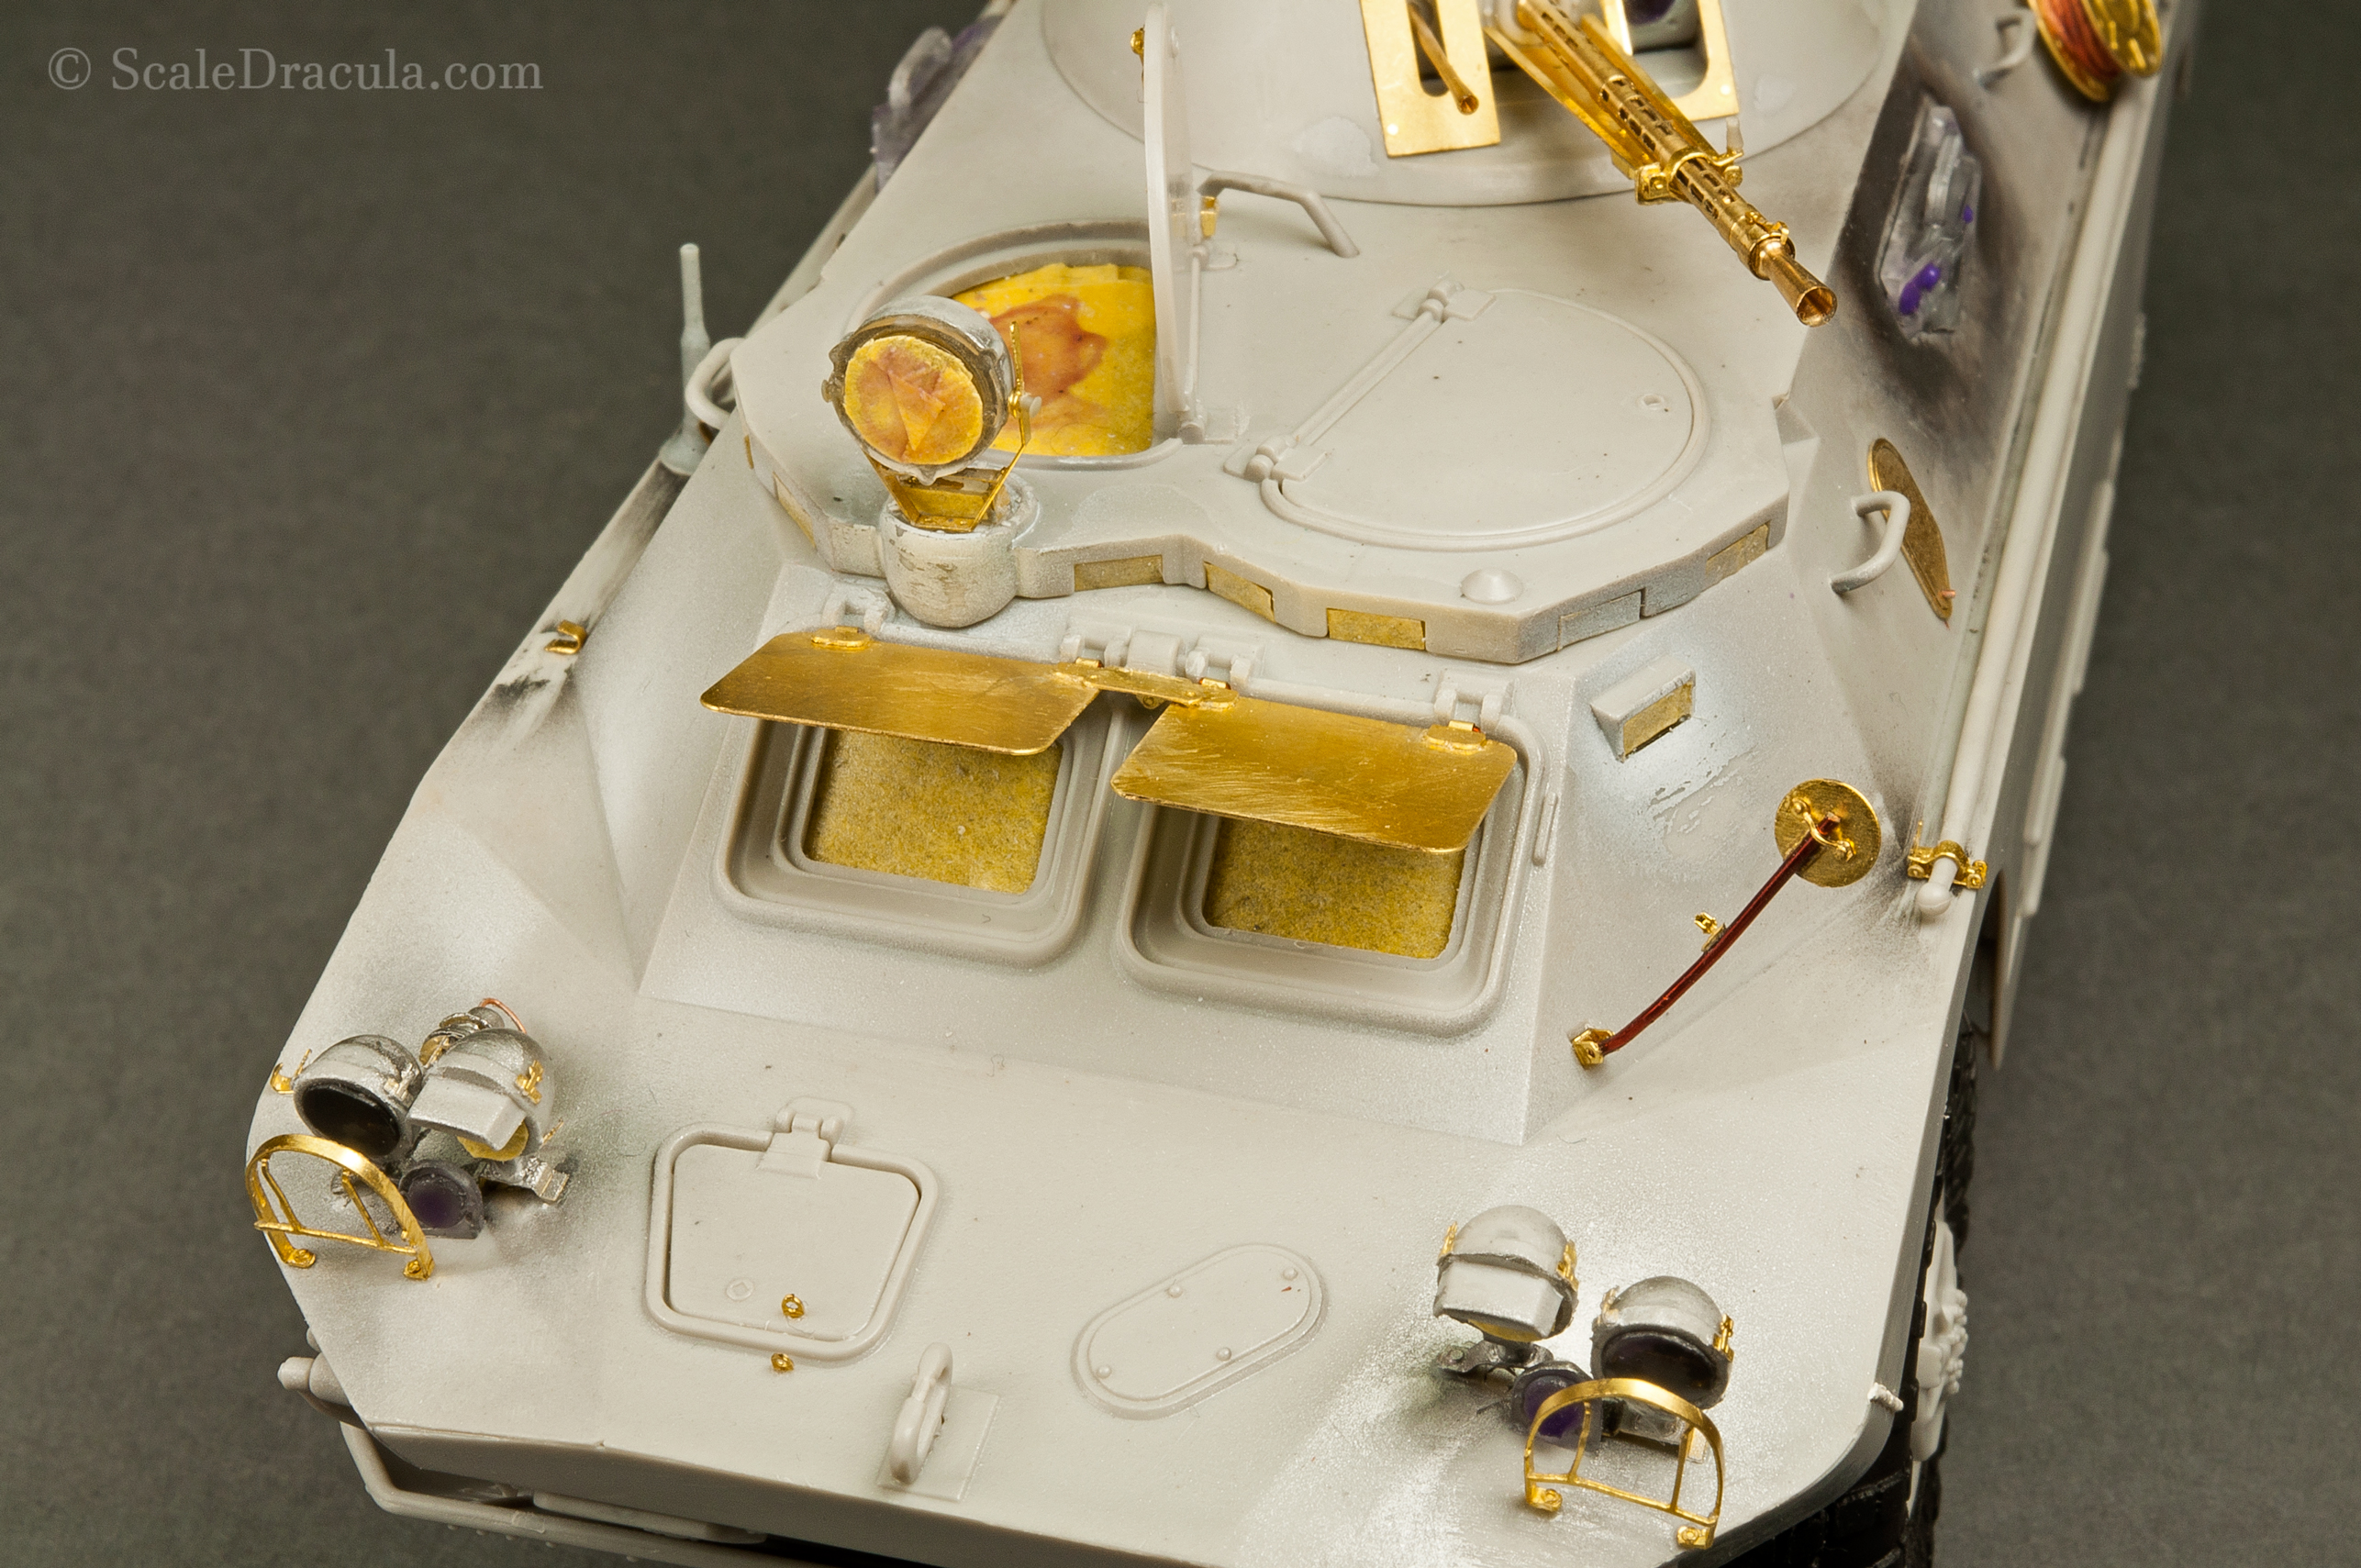
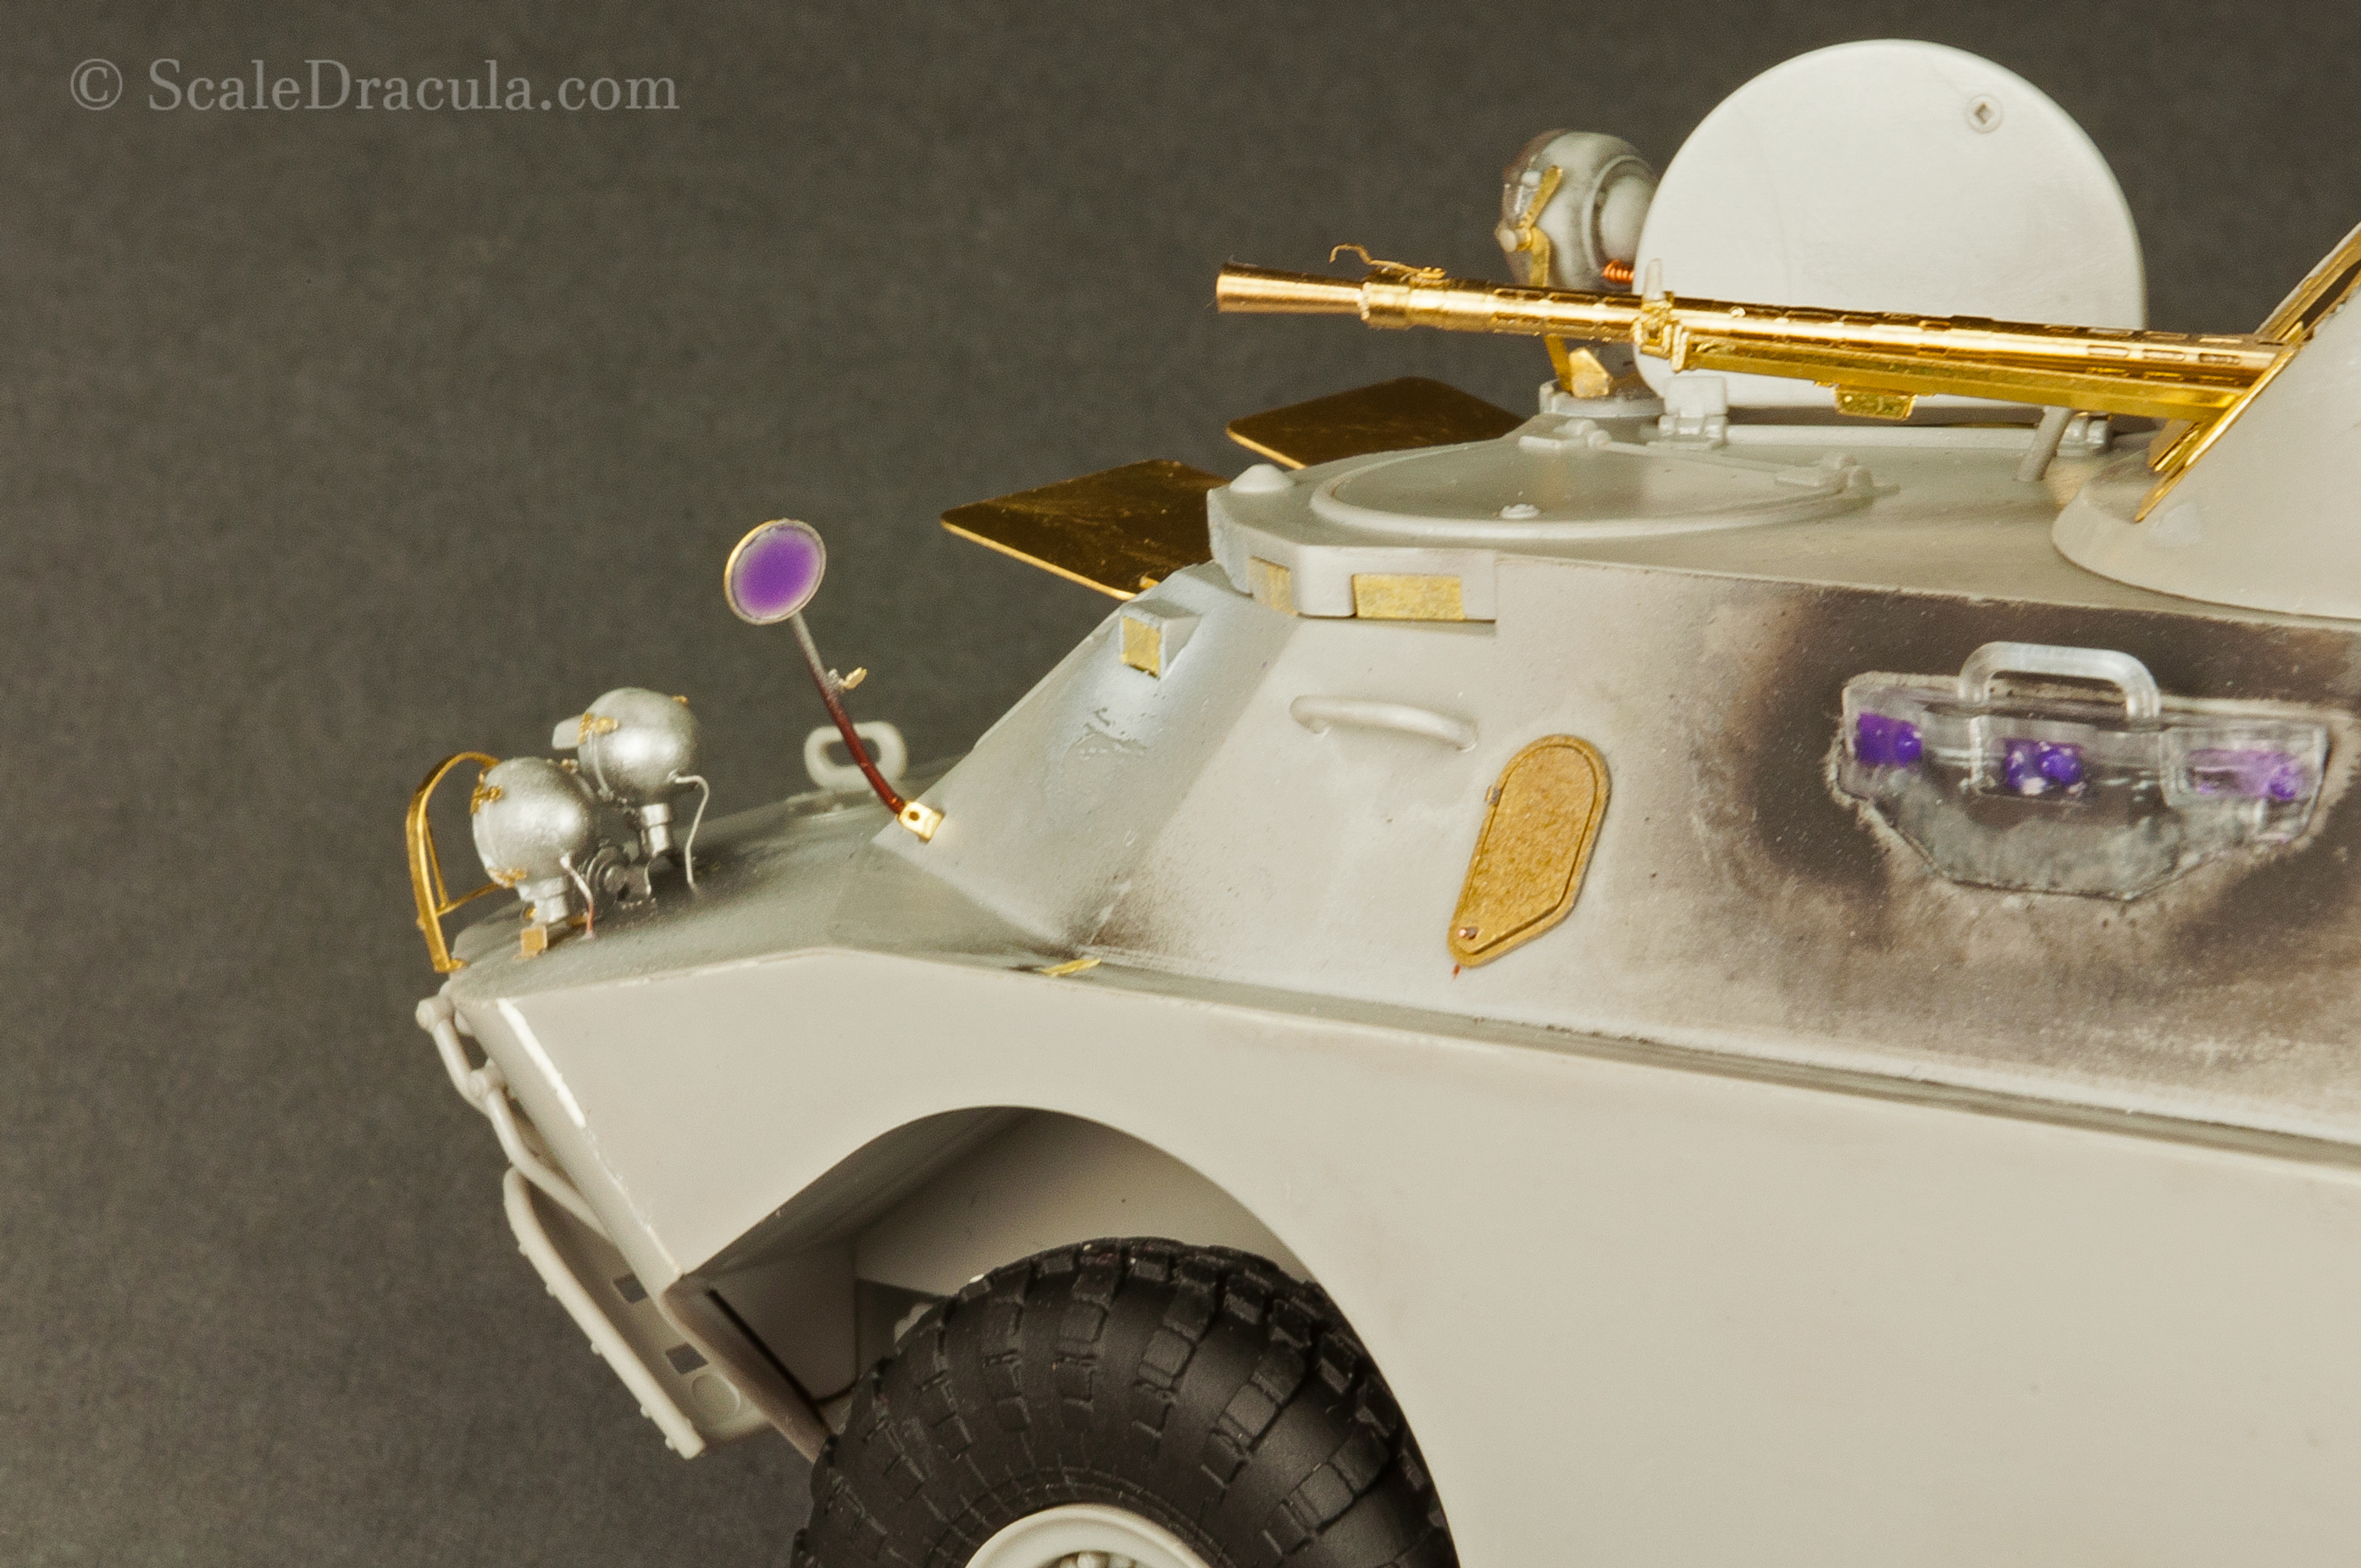
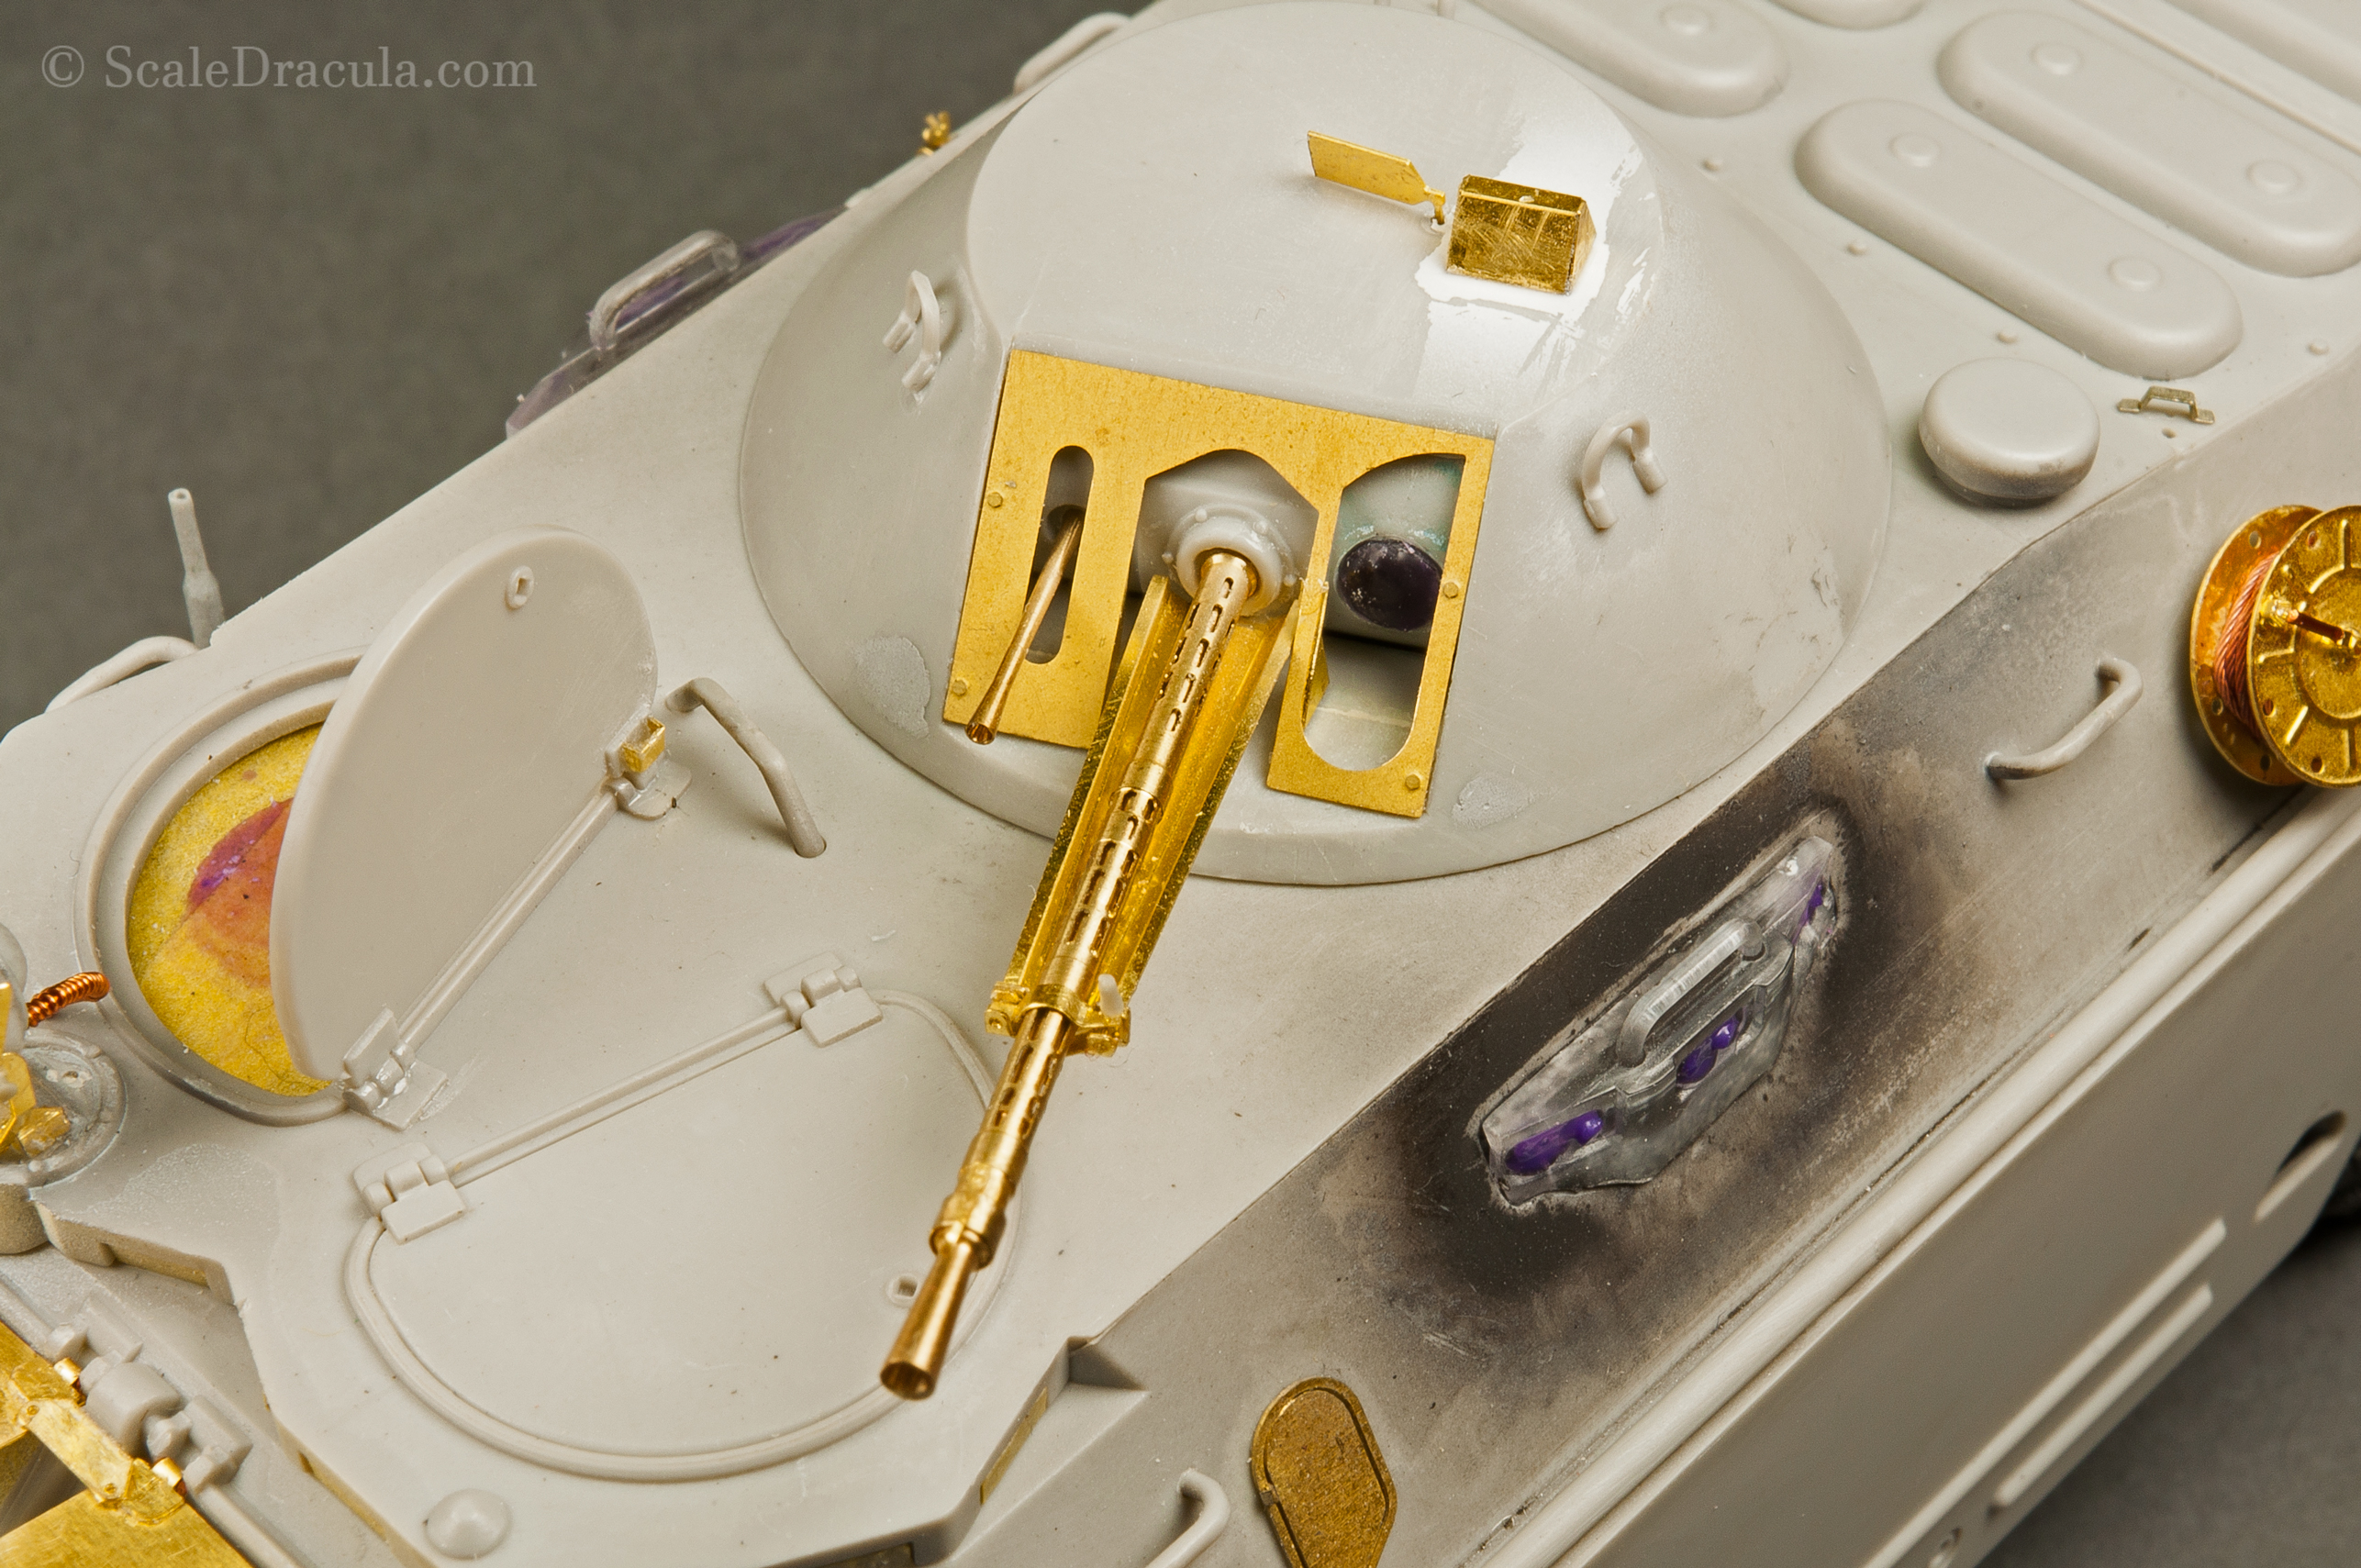
I improved the turret periscope adding a pane from clear styrene. There’s also a mirror there, sadly almost invisible.
I really like how the turret looks after the extra work. It will be one of the key points of the model.
I decided to paint and mask the headlights before I wrap up the construction. I used the old Humbrol again.
The kit’s lenses didn’t fit my project so I decided to make my own blackout lights. I cut the approximate shape out of an ordinary blister package.
Then goes the tedious work of sanding it down to a perfect circle. You may need a rage control therapy after this stage.
I paint the lens with a mix of Ammo Black, Glossy Varnish and Transparator to achieve a semi transparent effect. You can scrape some of the paint afterwards for some next-level effect. I install the lenses with just a little bit of glossy varnish.
Trumpeter was very clever in designing the spotlight. The lightbulb you see inside is actually just a hole. It’s the lens that makes it look like a convex structure. So you don’t need to build anything inside, just paint it and you’re all set. Splendid job Trumpeter!
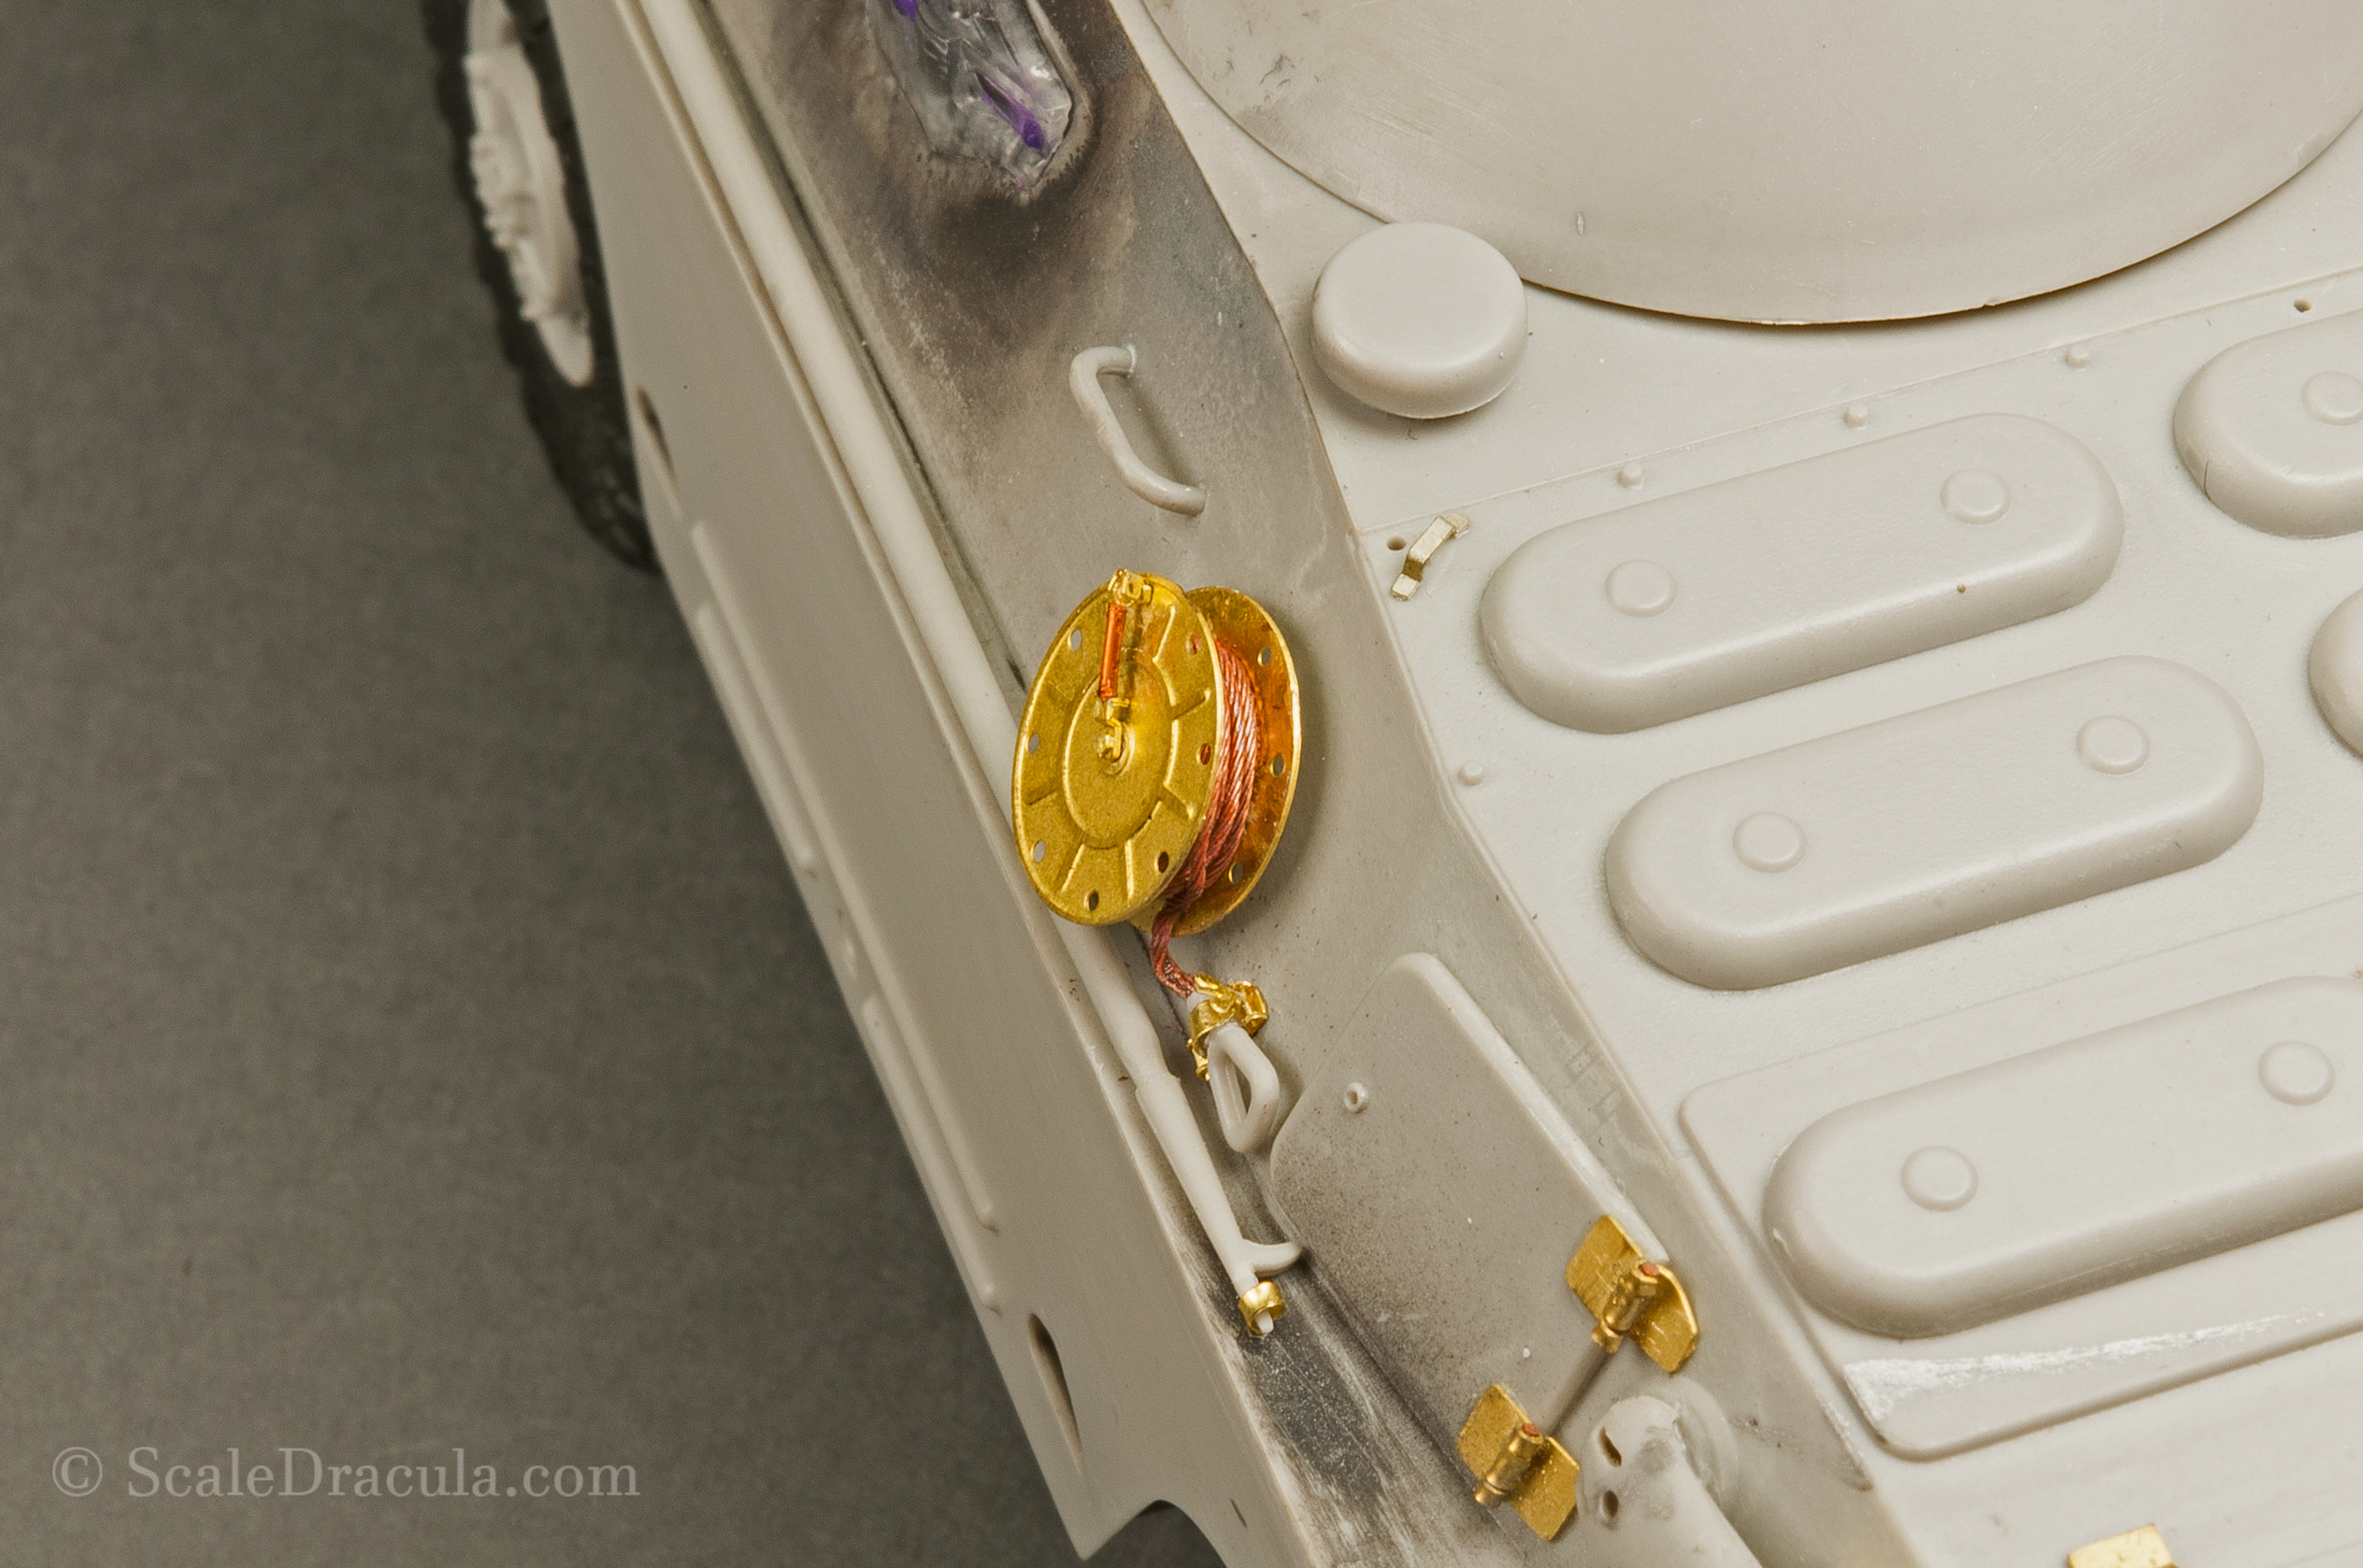
I added some details to the spotlight. The electrical cord was made by winding a thin wire over another, thicker wire.
For the wire drum I used the Eureka XXL thin towing cable. Trumpeter provides a piece of string for that and I couldn’t just live with it.
Quick tip
Dedicate some time to plan your build, especially if it requires additional stages like PE, resin or painting interior. A good plan will spare you a lot of trouble later.
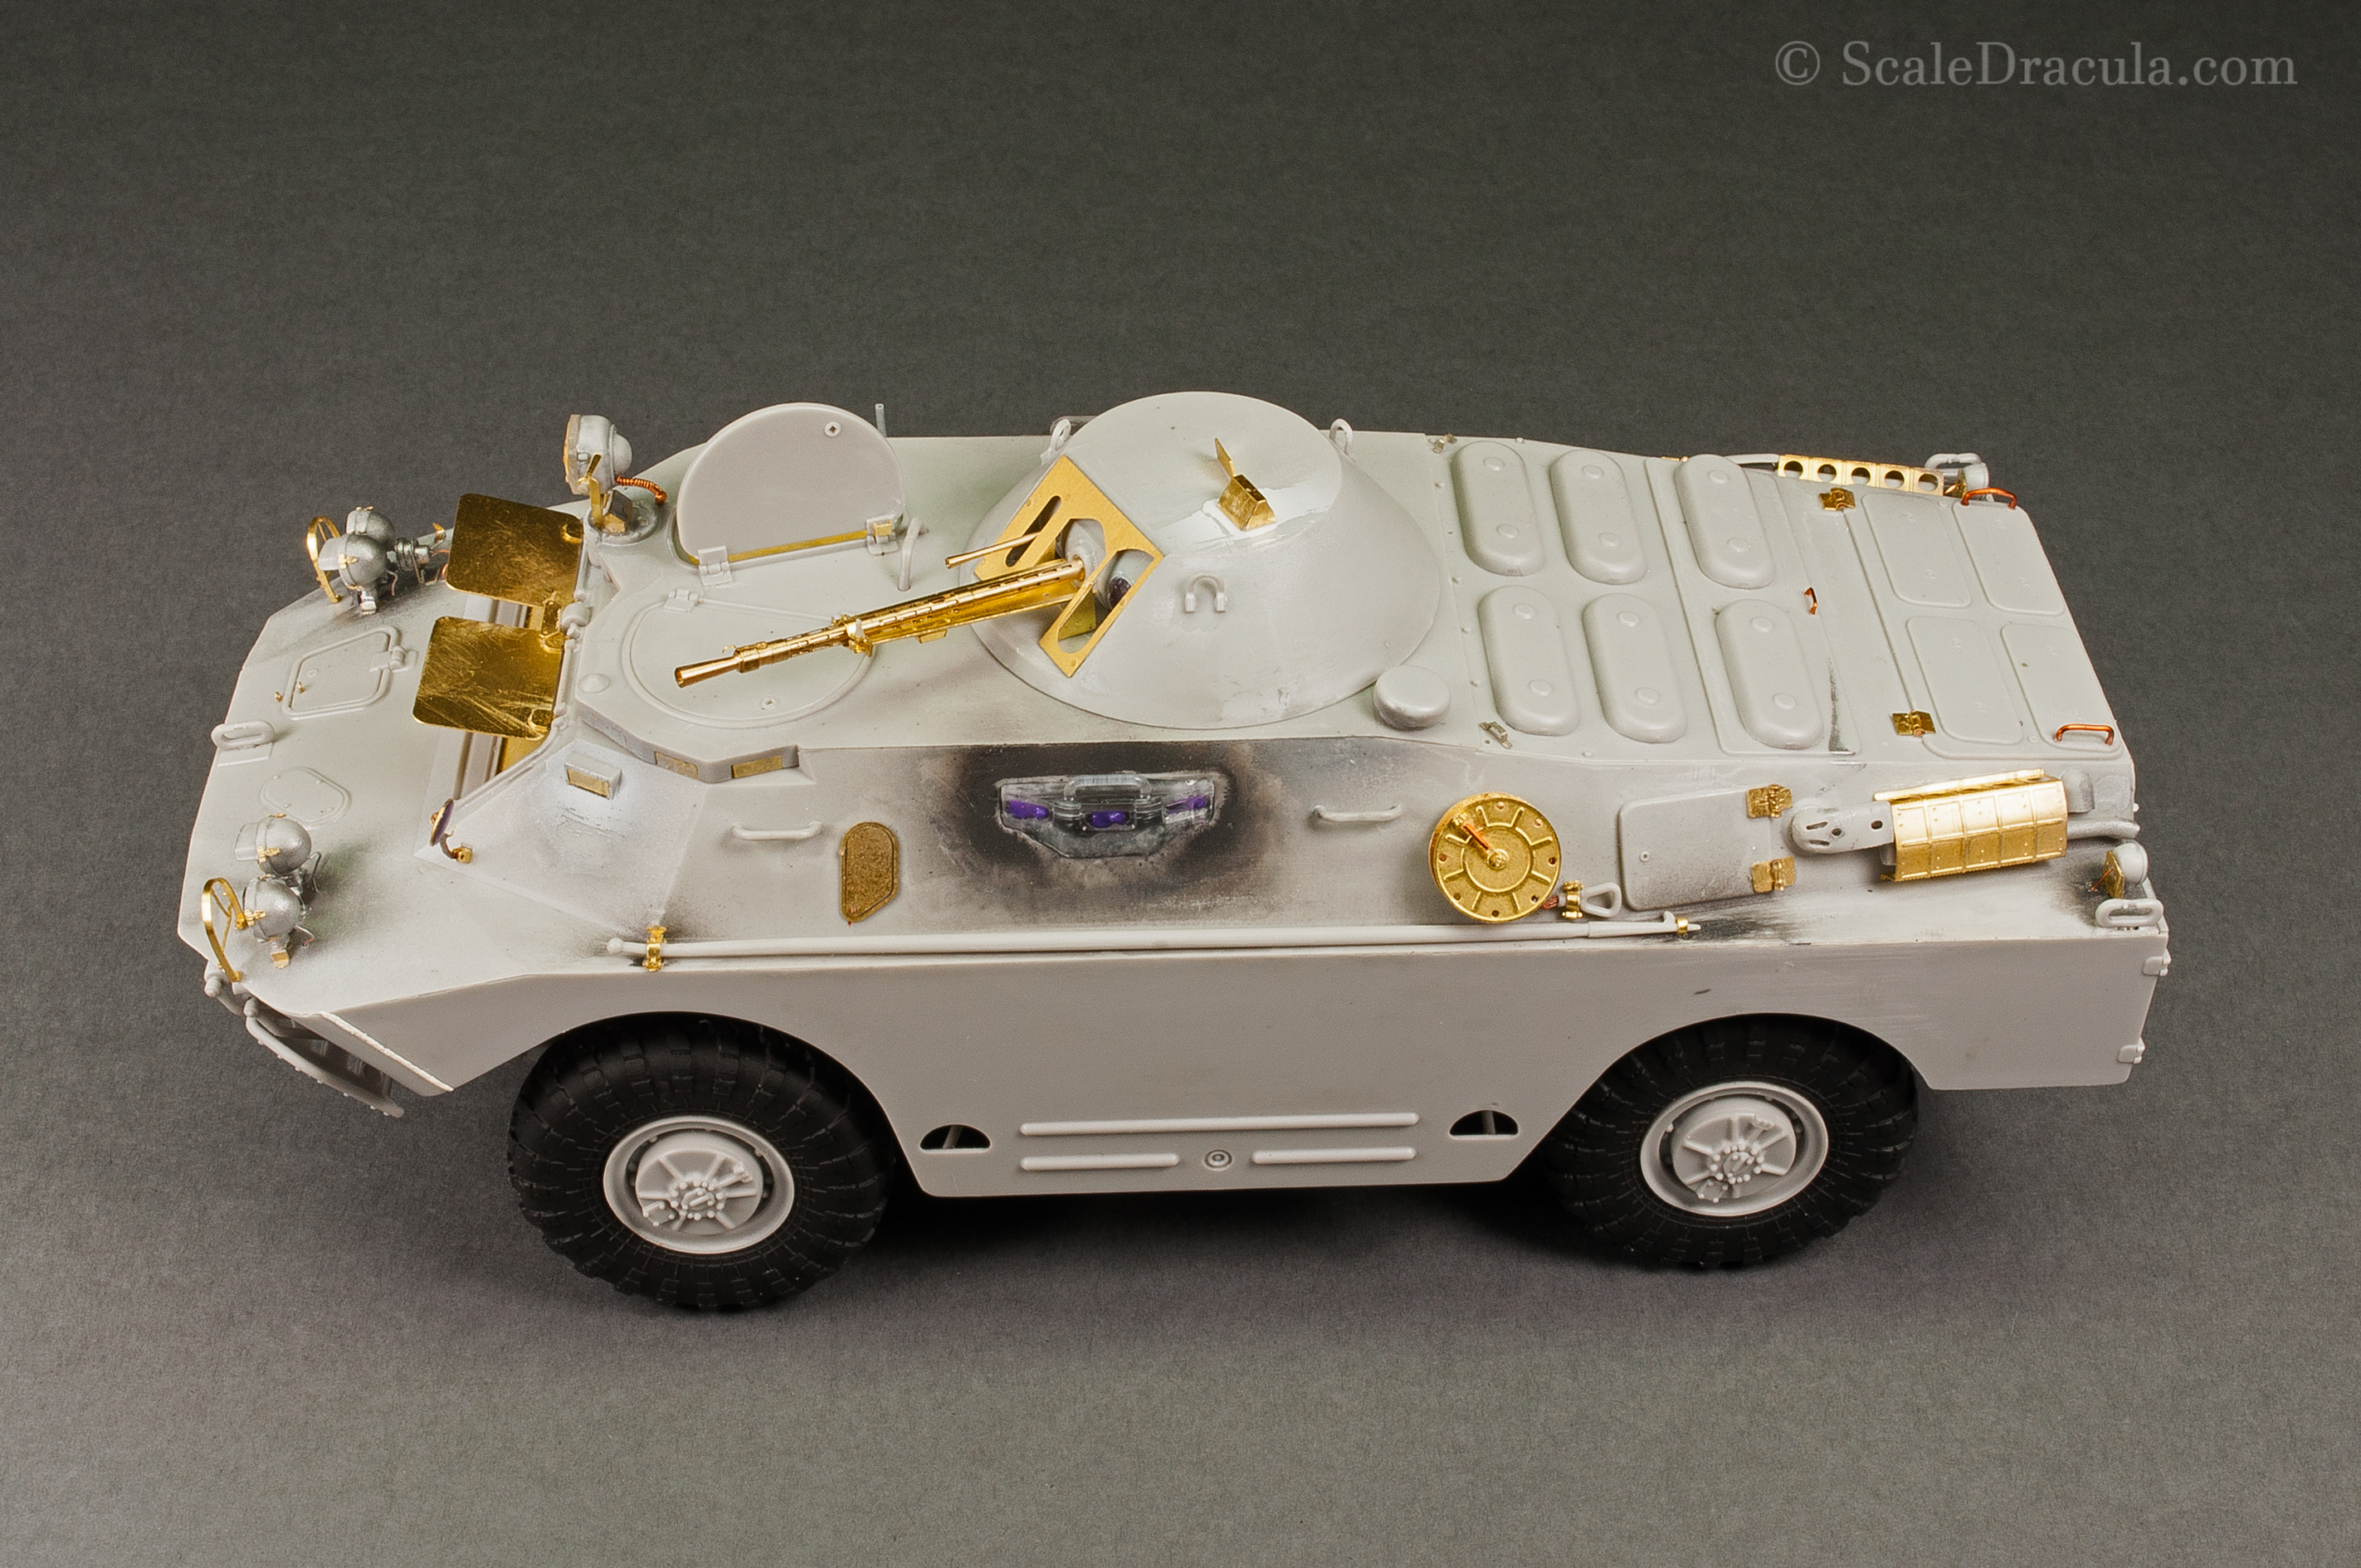
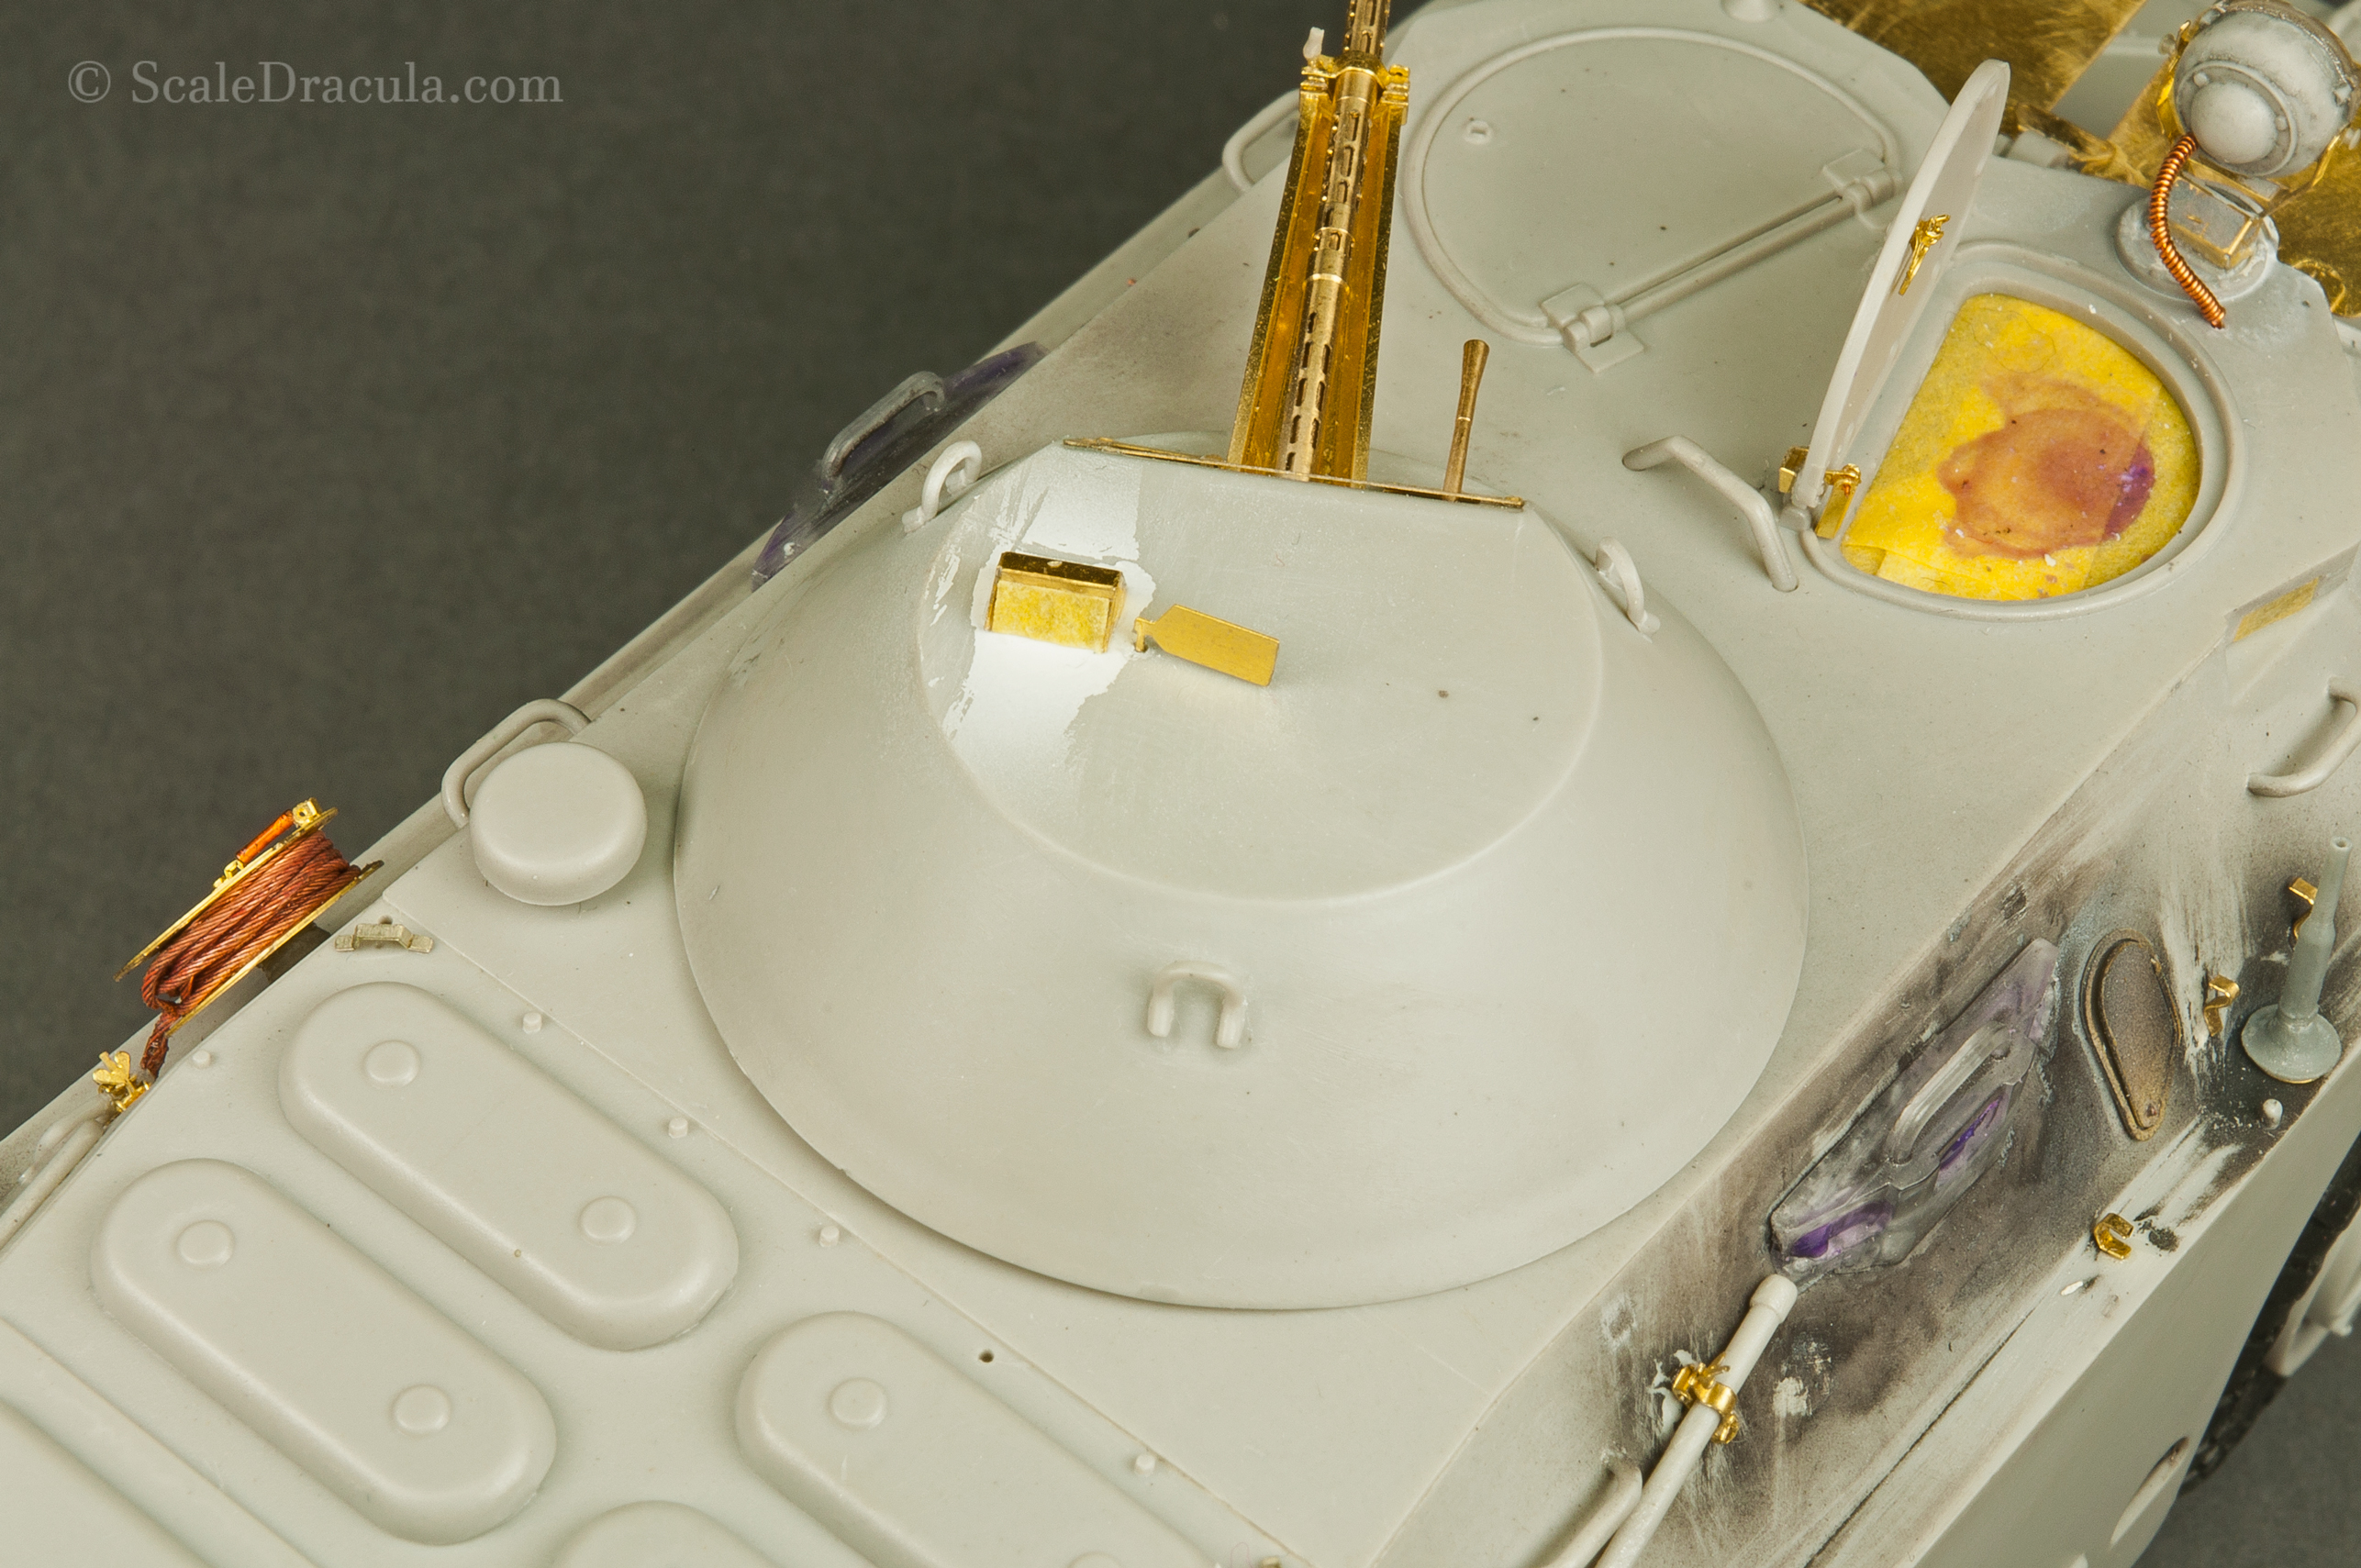
So here it is: my BRDM-2 all put together. I obviously didn’t glue the wheels just yet. I also left the pike pole detached because I want to work on it separately.