
Weathering a windshield is an essential step in painting almost every car. There’s something very attractive in the geometrical shape of the clean glass contrasting with the rest of the dirty model. Although some precision is essential here, the whole process is not that difficult.
You’ll need:
-a circle cutter
-a piece of masking sheet
-weathering products of your choice (preferably oils or enamels)
This tutorial is a part of my Toyota technical project. If you’re interested in the complete SBS, check out the link below:
Prepare your windshield. It’s easier to leave the part on the bracket at this point. So just… Have it around I guess.
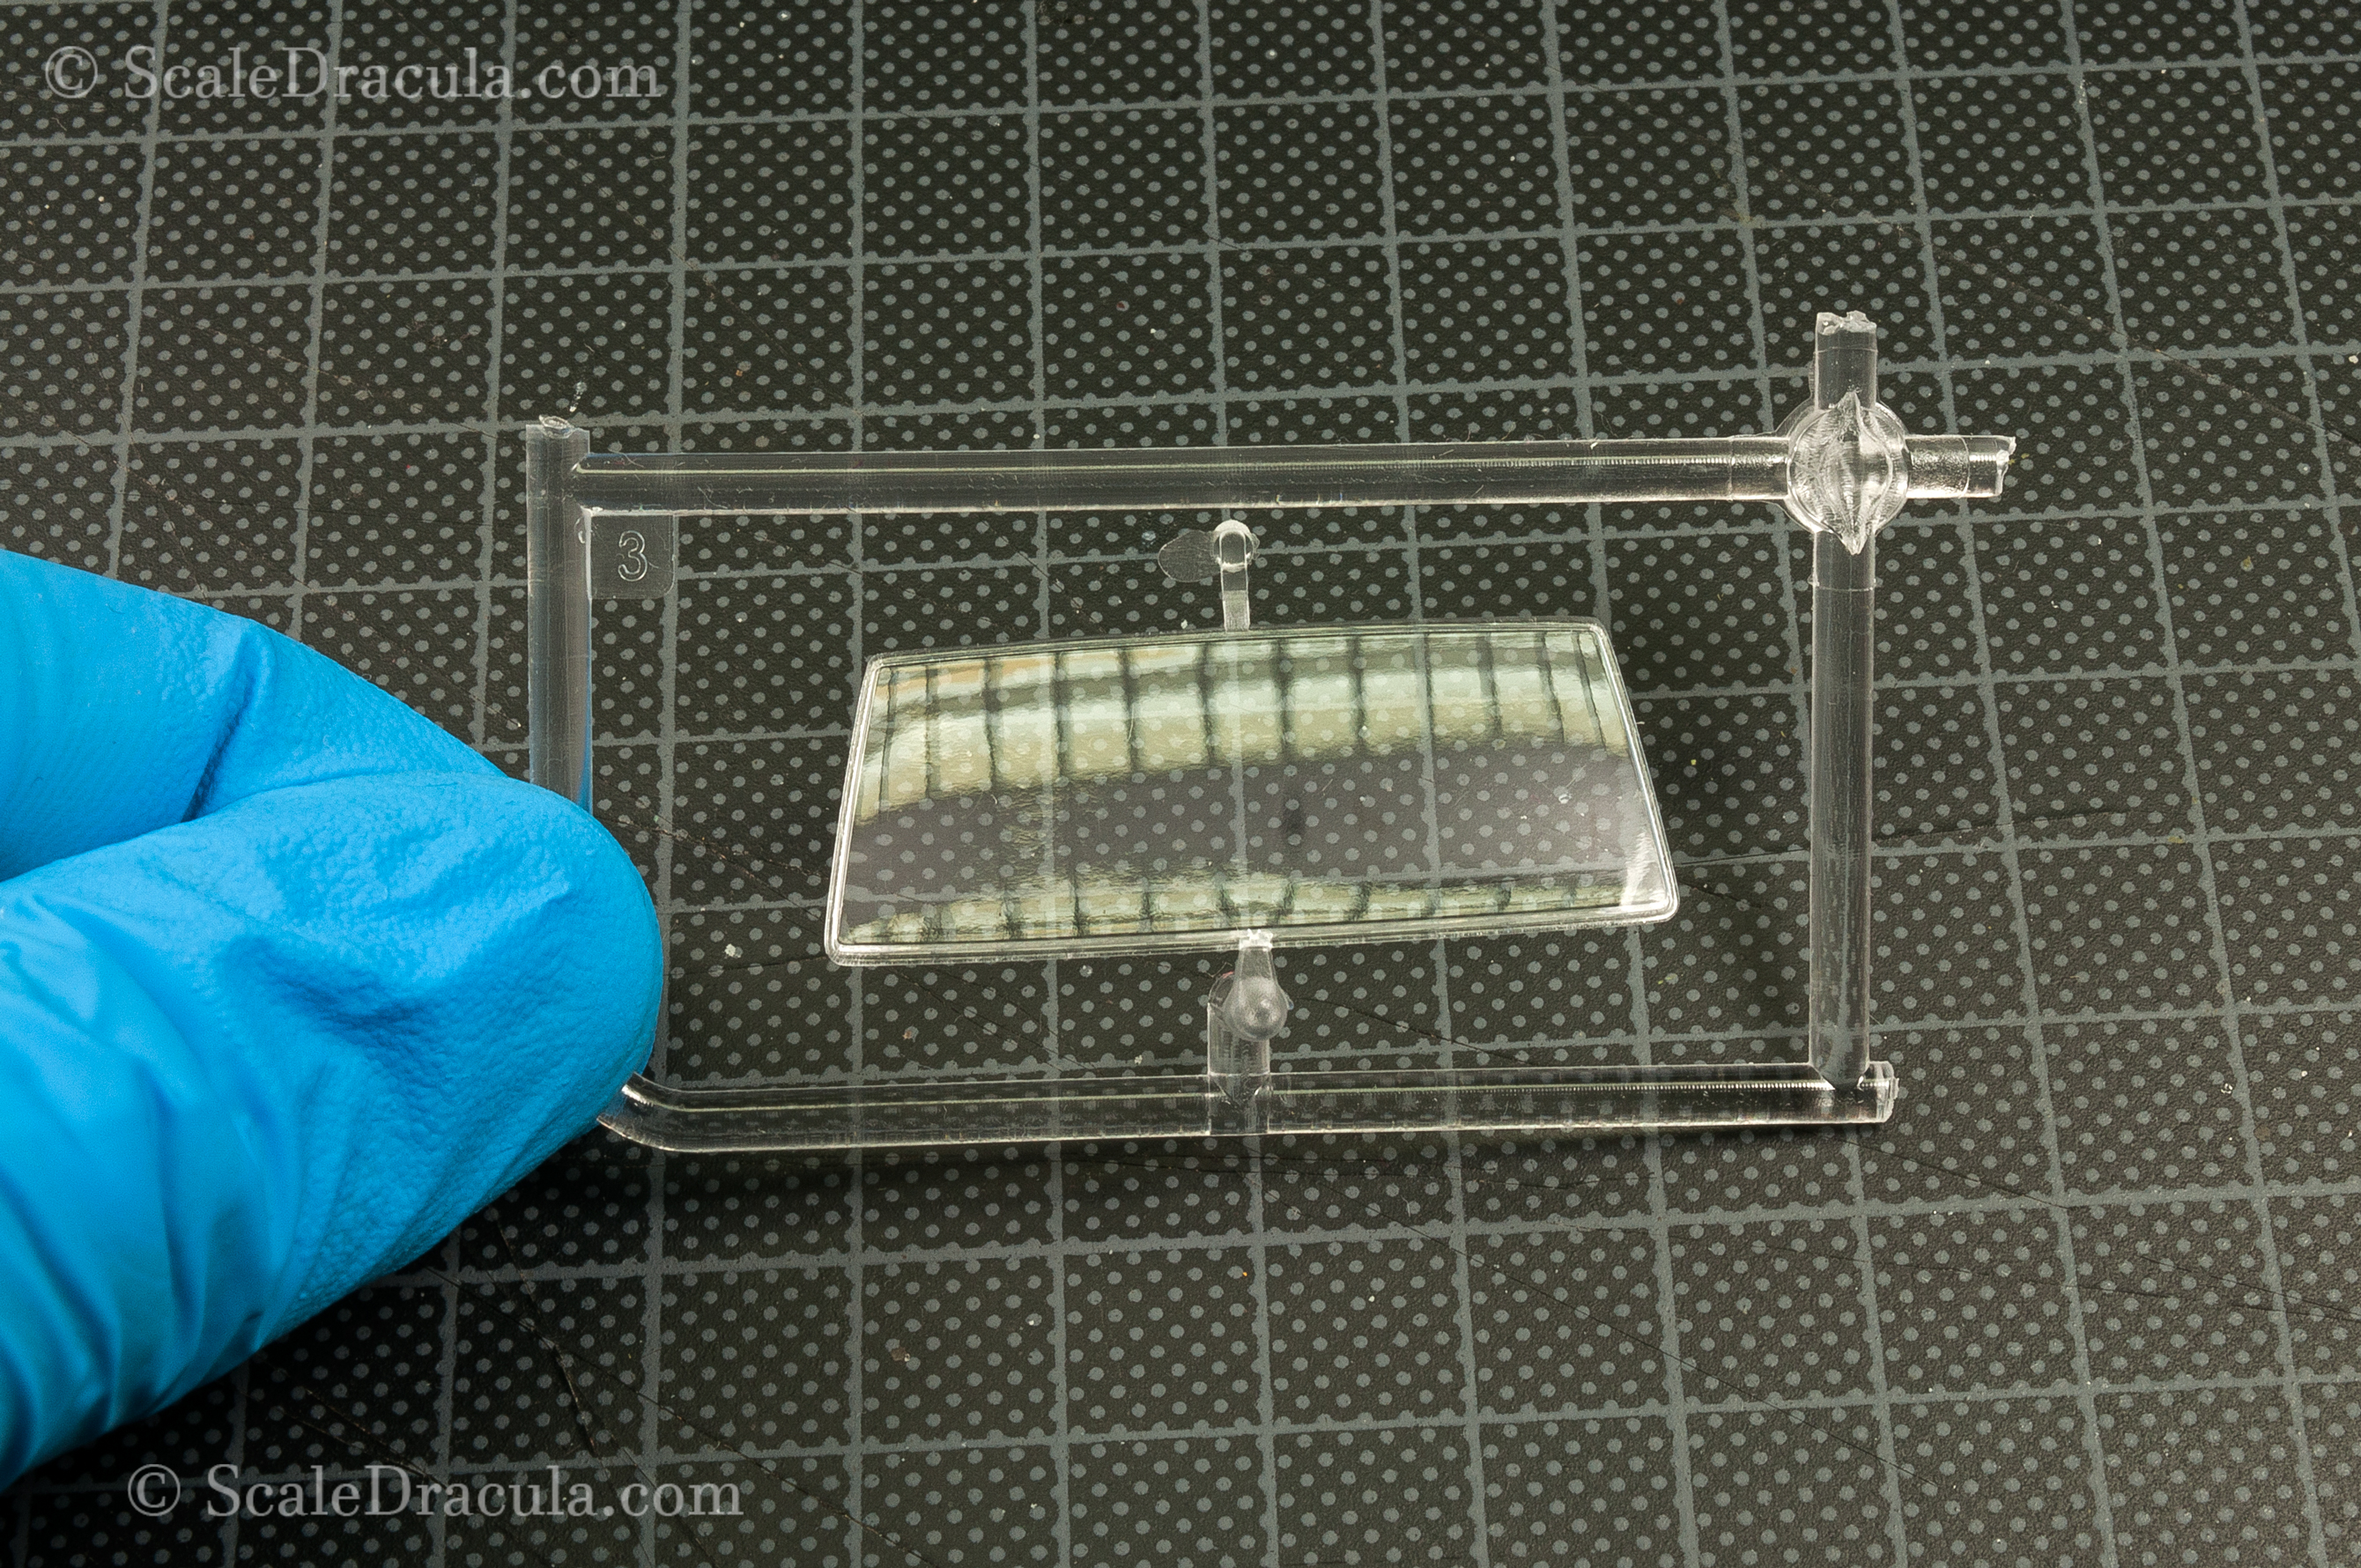
Now take a wiper of your kit and measure the distance between the joint and the two ends of the blade (A and B).
Notice I also left the wiper on the bracket for easier handling.

Use the measurements to cut out two circles from a masking sheet. This will give you a nice ring.
You can use ordinary paper as well, it will make next steps more complicated though.
I used masking sheet by Tamiya.
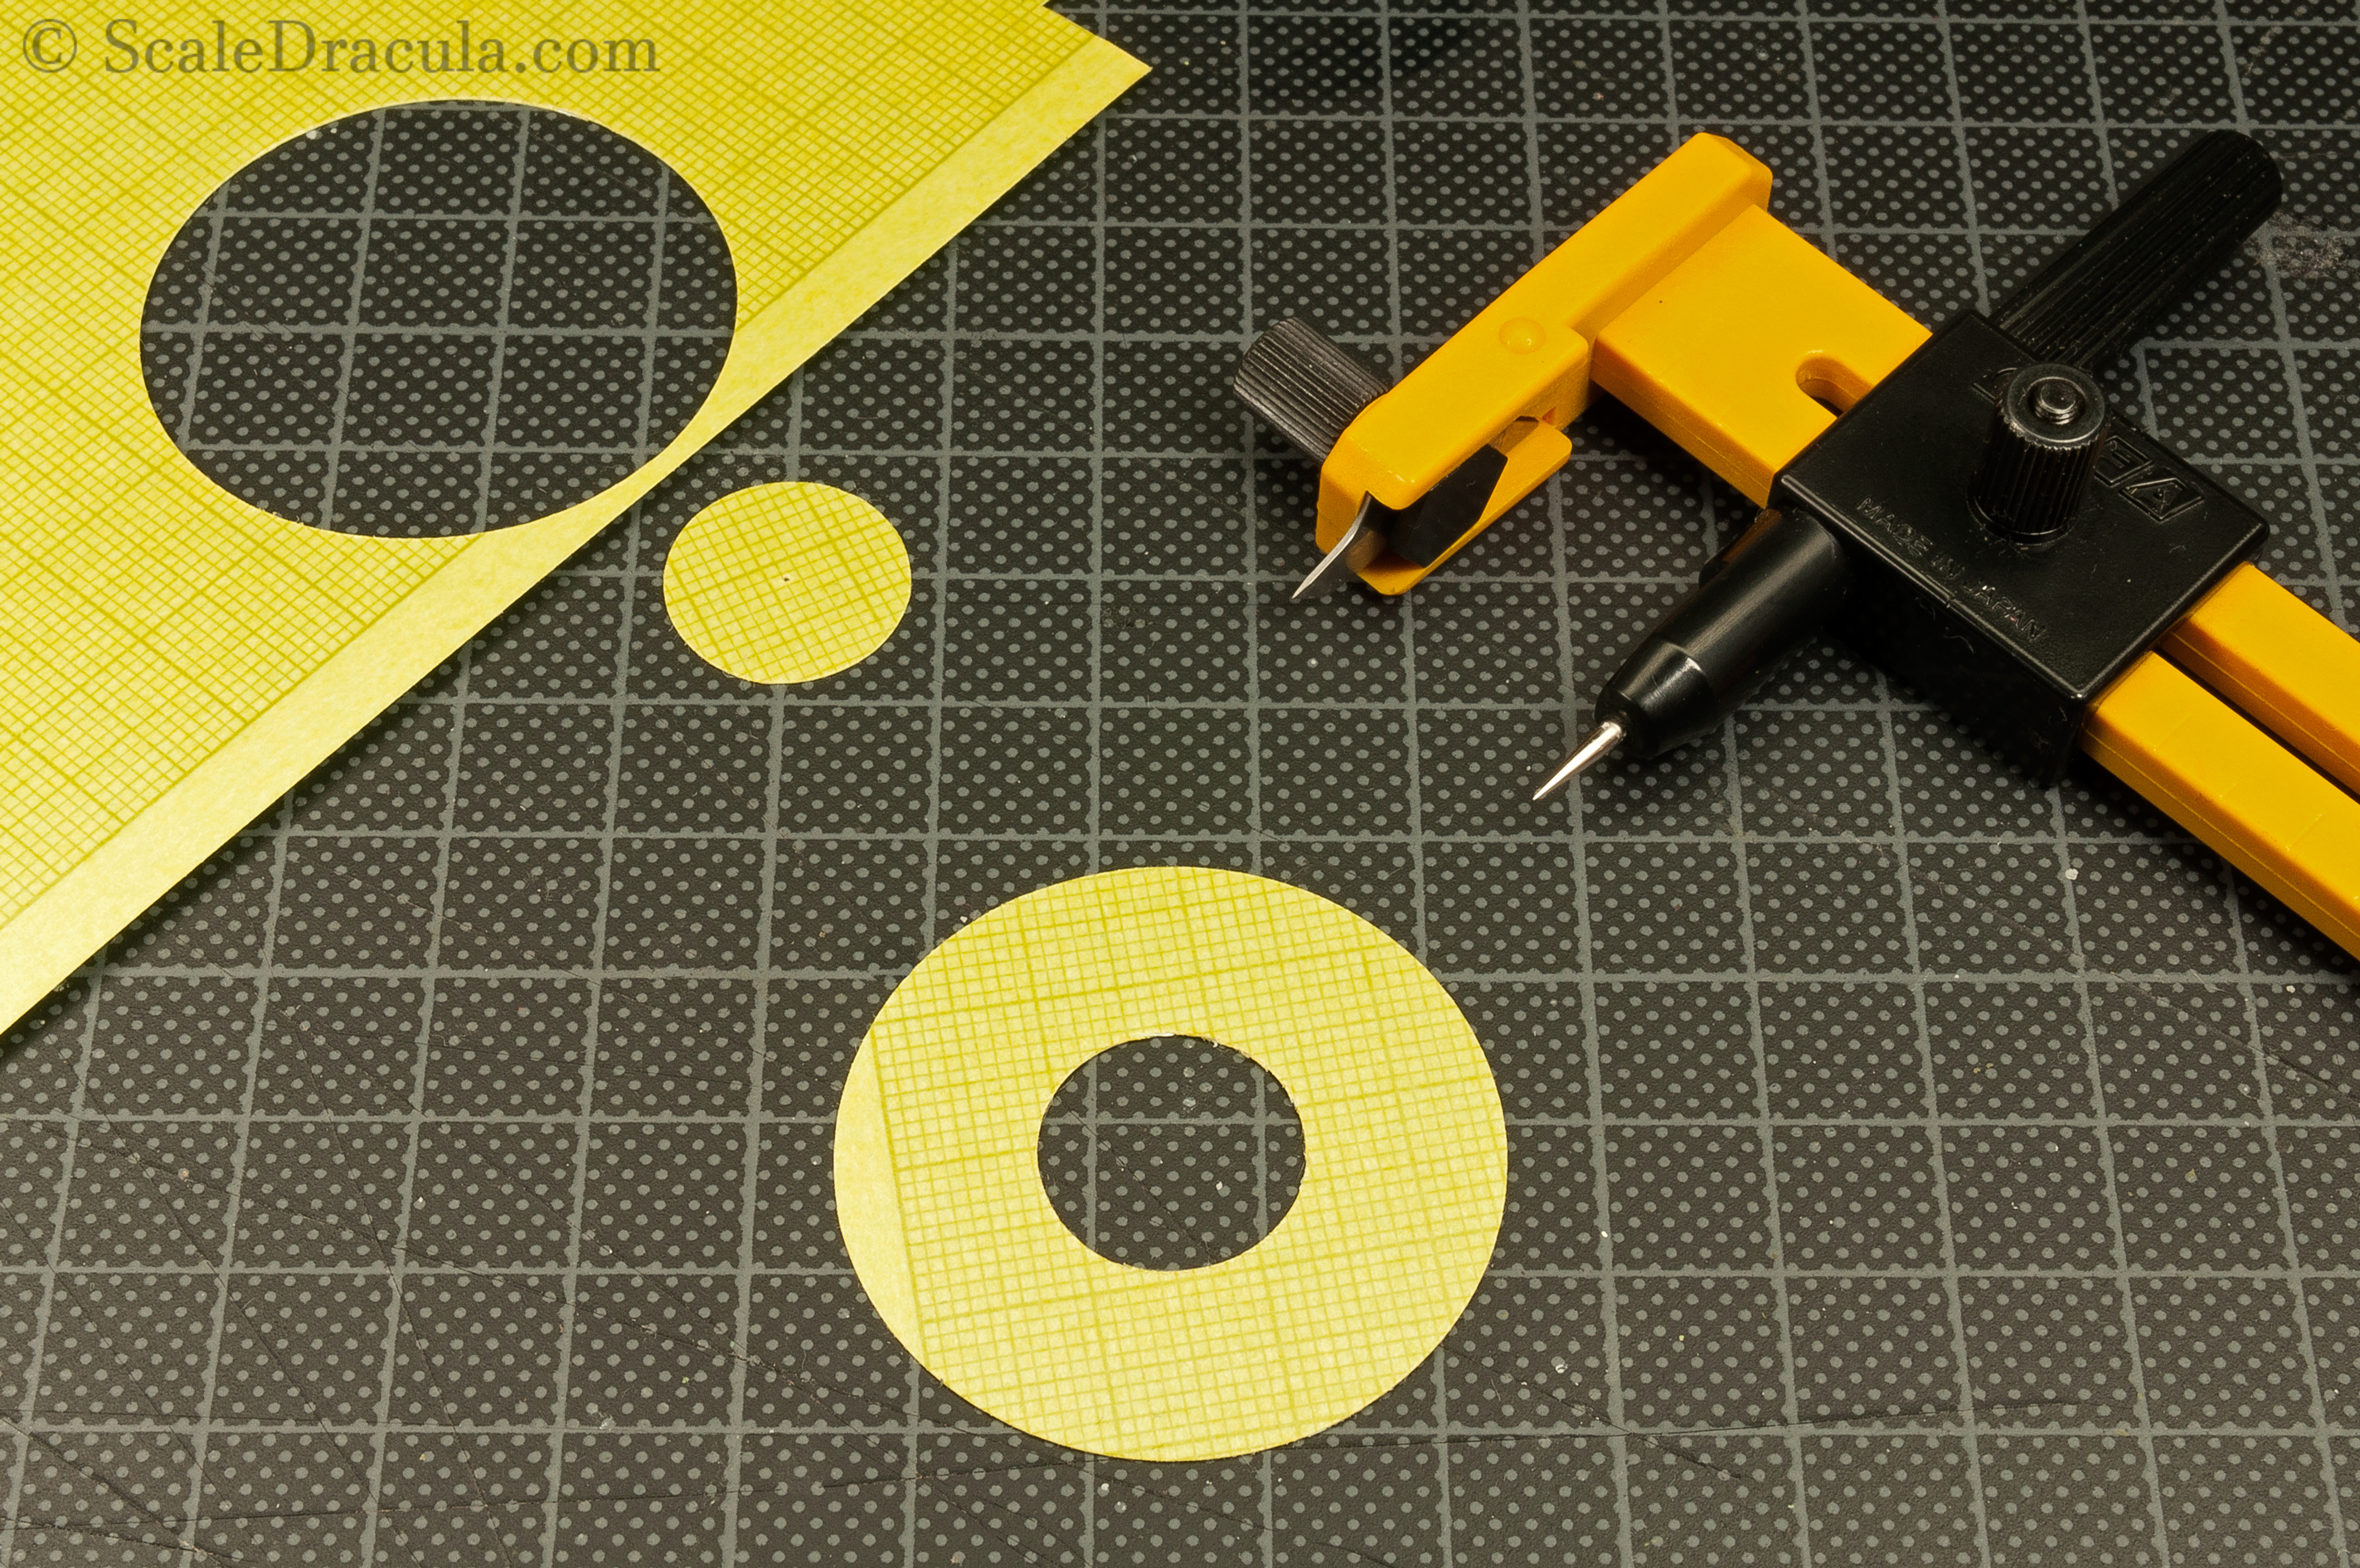
Now focus. You need to take the ring and cut out the shape that each of the wipers is covering during its movement. The shape is not that obvious as the blade of the wiper pivots on its way up and down. You also need to know where both of the wipers stop, and that’s not always logical.

I used a reference photo to help me with the shapes. Find one suitable for your project or just use your best judgement.

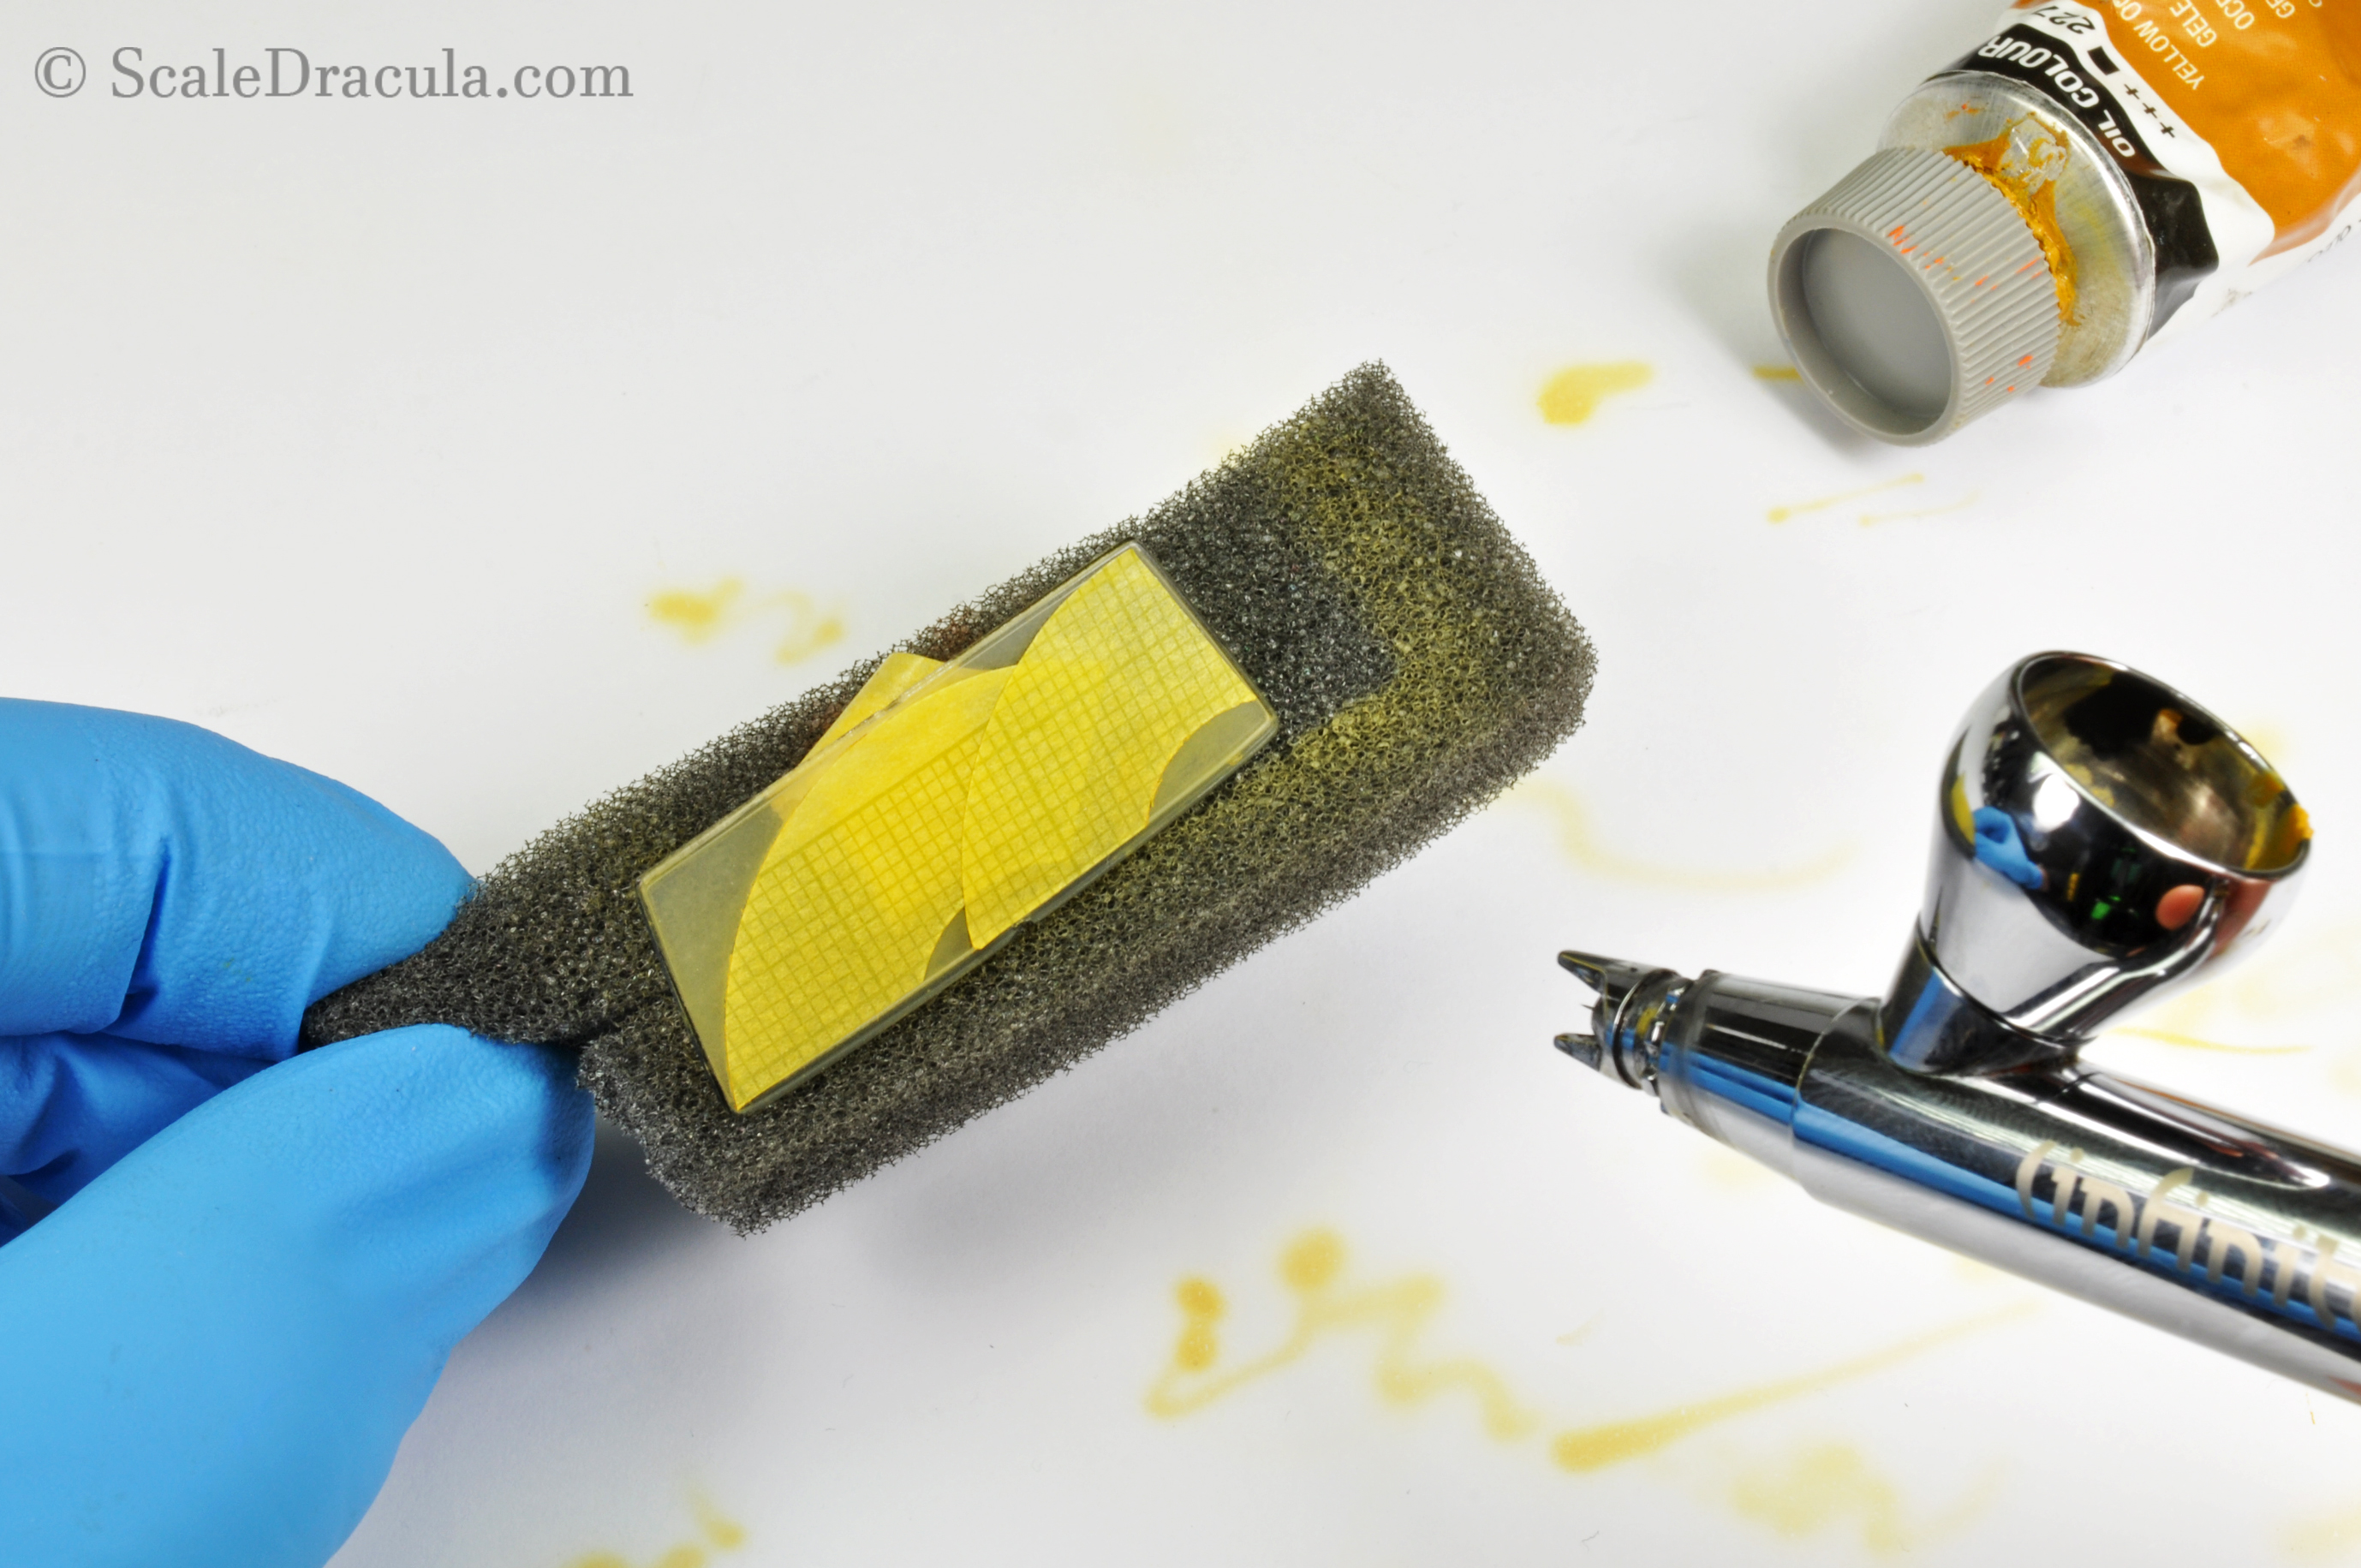
Stick the masks to your windshield. Then dilute an oil paint with white spirit to more or less wash density and paint the windshield with thin, controlled passes. Start each pass from the bottom and make sure the glass is at least semi transparent when you’re done.
You don’t want a thick, opaque layer at this point.
I used yellow ochre oil paint here. Make sure the colour matches your model and the environment you want to place it in.
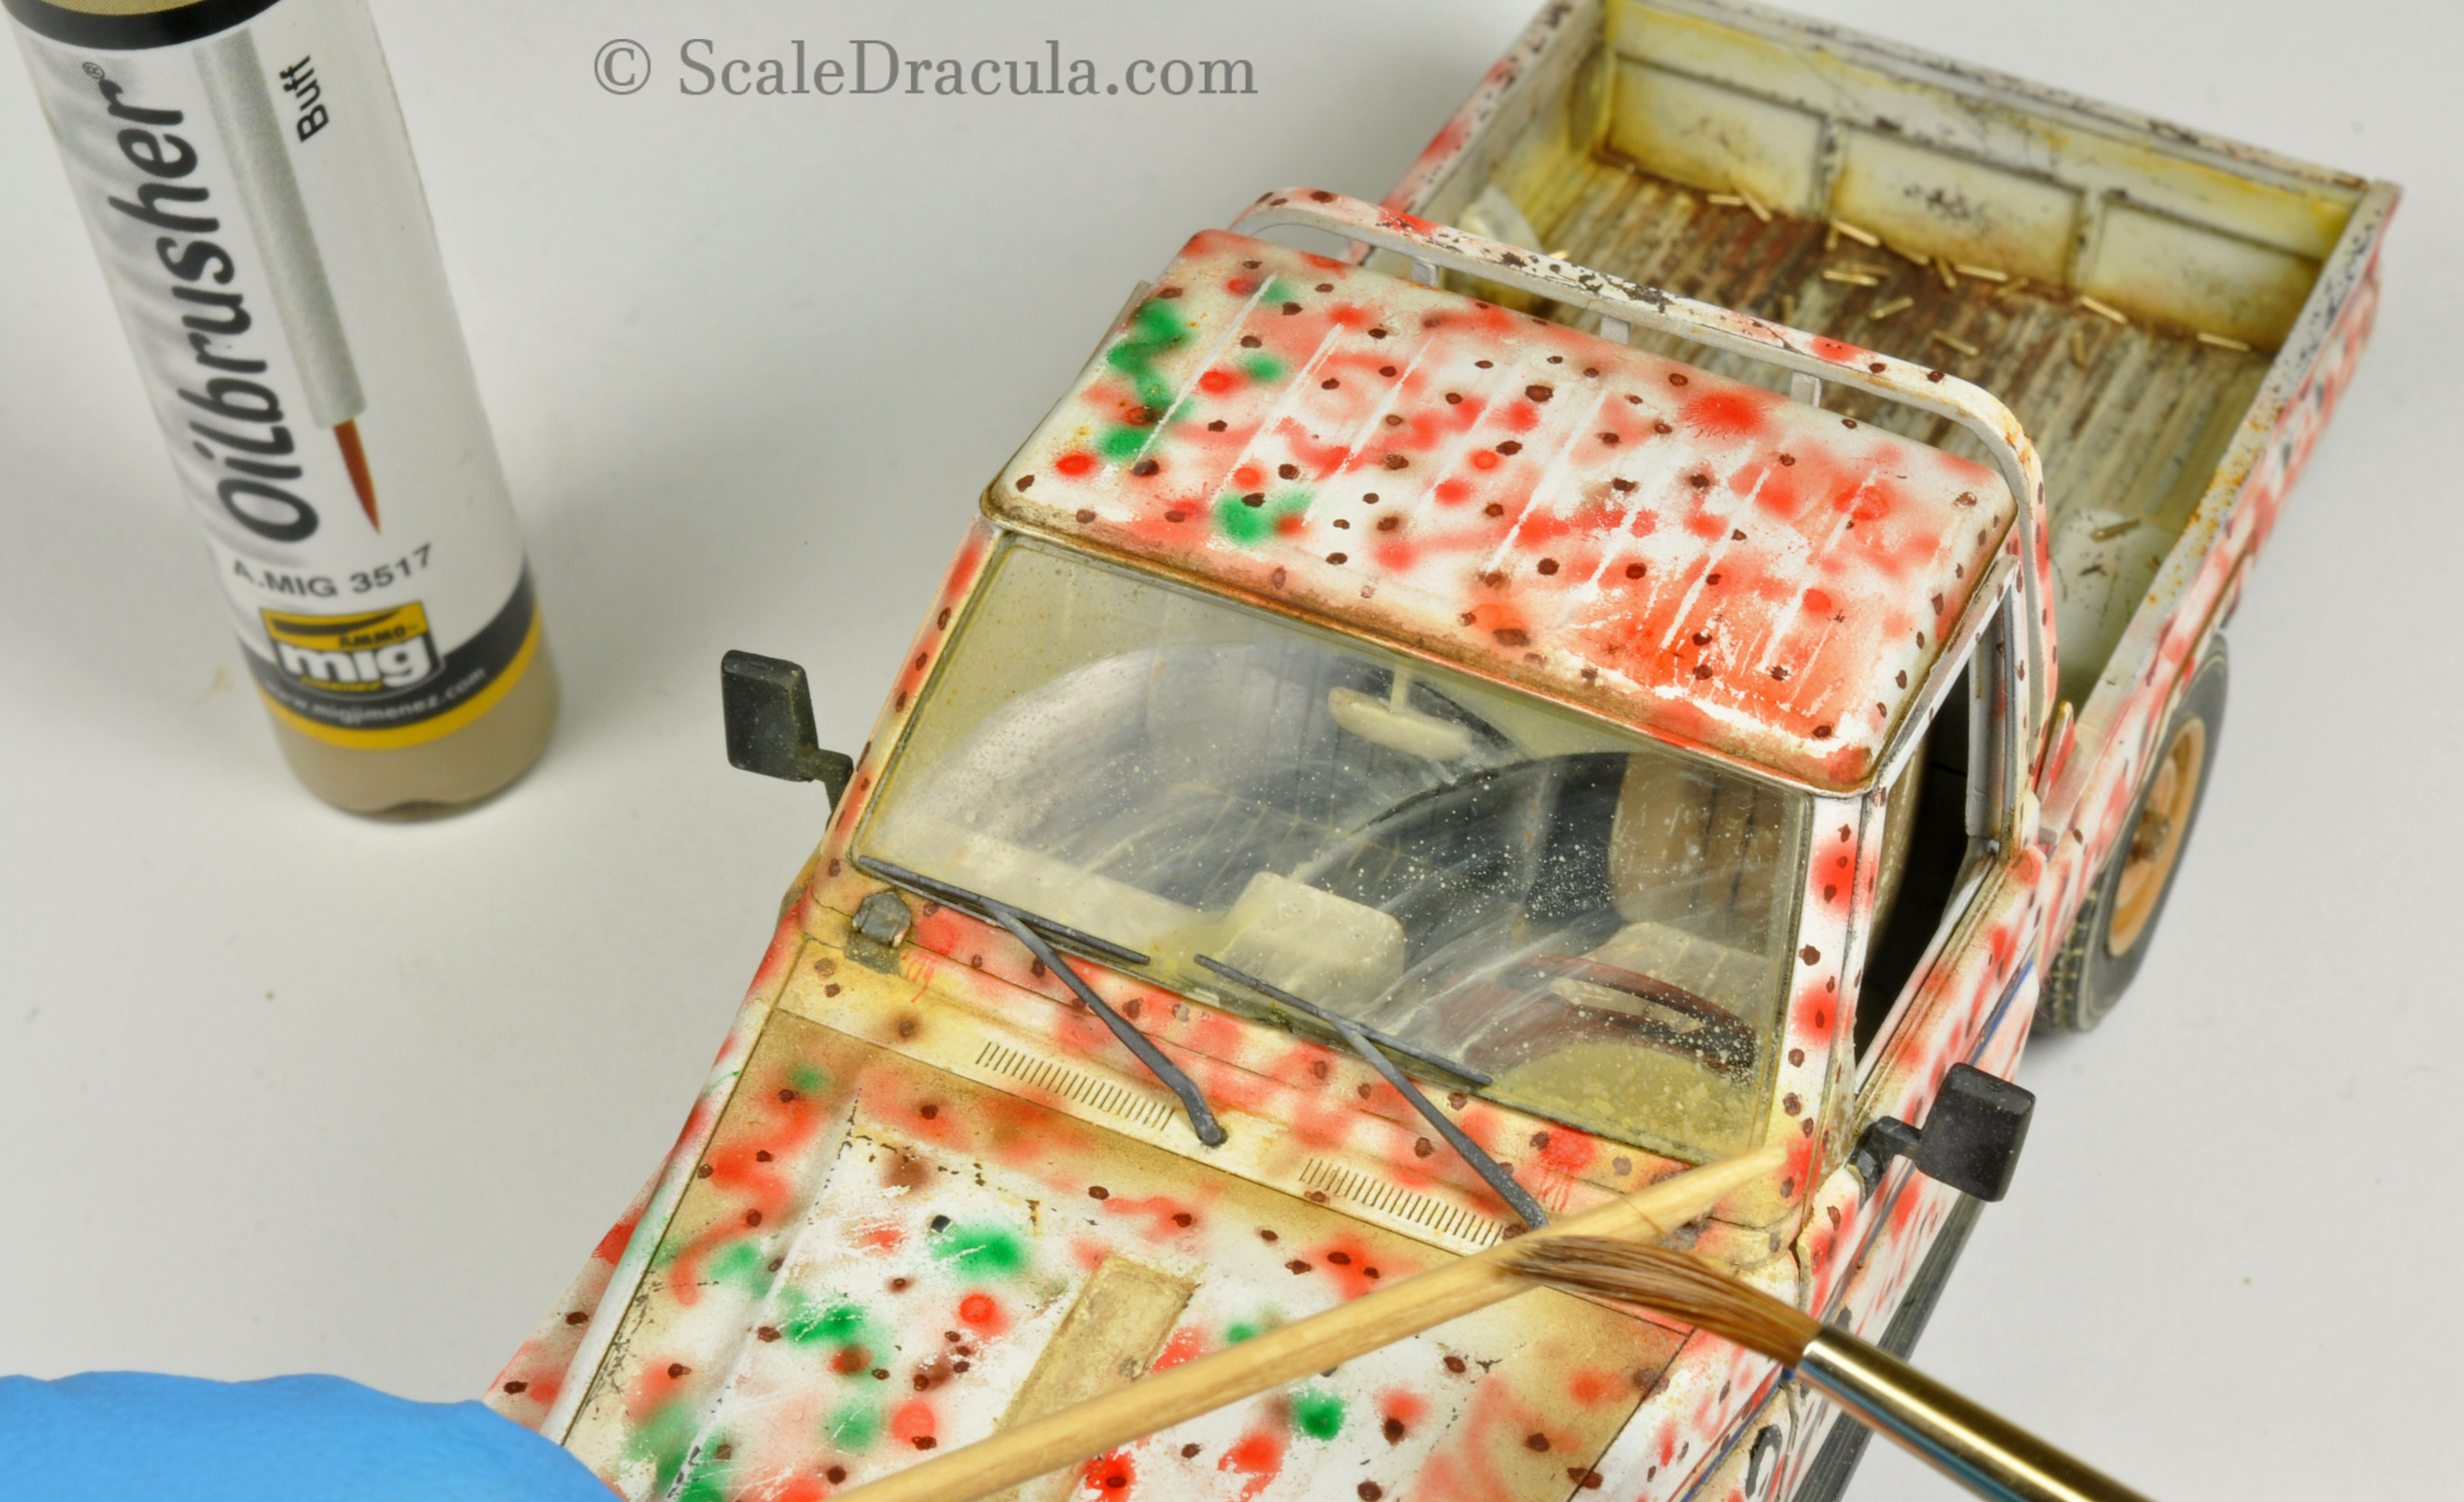
Use your favourite weathering products to create some speckling. Again, focus on the lower part of the windshield.
I used an Ammo enamel product called Loose Ground mixed with some pigment for higher density and diluted with white spirit.
Then remove the masks and attach the windshield to your model. Oil paint need a lot of time to dry, so don’t rush it. One fingerprint on the fresh layer and your work is ruined…

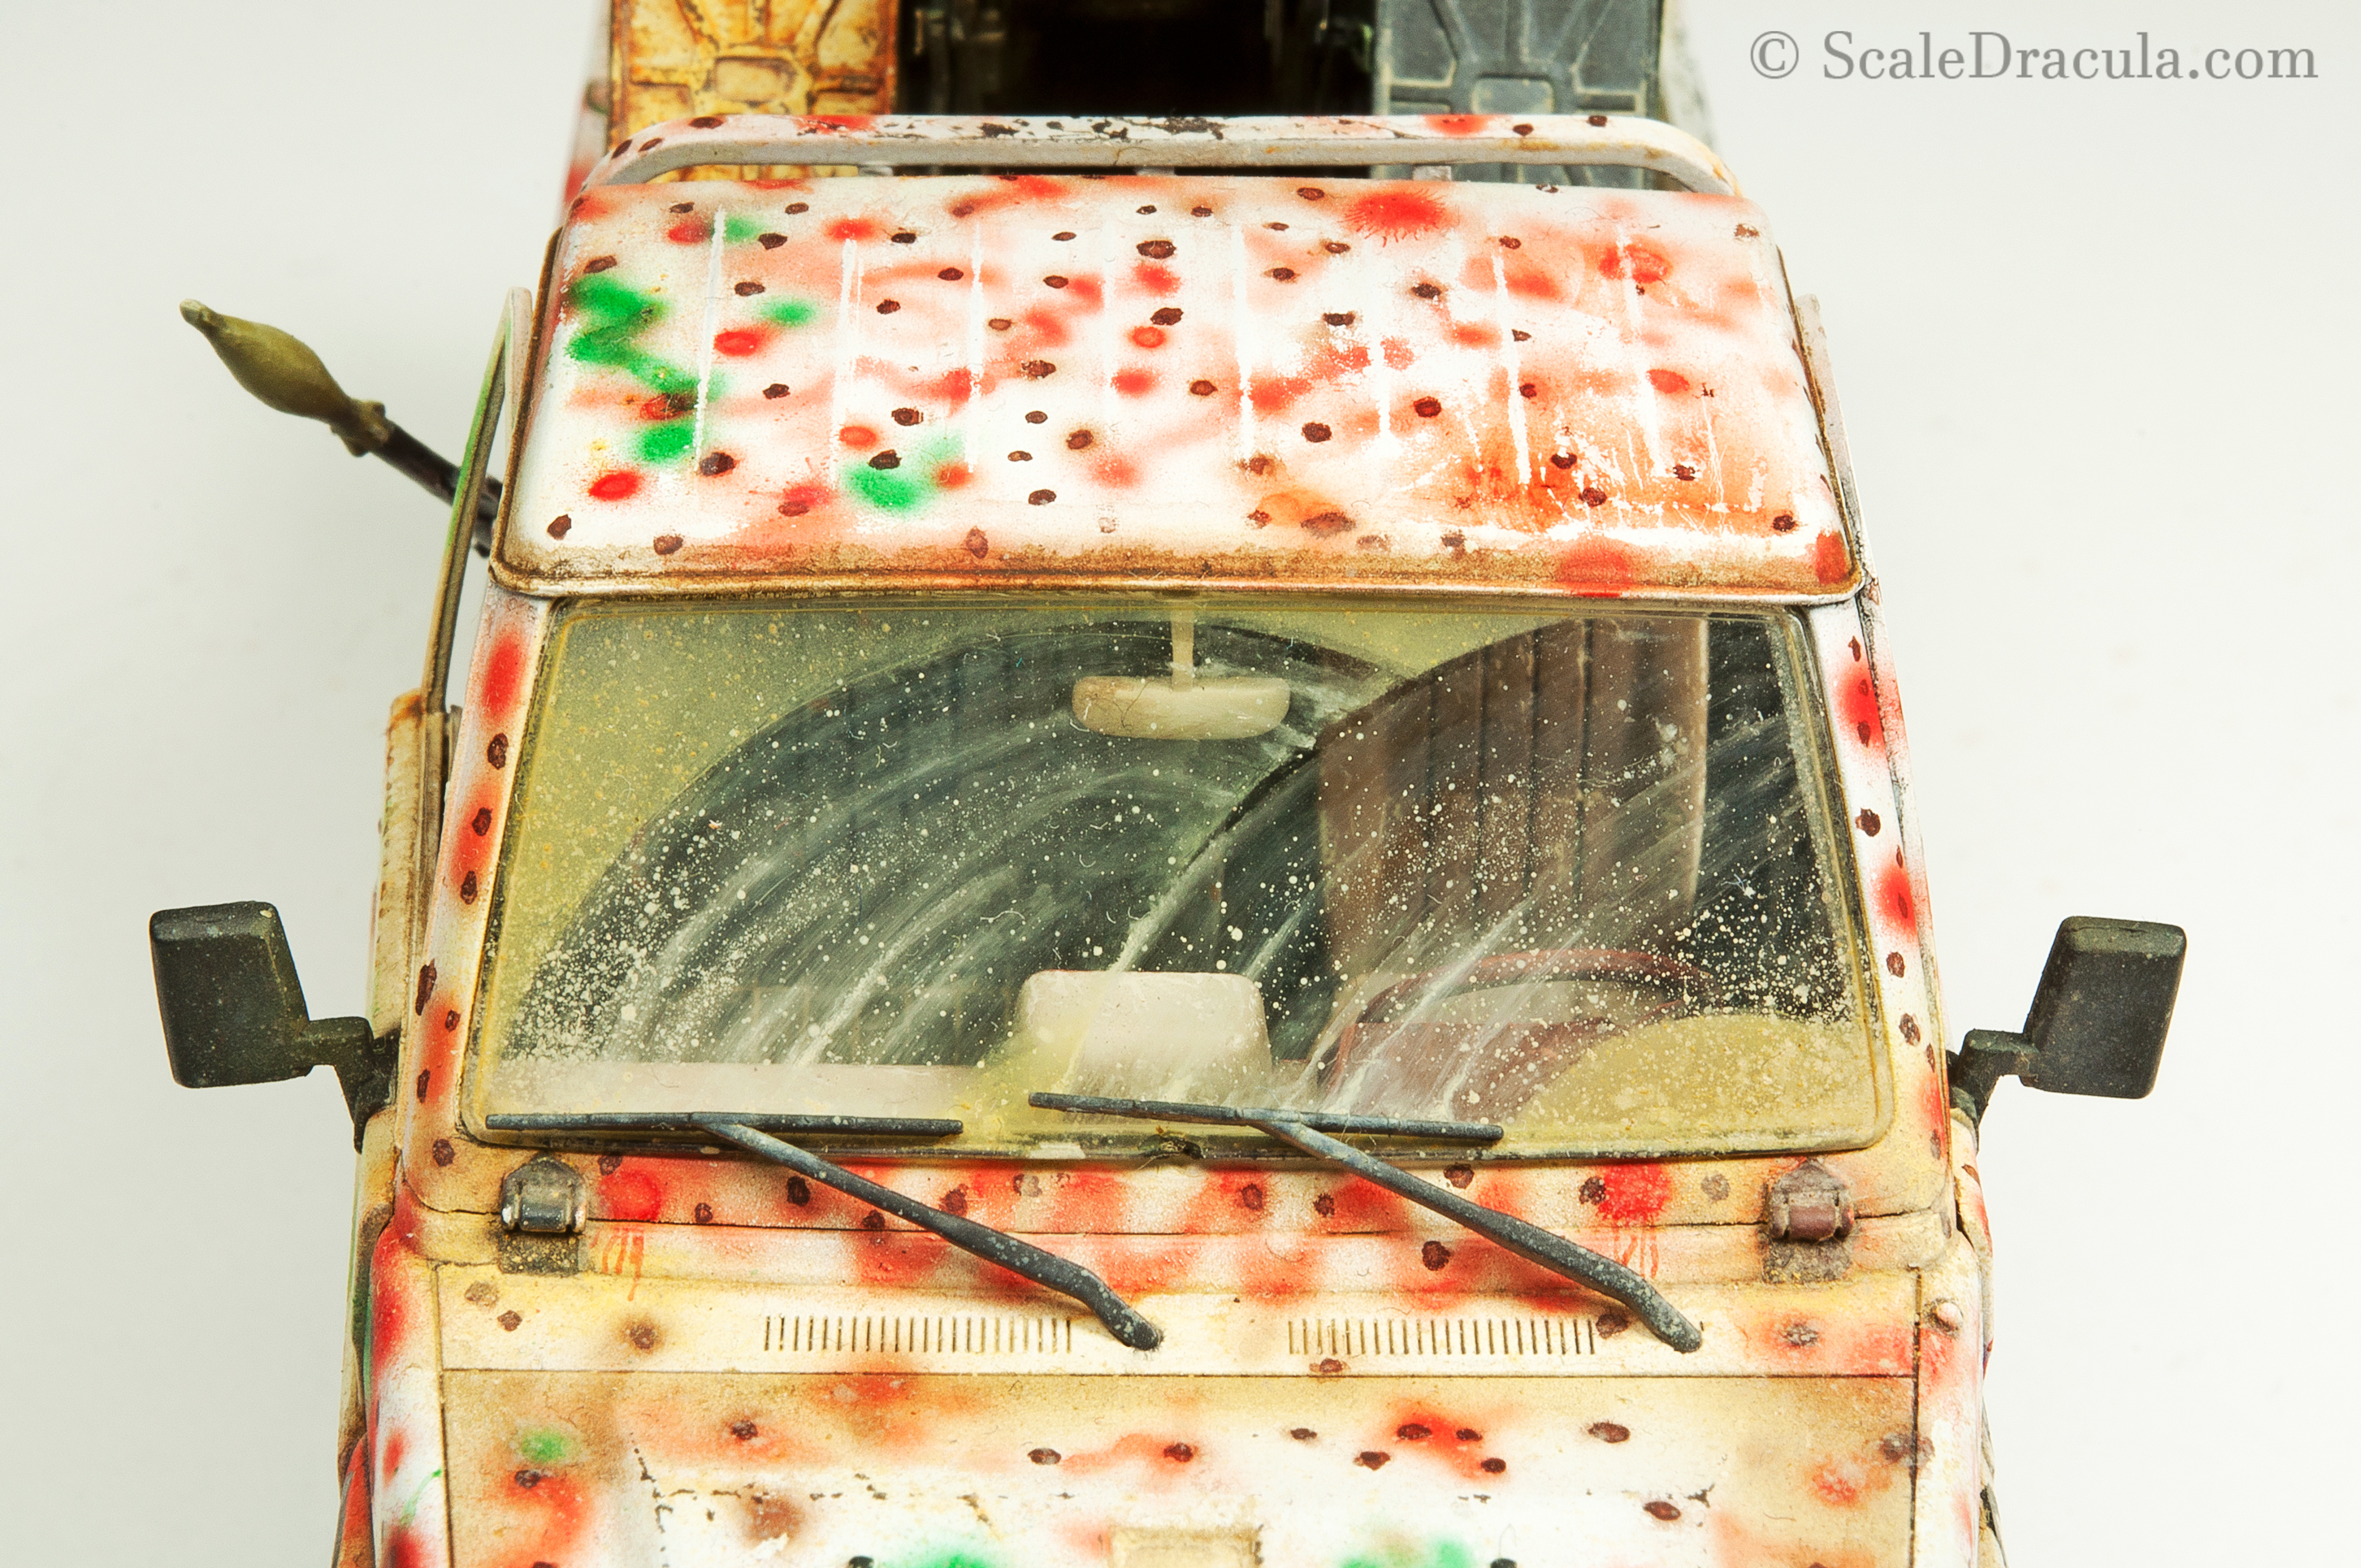
Now we’re going to recreate circular streaks and smudges made by an old wiper. Mix a light sandy tone using oil or enamel colours. Then apply the paint on the windshield and blend it with white spirit.
Make sure the streak has a correct shape. It needs to conform to the wiper’s circular path.
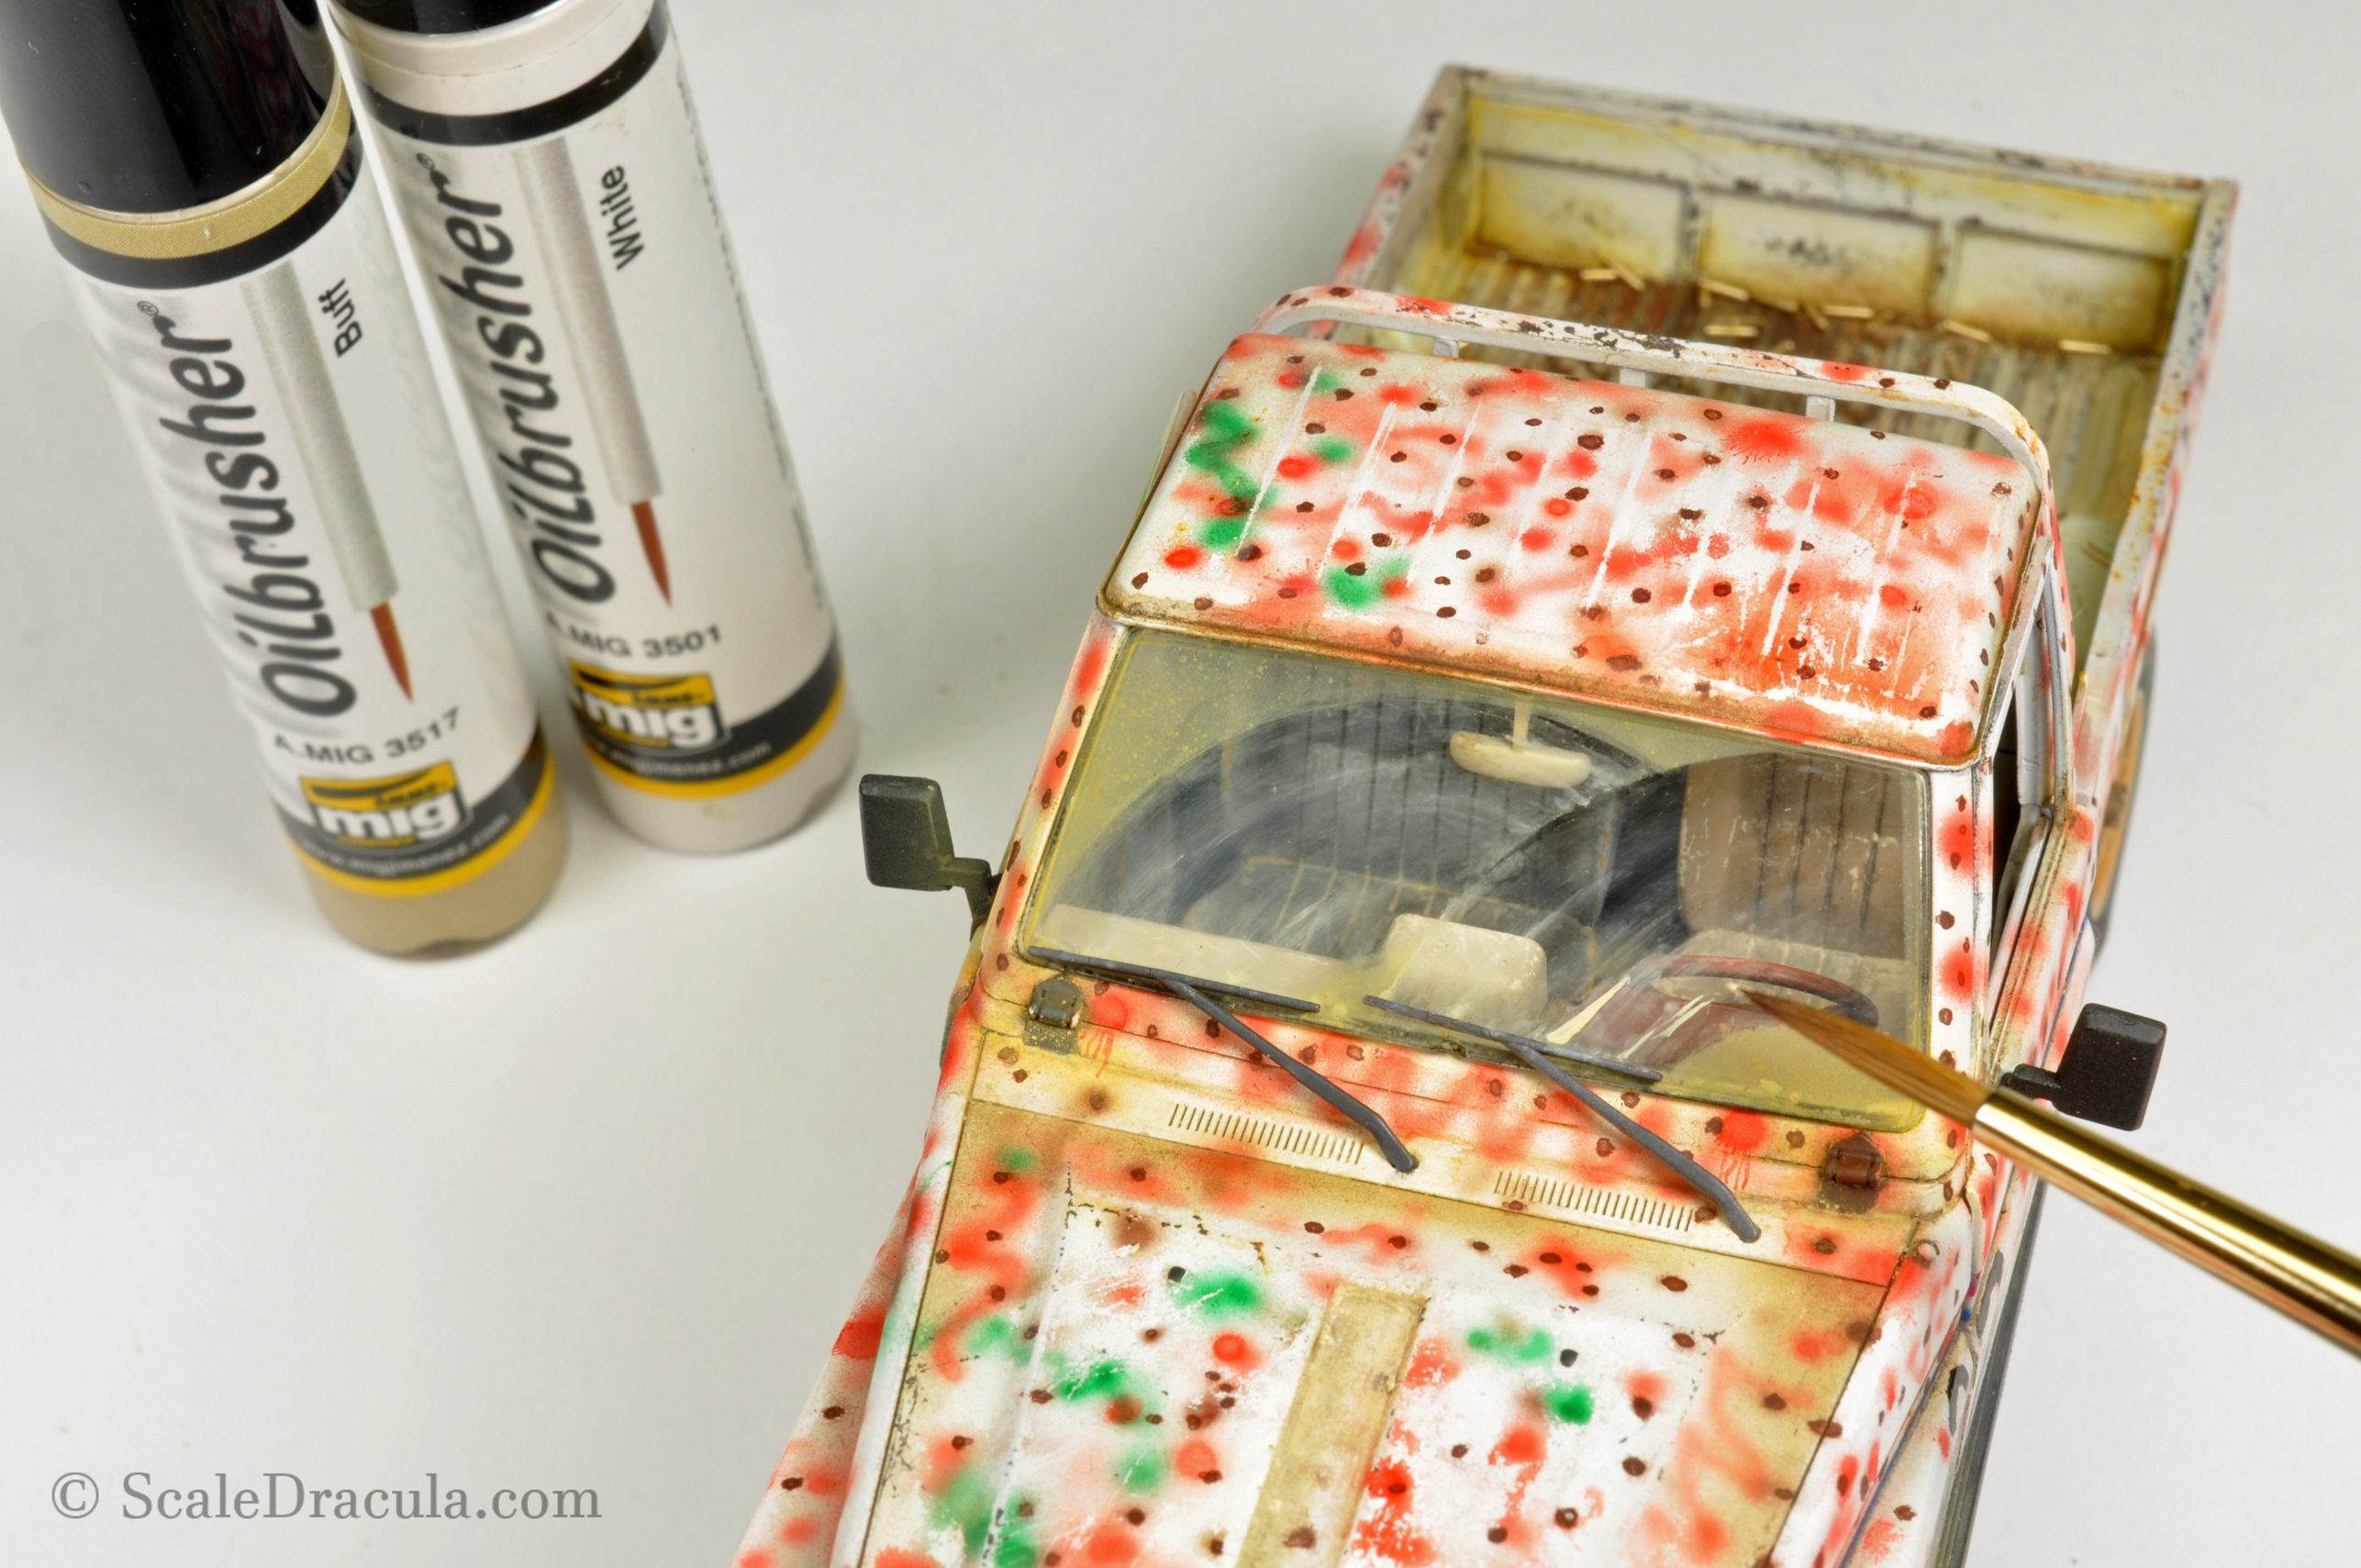
Add some more speckling concentrating on the sides of the windshield.
This step is meant to mask the striking contrast between the clean and the dirty part of the windshield.
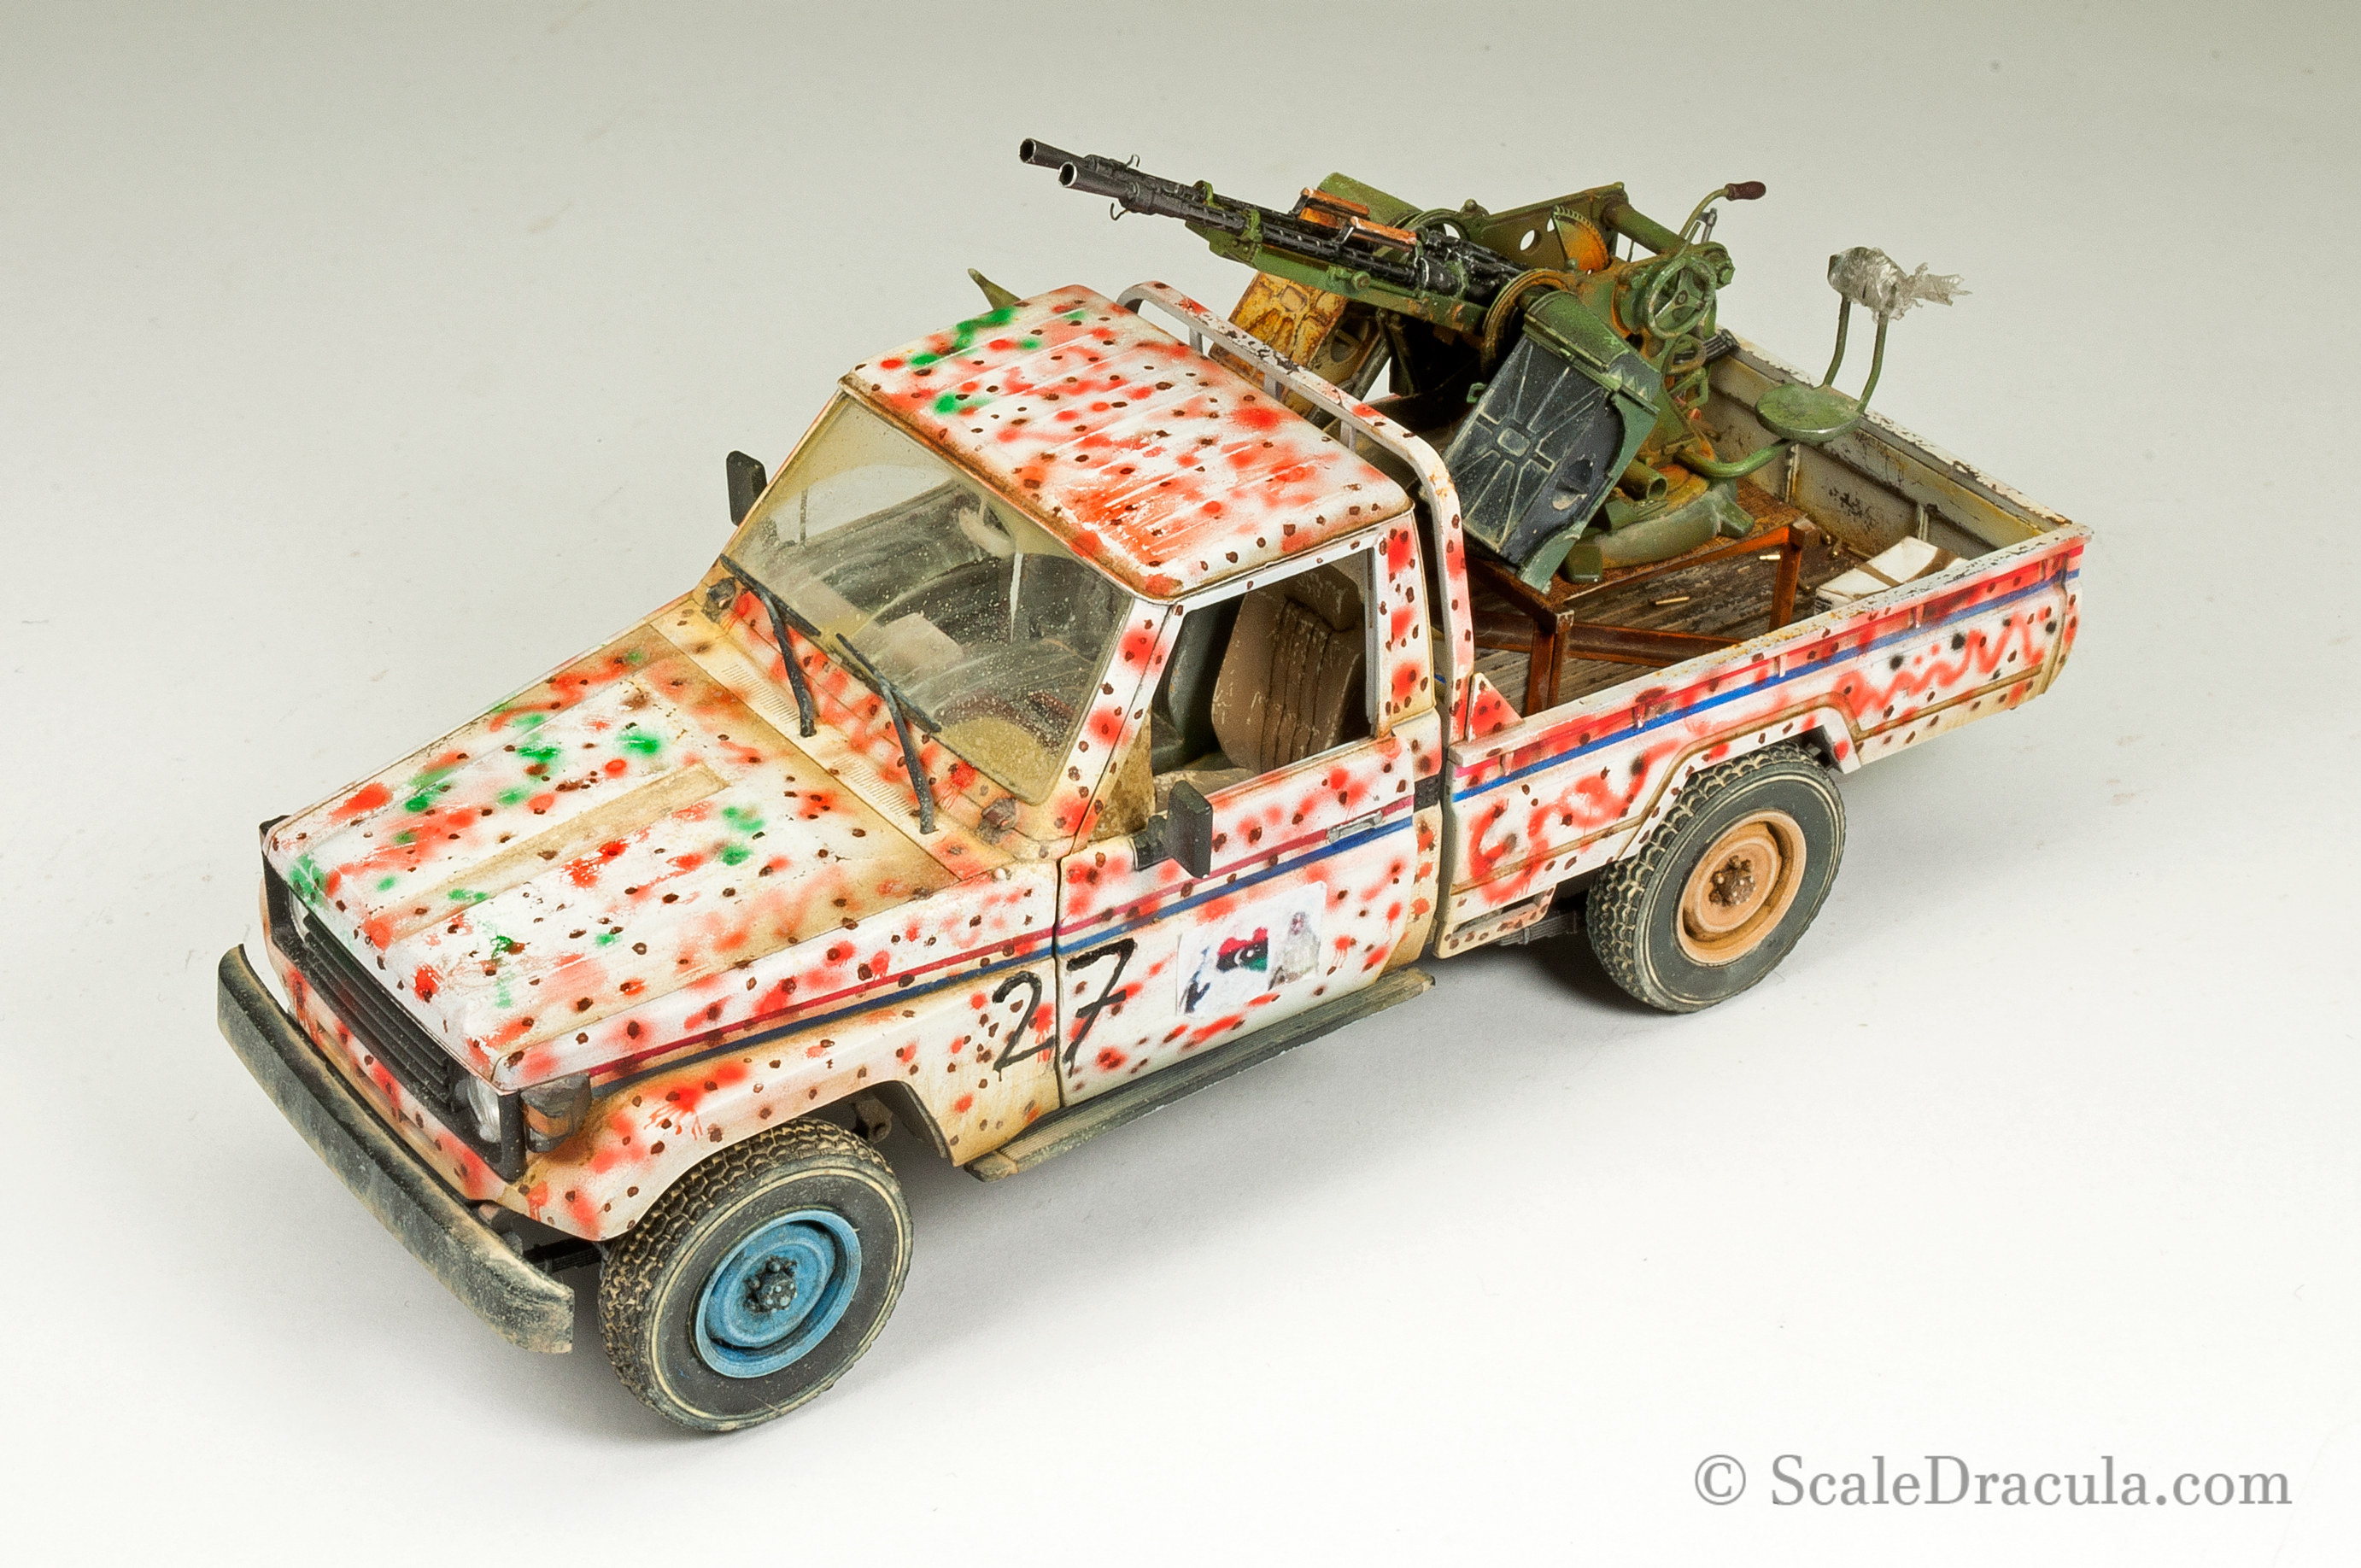
We’re done!
I hope you can see the effect is not that hard to make. However, creating a good mask and placing it with precision is essential here. One millimetre off and the whole effect is ruined. Good luck!


3 Comments
Max
14 October 2019 at 20:07Hey, bro! Nice work! I will use your method in my future builds.
ScaleDracula
15 October 2019 at 00:33Thanks! I hope you can build some kick-ass models with this. And if you do, please send me some photos. 🙂
Kevin Burt
10 March 2021 at 14:26Really enjoying reading the techniques you use, fantastic models.