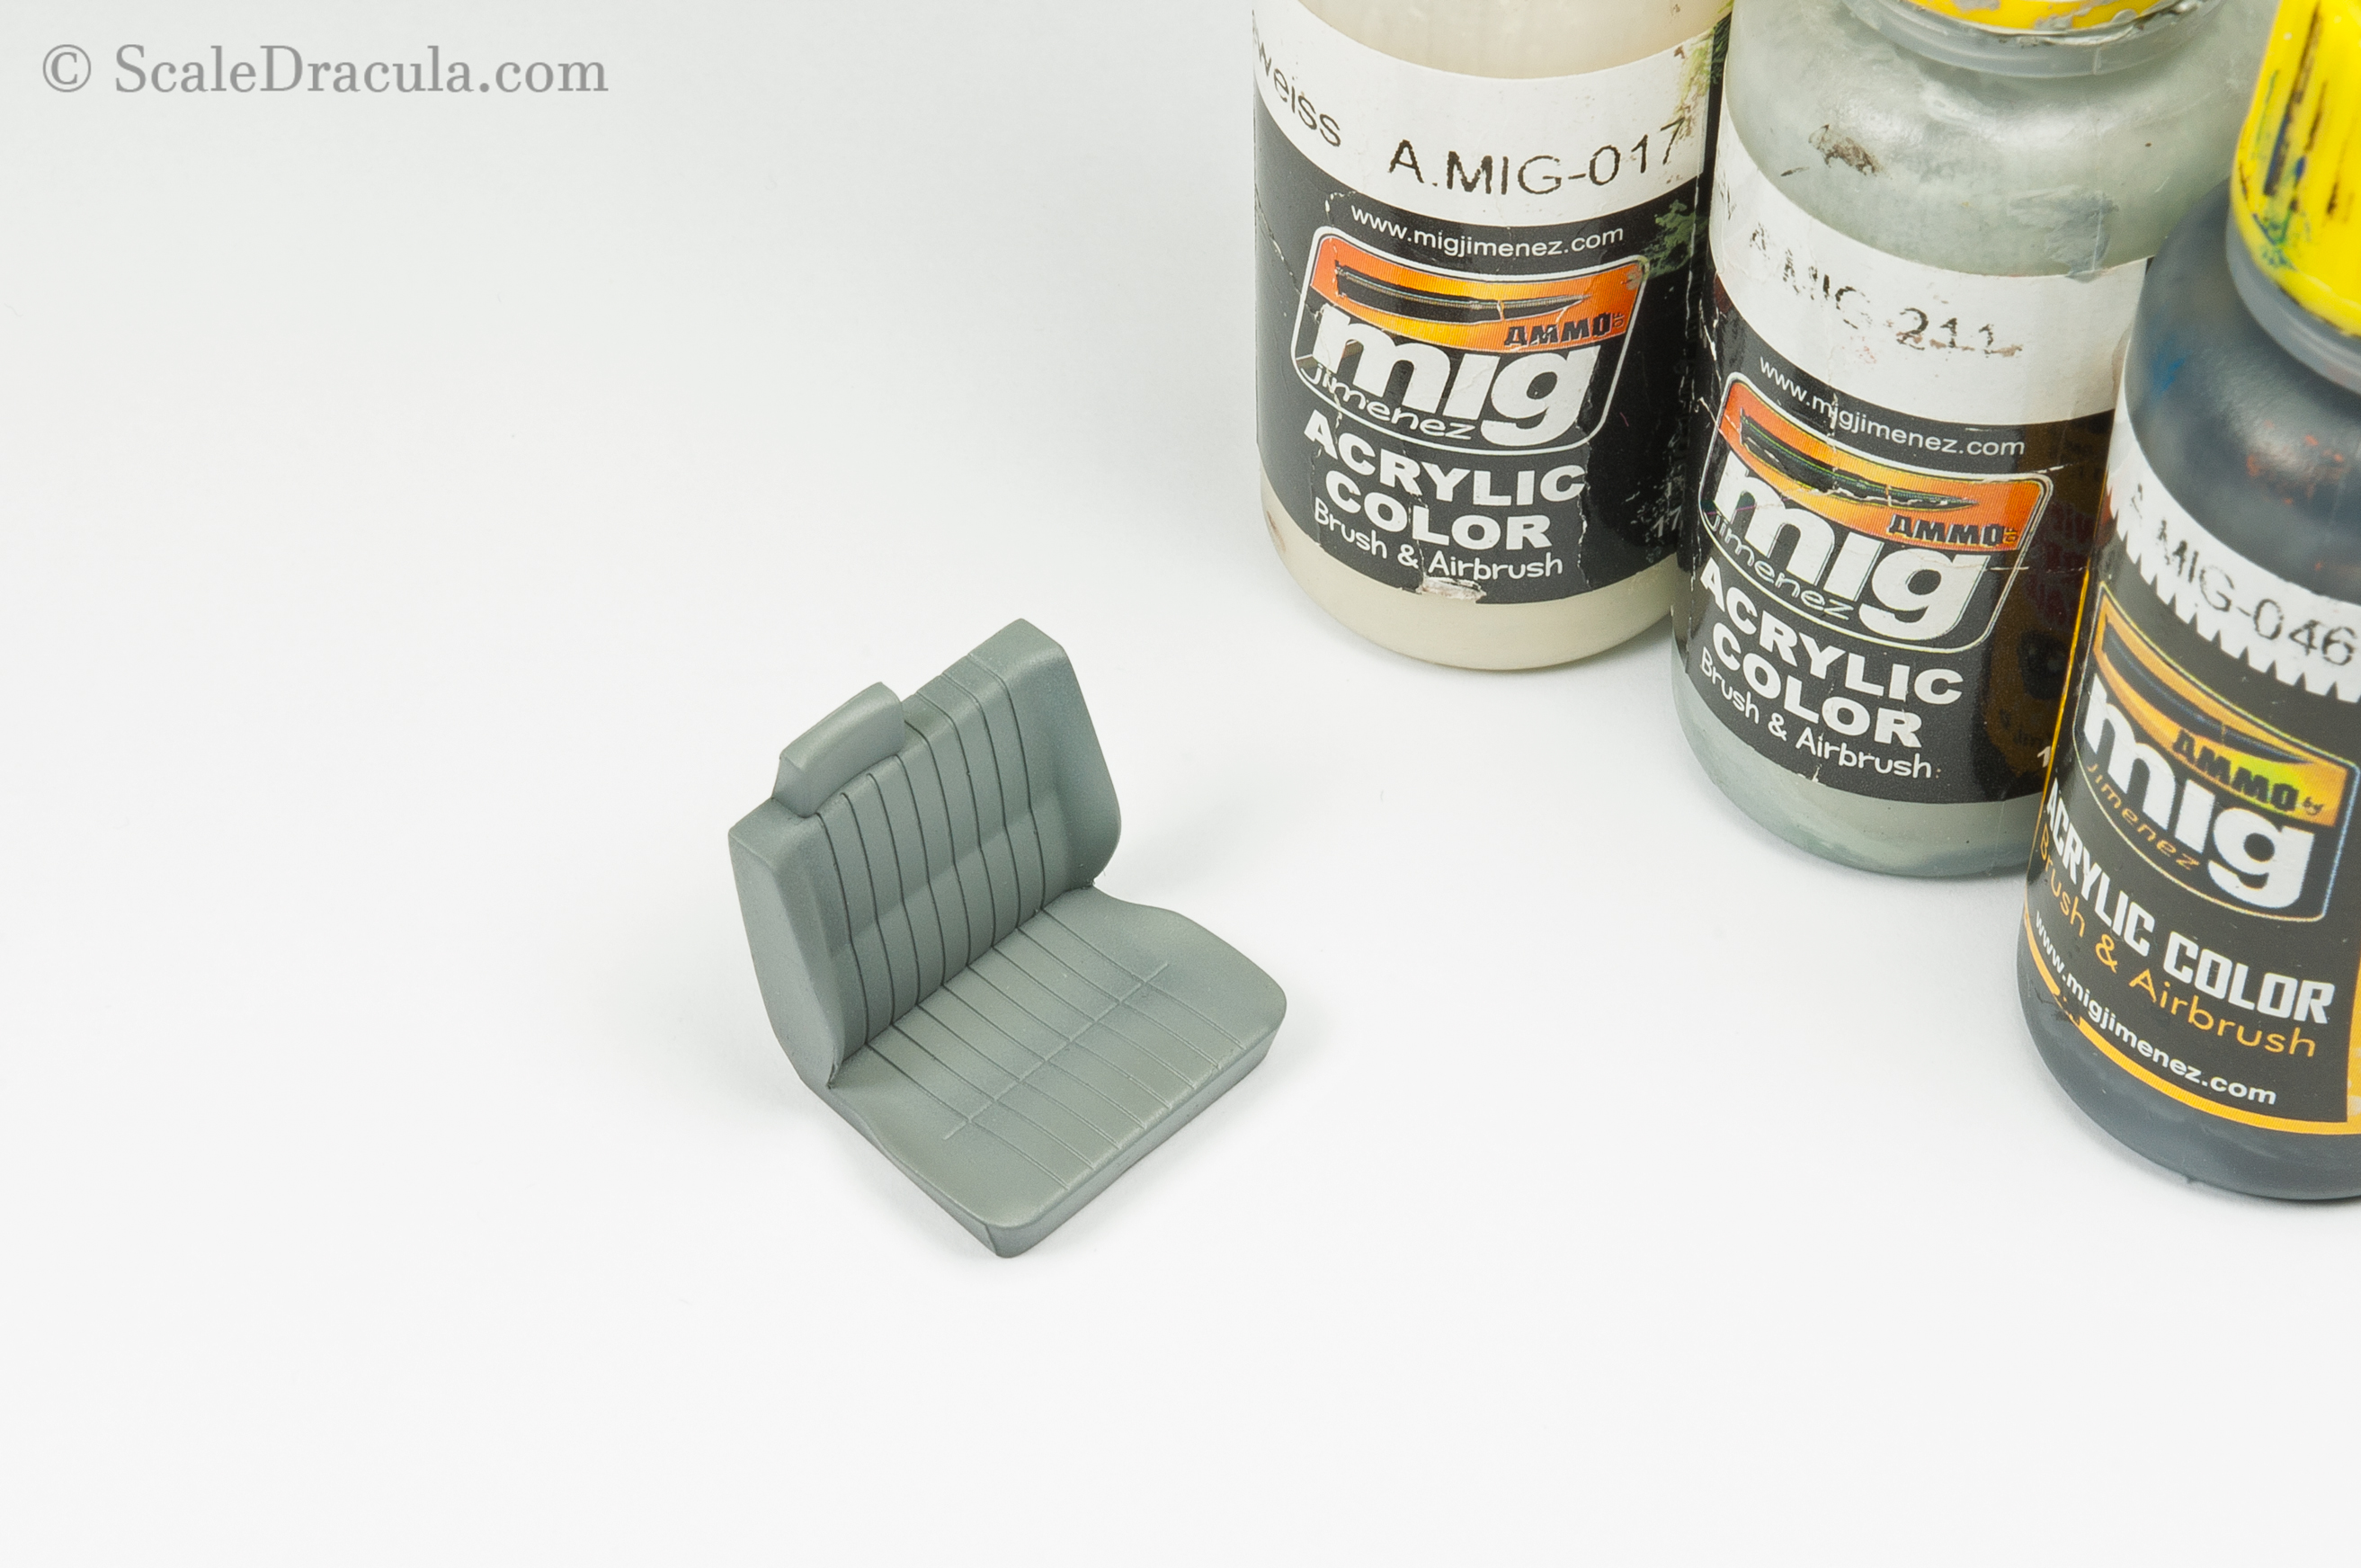
I start with the seats that I want to be as beaten up and old as the rest of the vehicle. First I airbrush a base with a custom mixed grey shade.
Then I start to paint some highlights free-hand. Obviously I aim at the raised details and the top part of the seat.
We can go the opposite way as well and paint the shadows. This time I use some masking tape to help me with precise application. The point here is to bring out the bump in the backrest.
It’s often a good idea to break the monotony of the colour. Especially on a geometrical structure like that. I masked out a single stripe of leather and I highlighted it separately.
The last step at this stage is to cover the seat with a glossy varnish. I know, the leather is not really glossy – more likely satin. But most of the sheen will fade away after weathering anyway.
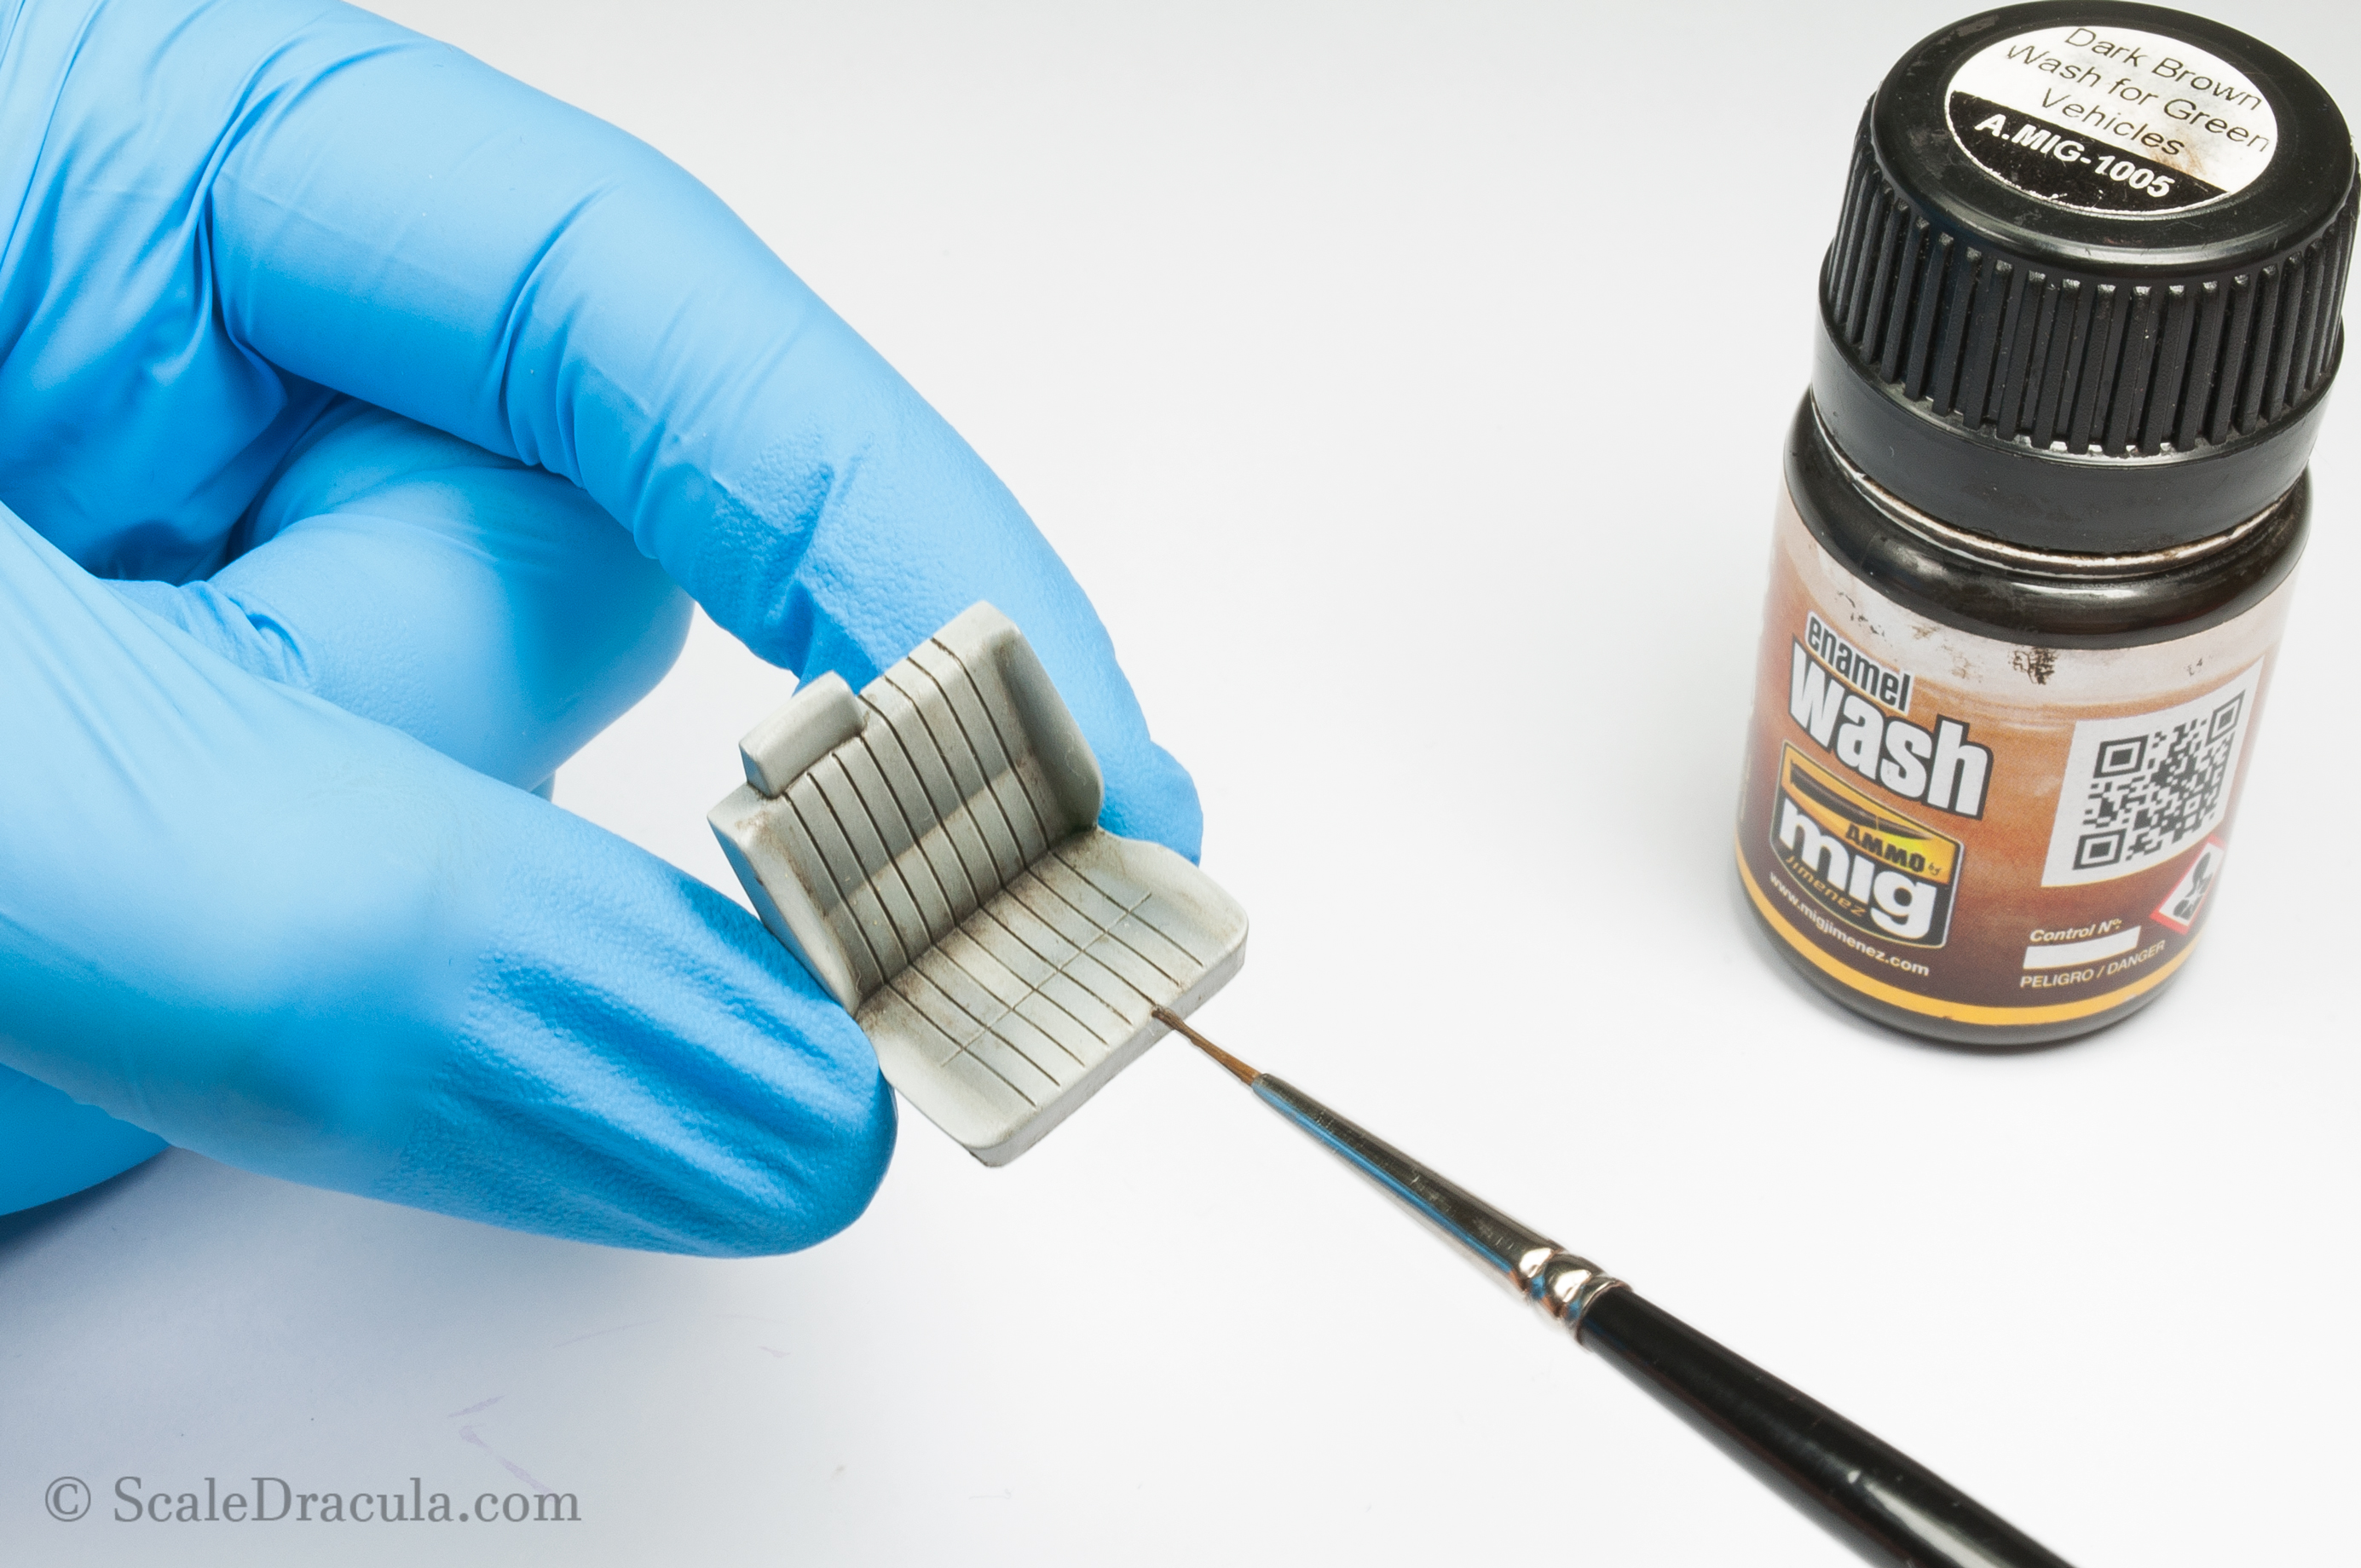
I start the weathering with a wash. Apart from hitting the usual spots I also leave some more paint in the corner where the dirt tends to accumulate.
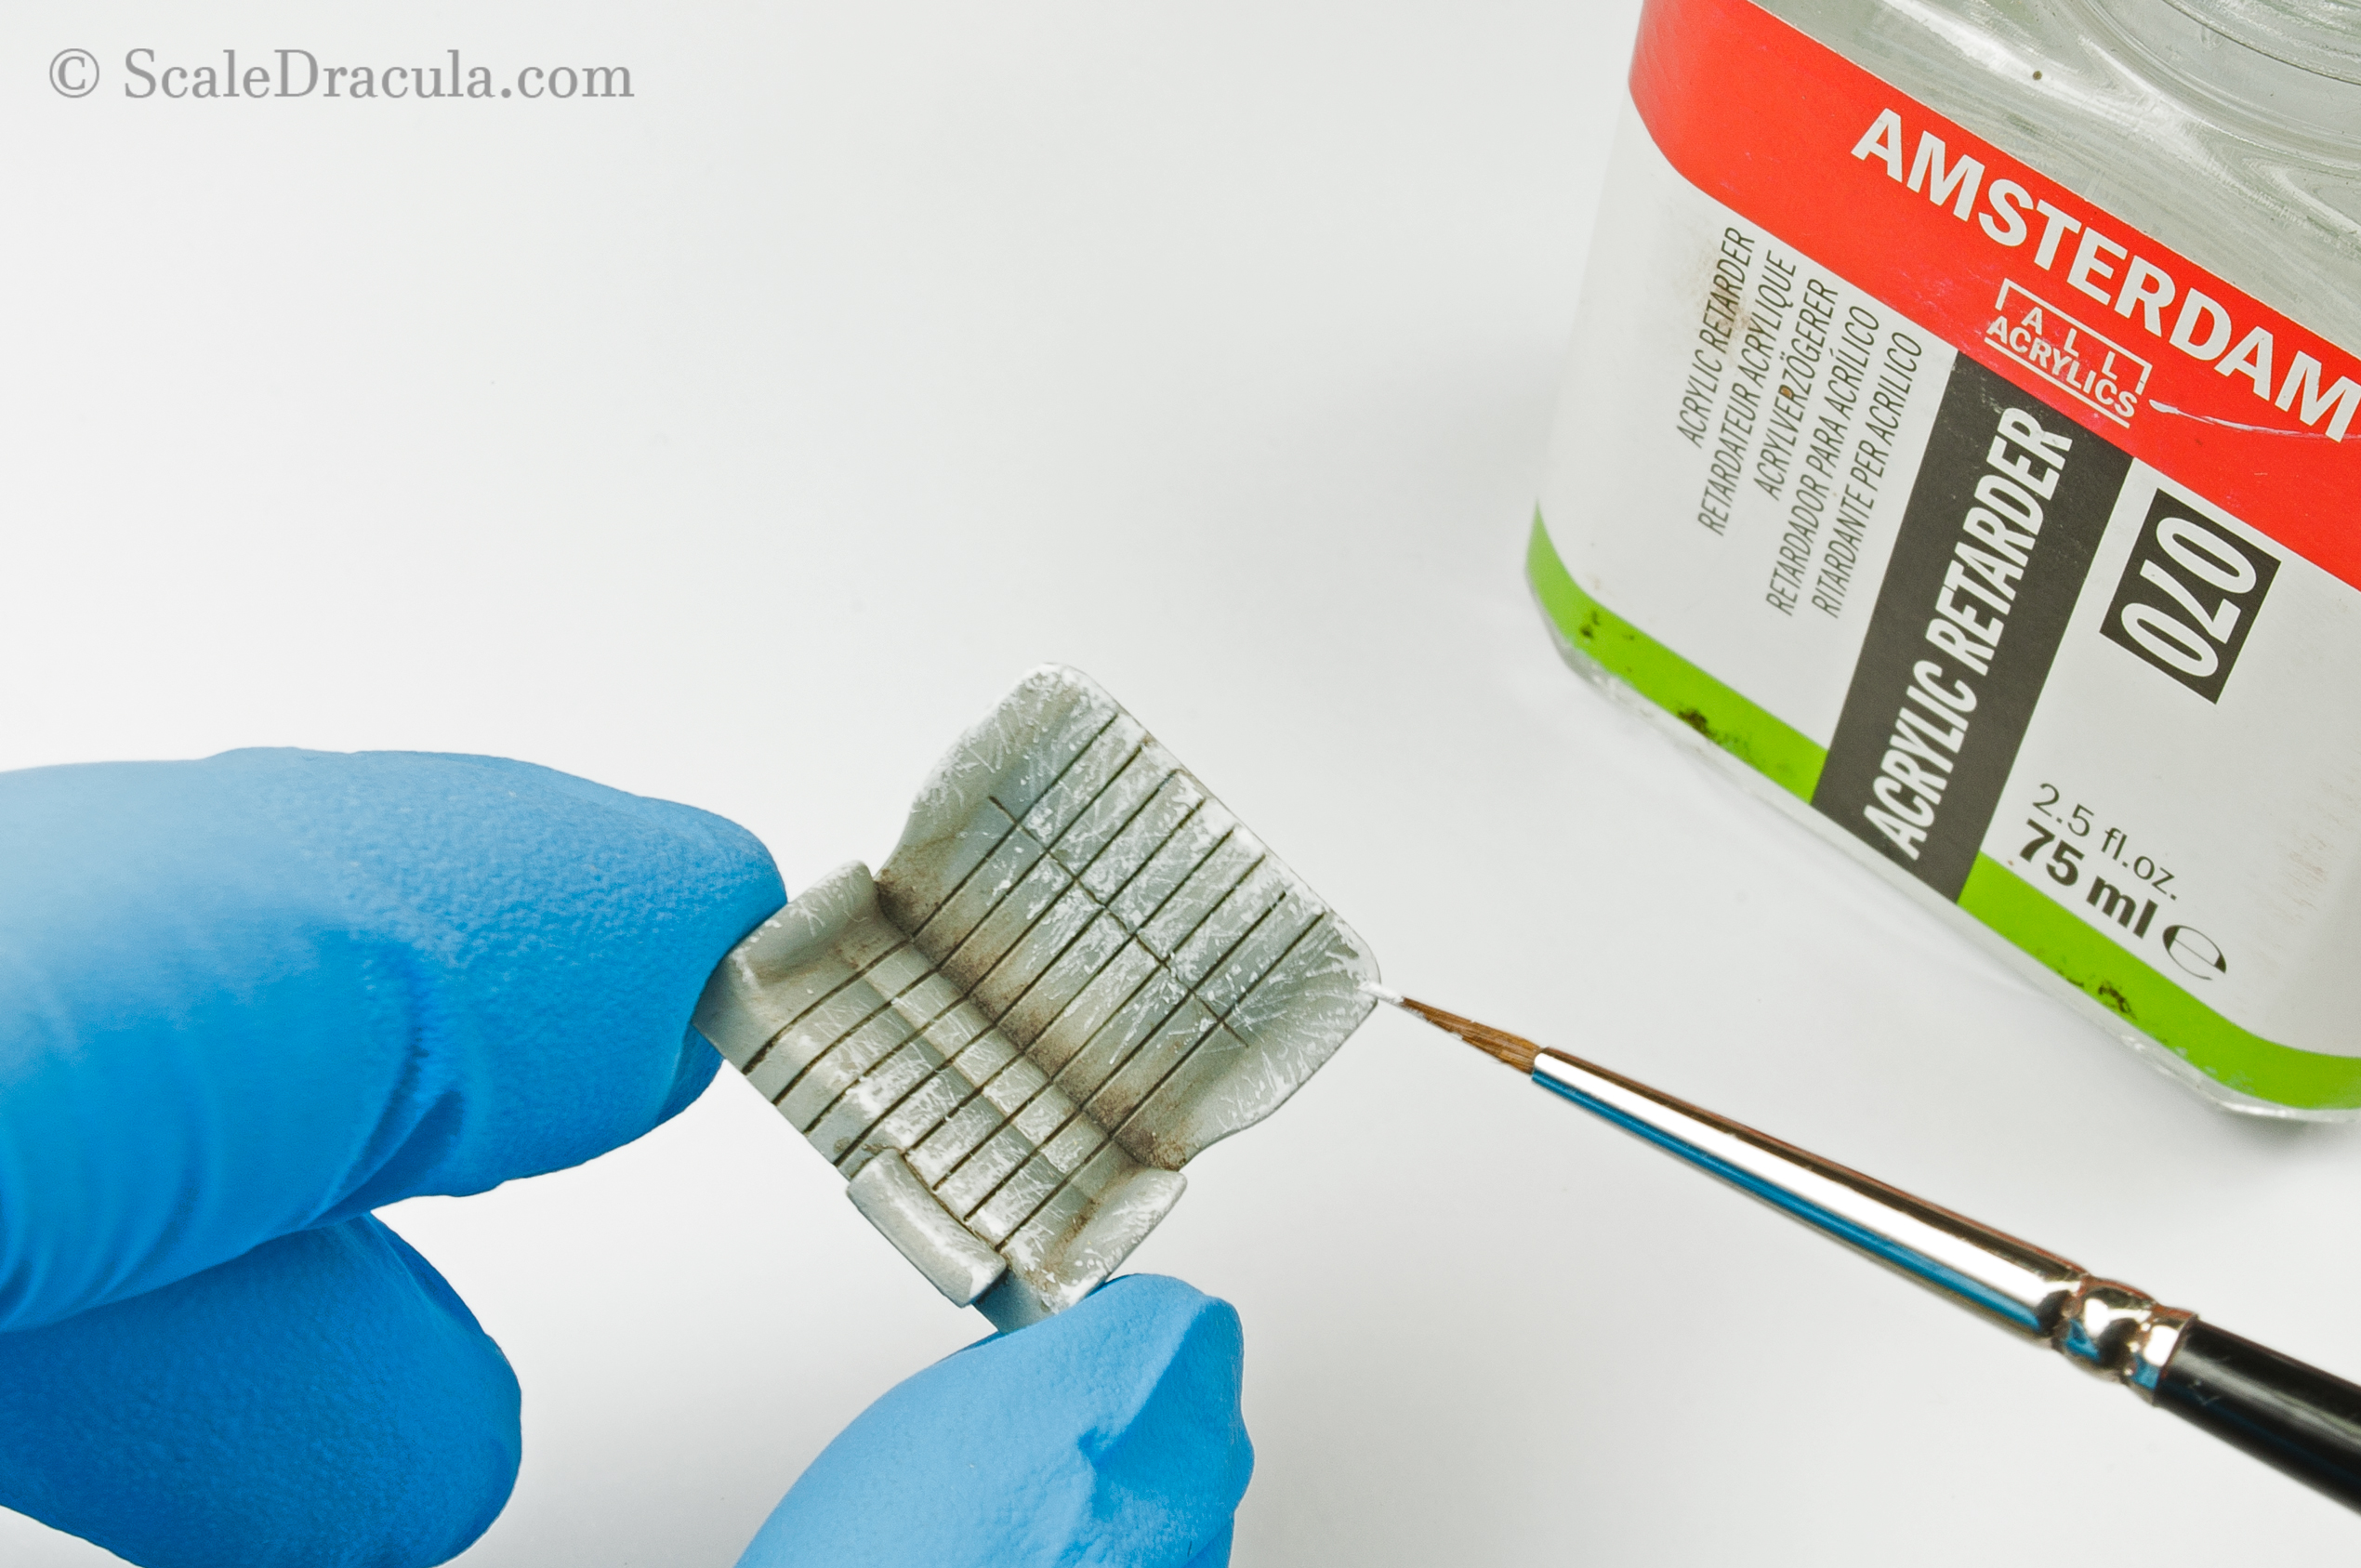
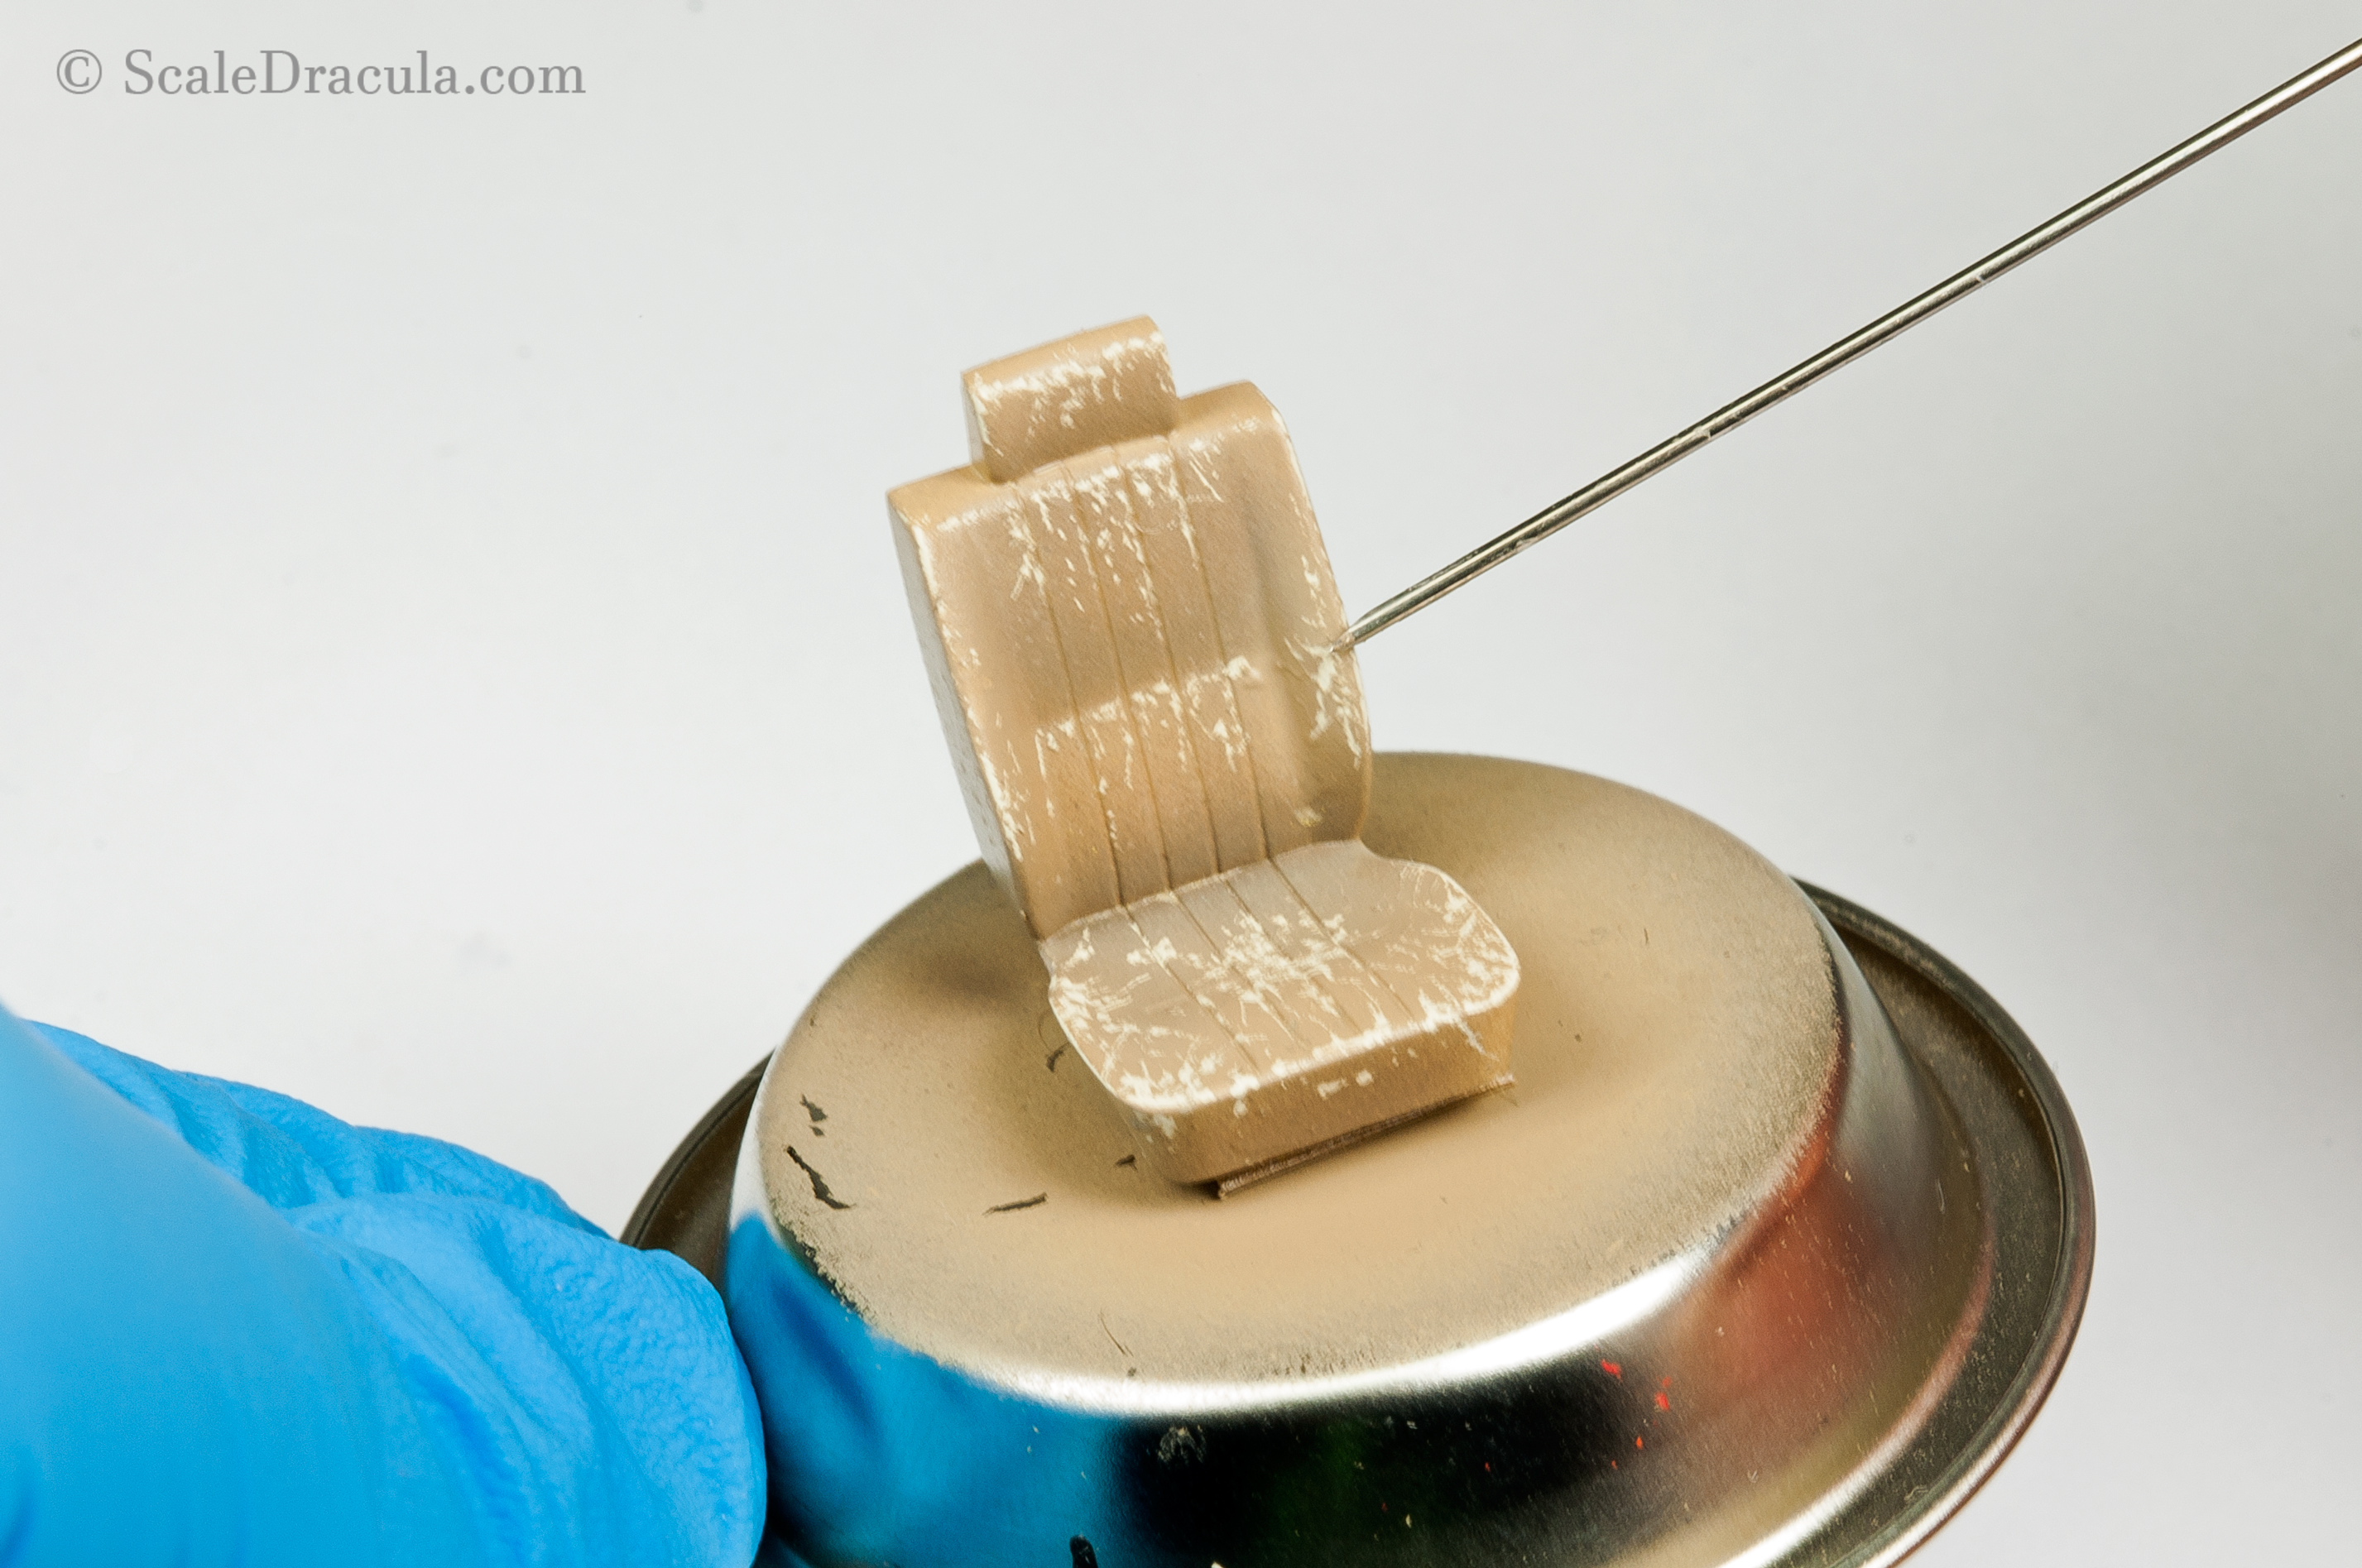
Next I decided to create some scratches and holes in the seat. I’ll paint them with acrylics and a detail brush.
I added a bit of acrylic retarder to the paint. It gives me more time to work with the colour. Also, if anything goes wrong I can easily remove the paint with water.
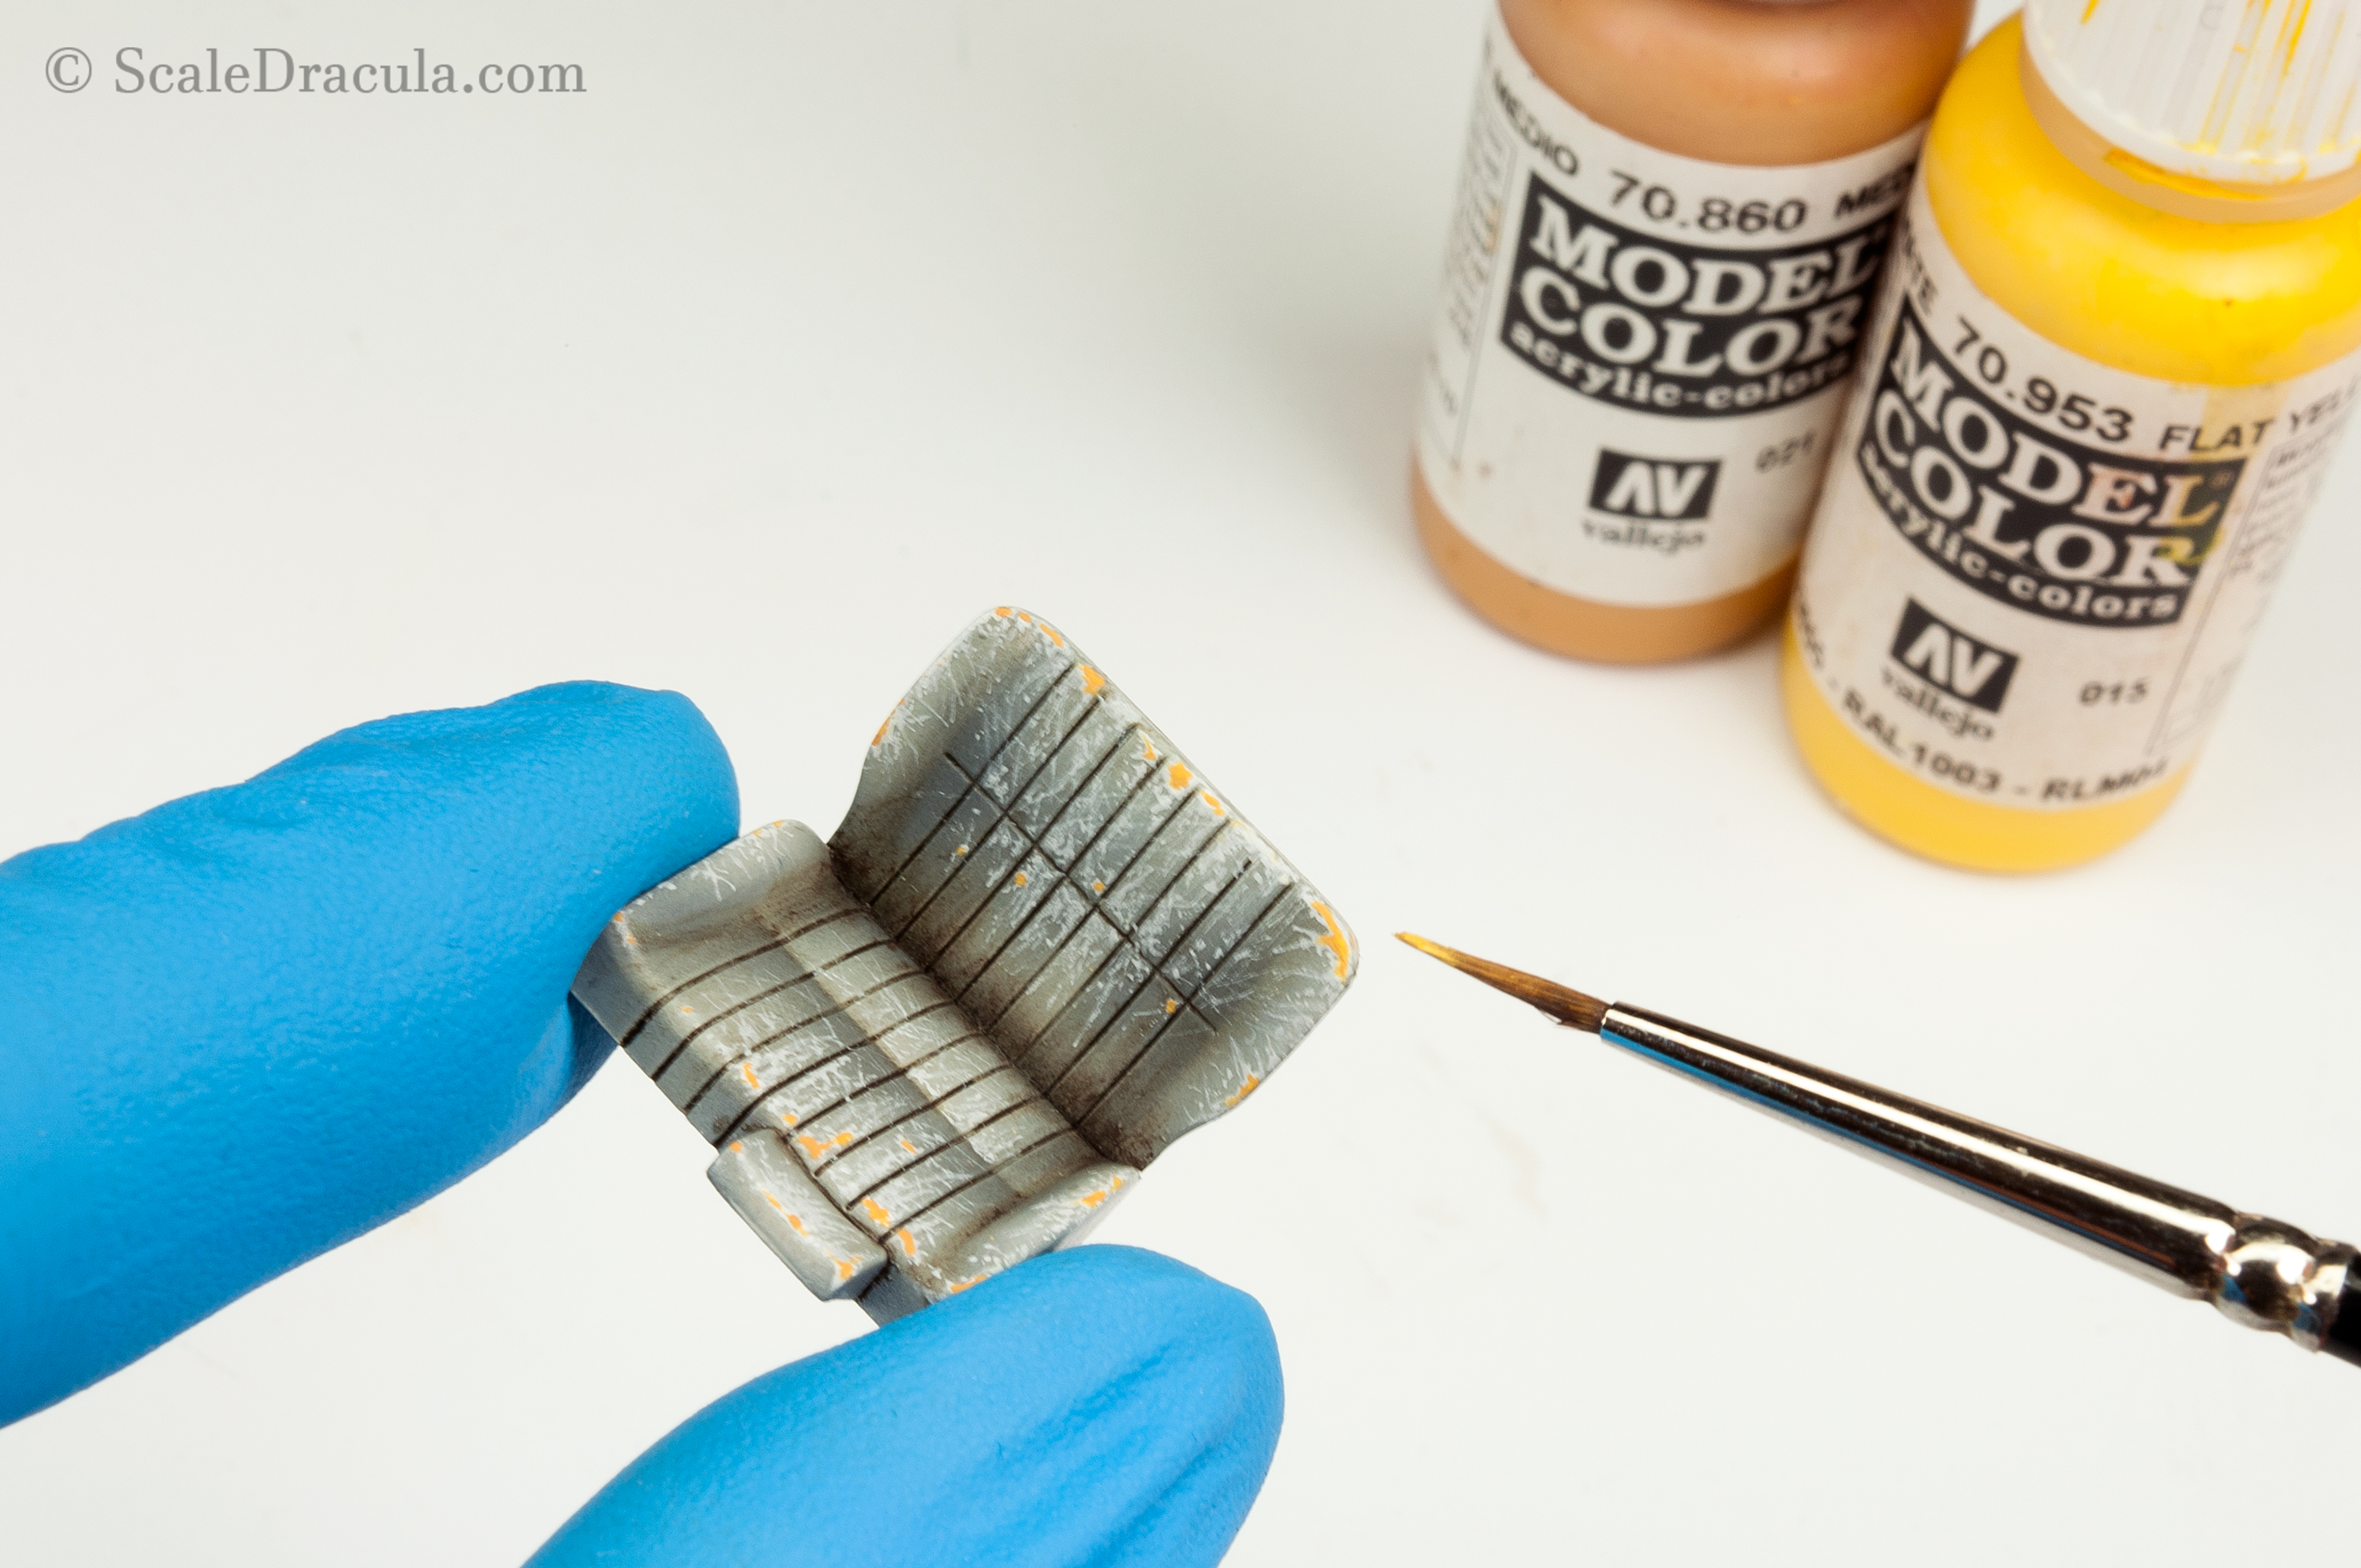
I concentrate the scratches on the edges of the seat and around the headrest- these are the spots that will usually get damaged quickly.
I add some warm yellow colour, mostly on the edges and on bigger scratches. This is meant to simulate the foam that comes out of the seat.
I created a sort of a 2D effect here. The best way to do this would be to cover the whole seat with, say, a tin foil and then make some real holes in it. But I don’t want to waste a lot of time on this. Besides, the seat will be sitting inside the car partly covered by other elements and shadow – I think this effect will work.
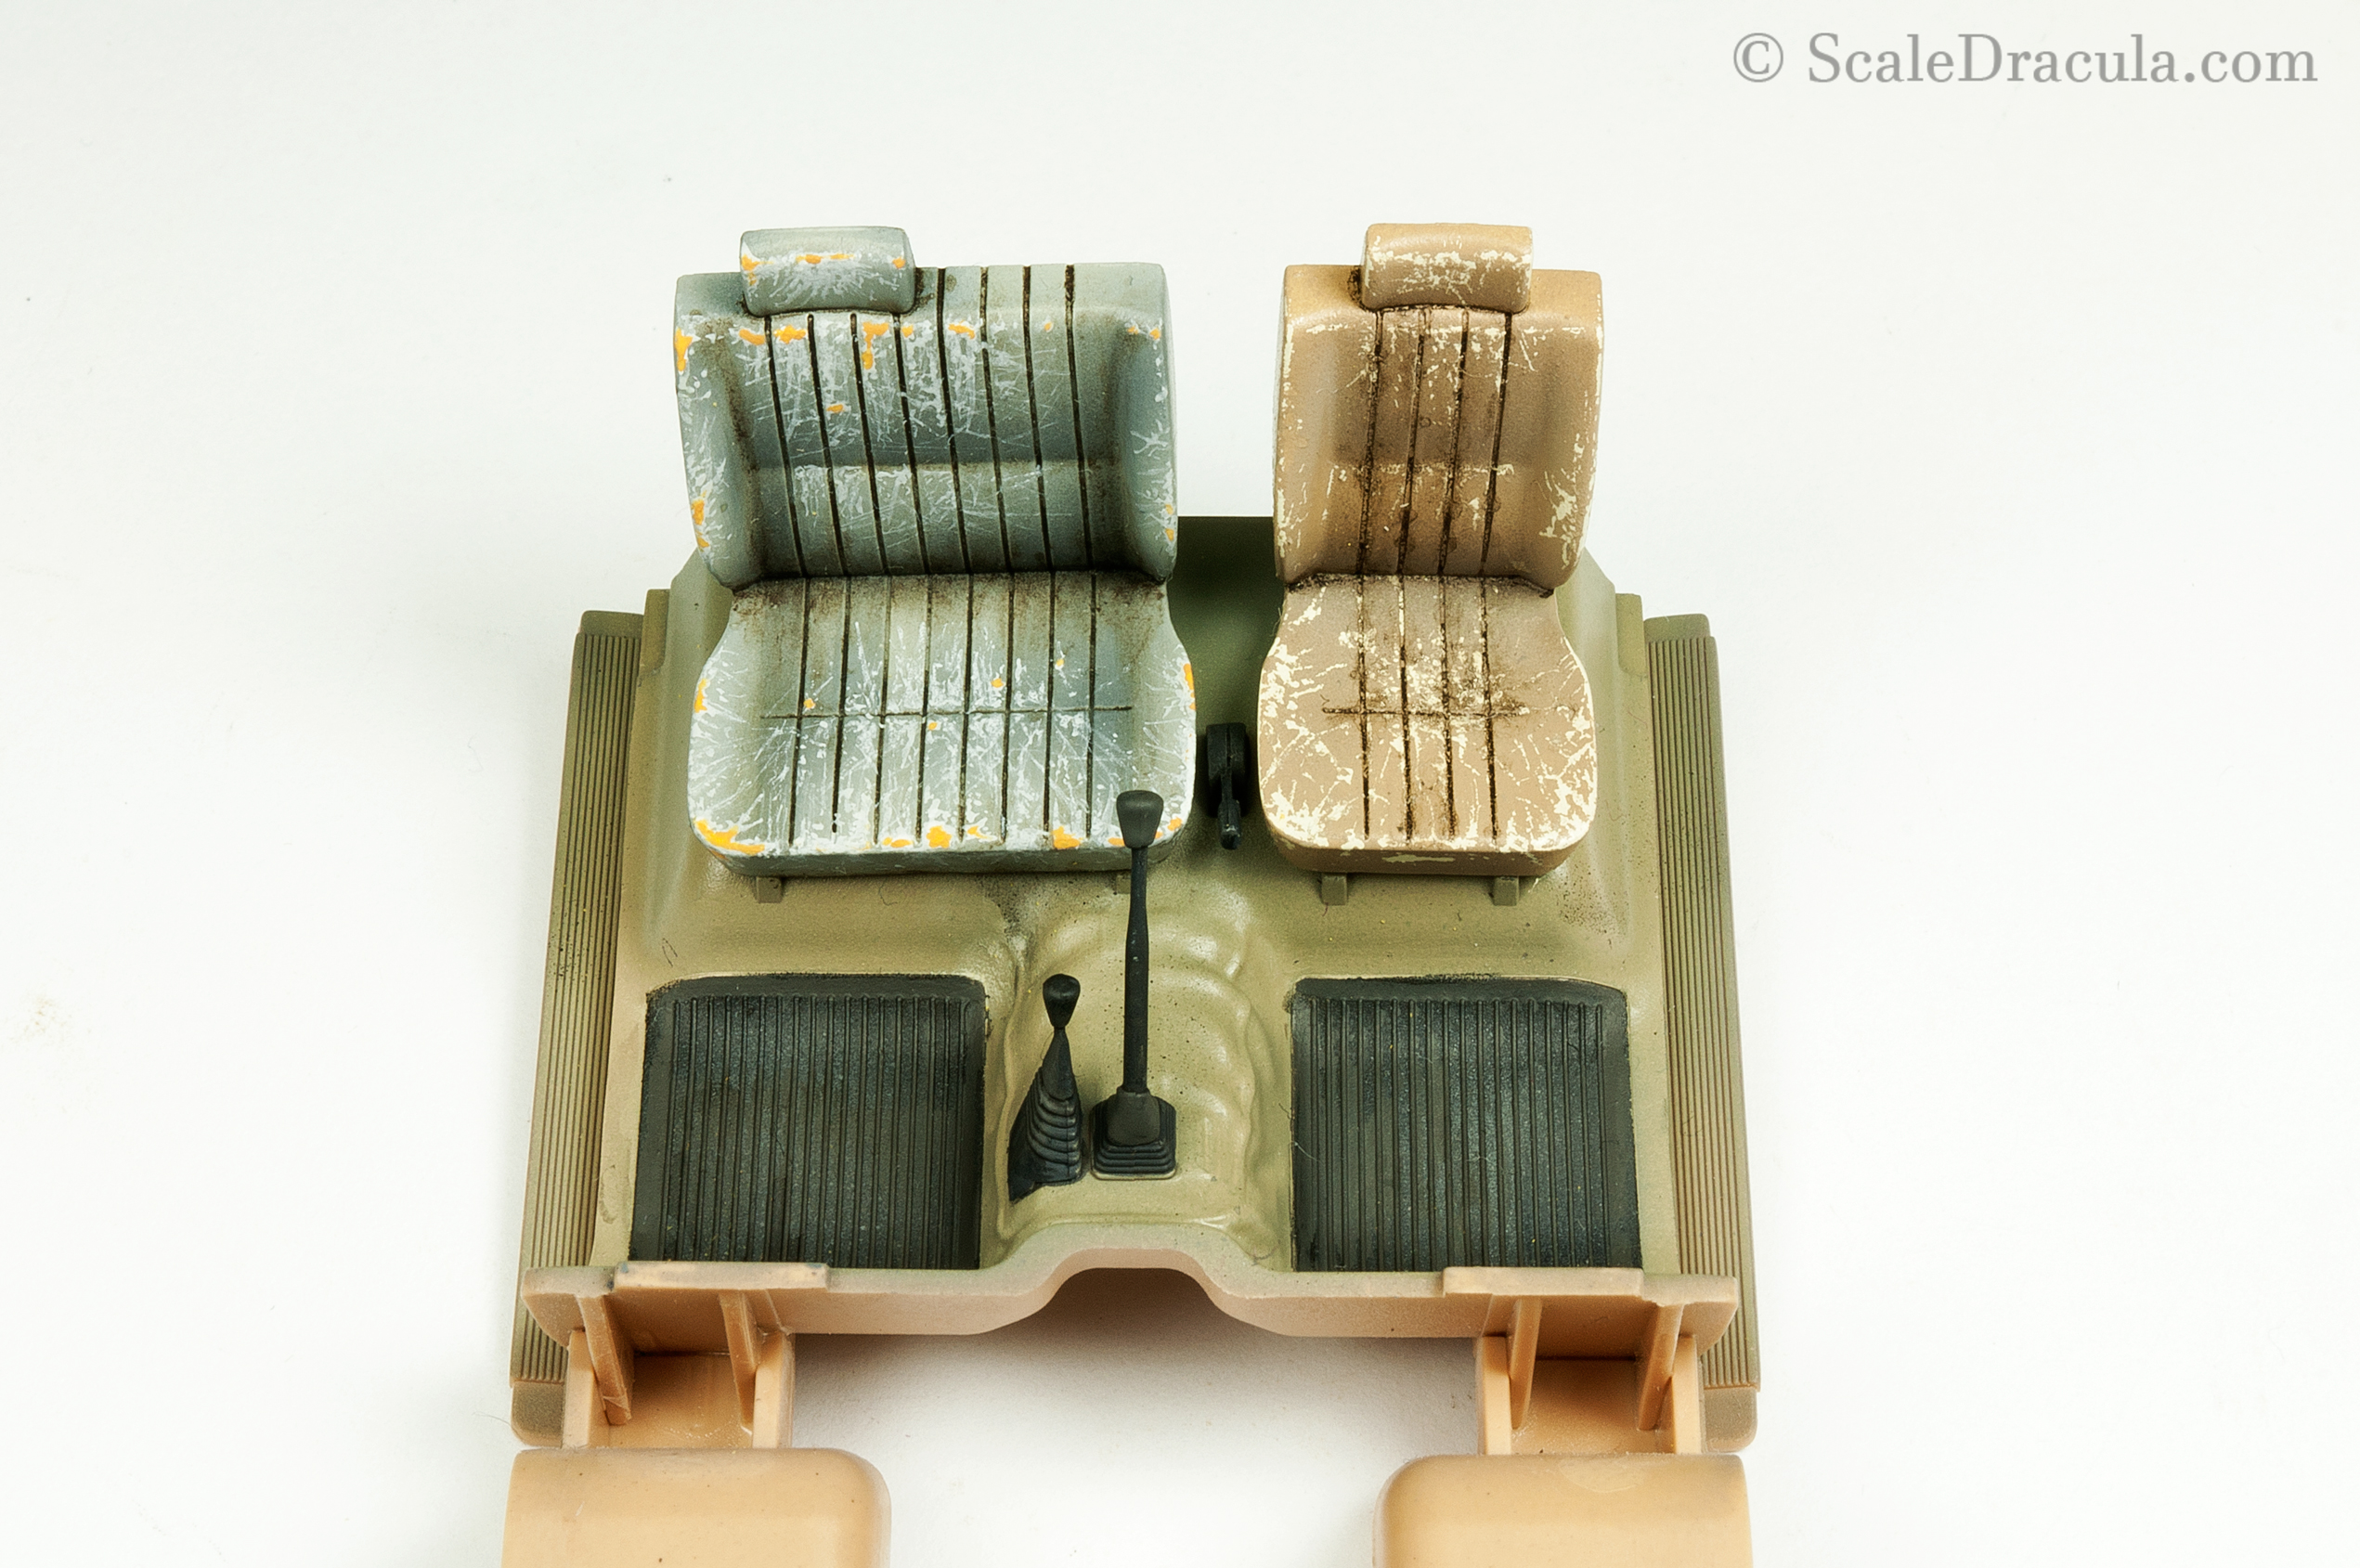
I painted the driver’s seat in another colour – I figured it would look more interesting. Also, it goes well with the story that this is an old vehicle with lots of spare parts.
For the second seat I decided to use the hairspray technique – instead of painting the scratches I would, well, scratch them off. Also, I was curious which of the methods would be easier, faster and which one would produce better results. I would say the hairspray is much faster and maybe easier (if you’re familiar with the technique). But I felt the brush gave me more flexibility while working with the scratches.
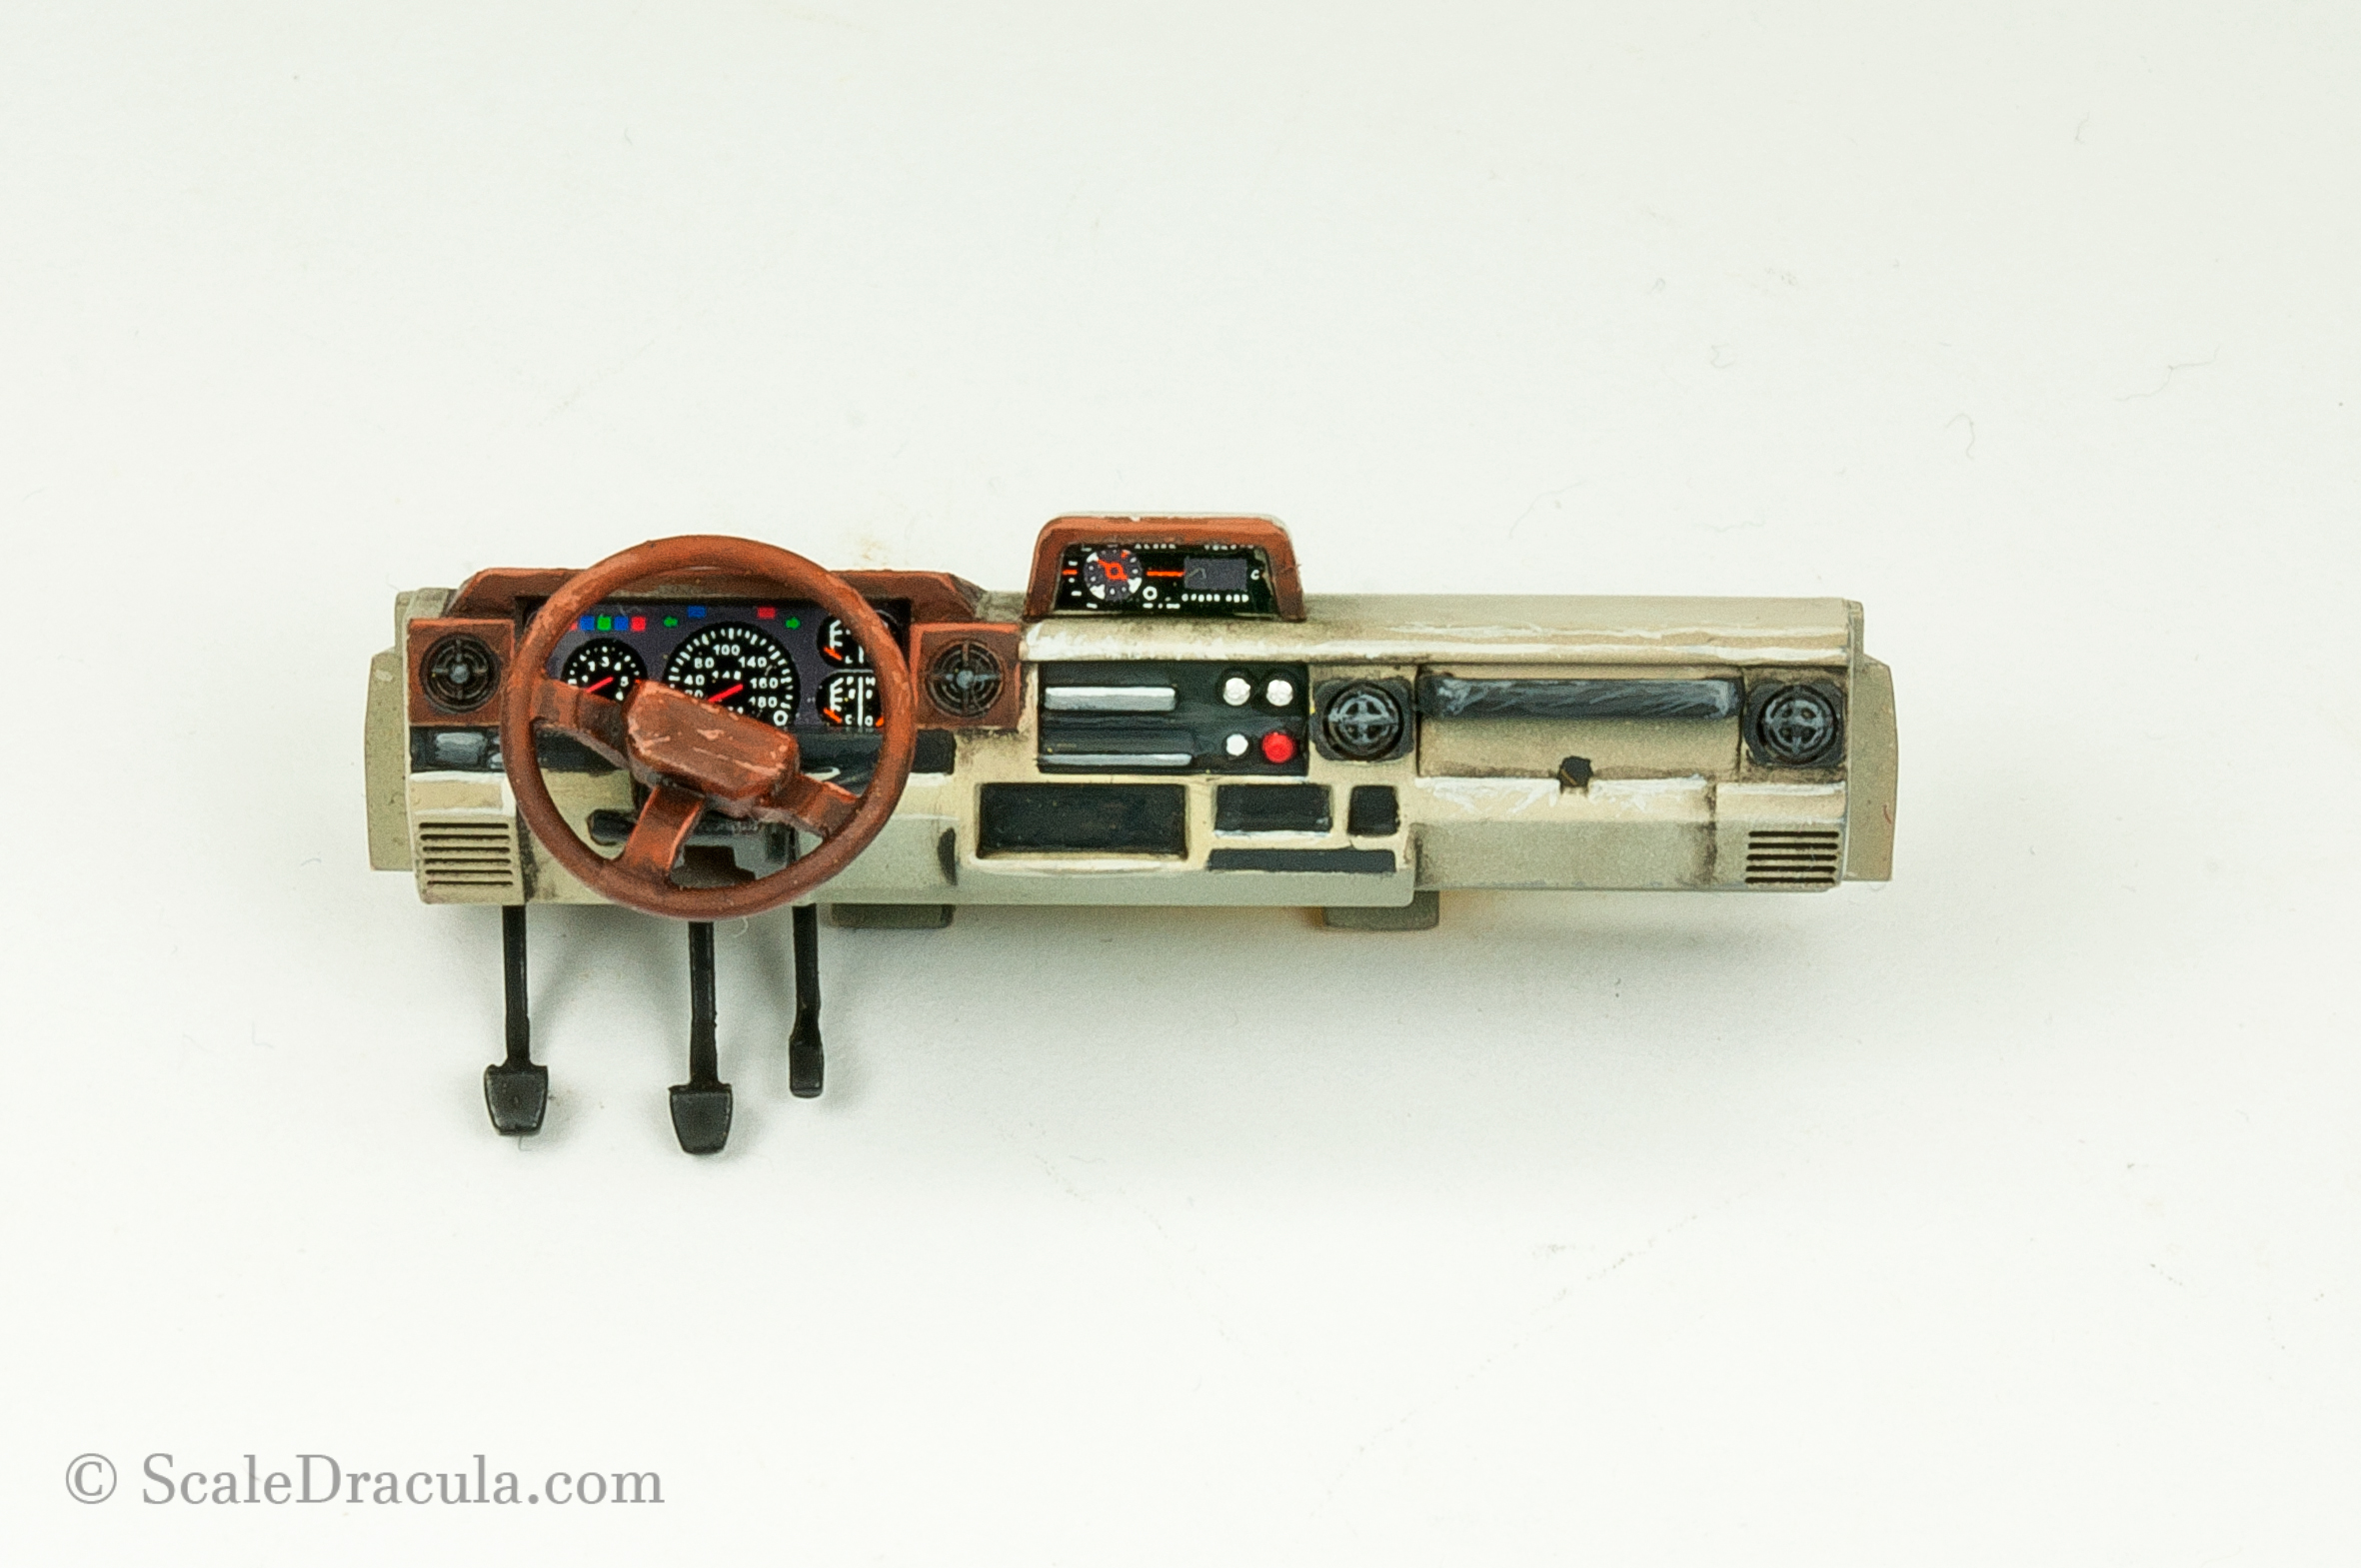
Let’s move to the dashboard. I painted it with Vallejo acrylics and I put the decals on. There’s not that much to talk about here. I just followed some reference photos that I’ve found in the Internet.
There’s not much room for weathering effects here. I applied a neutral grey wash around the details.
Also, I painted some gentle dents and scratches all around the dashboard. The steering wheel got some edge highlight as well.
Here’s the dashboard ready to be installed.
I glued the seats to the floor that I painted earlier.
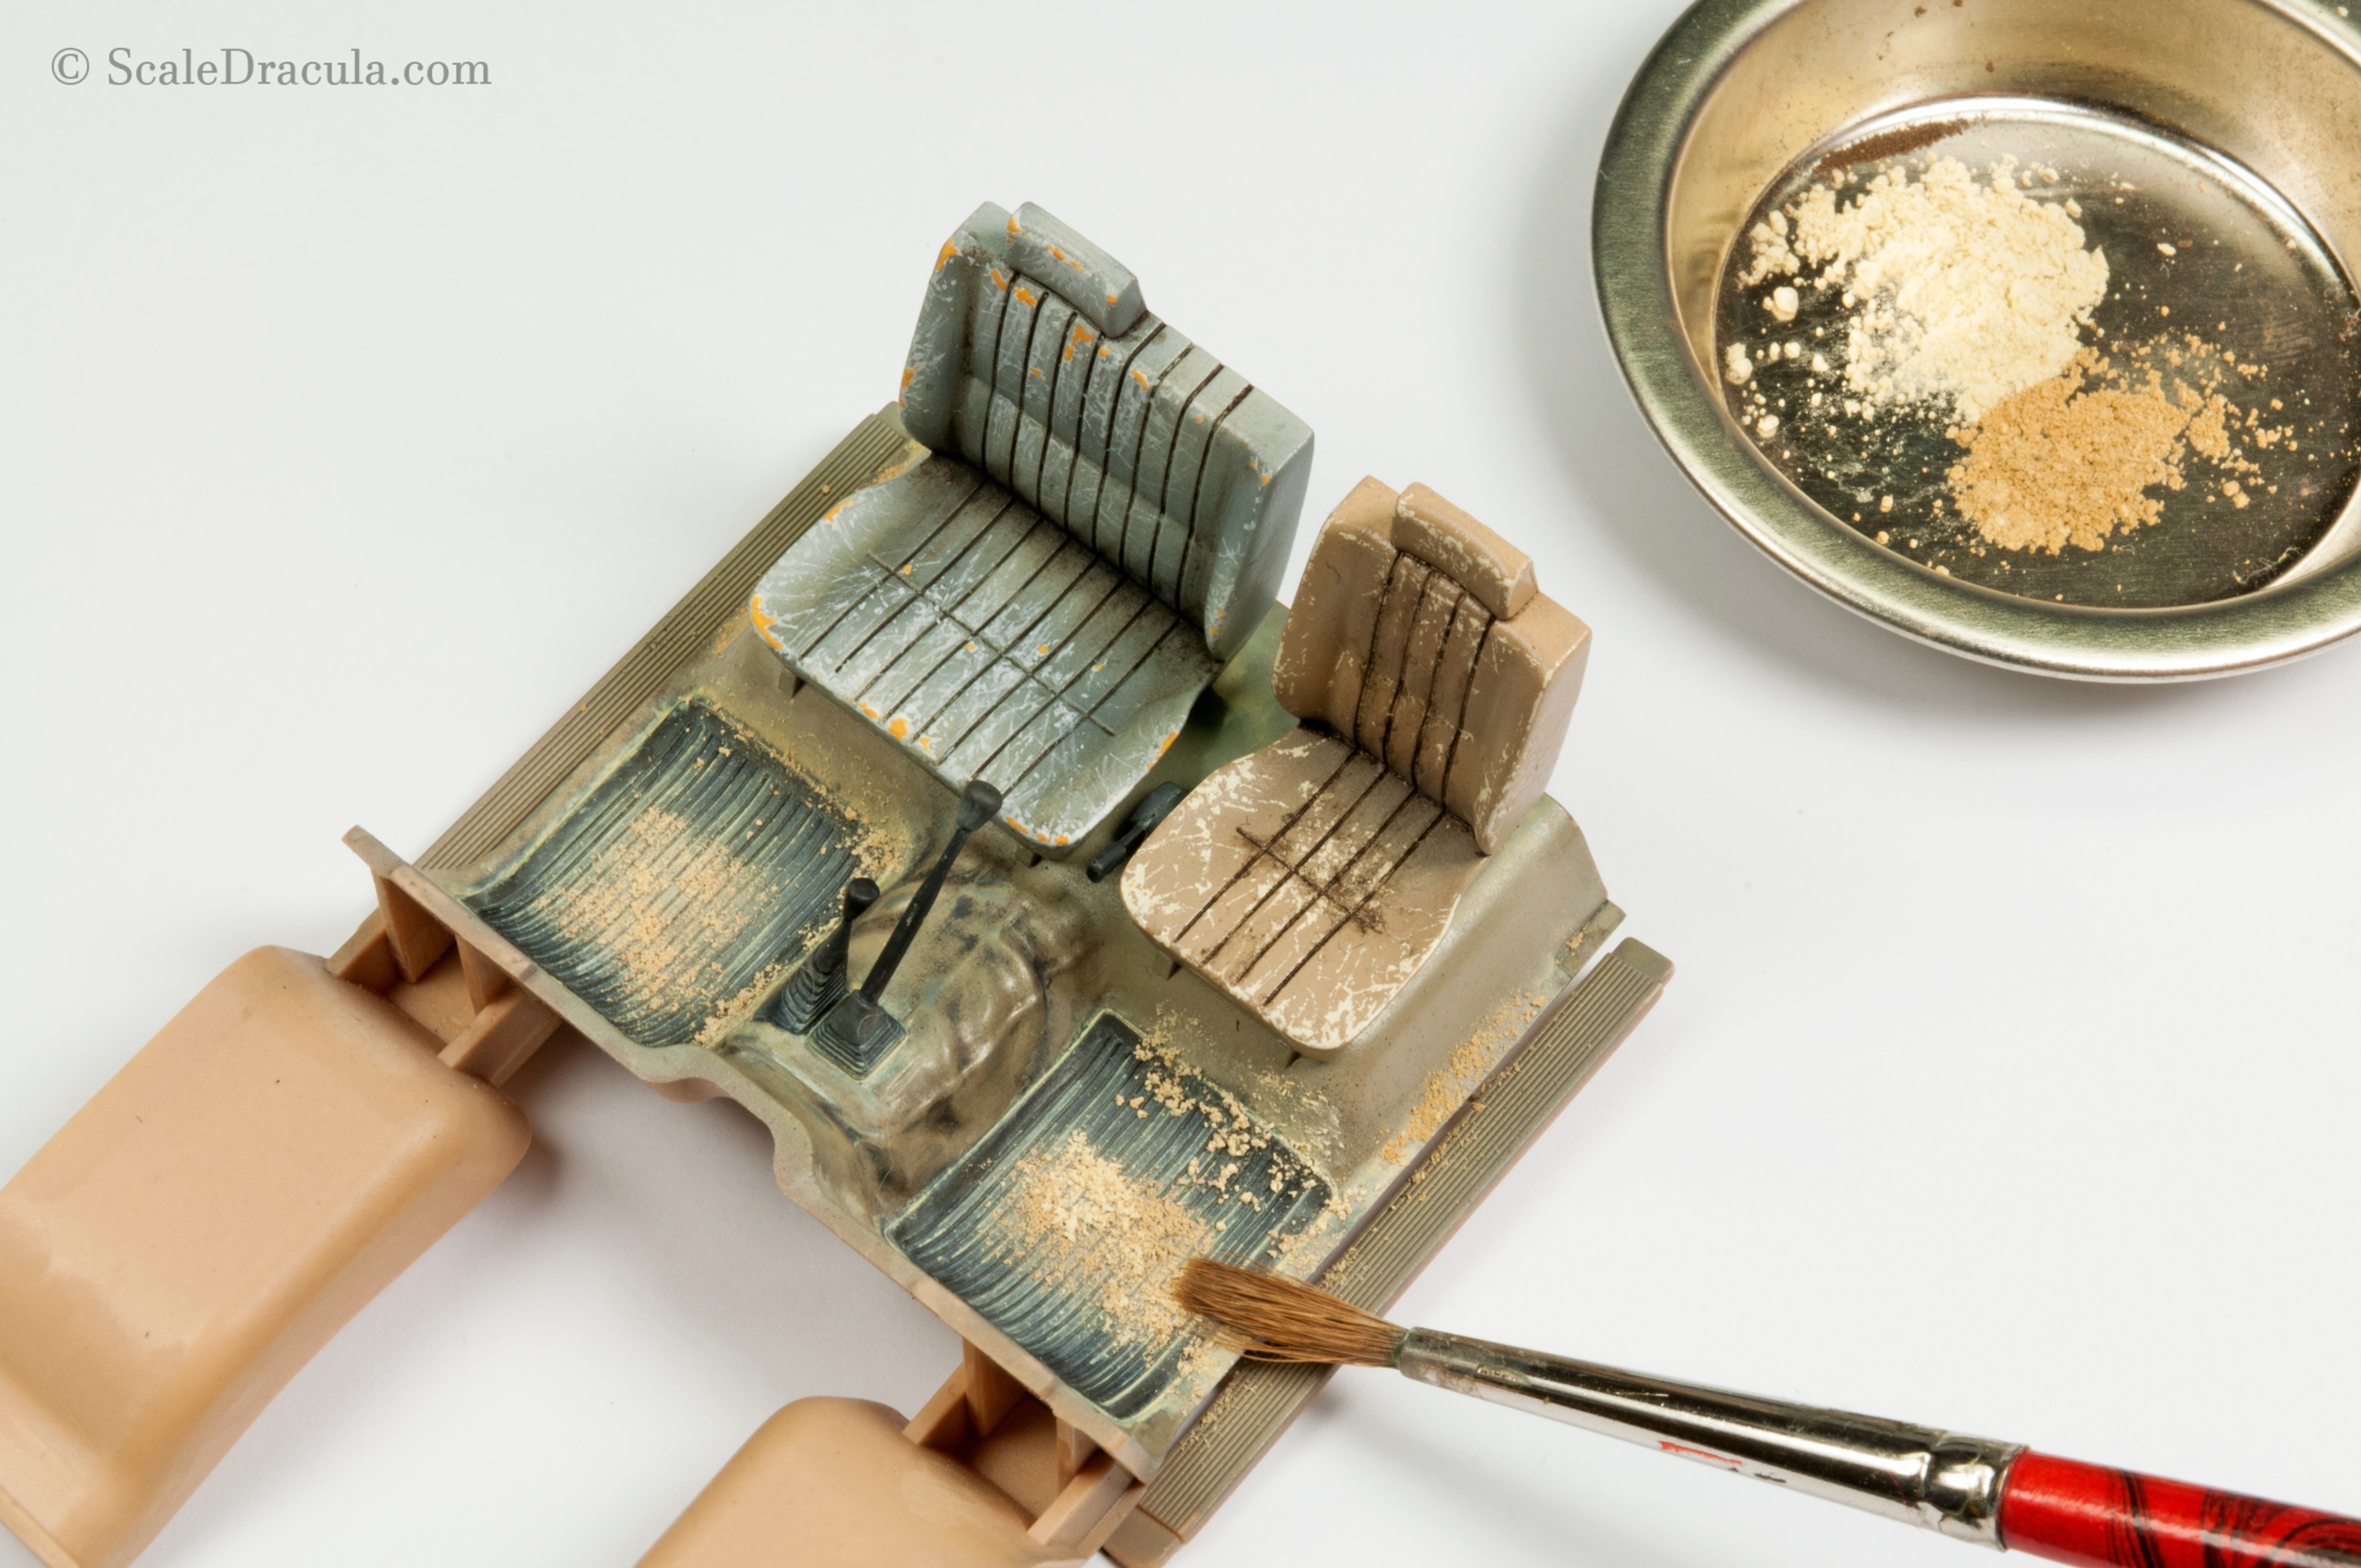
If you’ve ever been to a desert, you know that the damn sand gets just about anywhere. That’s why I was really generous while applying the pigments on the floor.
I don’t really like to work with pigments. I find them hard to control and fix permanently. But this time they match my needs perfectly.
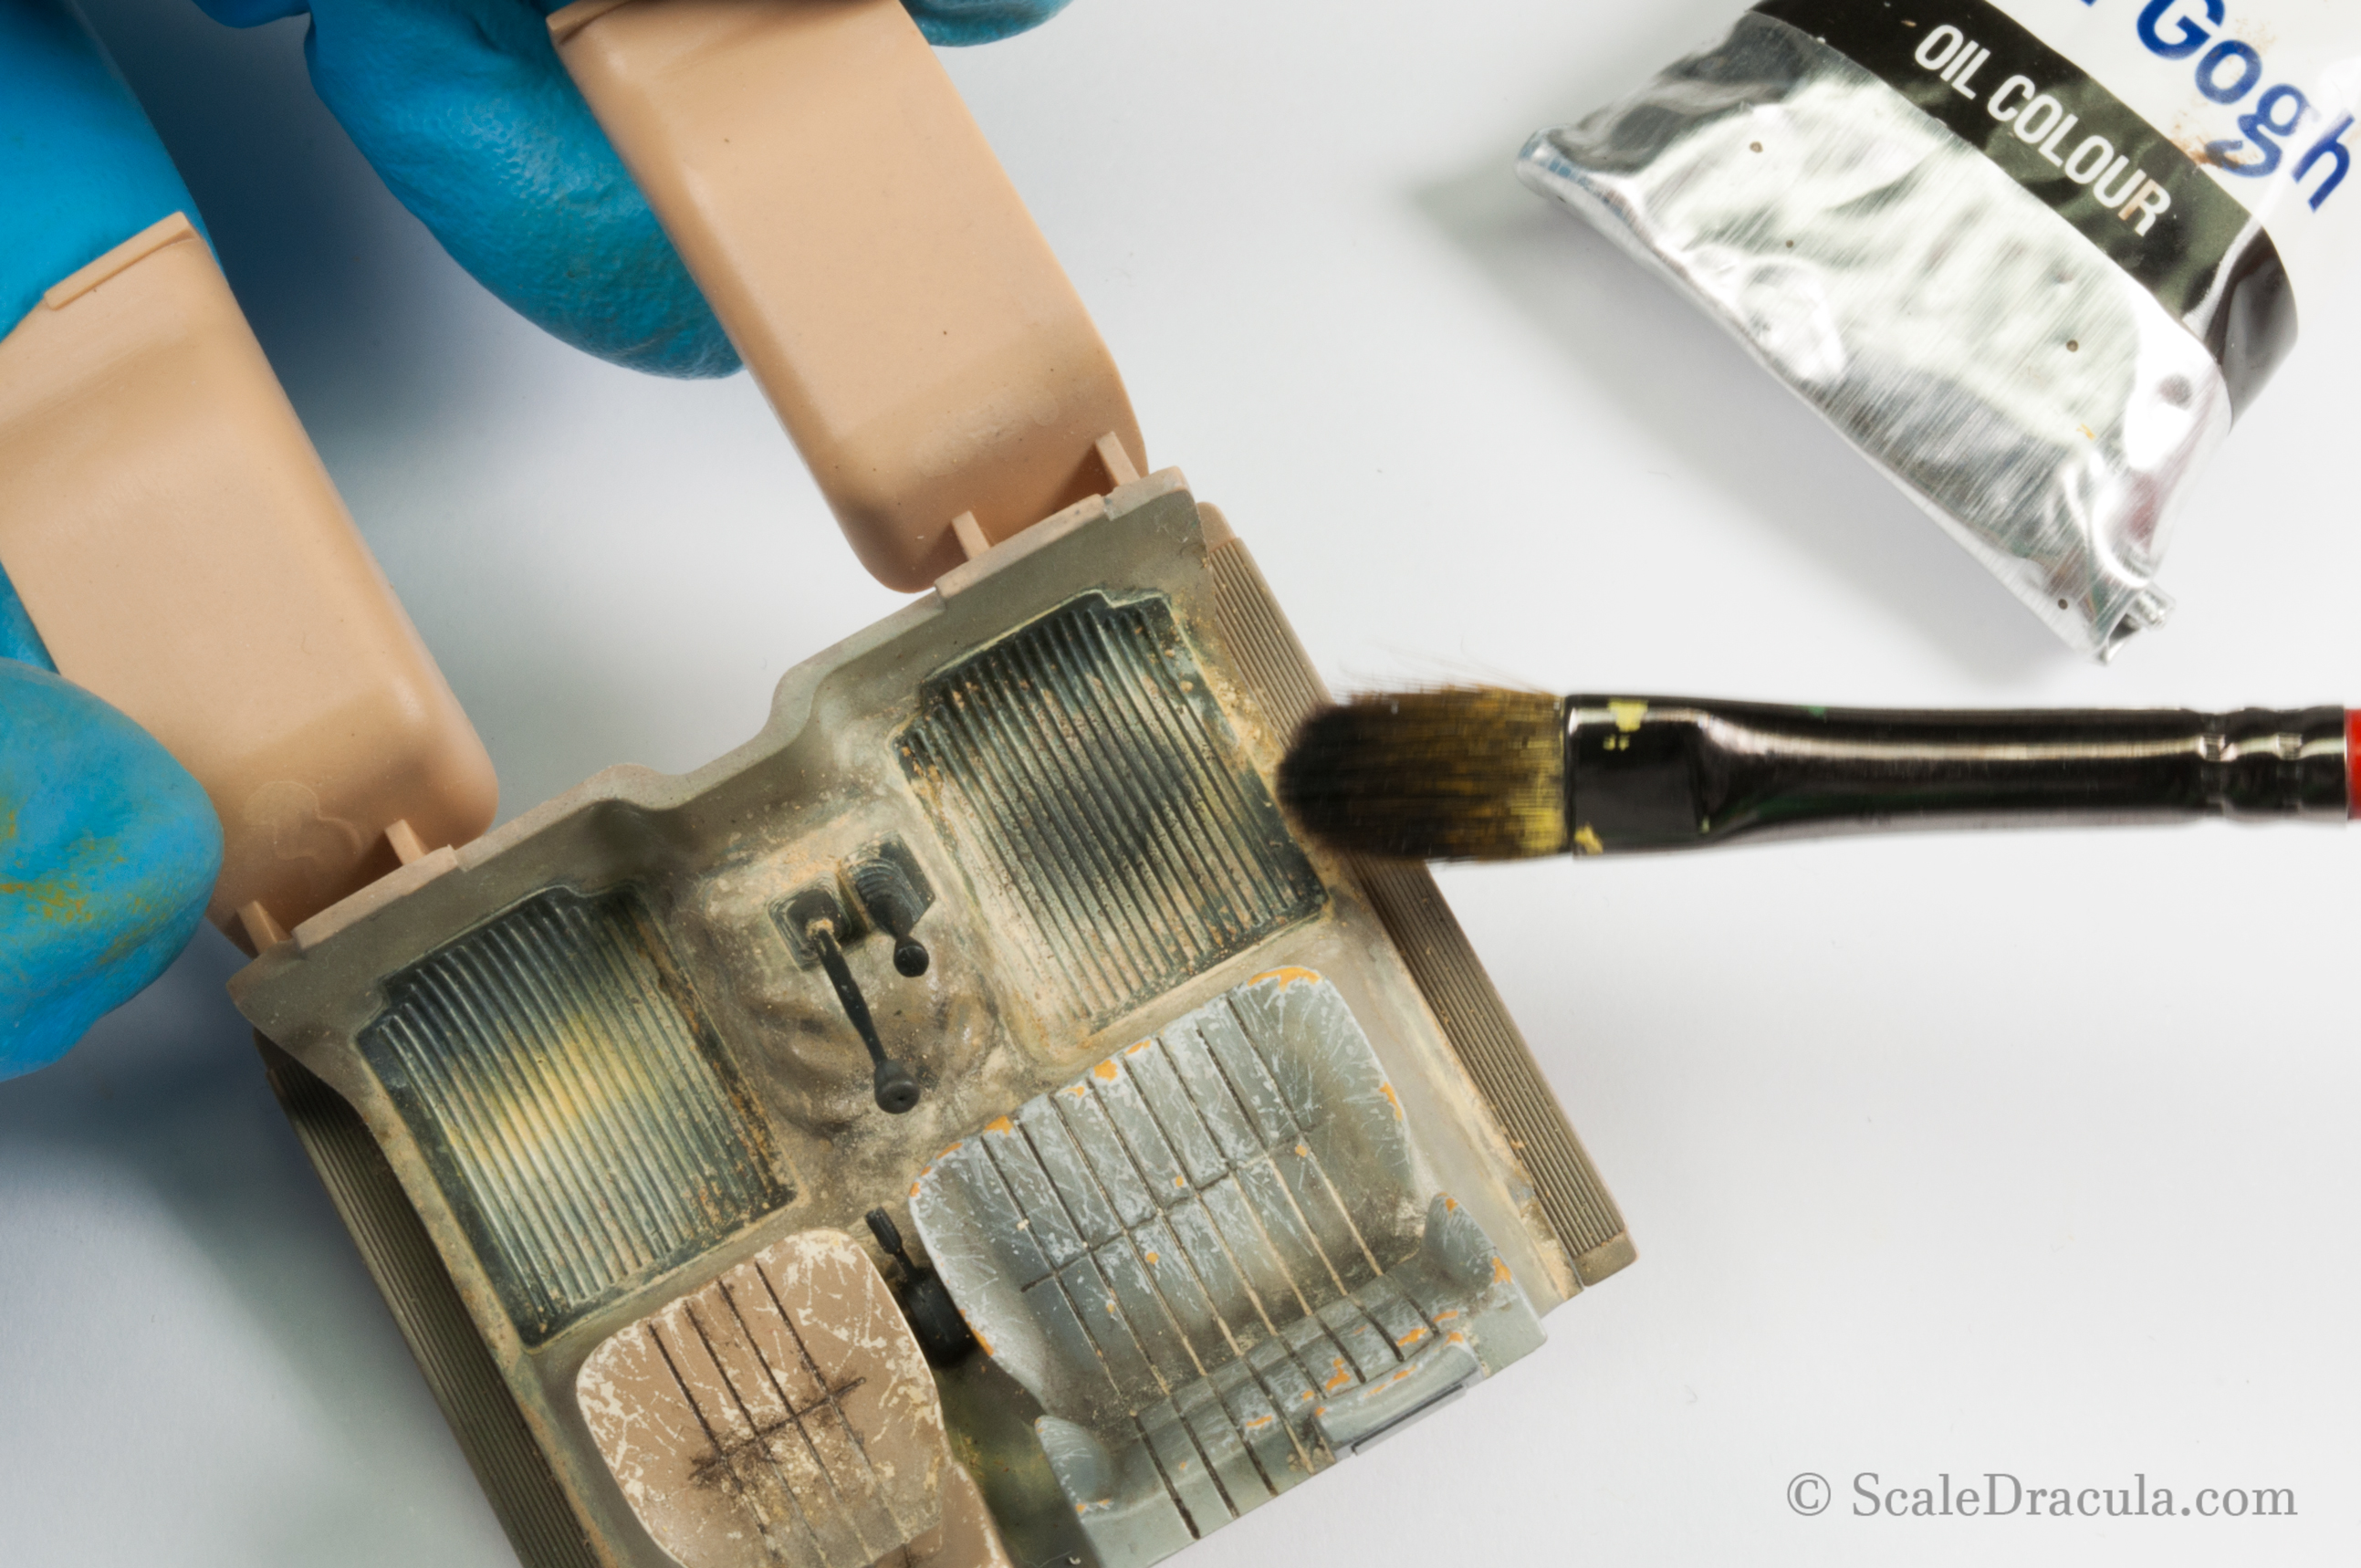
After fixing the pigments with white spirit I switch to a flat brush and dry-brush technique. I’ve chosen black oil paint to darken the centre of the rubber floor mat. It’s the area where the feet would most likely polish the mat and rub off the dust.
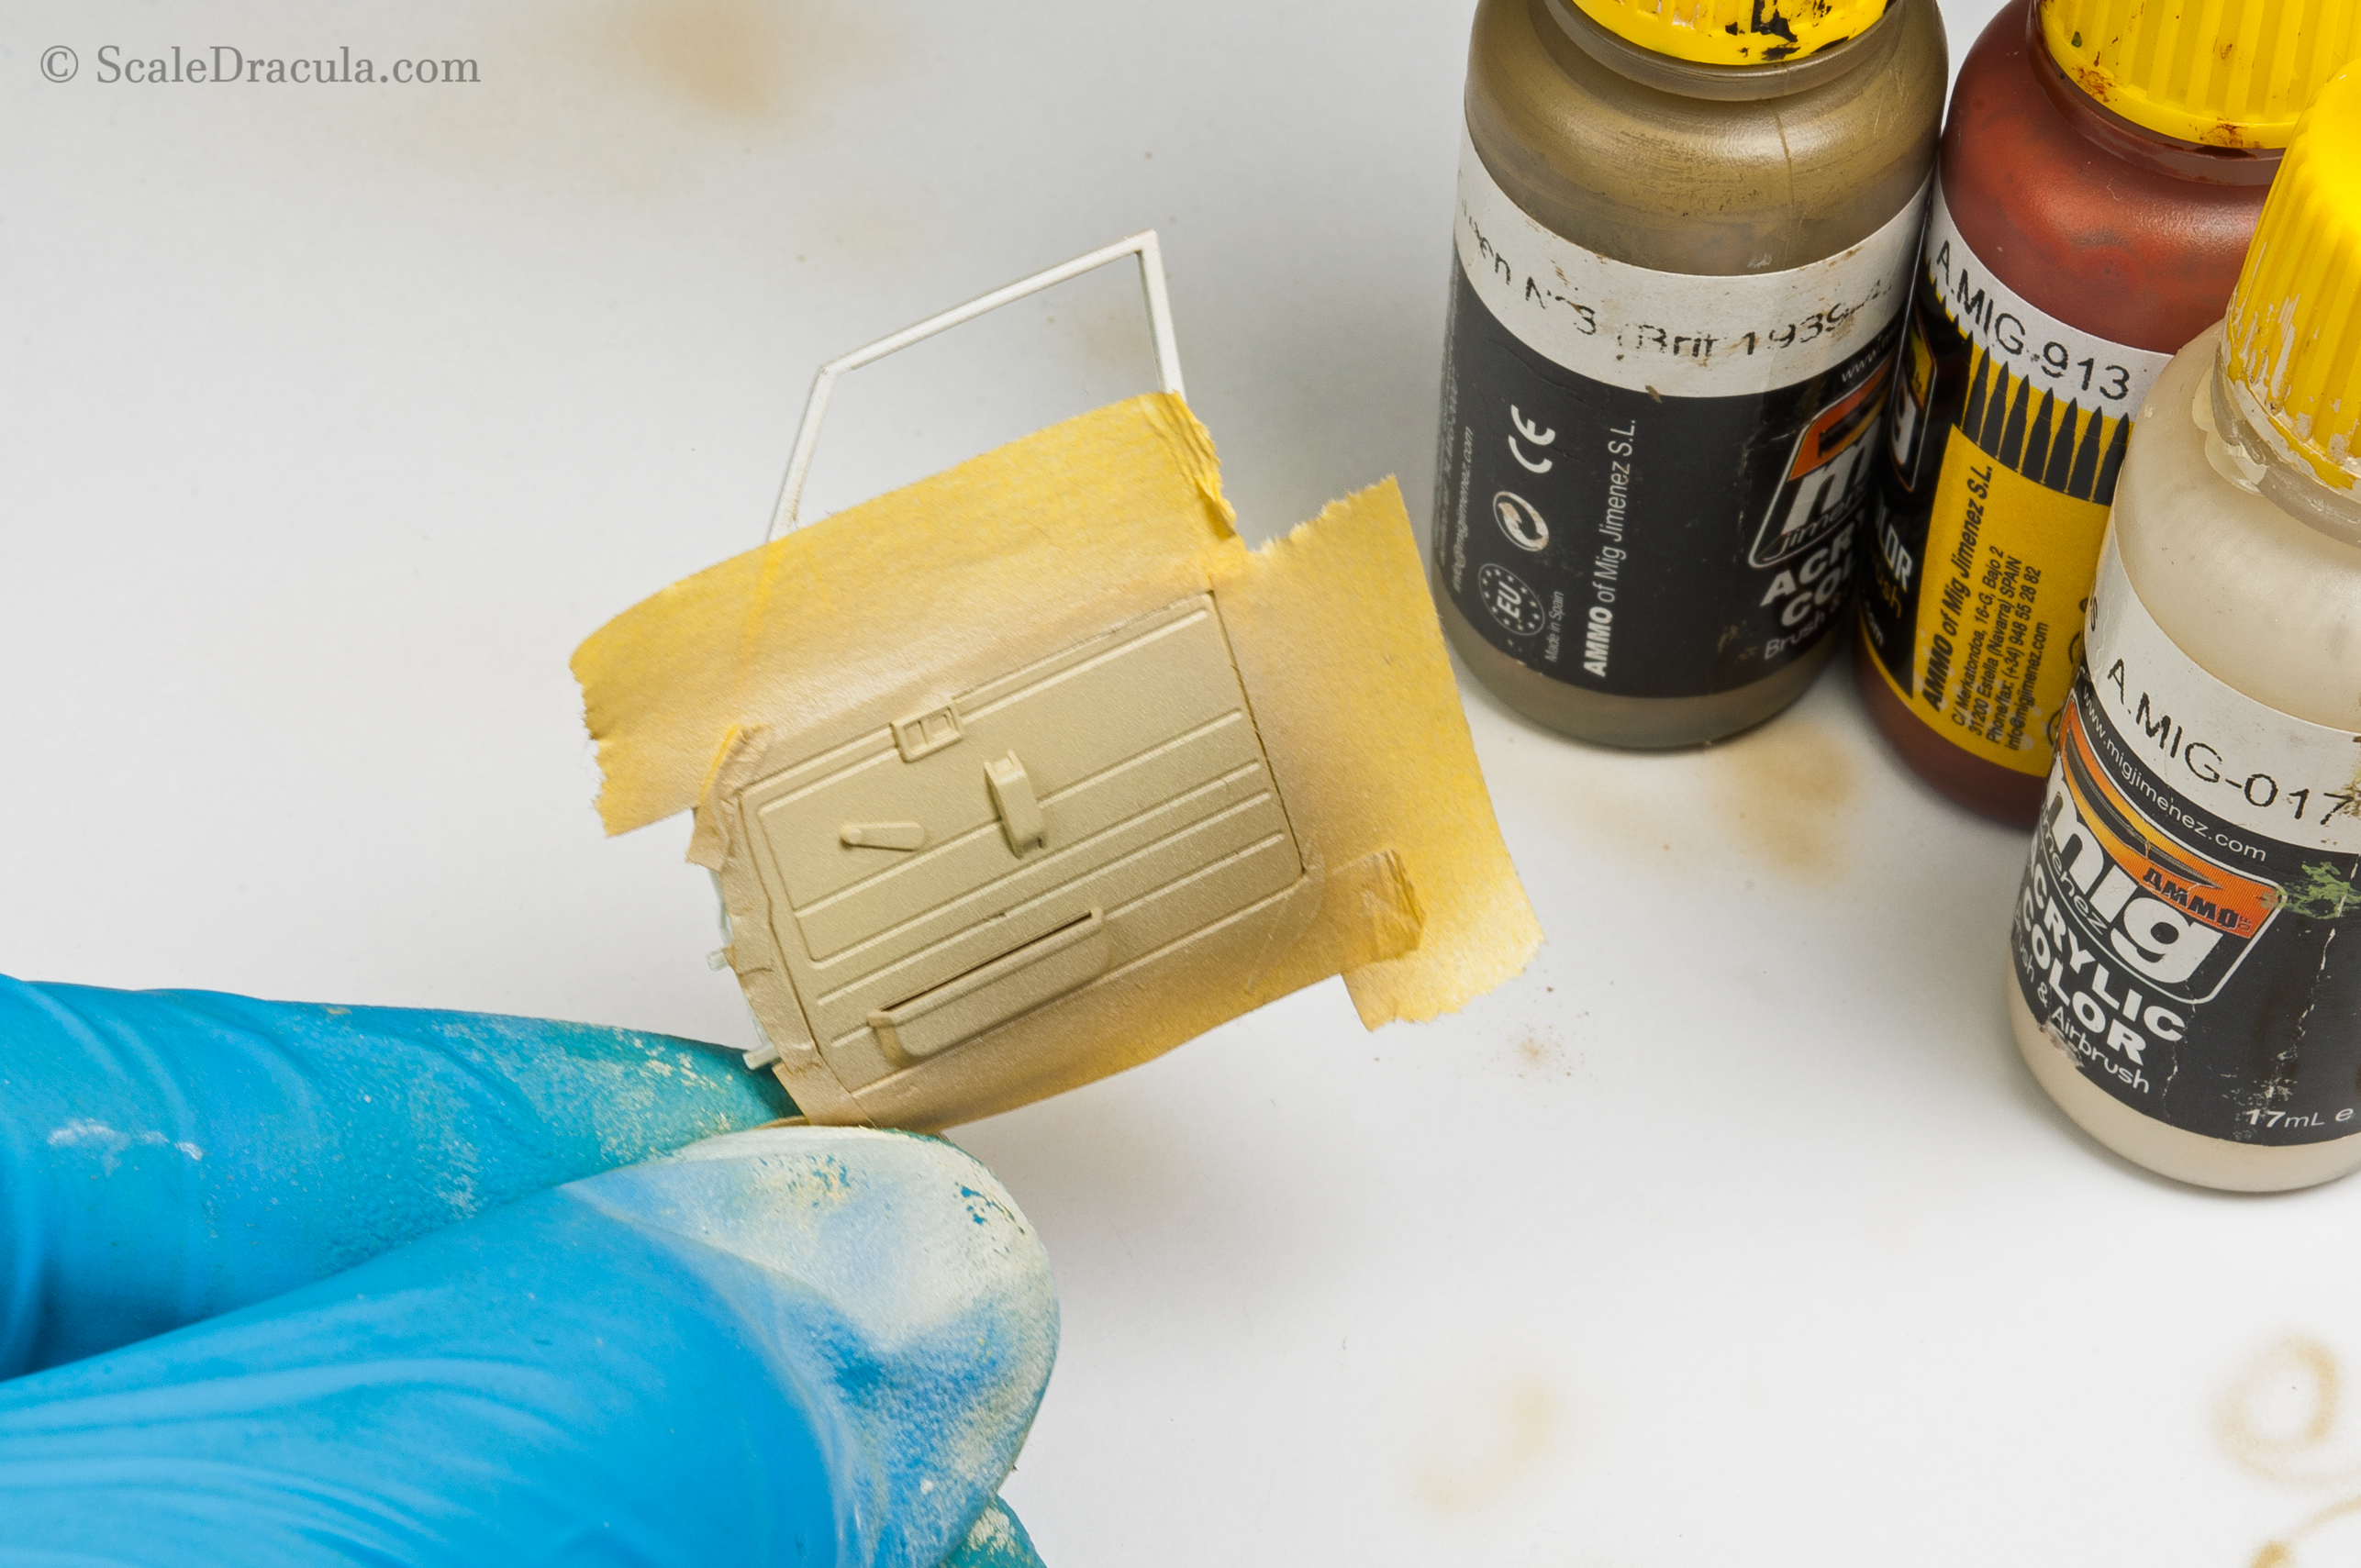
The last element of the interior are the doors. I painted the parts white, then I carefully masked them to take care of the upholstery inside.
I airbrushed some beige shades. There’s a gentle highlight going up and forward.
After that I created some dark/light colour variation with acrylic paints. As you can see I haven’t done an awesome job blending those shades. That’s because I knew the weathering will smooth out the transitions to an acceptable level.
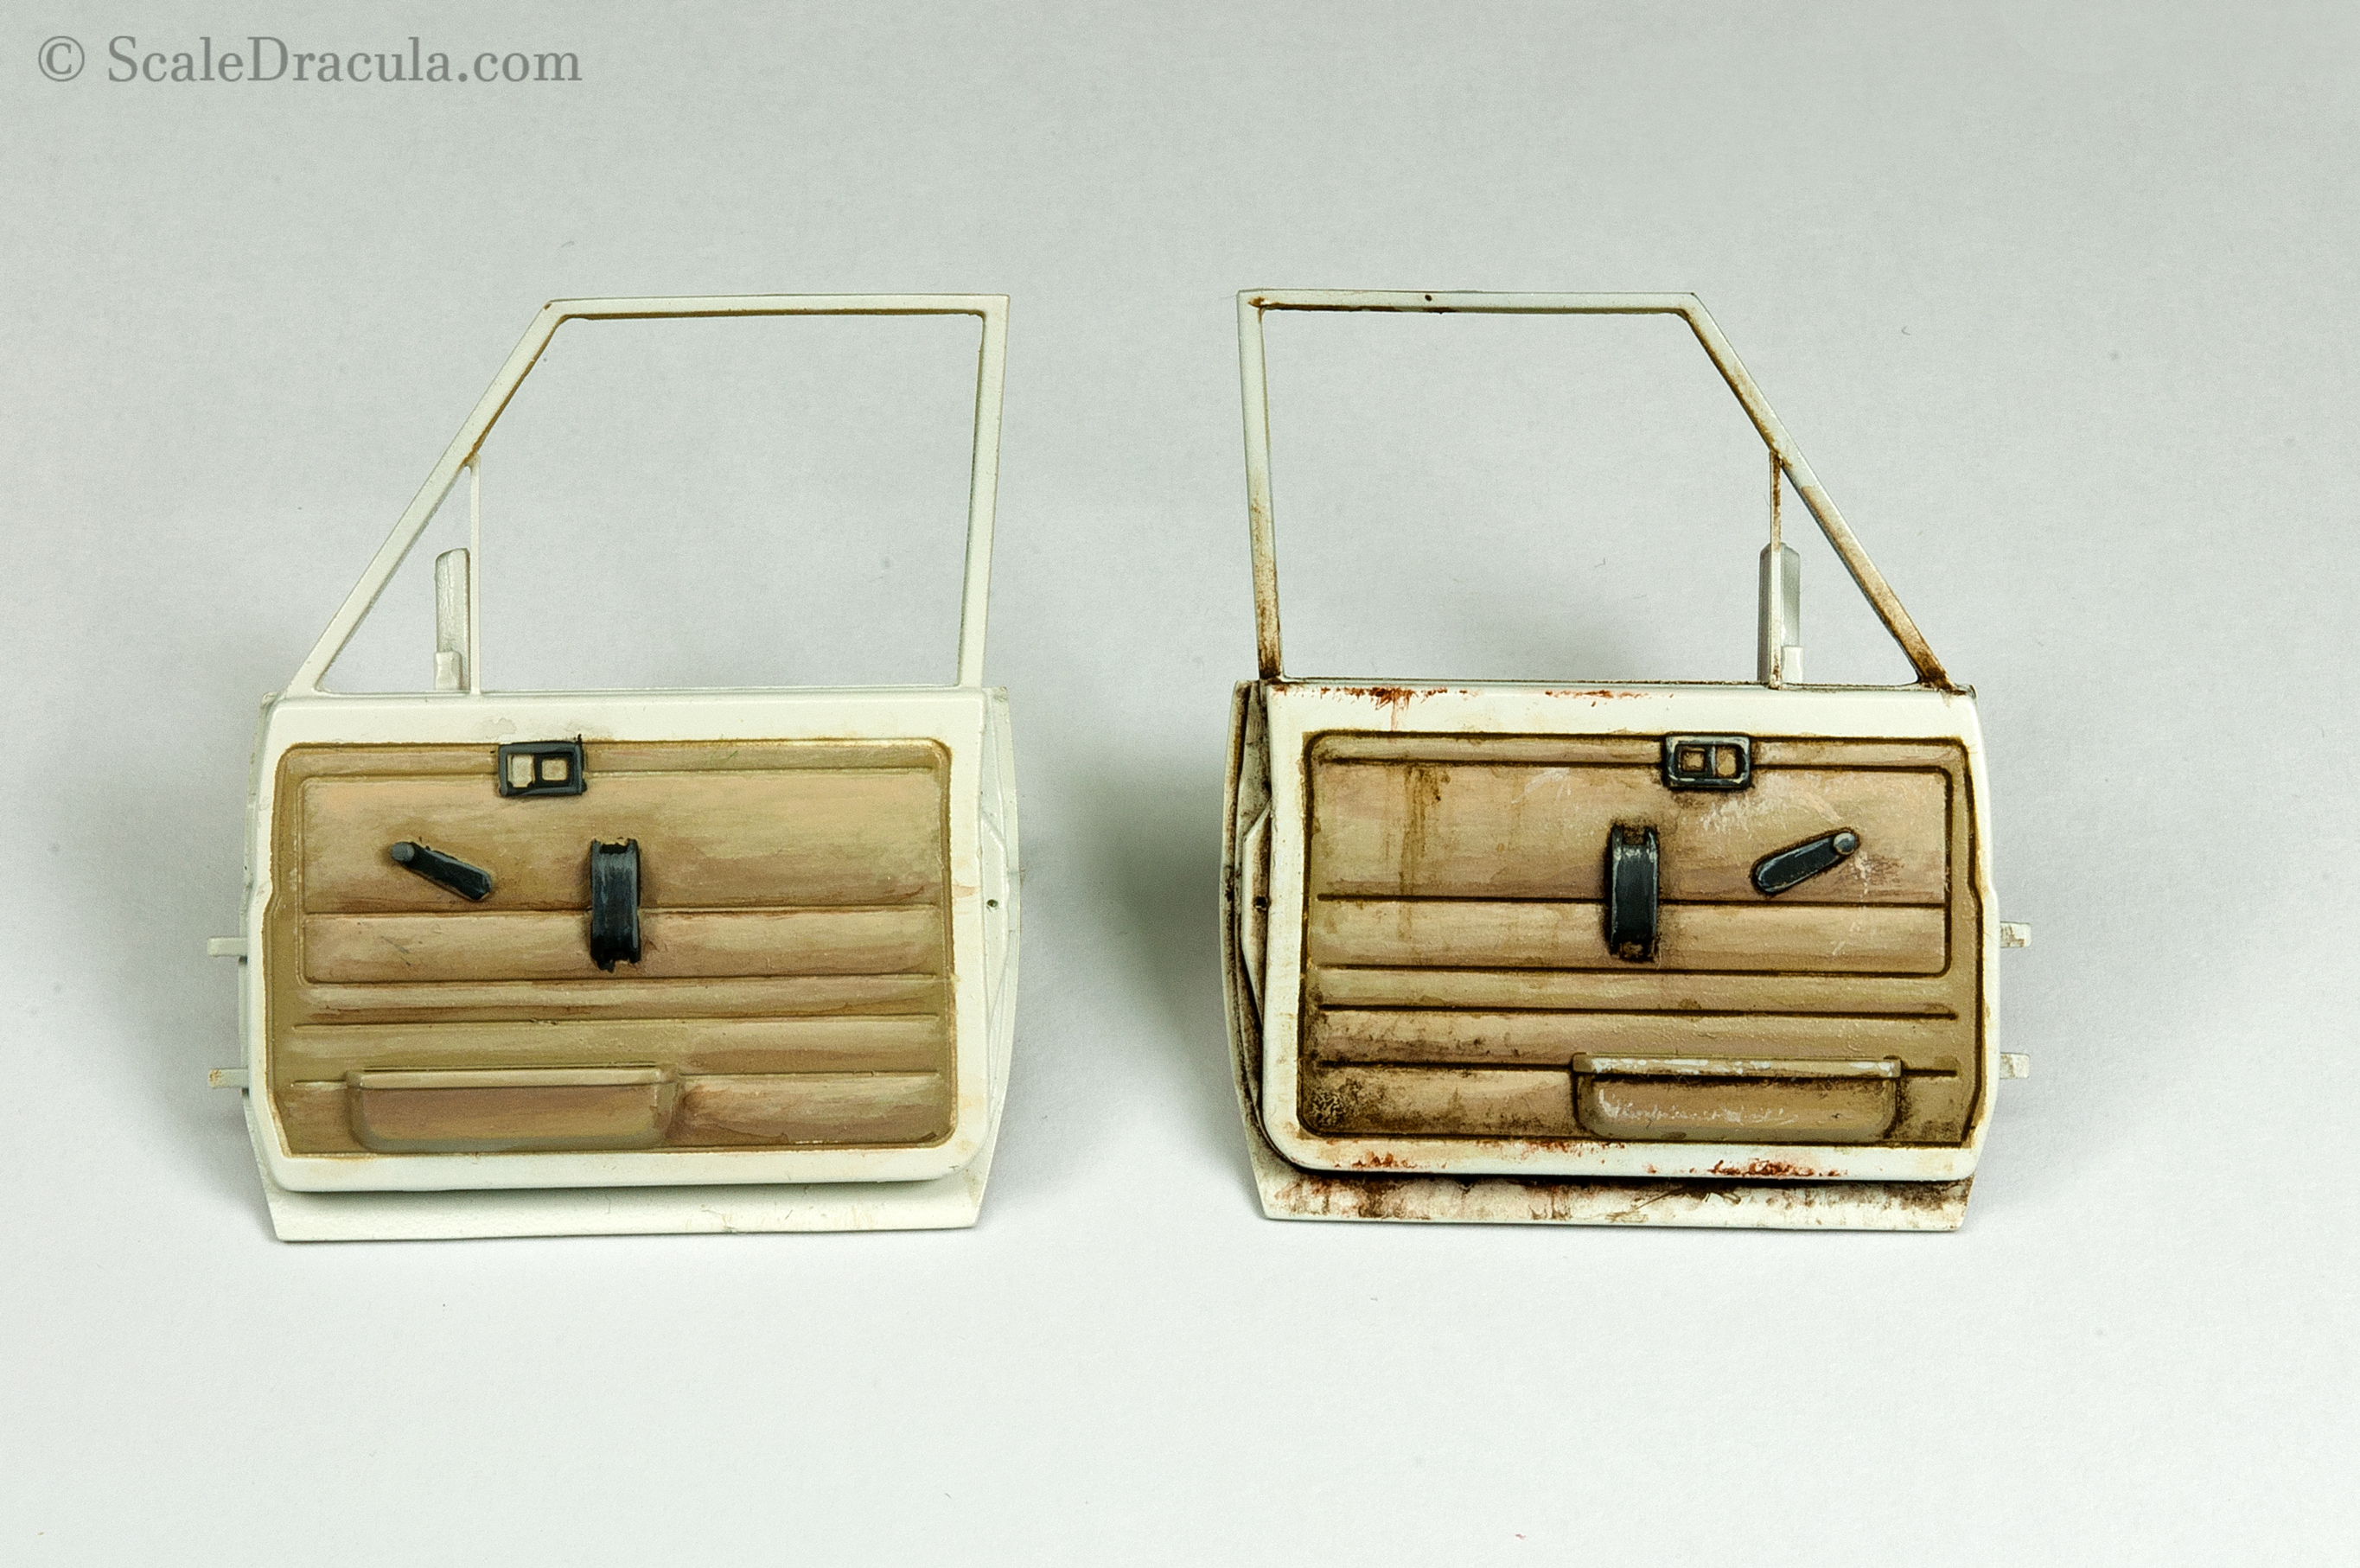
On the picture below you can see the difference between the part before and after the weathering. The photo shows perfectly how powerful the weathering really is – it gets you from a toy-like finish to a very realistic effect.
I used some popular techniques to weather the doors: a dark wash, oil rendering for rust and grime, and acrylics for scratches. I’ll show you the details on a separate SBS article.
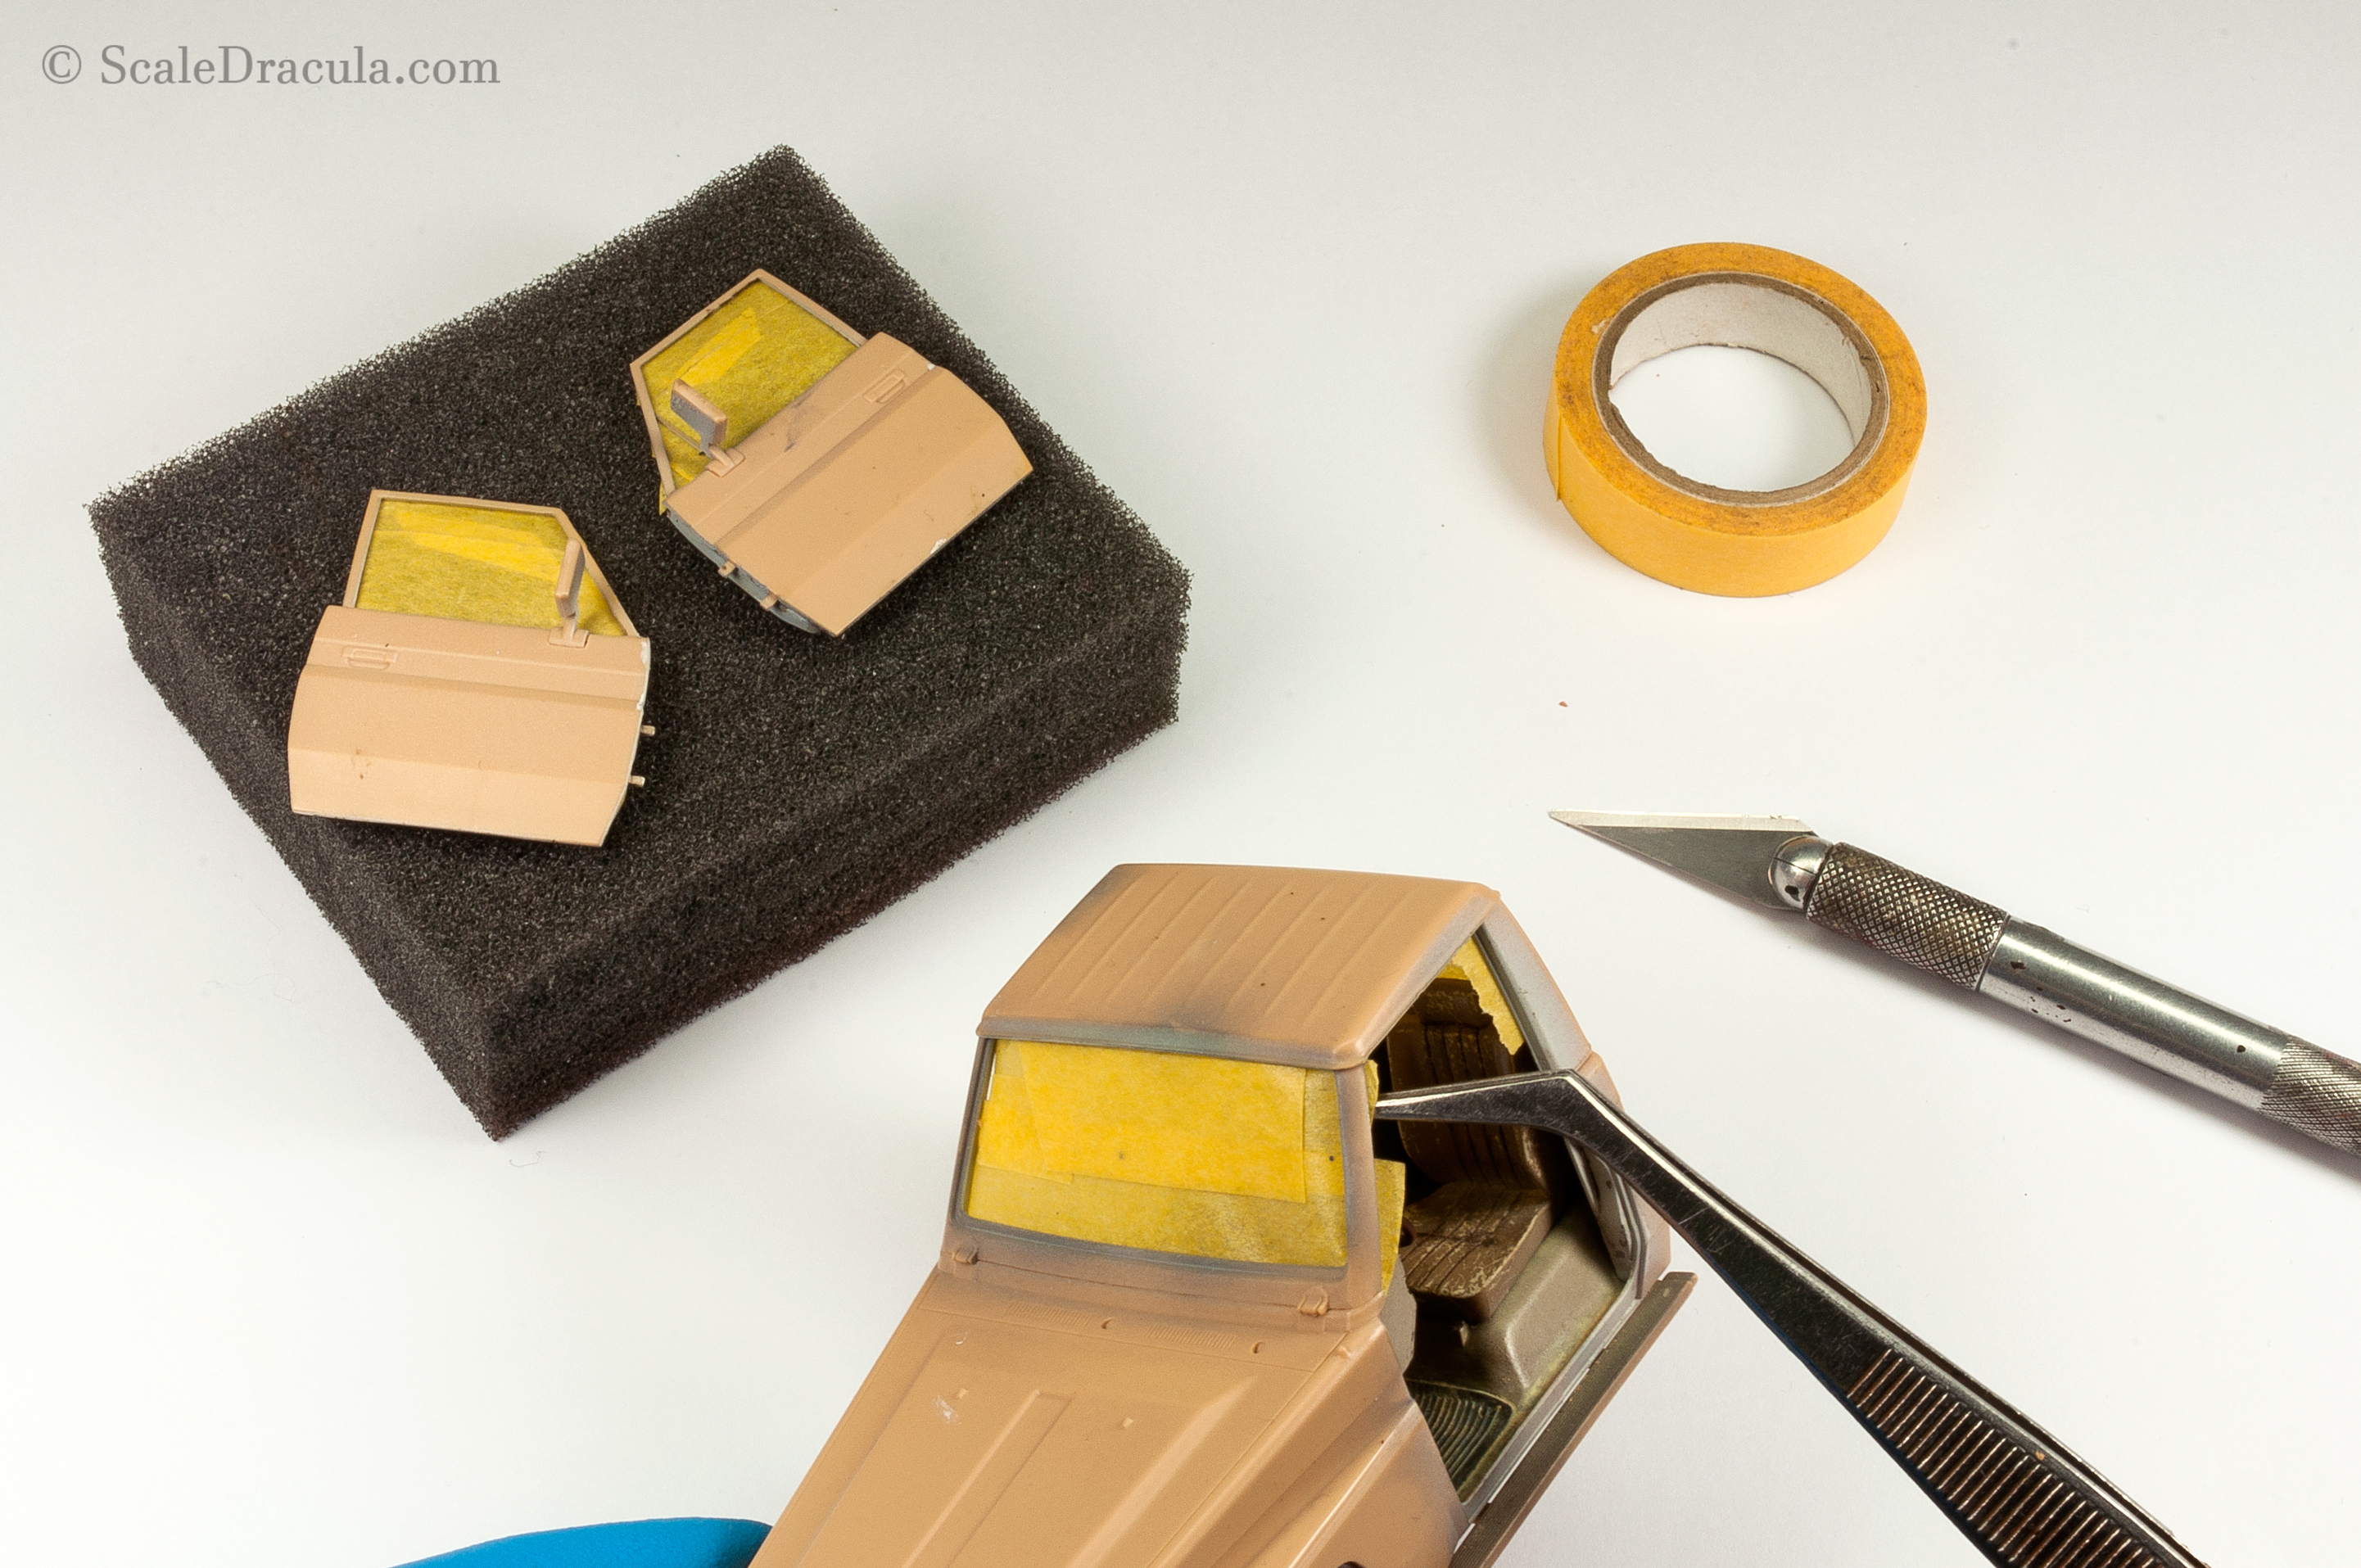
As a last step I masked the interior with great care using Tamiya masking tape. I’d hate to see any overspray at the end so I double checked if everything looks solid.
And with this step the interior is finished. In the next part I’ll start to paint each of the remaining sections separately to ultimately put them all together.