Do you want Search?
Random Post
Search
Search


-

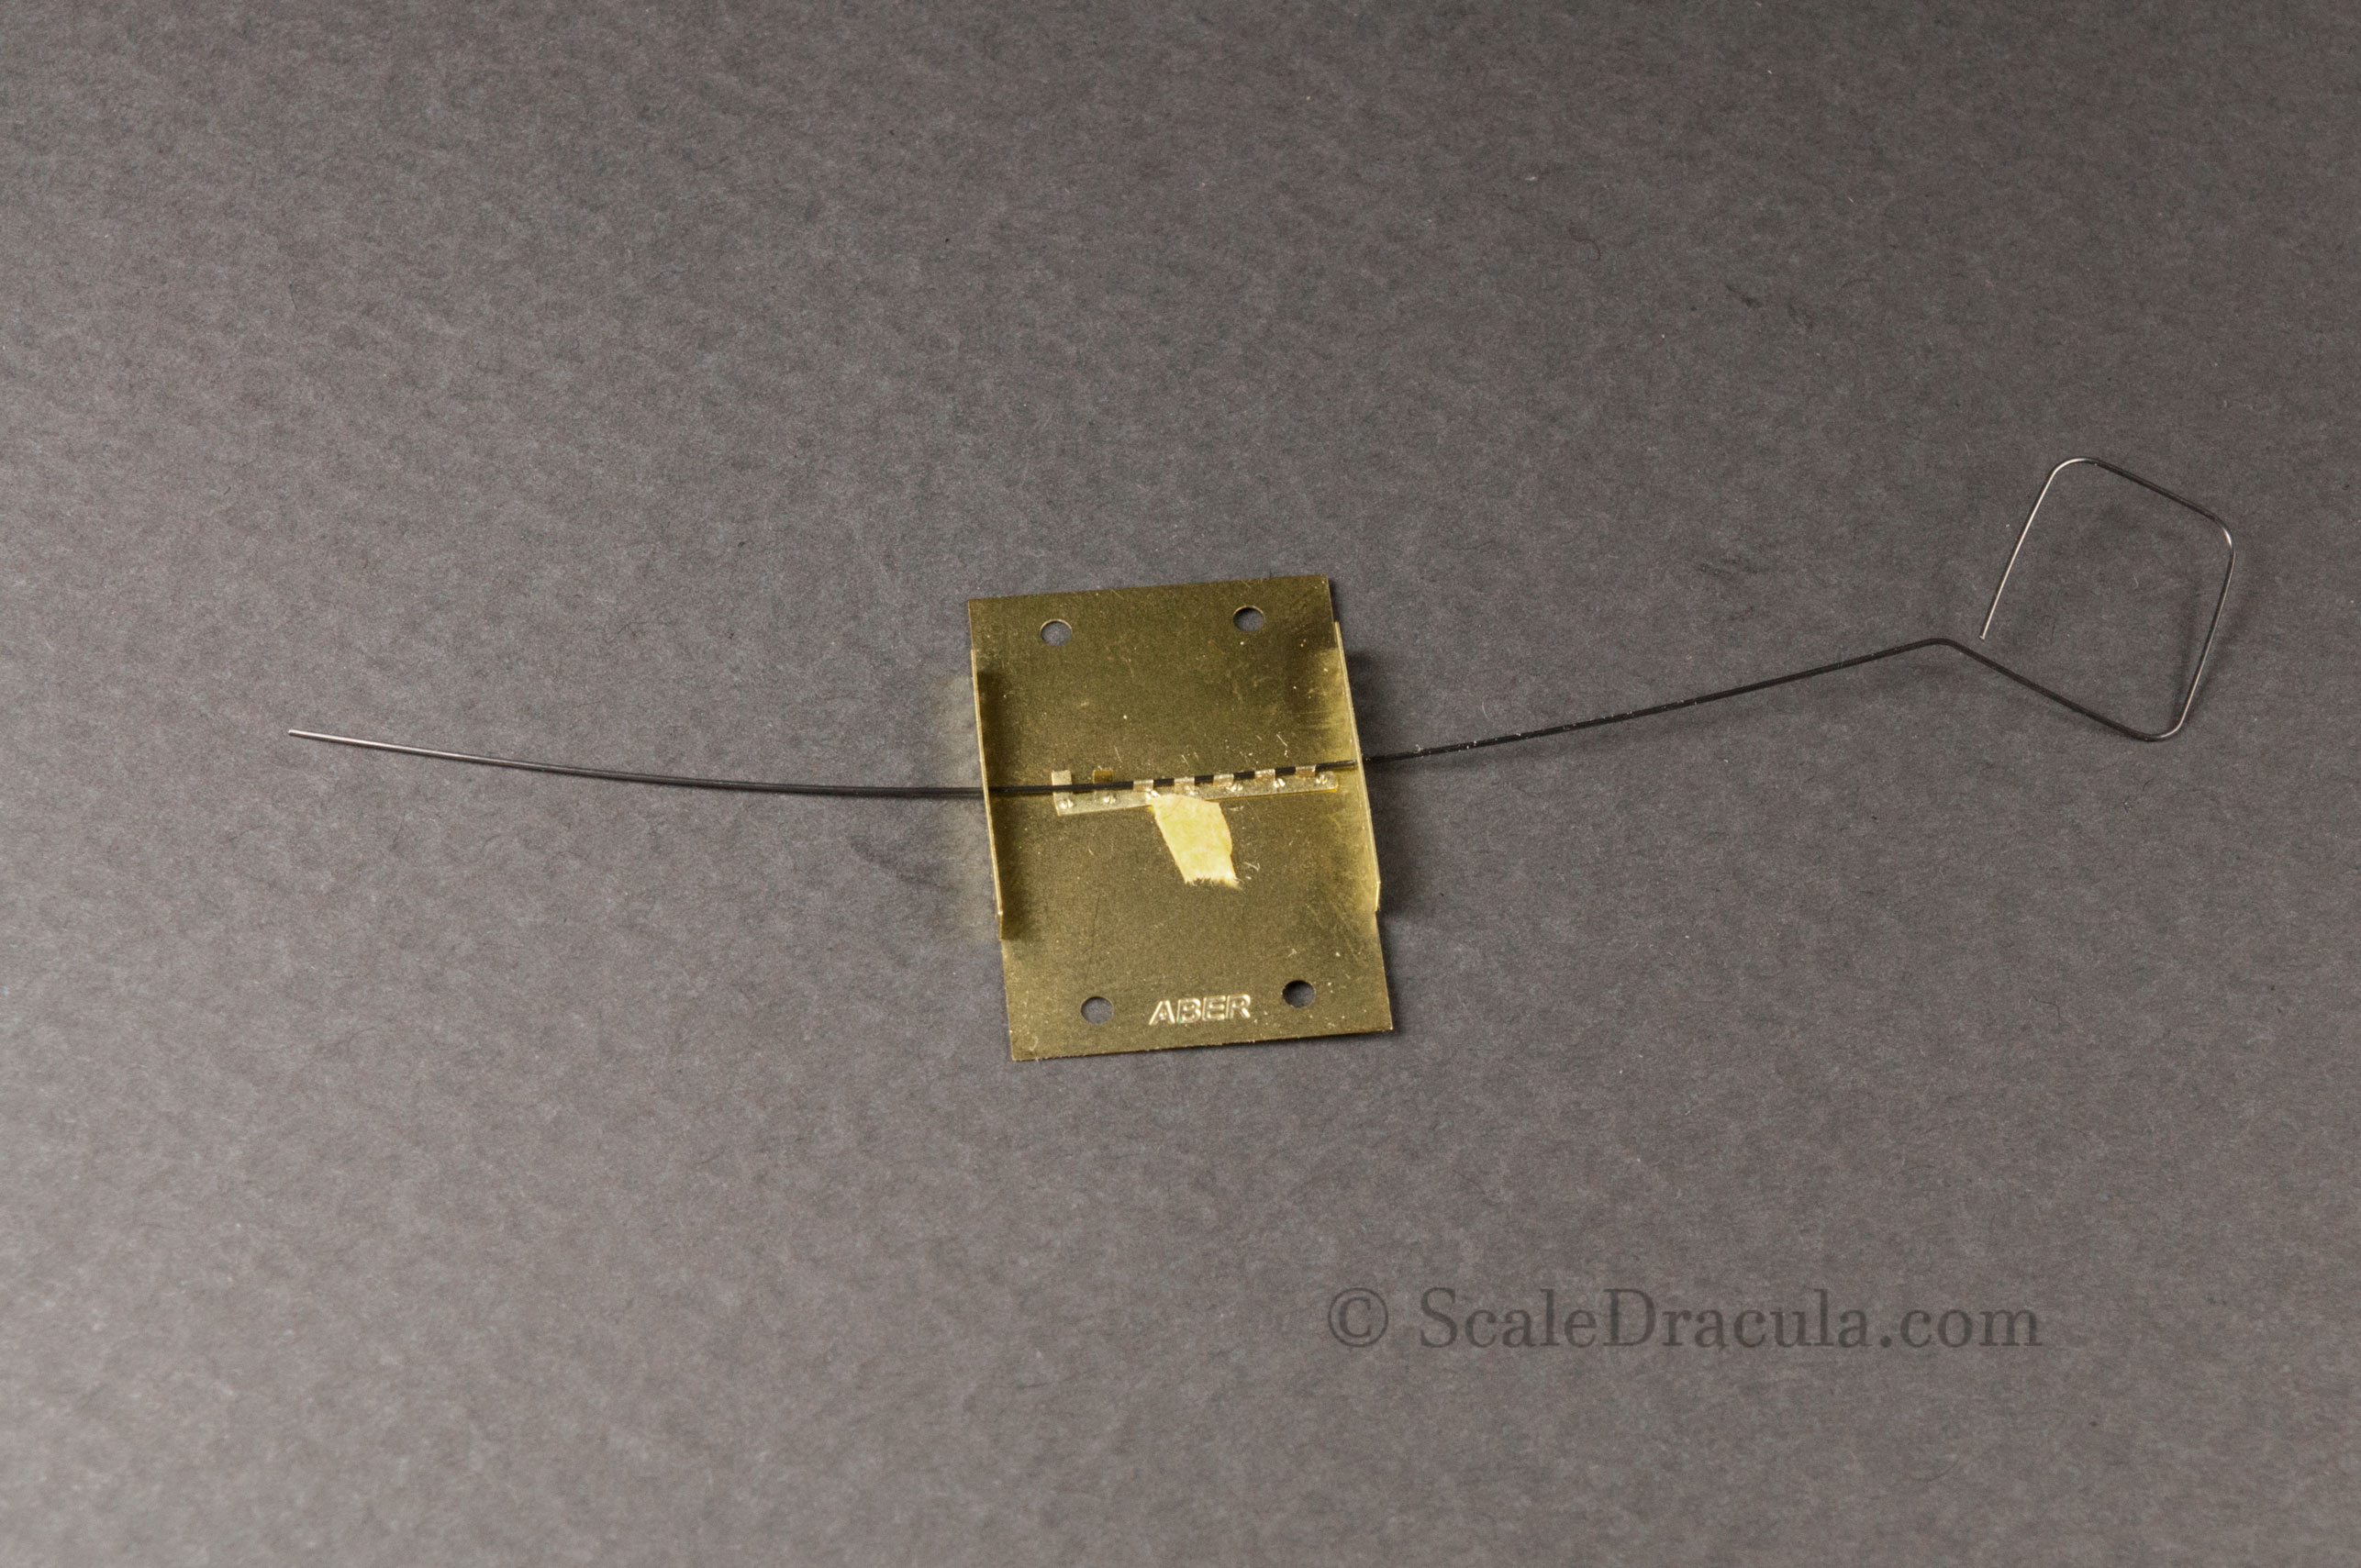
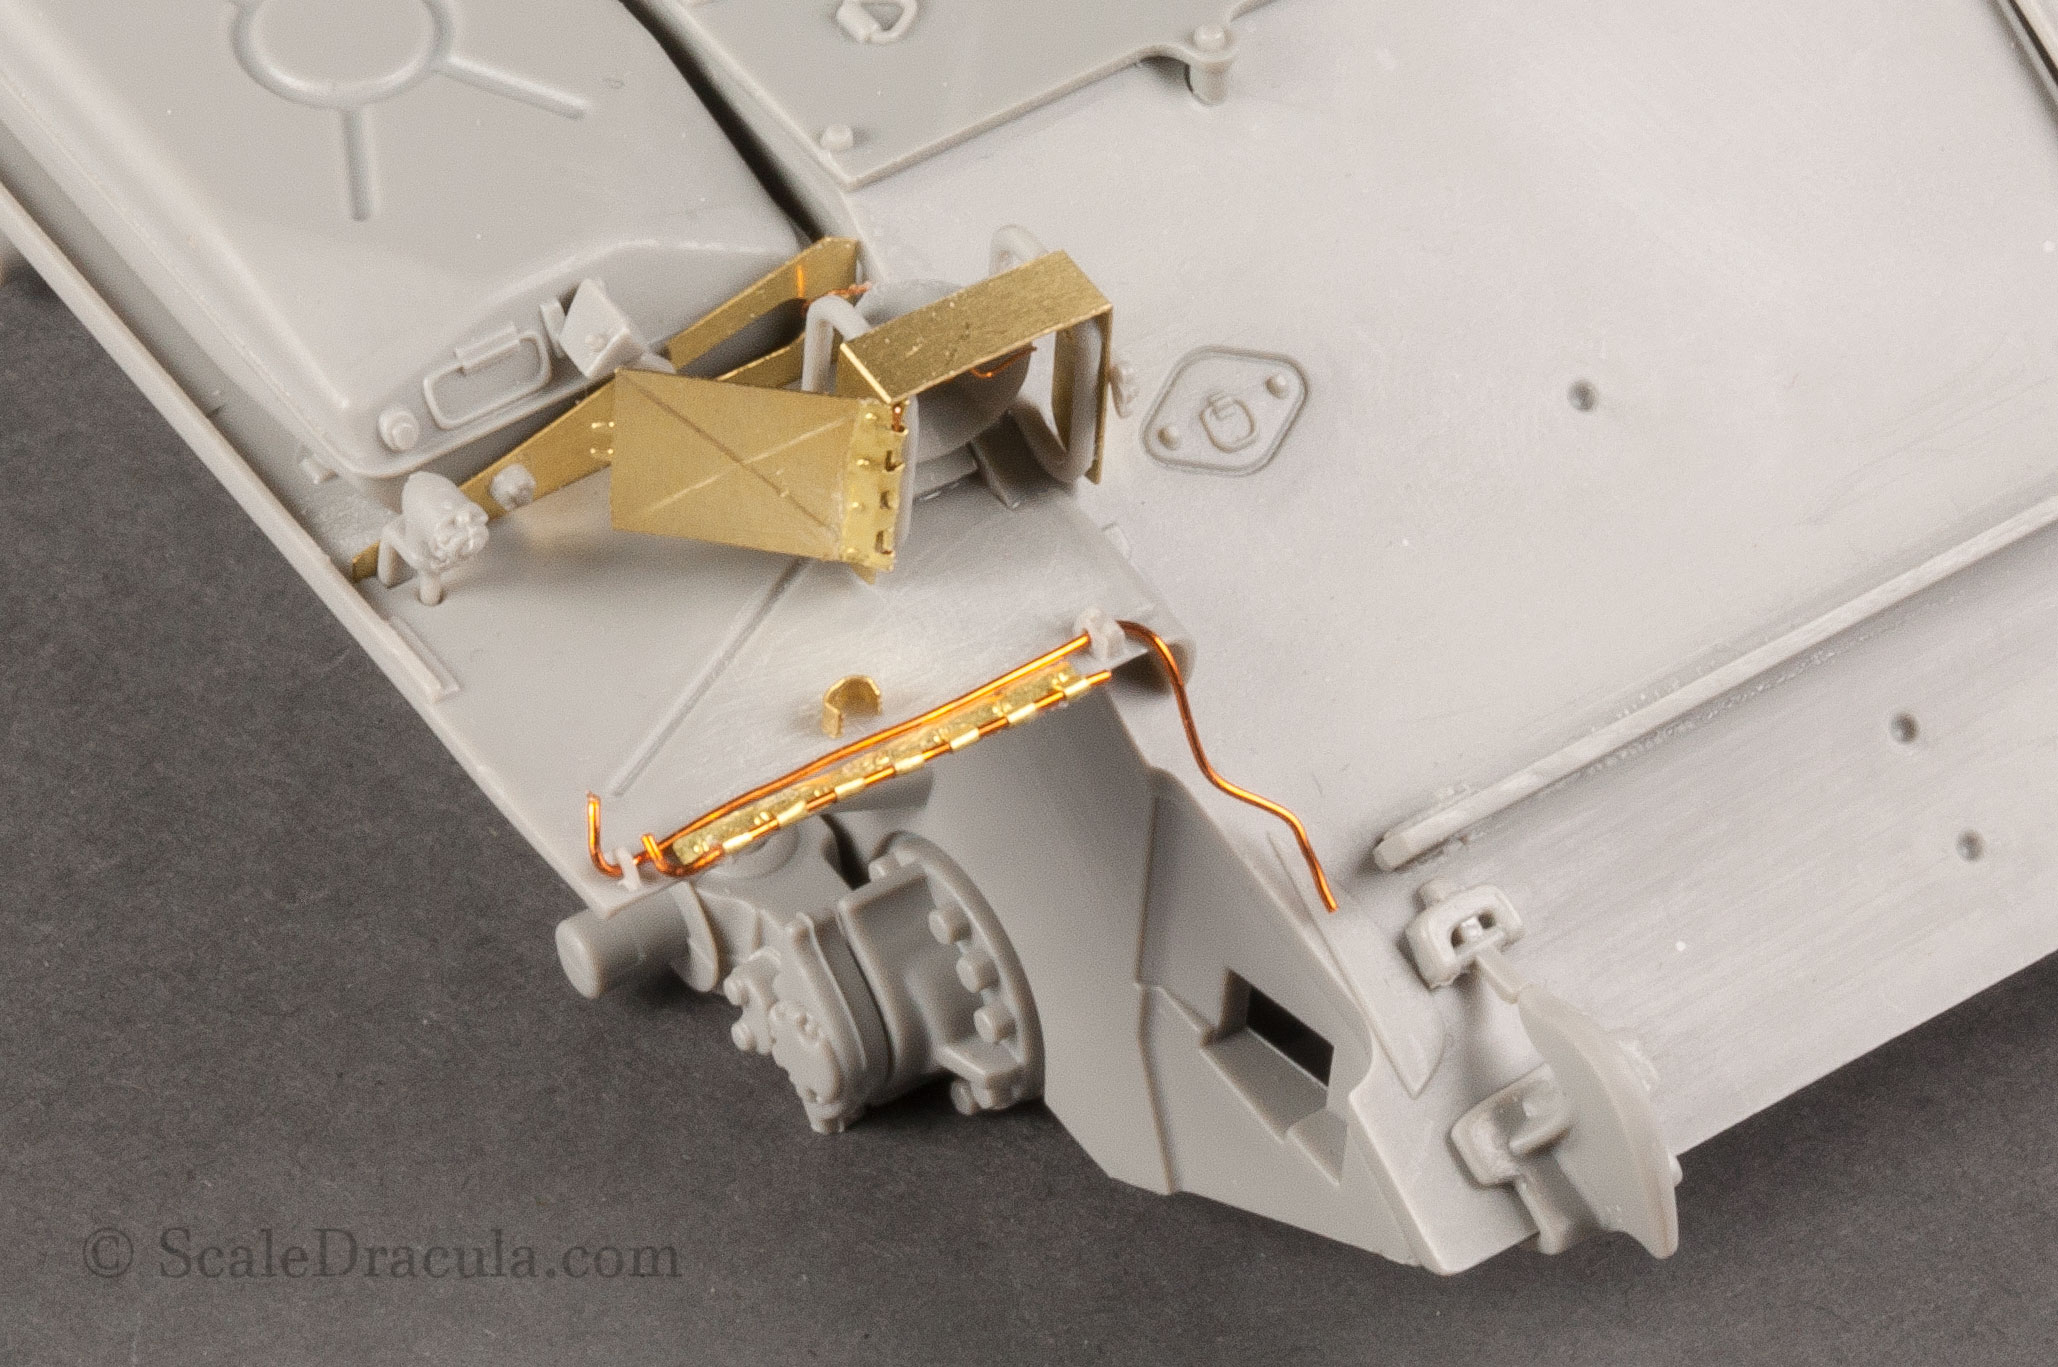
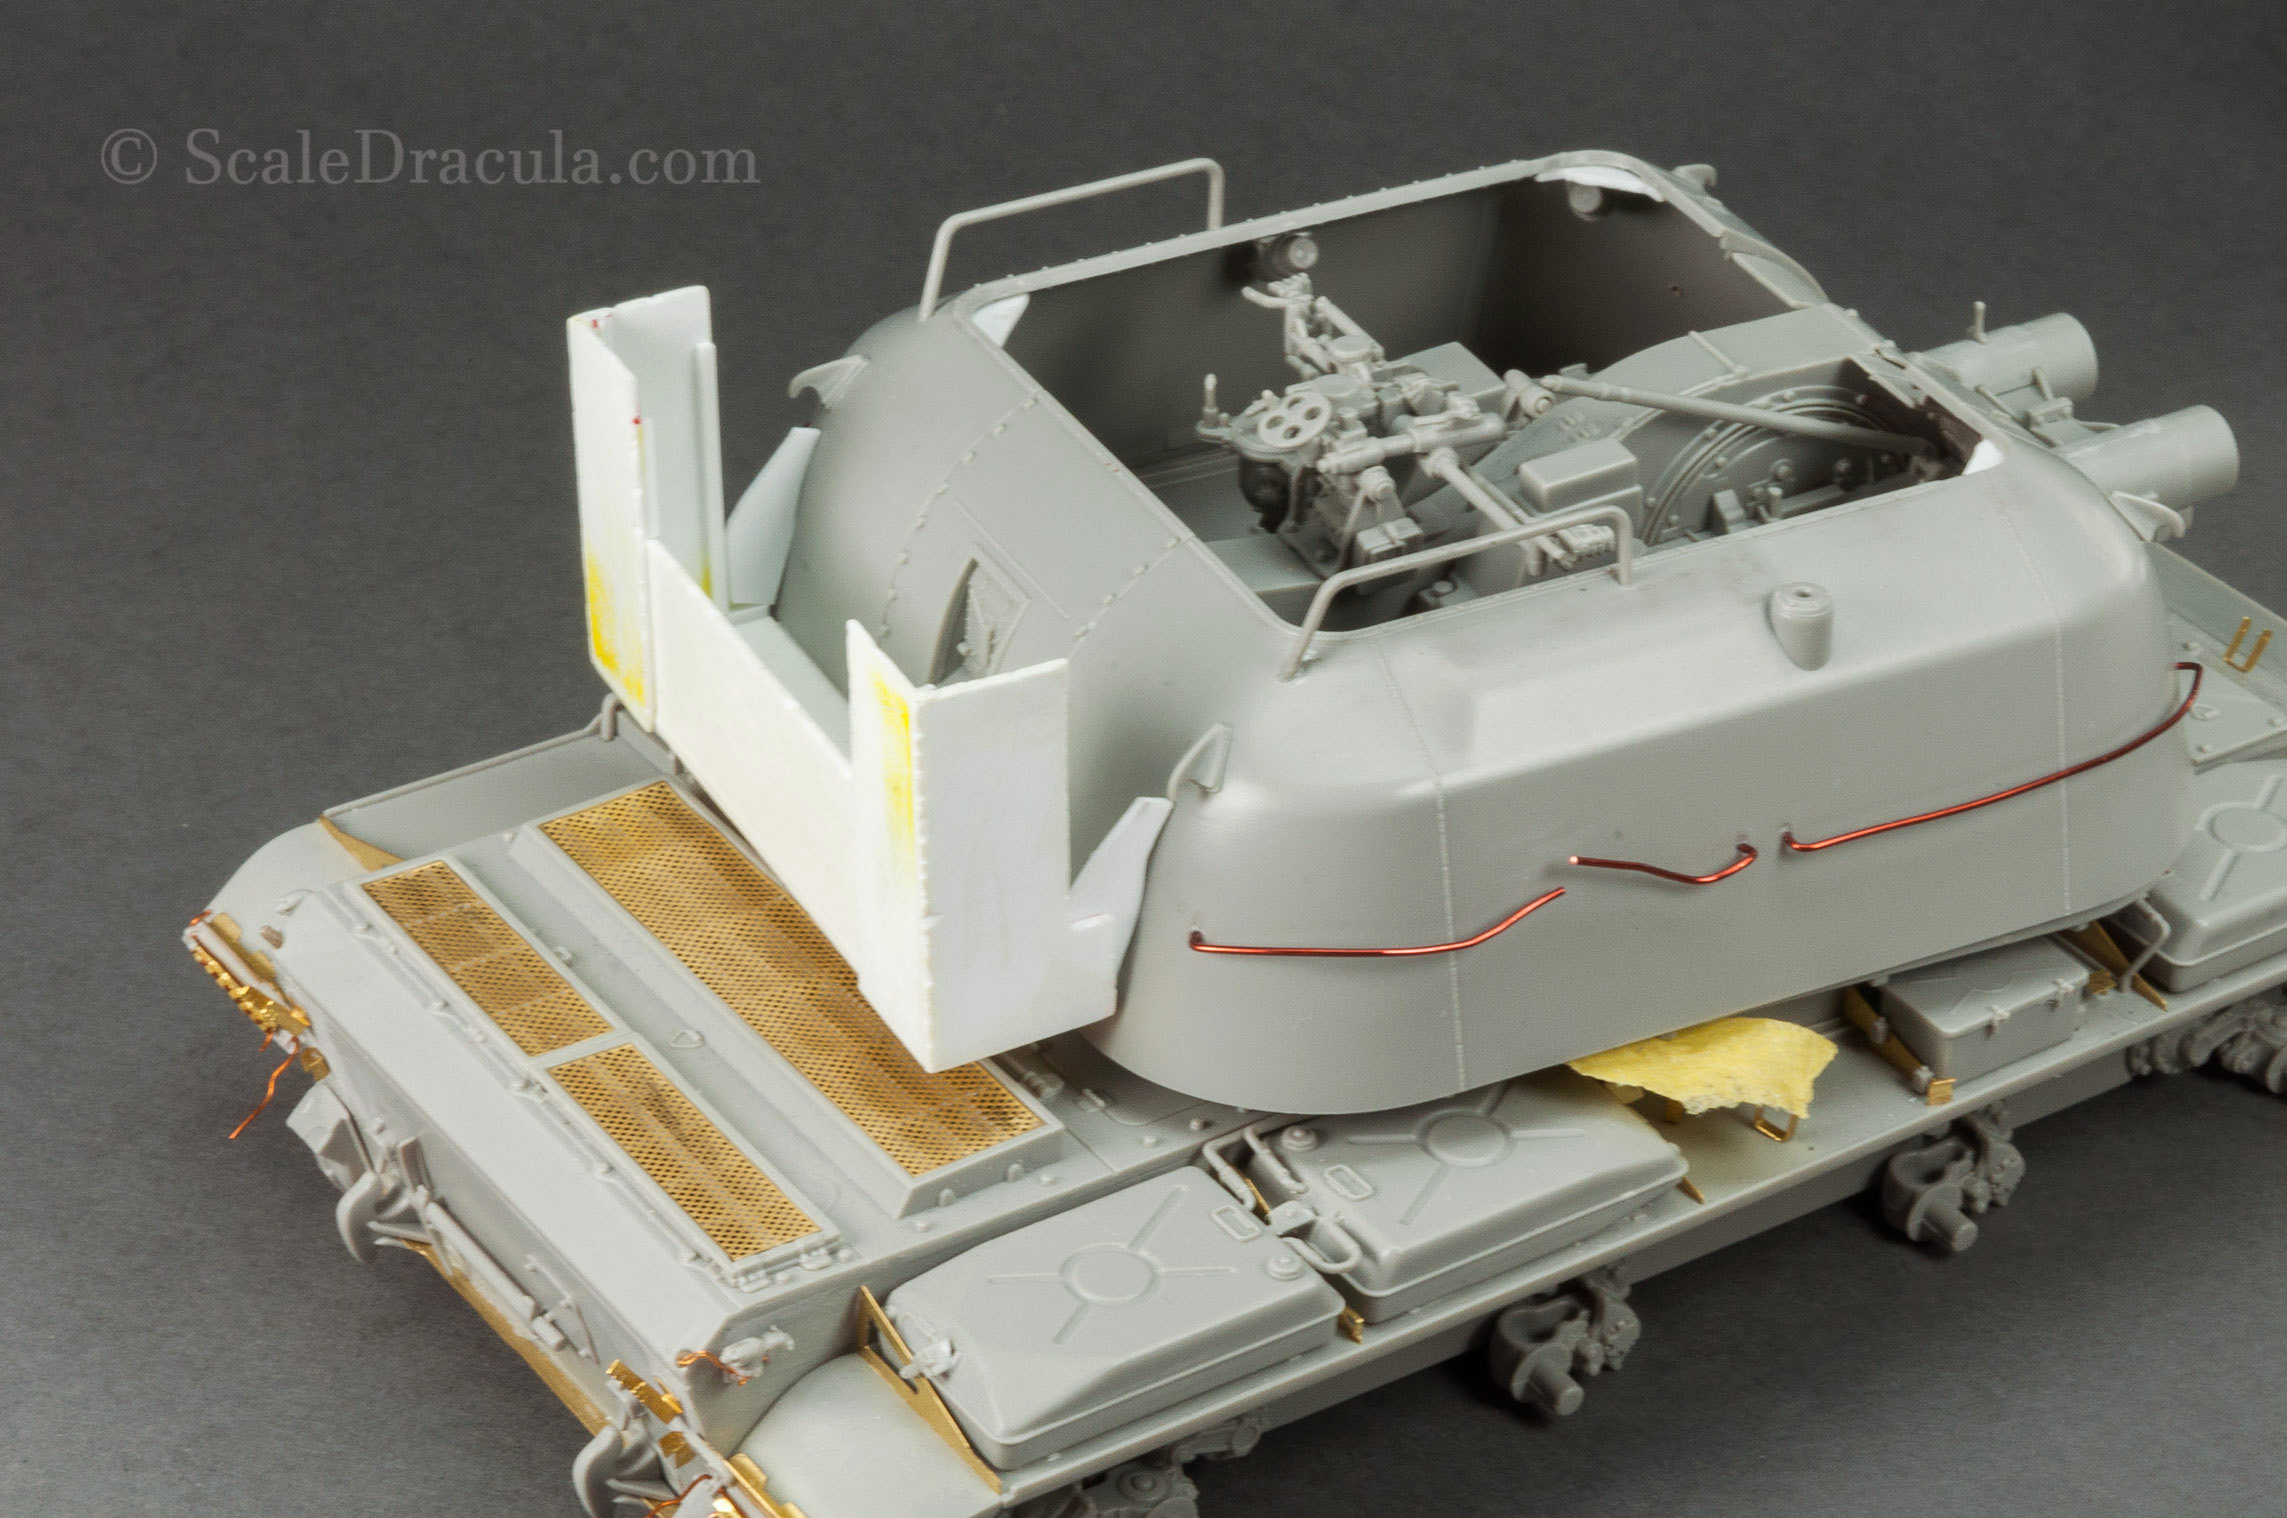
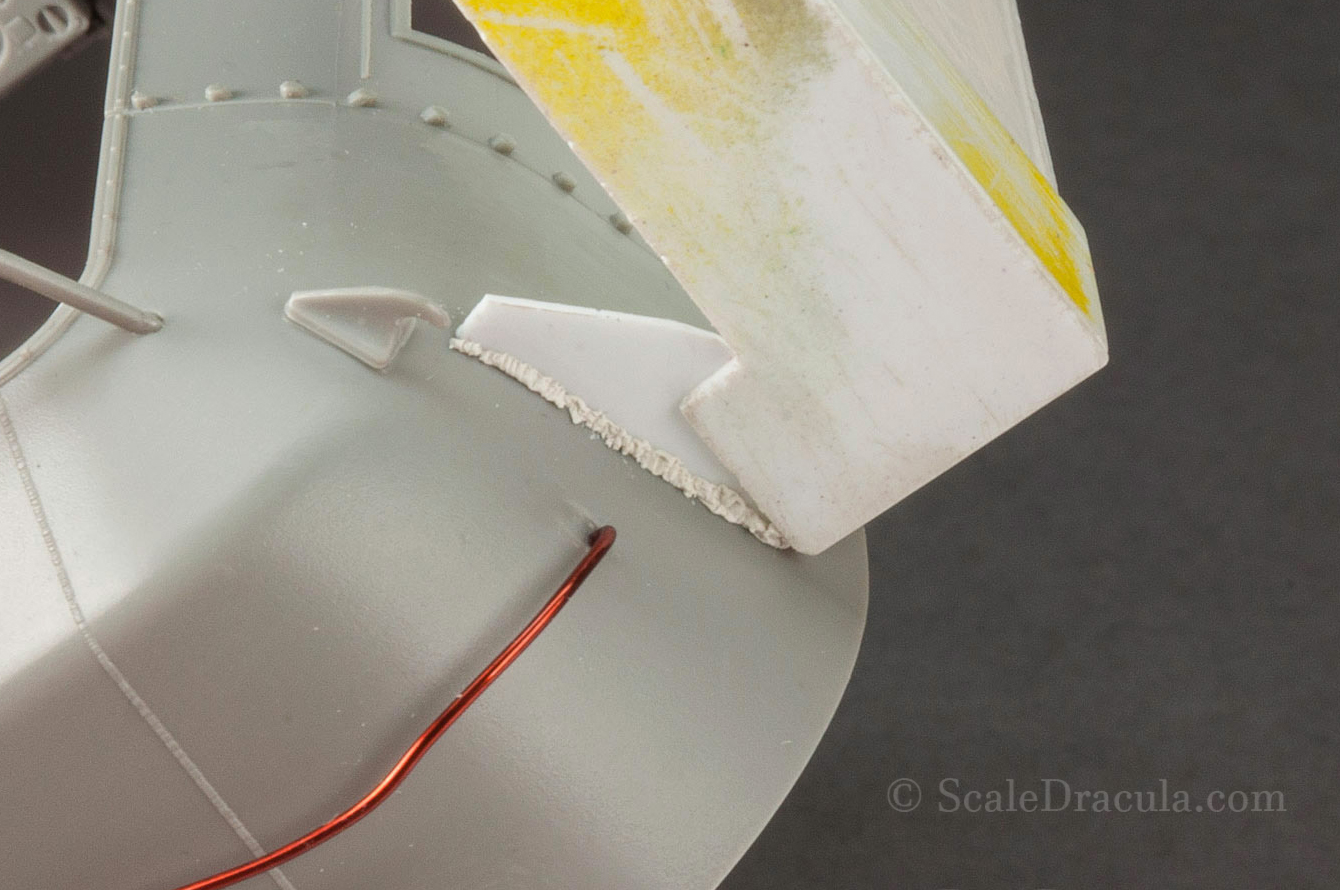
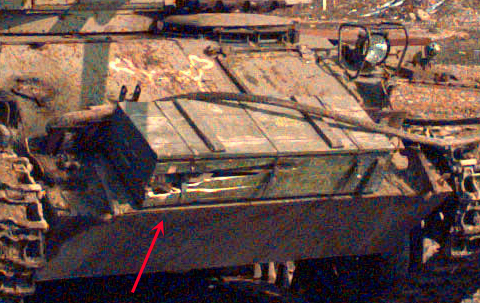
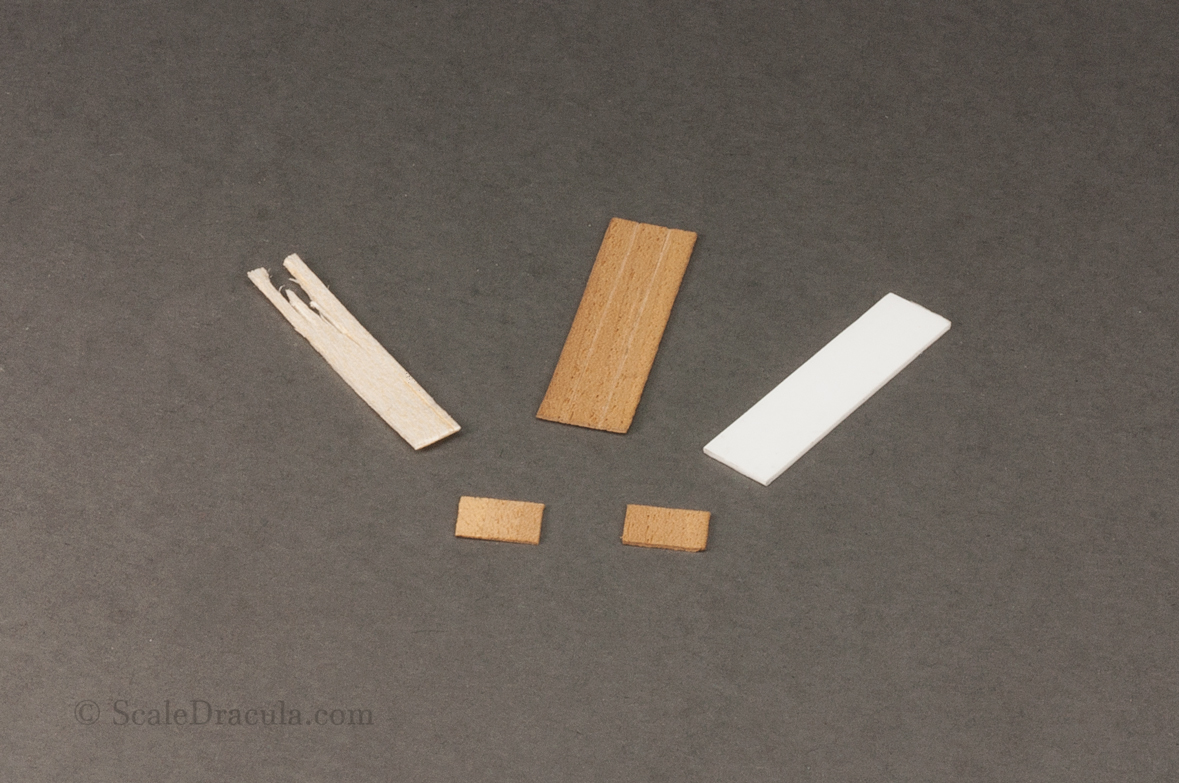
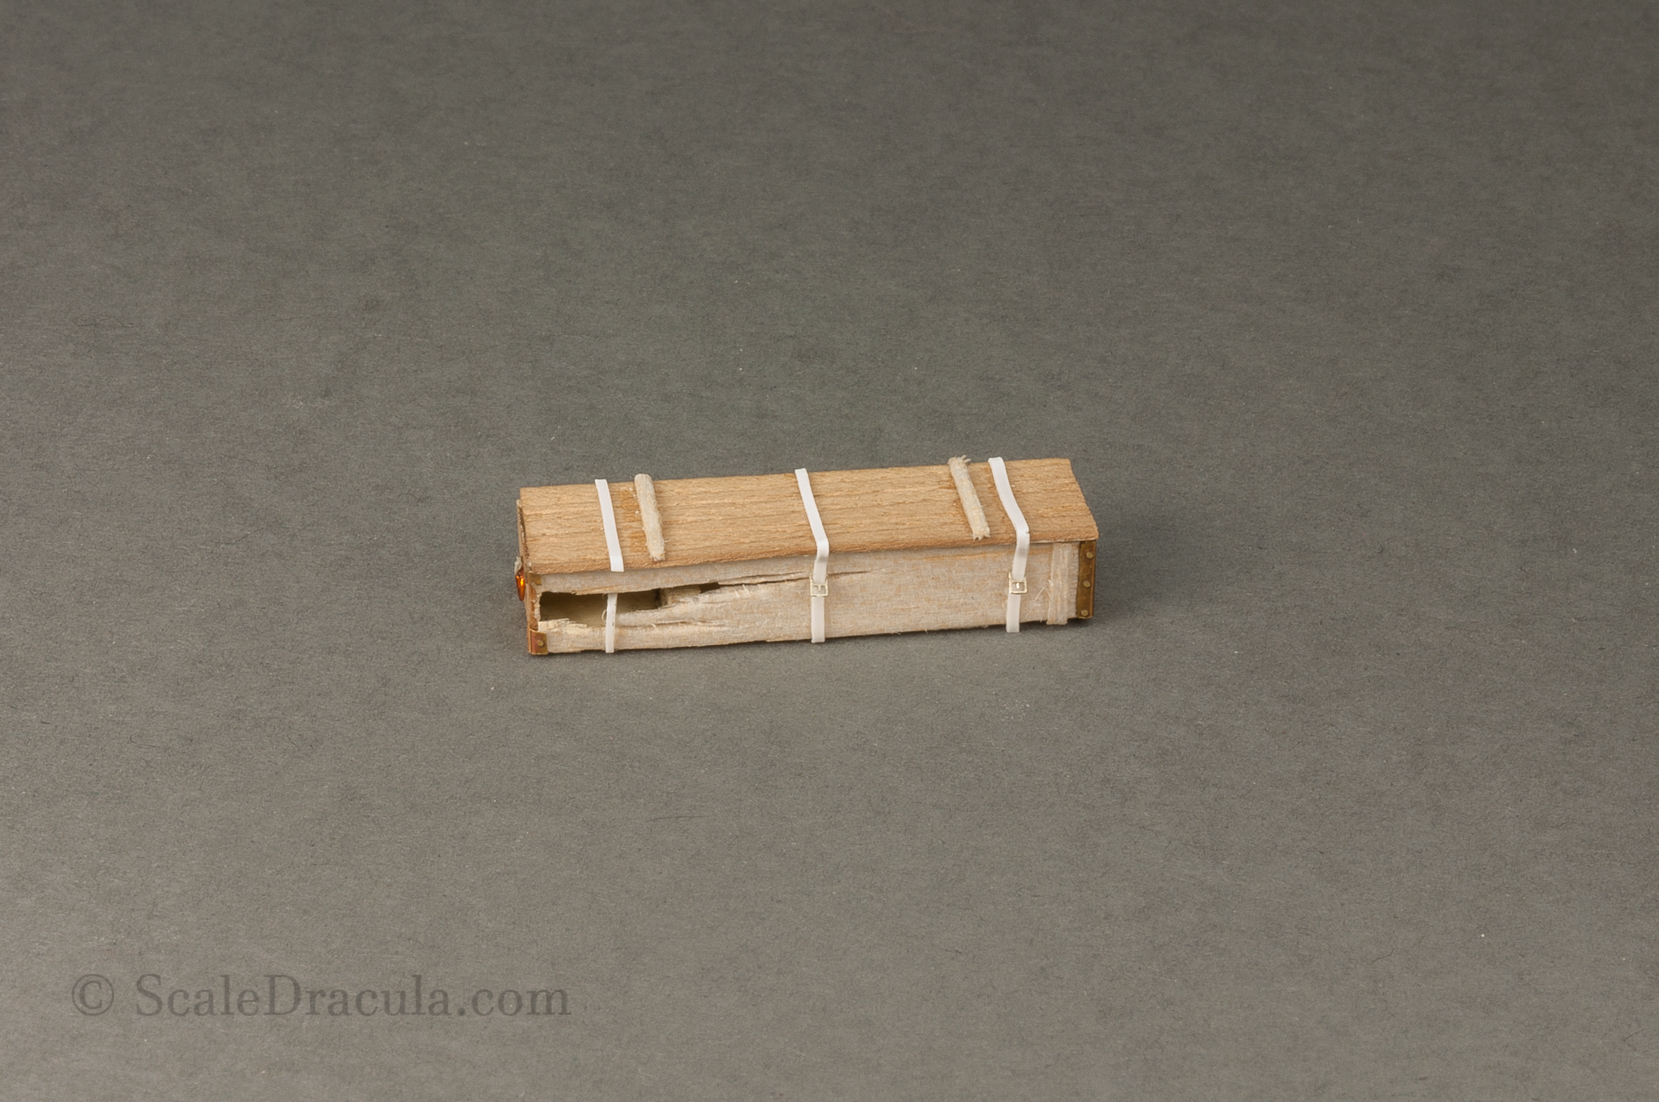
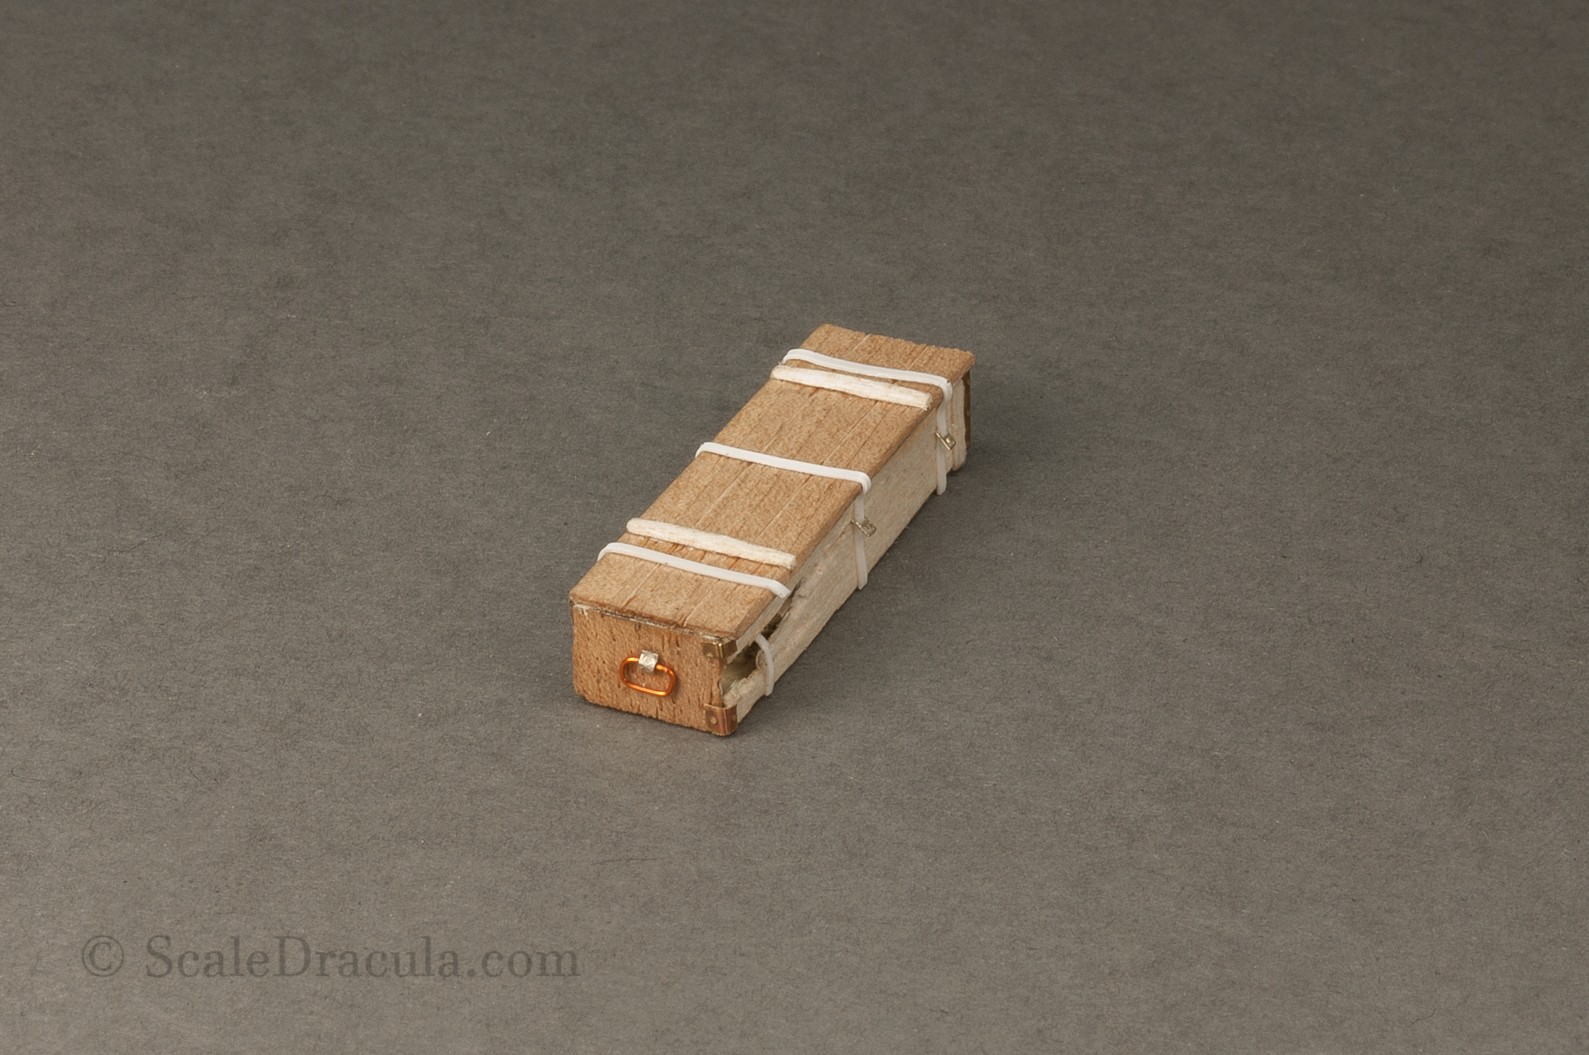
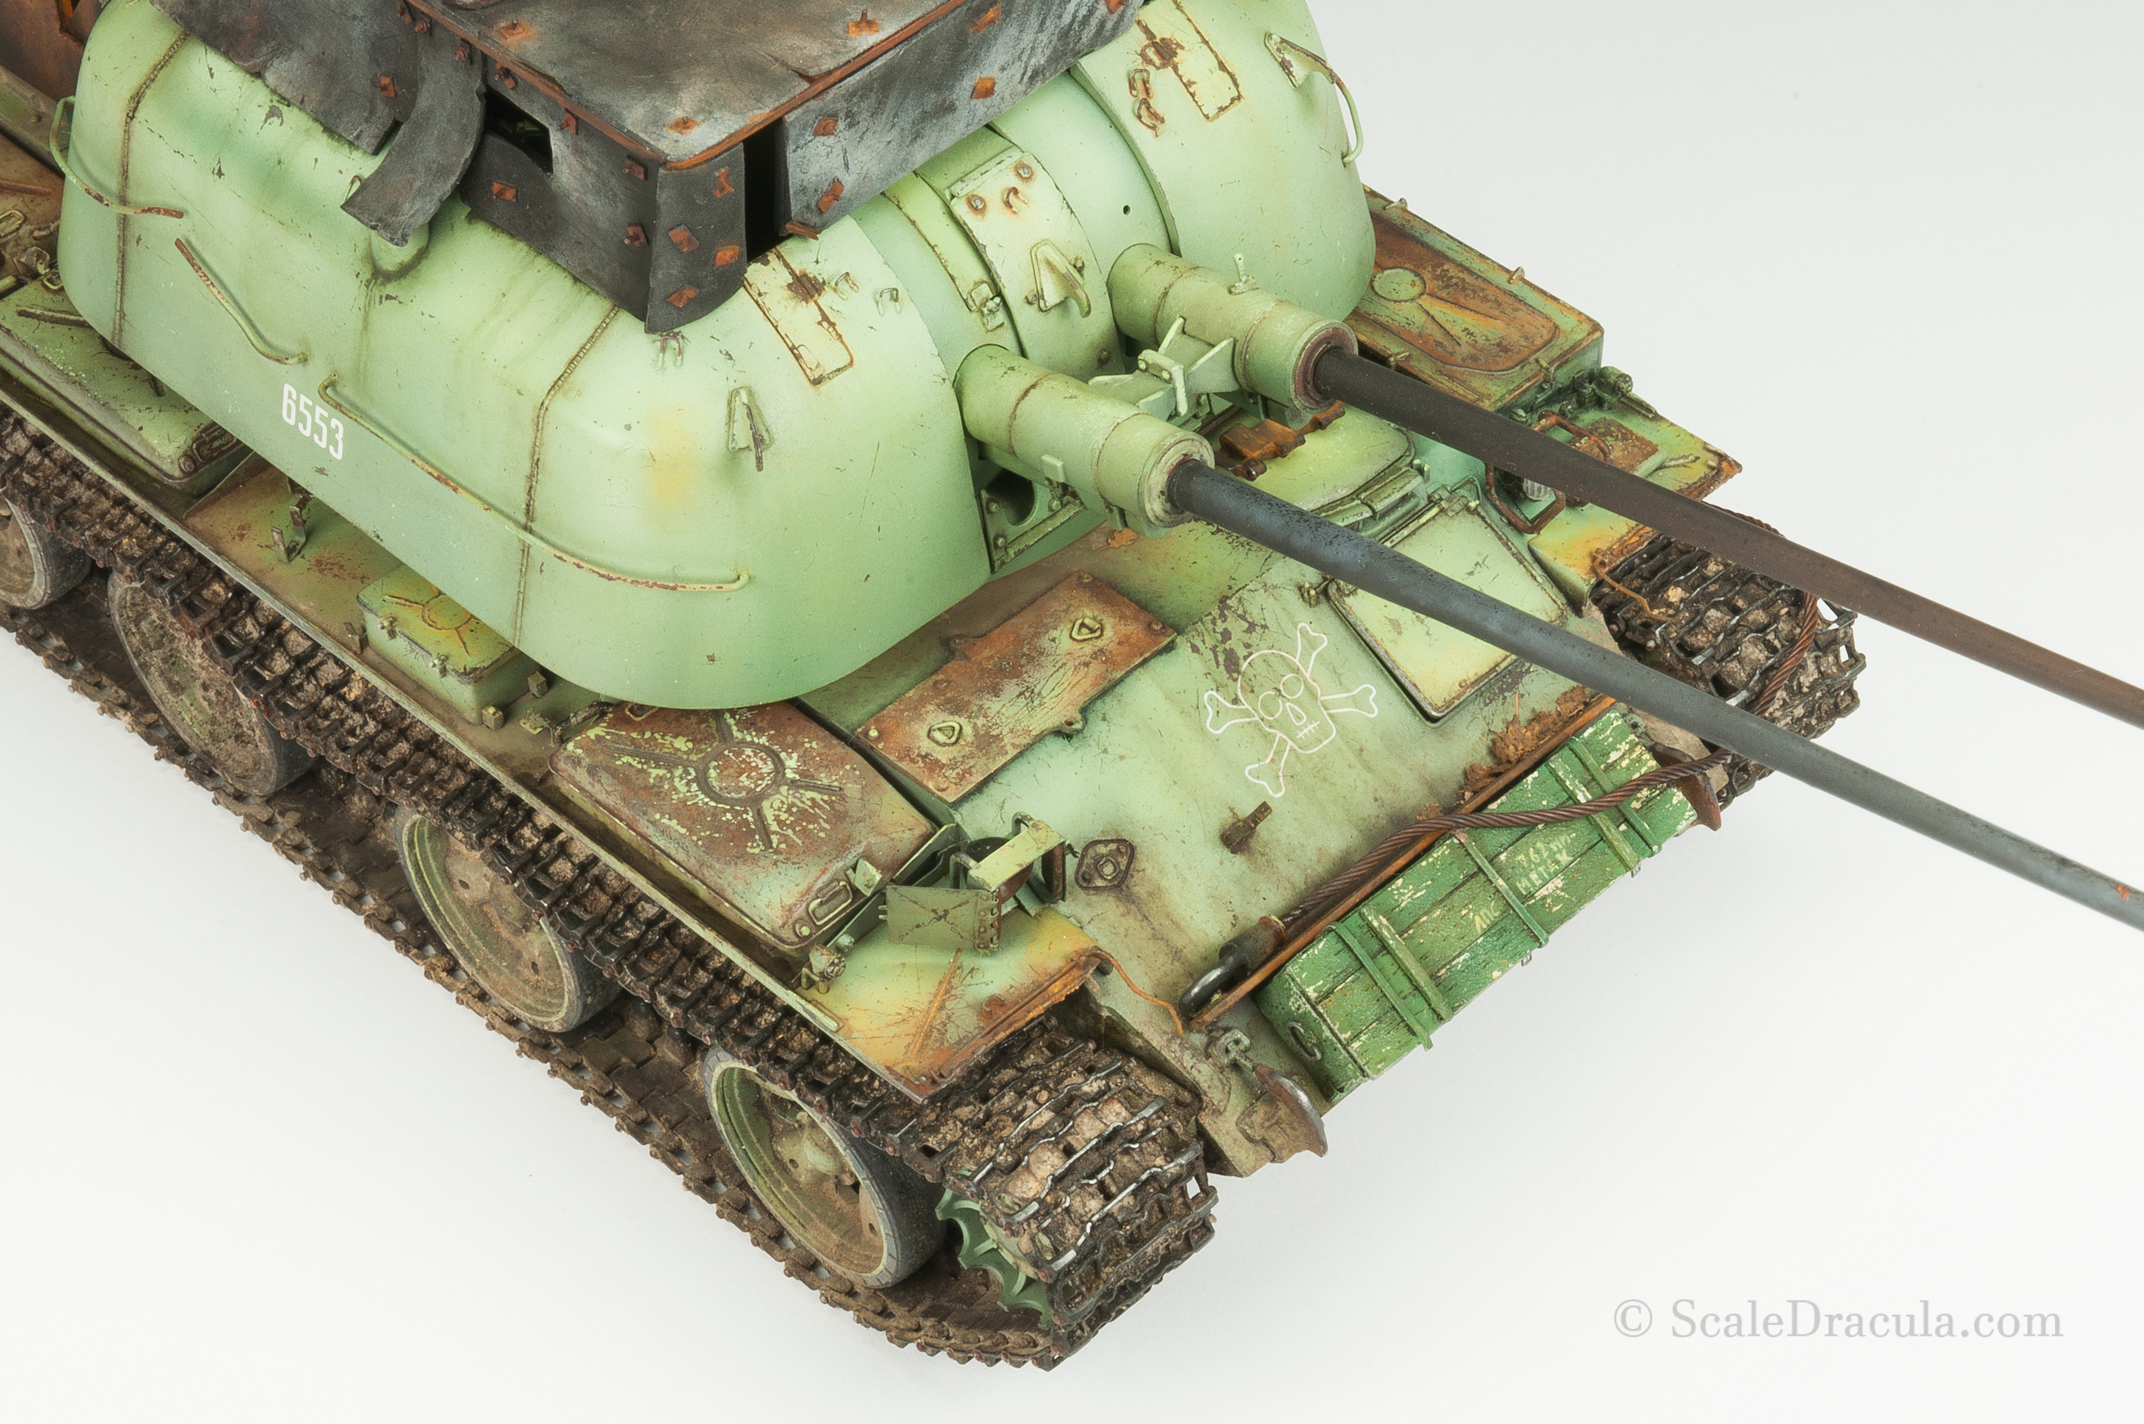
- Towing cable Eureka XXL