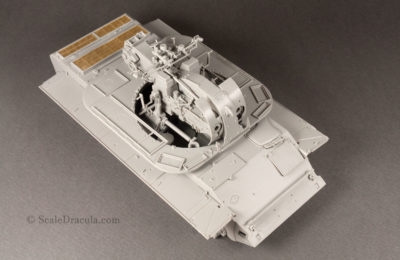
I left off the little Ferguson after it was put together and primed. If you missed that post, here it is:
It was at this point that I had to decide what kind of vehicle I would like to build.
I assumed my Ferguson will be a worn out machine that have spent years on the field but is still in operating order. So the model will be chipped and dirty but I don’t want it to look like an abandoned, rusty wreck. It was really important to take those decisions, because they were going to guide me throughout the build.
Airbrush time! I did a very quick pre-shade with Ammo Matt Black. Then I painted the whole model with Ammo Medium Grey with just a drop of Medium Blue. Grey is a pretty dull colour. That’s why I usually add something to it to give it some life.
Then I painted a basic layer of rust using Lifecolor paints (a mix of Rubber black and Burned rust). These are the places I’d use the hairspray technique on. I will concentrate on the hood, fenders and wheels.
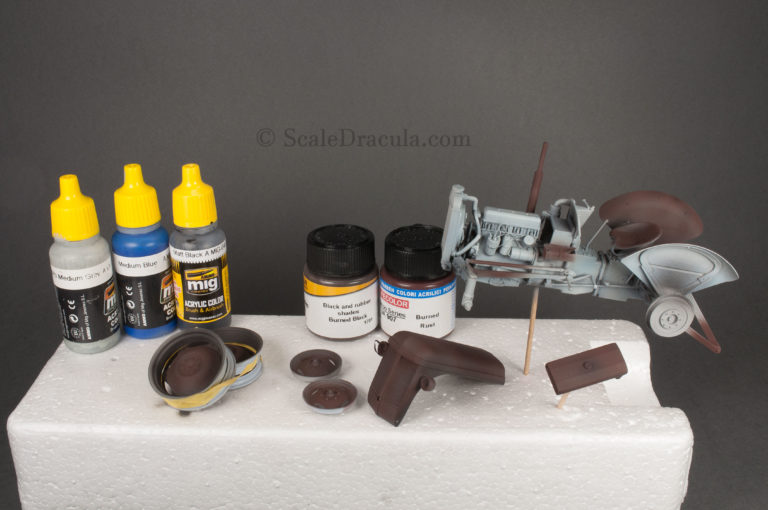


If you plan to chip big areas of the model, it’s good to give the surface some more interesting texture. I thinned down other rust shades of Lifecolor paints and did a quick mapping effect.
If you only plan to make some tiny scratches and chips though, all you need is a straight dark brown colour.
I decided I want to paint my Ferguson in orange, but that’s where a problem appeared. The hairspray technique works best when the top layer of paint is pretty thin. But I sure needed a lot of orange paint to cover the dark rust base.
Look closely at the picture below:
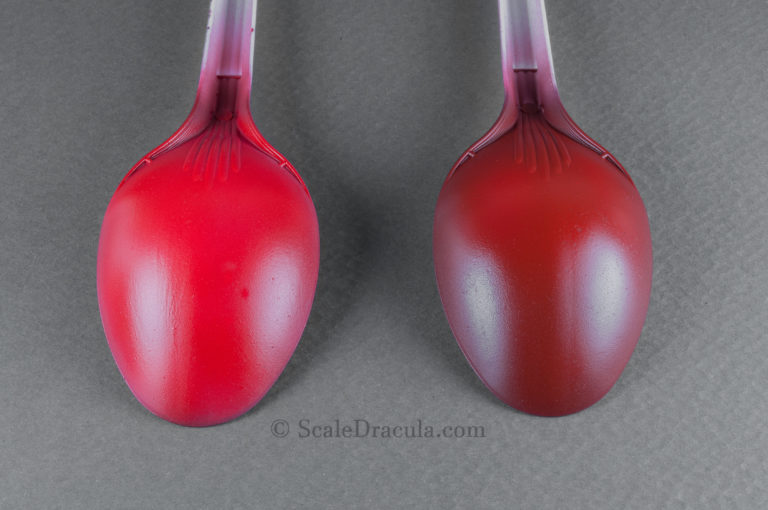
This is the same paint (Ammo Mig acrylic Red), but sprayed over different colours. On the left it is light grey, and on the right dark brown. The amount of red is exactly the same. Bottom line: to get a rich, clean orange colour I would have had to spray much much more layers. And I didn’t want to do that, because it would affect the hairspray technique.
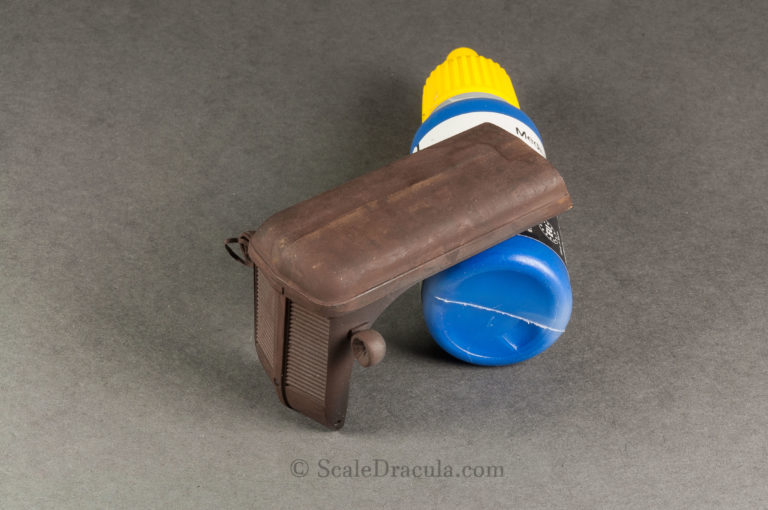
What’s the solution? I covered the model with Ammo Mig Heavy Chipping, then I simply sprayed a thin layer of light grey before moving to orange.
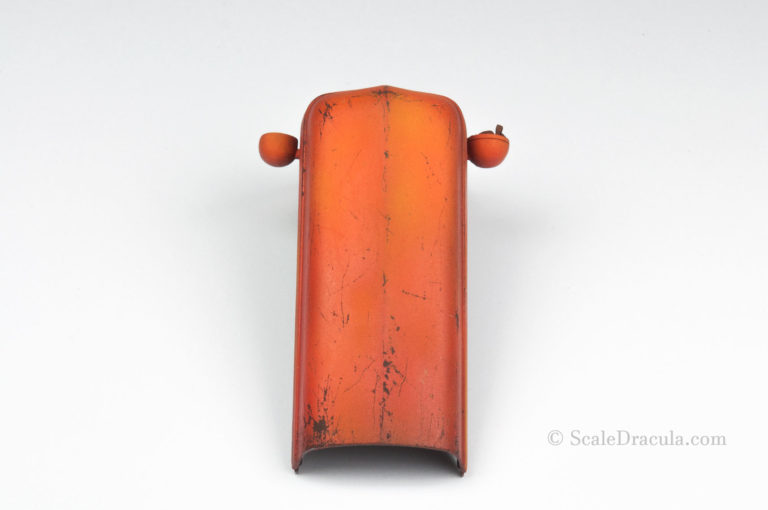
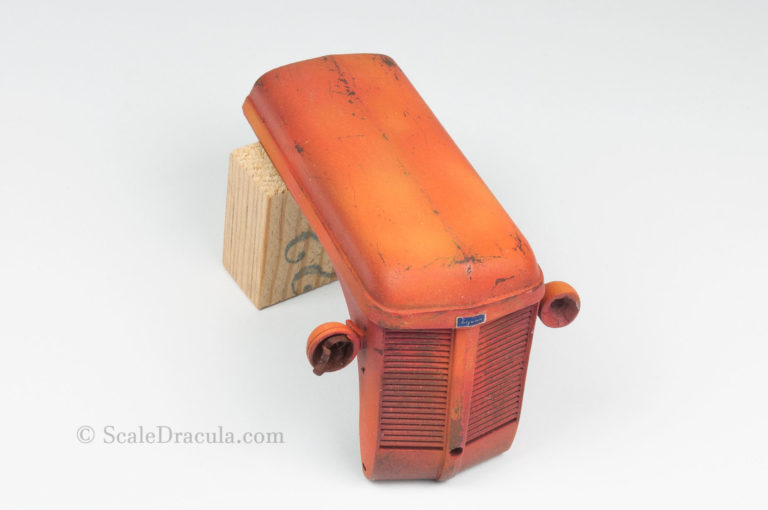
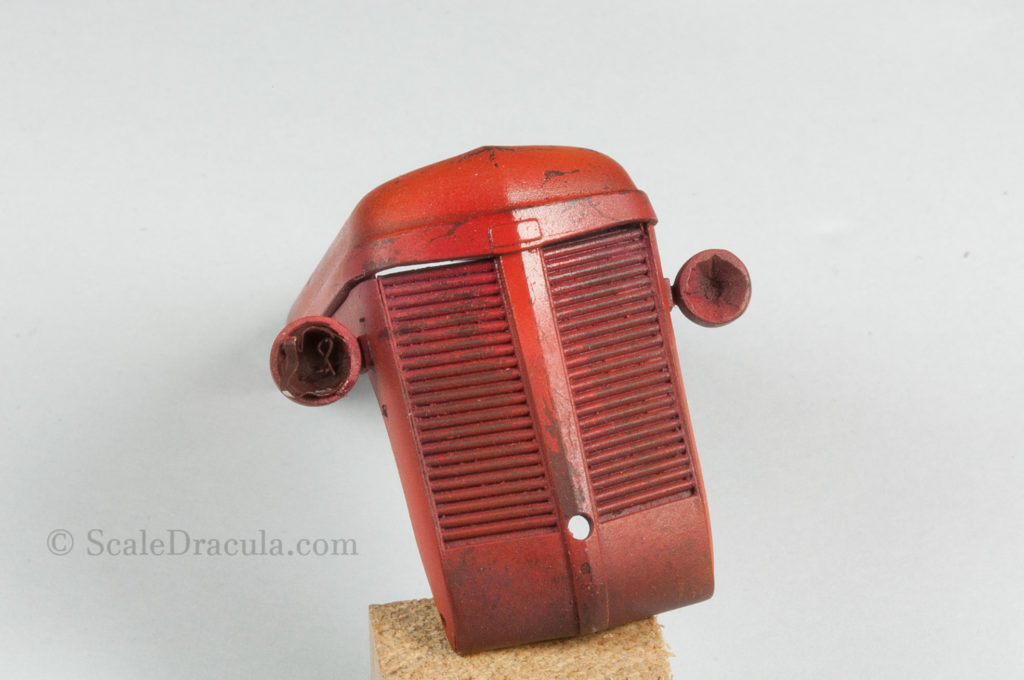
Then I started to paint with a mix of Ammo Mig Red and yellow starting from a darker shade. After that the fun really begins. Just grab a toothpick, needle or brush, moisten the surface with water and go with the chipping. Here’s the model after this process:

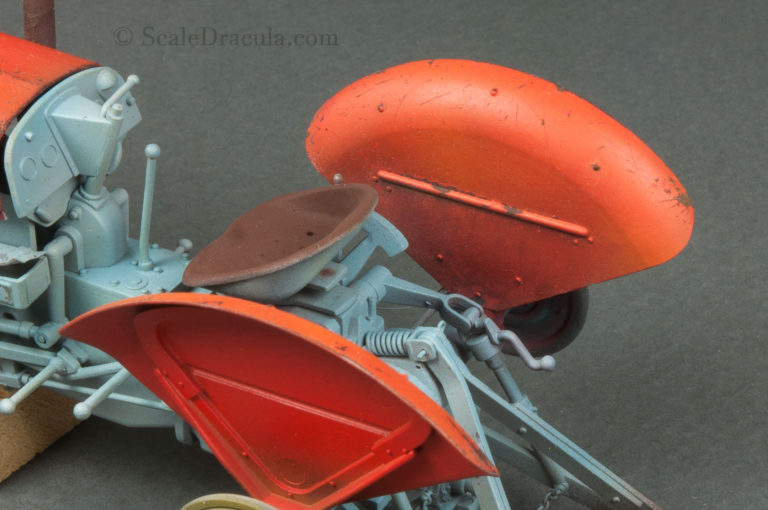
I wanted to make the hood particulary faded, so after the chipping, I sprayed a little bit of Lifecolor streaking rust on top.
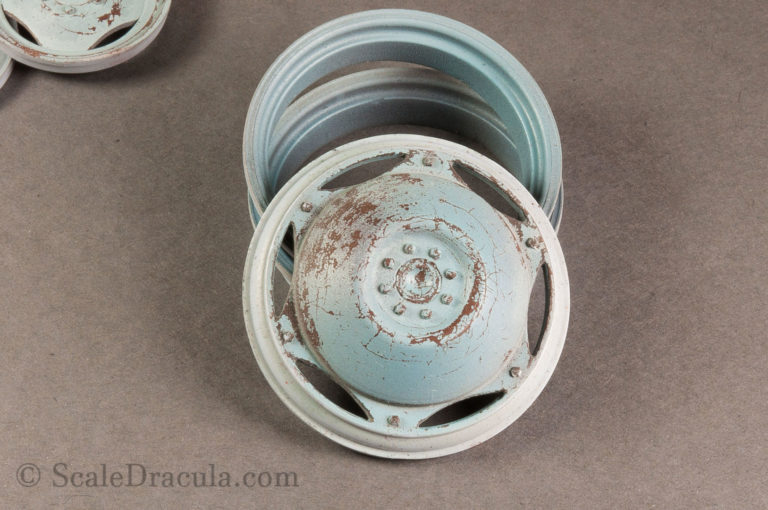
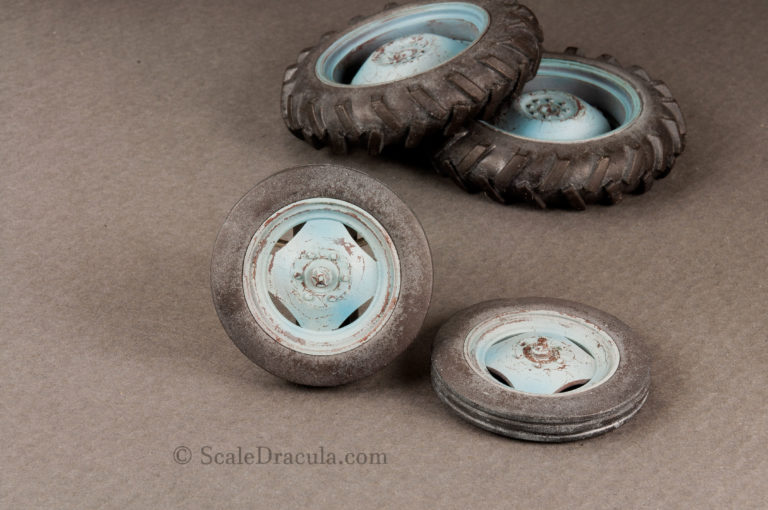
The wheels get their chipping as well, I painted them grey with a little bit of blue, just like the chassis.

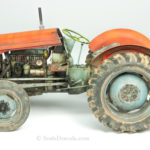
This photo served me as a reference:
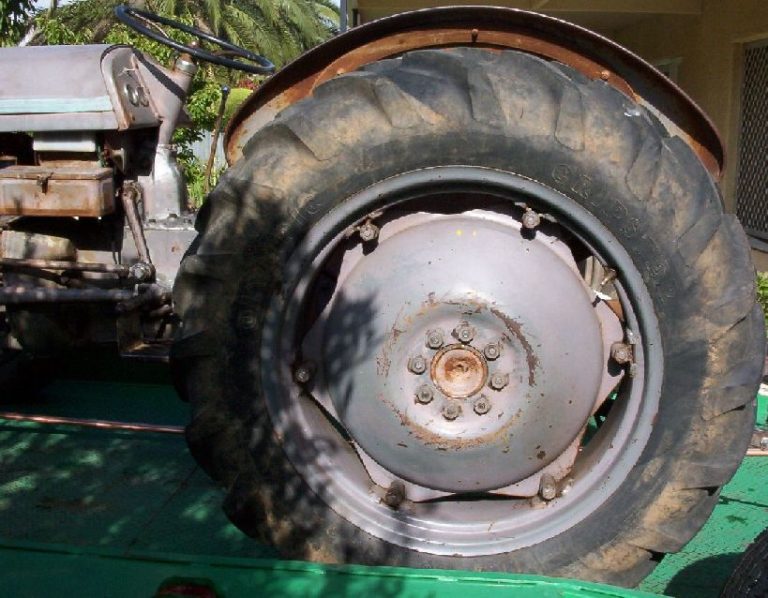
Hairspray technique is great not only for chipping. For the next step I decided to make the tyres old and a bit worn out. First I painted them with matt black and highlighted a little with Ammo Mig Rubber and Tyres. Then I sprayed the tyres with Heavy Chipping fluid and a thin and uneven layer of Ammo Medium Grey. When it was dry, I started removing paint with a soft brush dipped in water. The result is pretty convincing. You may notice that after the chipping stage I sprayed some more blue-tinted-grey on the wheels, just to give them some more colour.

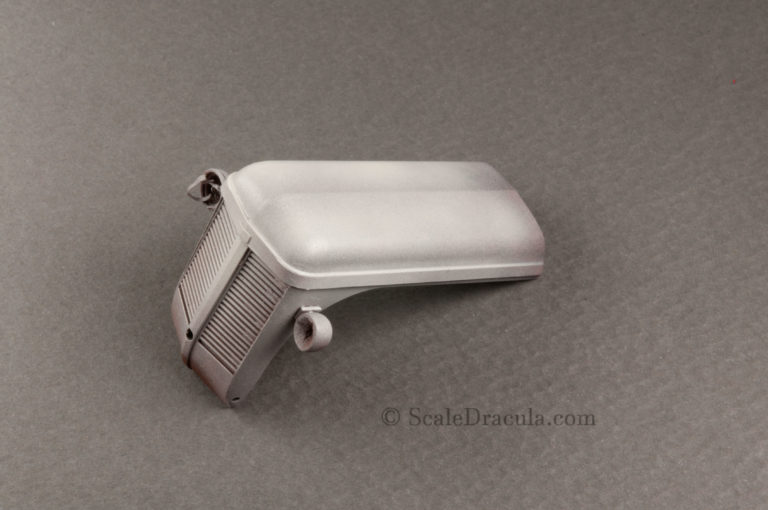
For the seat I had a slightly different idea. I assumed the constant friction of, well, the driver’s ass, would not allow the seat to go that much rusty. I sprayed it with glossy dark grey then.
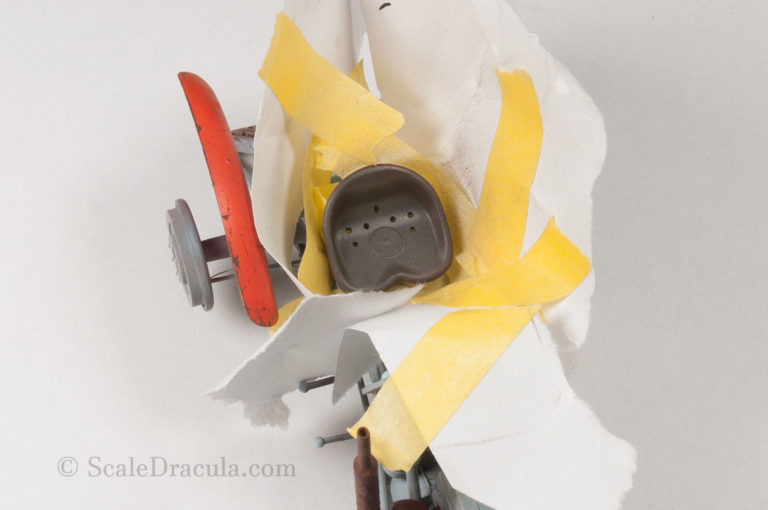
After that I started making chips using my favourite tool- an old airbrush needle.

Decals time. I must say I really hate this stage and I generally hate decals as well. Fortunately there wasn’t much of them in this model. First I airbrush the place where the decals are supposed to go with Ammo Gloss Varnish.
Then I use a hobby knife with a fresh blade to cut off as much of the edges as possible. The point is to get rid of the translucent film, that we don’t really need.


Then I put the decals in water for a couple of seconds and slide them into the model with a clean brush. Use decals fluids if the place is particularly tricky. I used Micro Set just in case. After that another layer of glossy varnish and you’re good to go.

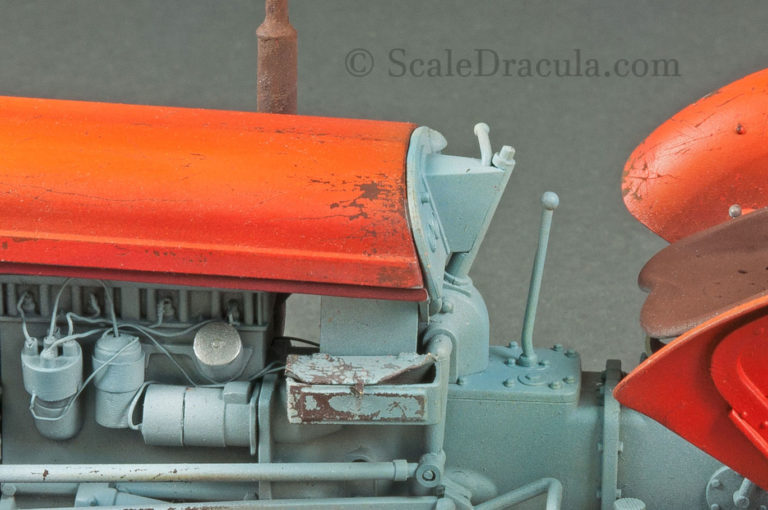
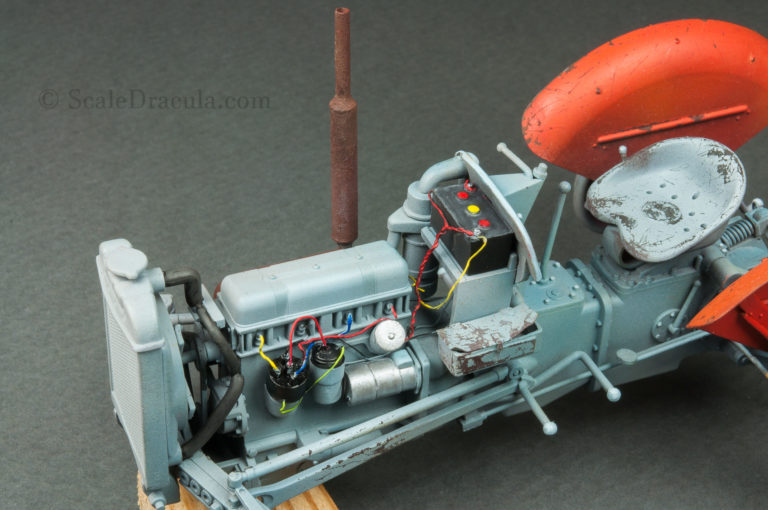
You may have noticed that I started to paint the details with a brush. I hit the battery and different parts of the engine with contrasting shades trying to give some life to my Ferguson. Then I painted the wires with all the colours of the rainbow and no historically-accurate-forum-nerd could stop me.

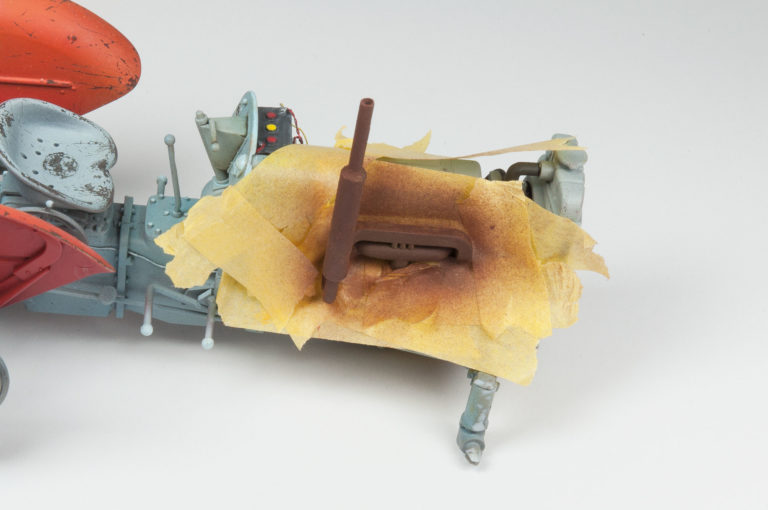
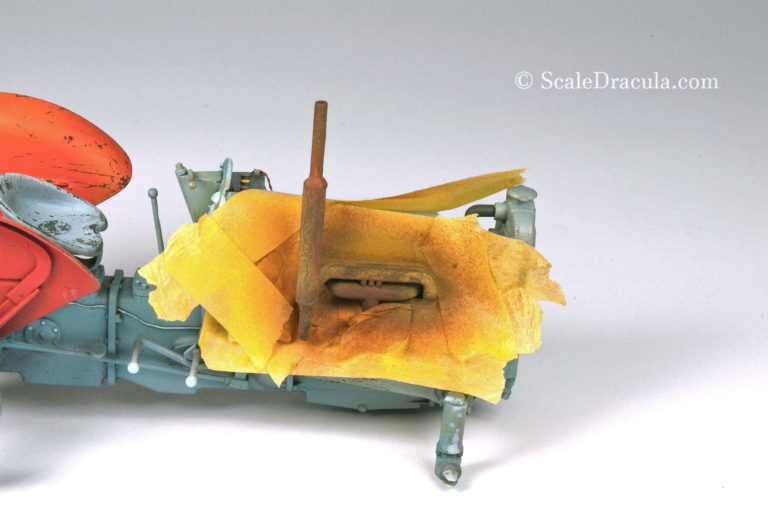
Last but not least, I used the chipping fluid again to paint the rusty parts of the engine. You know the drill by now. After painting the thing with Lifecolor Corroded Rust, I sprayed some chipping fluid. When it dried, I airbrushed a thin, uneven layer of Streaking Rust- a very light, yellowish colour. And finally, I got rid of some of the paint with a brush moistened in water.

And that’s all for now guys. I haven’t assembled the model yet, because I still need easy access to same areas. Stay tuned for the last (and my favourite part): the weathering.
previous