So here we are. The last part of this long, long build. I’m really glad to finally put this baby to sleep.
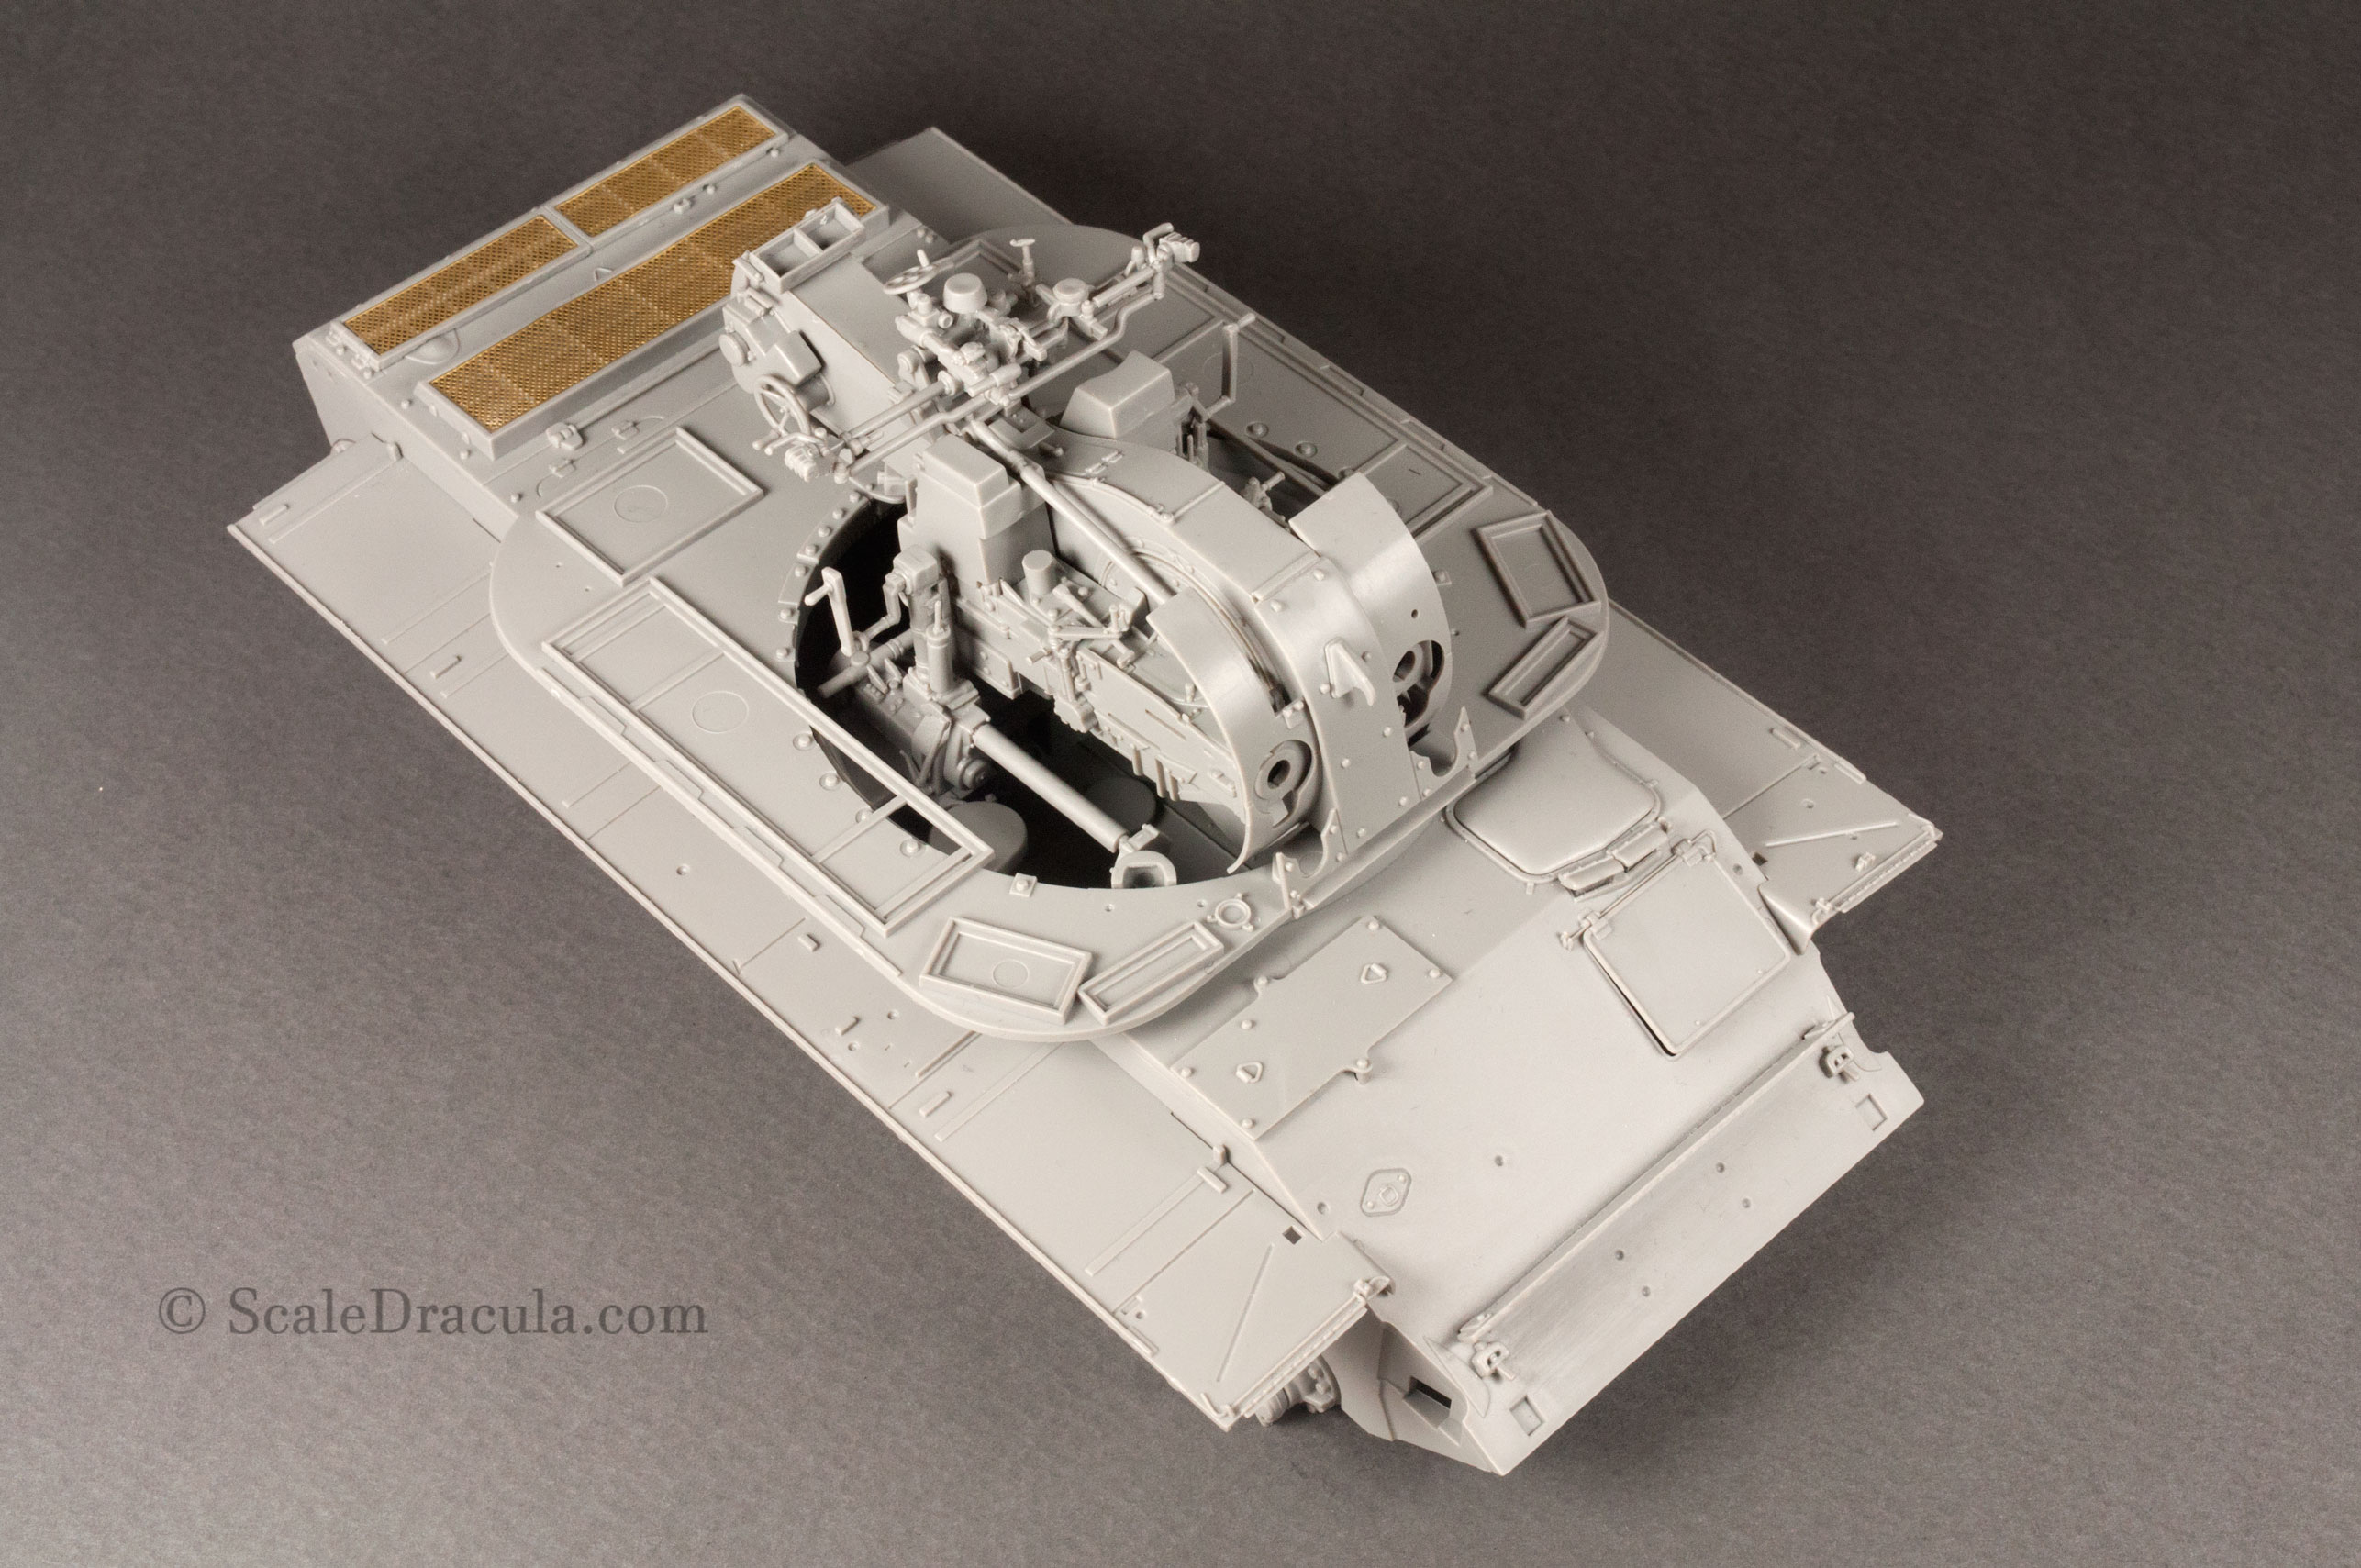
At so many levels it was the perfect model for me. The quality of the kit is really good so I didn’t have to waste time on correcting someone else’s mistakes. On the other hand, there was some scratch-building involved that I’m really fond of. Also, the model has some of the interior exposed which is always a nice feature. And finally, I was able to do a lot of weathering with the vehicle I chose to recreate. And the weathering is the real treat, man…
If you need to go back to any of the previous post on my ZSU-57-2, use the links below.
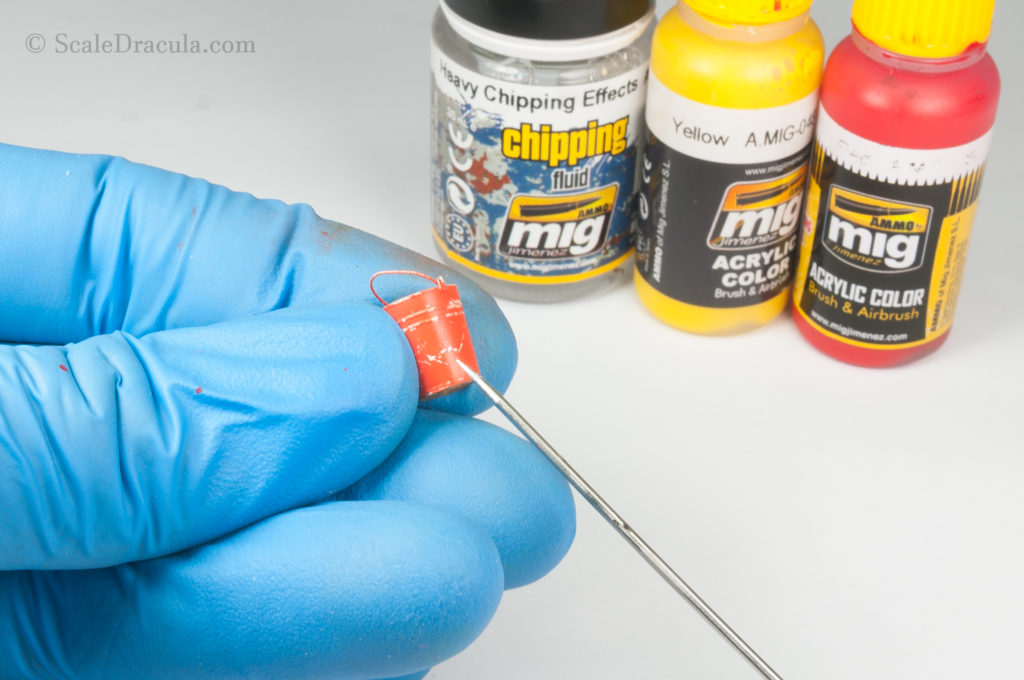
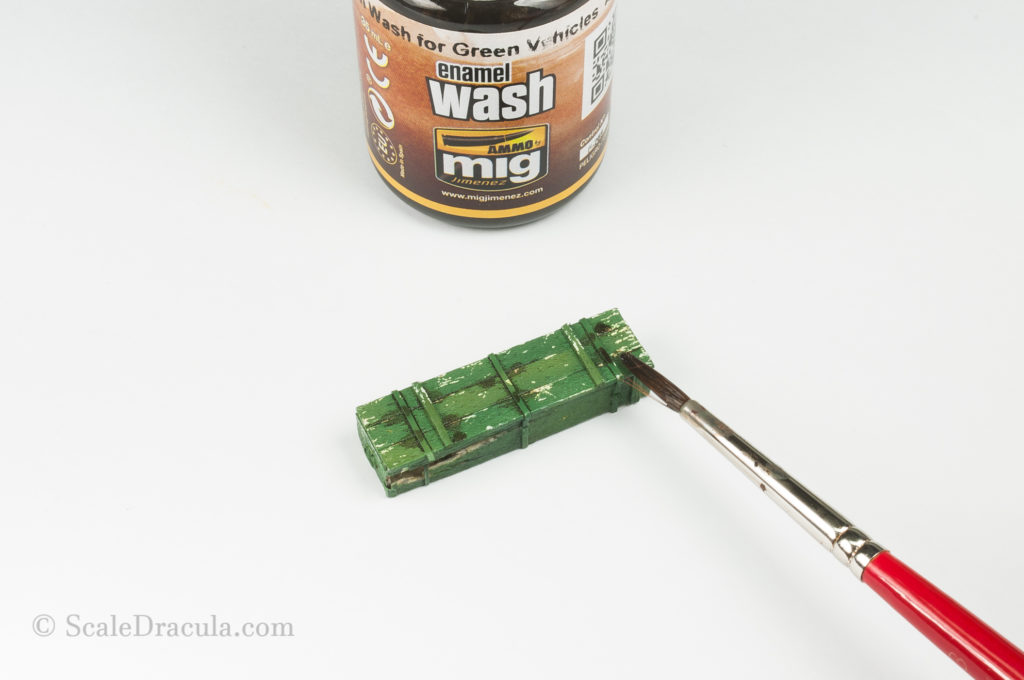
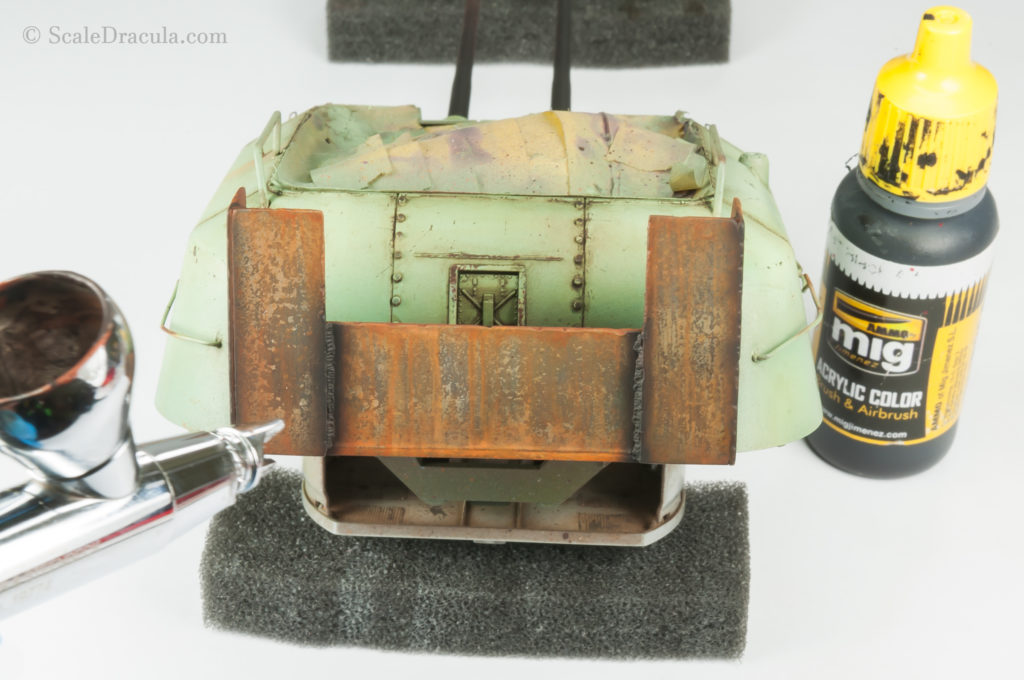
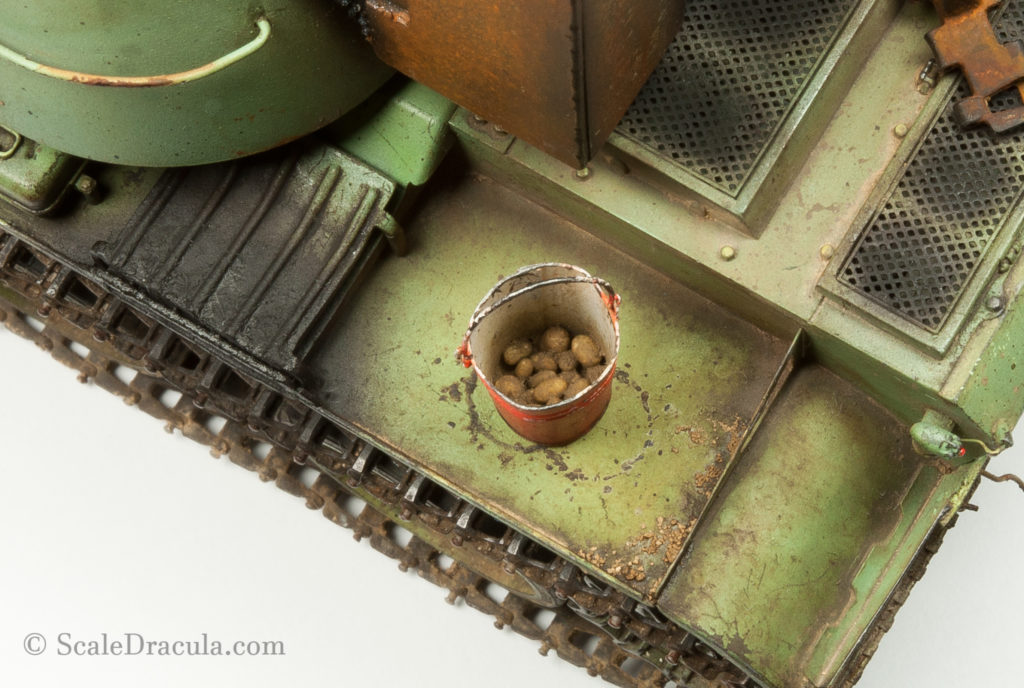
I must admit I wasn’t very consistent in separating the painting and weathering stages of the project. Last time I did some weathering with the rust. Now I must go back to painting. Here’s the bucket that is going to be one of the extra pieces of the equipment.
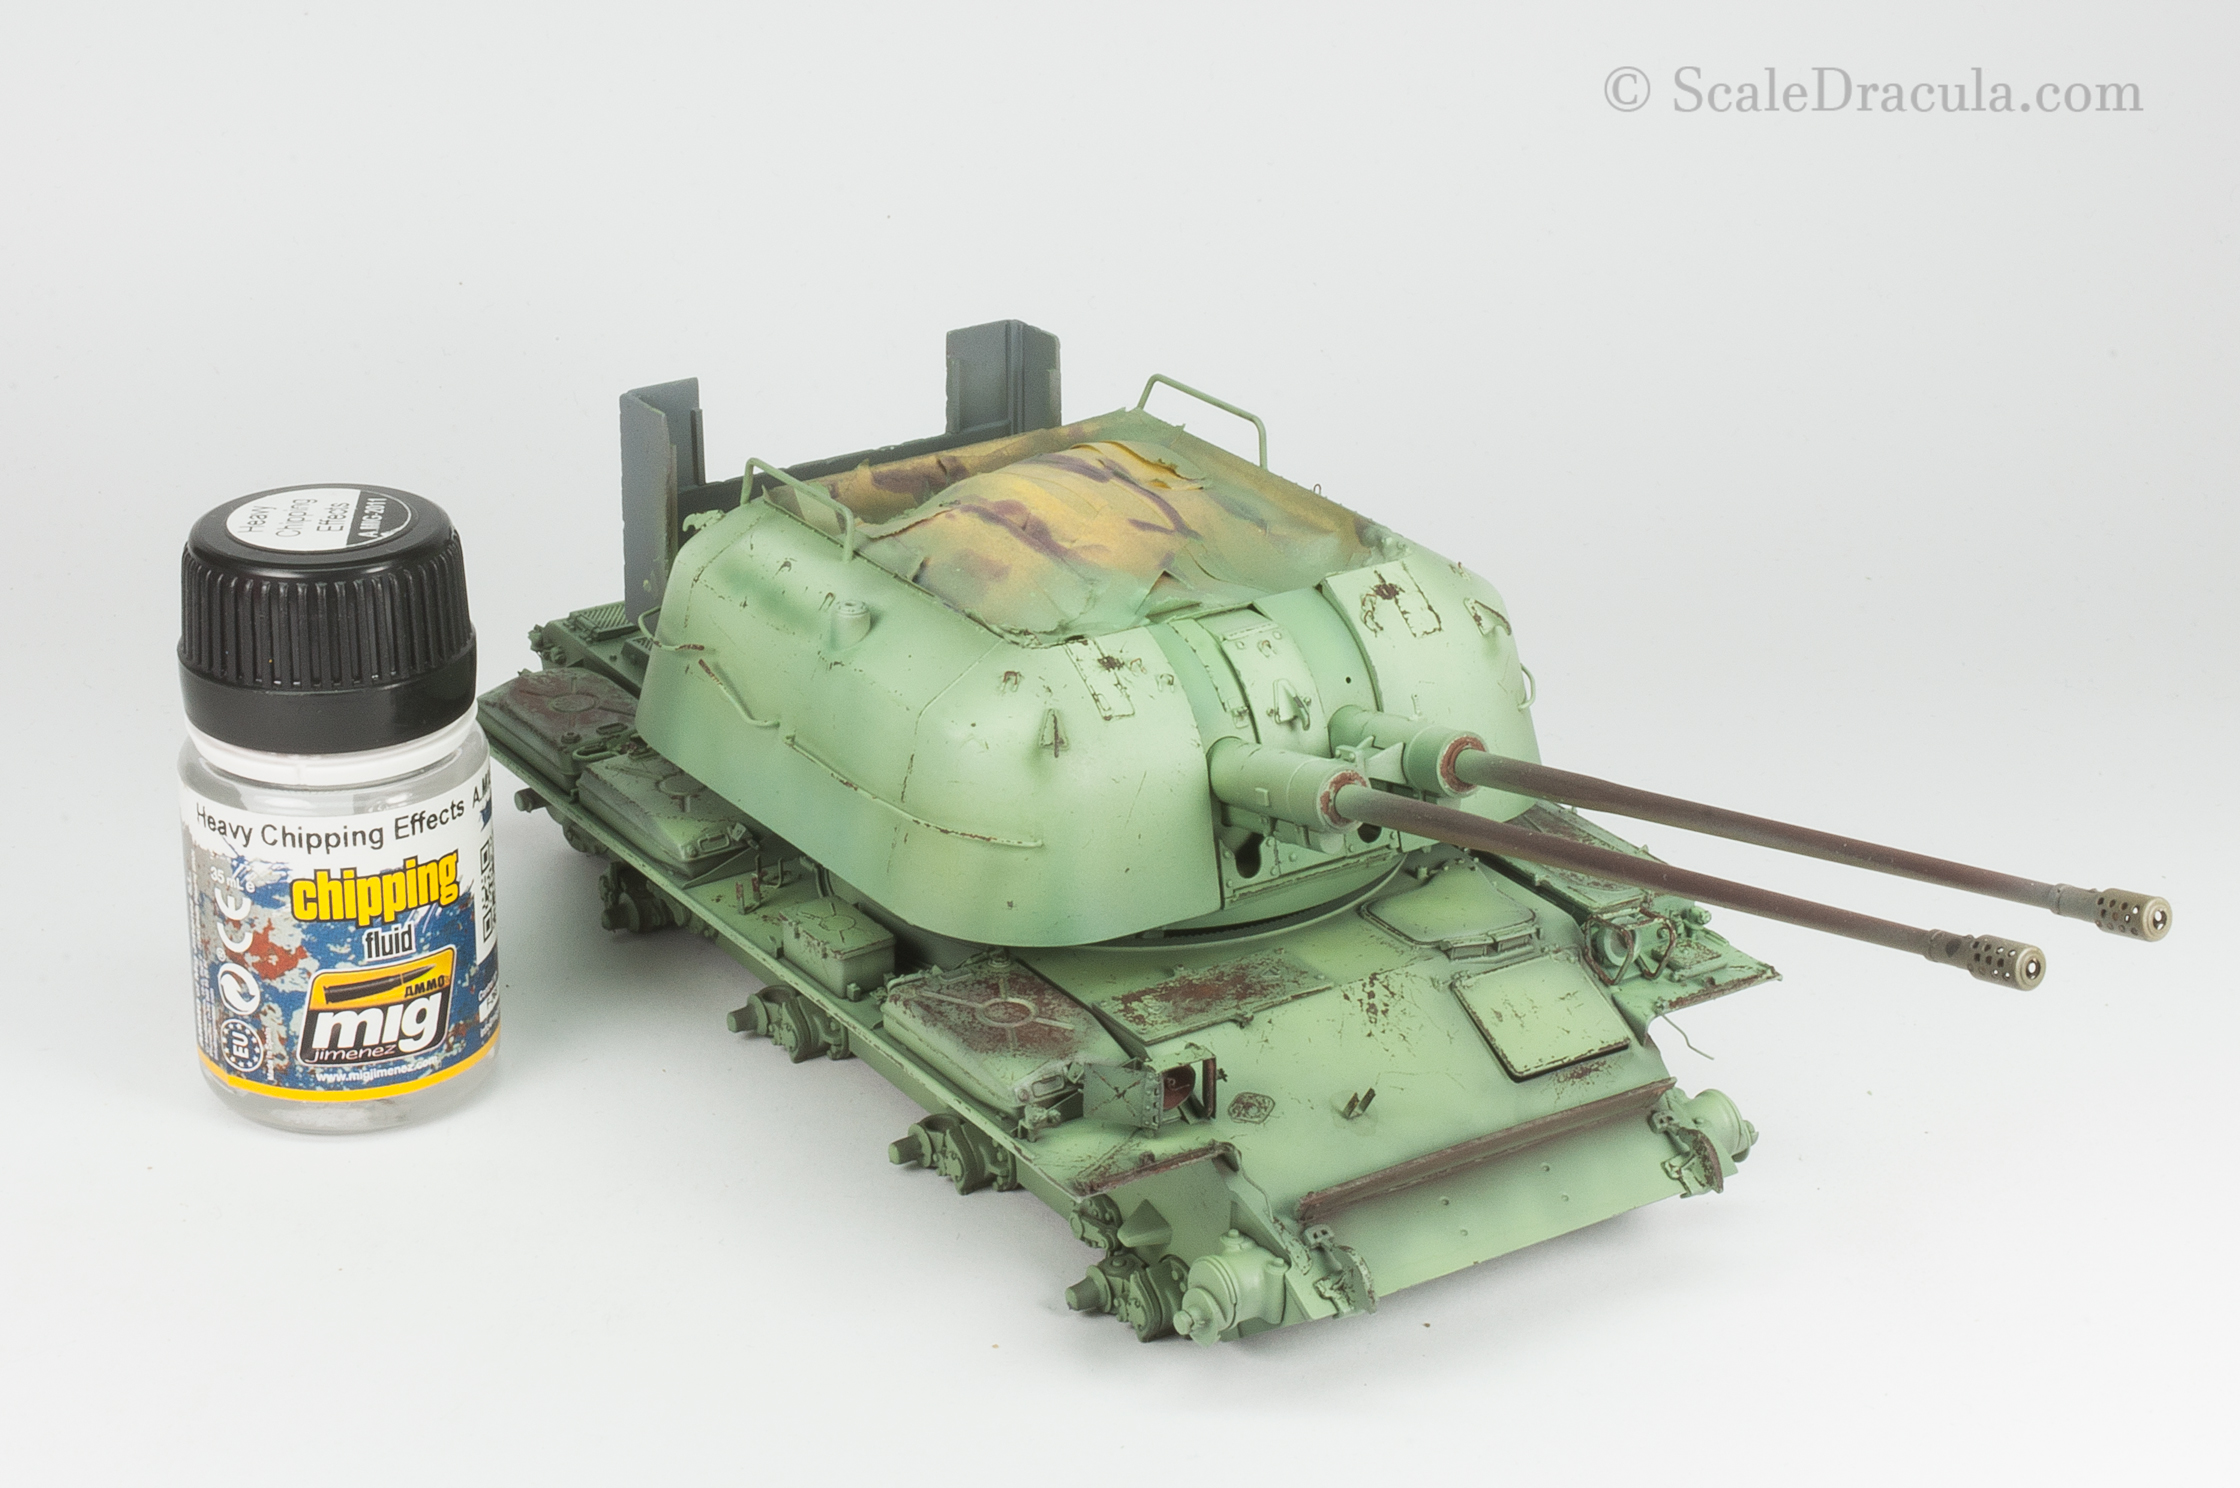
I wanted to replicate the common enamel finish where the raw metal is primed with white base and then painted in colour. I used the hairspray technique which I’m sure you’re familiar with by now.

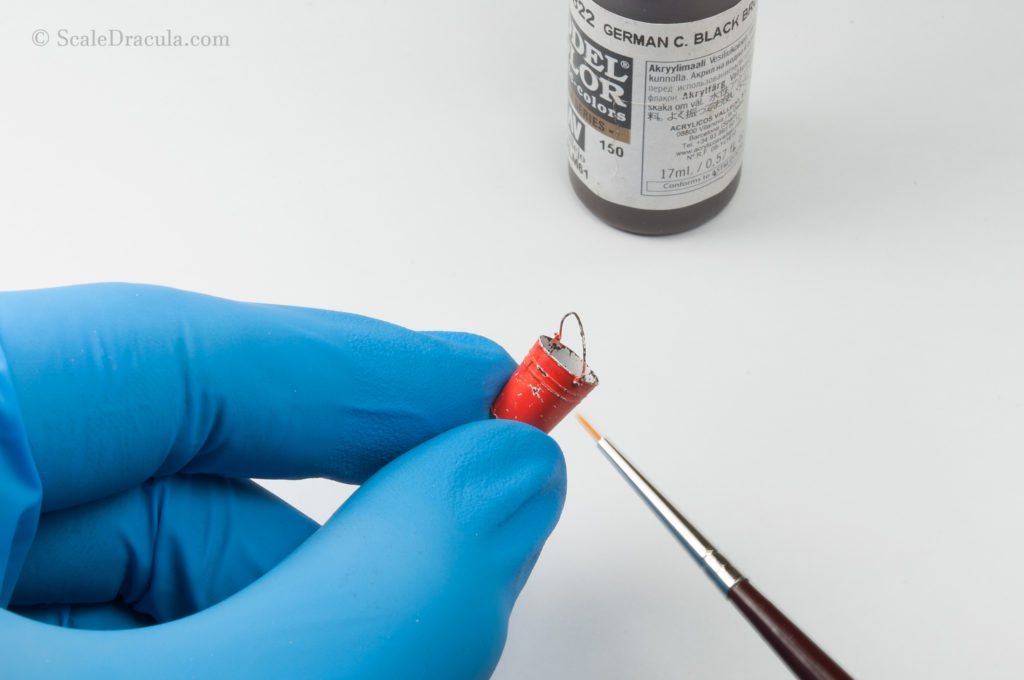
The metal showing through the chips is hand-painted with Vallejo German Black Brown, my favourite paint for that job.
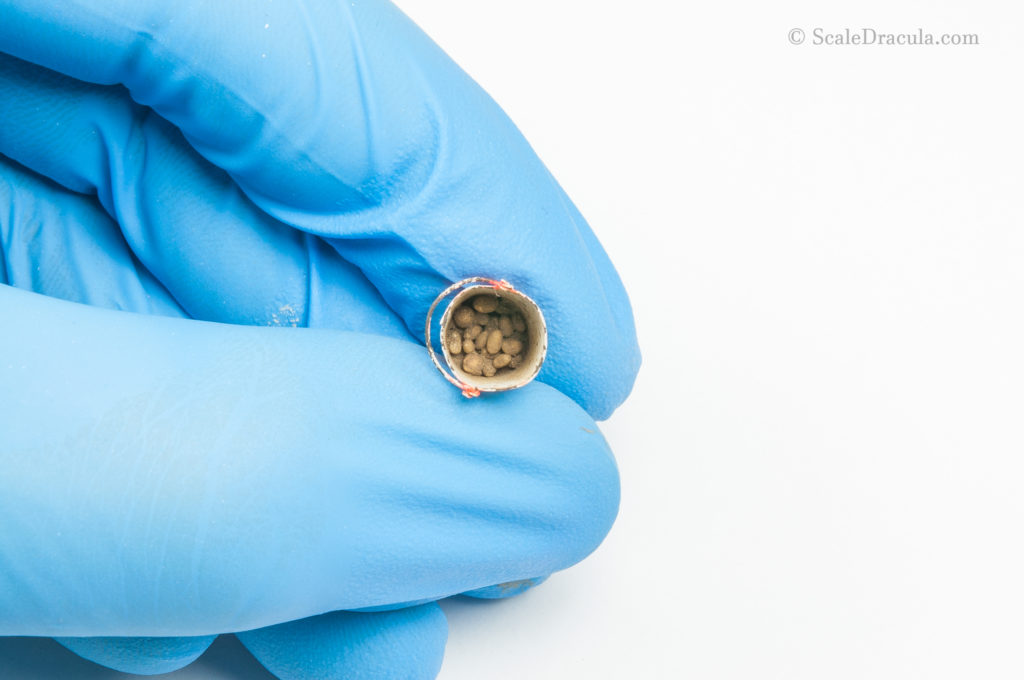
I made some potatoes rolling around Miliput scraps. Then I painted them light brown and I glued them inside the barrel using Ammo Mig Sand&Gravel glue. Finally, I added a little bit of pigment on top to recreate dirt.
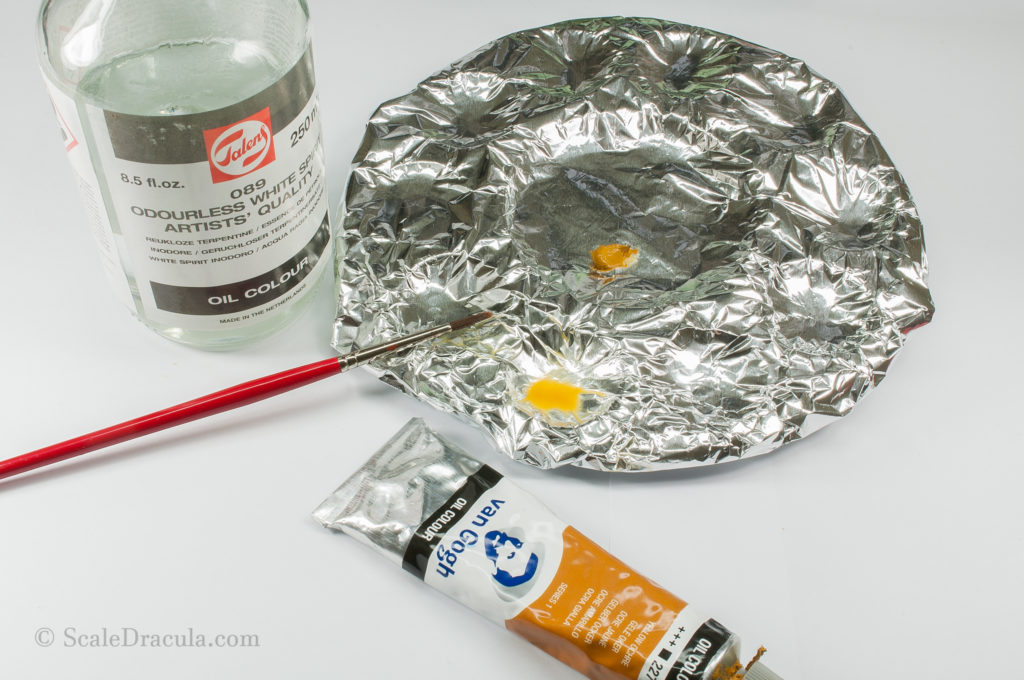
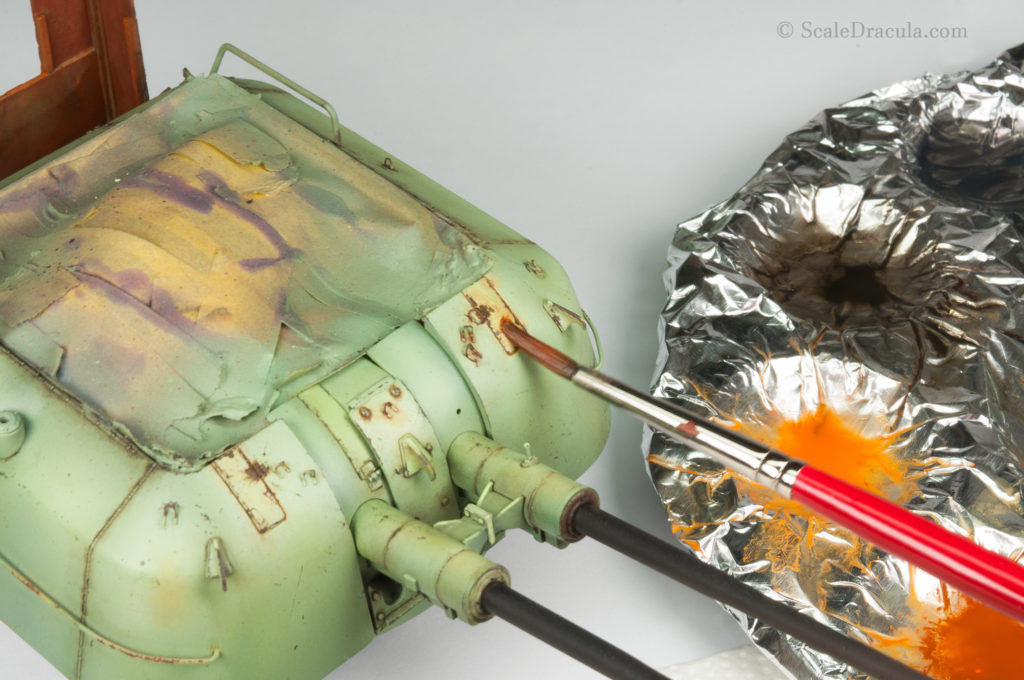
But let’s go back to the main thing. I created a yellow filter from an oil ochre paint and white spirit.
I apply the filter on some of the panels to make them stand out. This is another attempt to break the monotony of the monochrome finish.
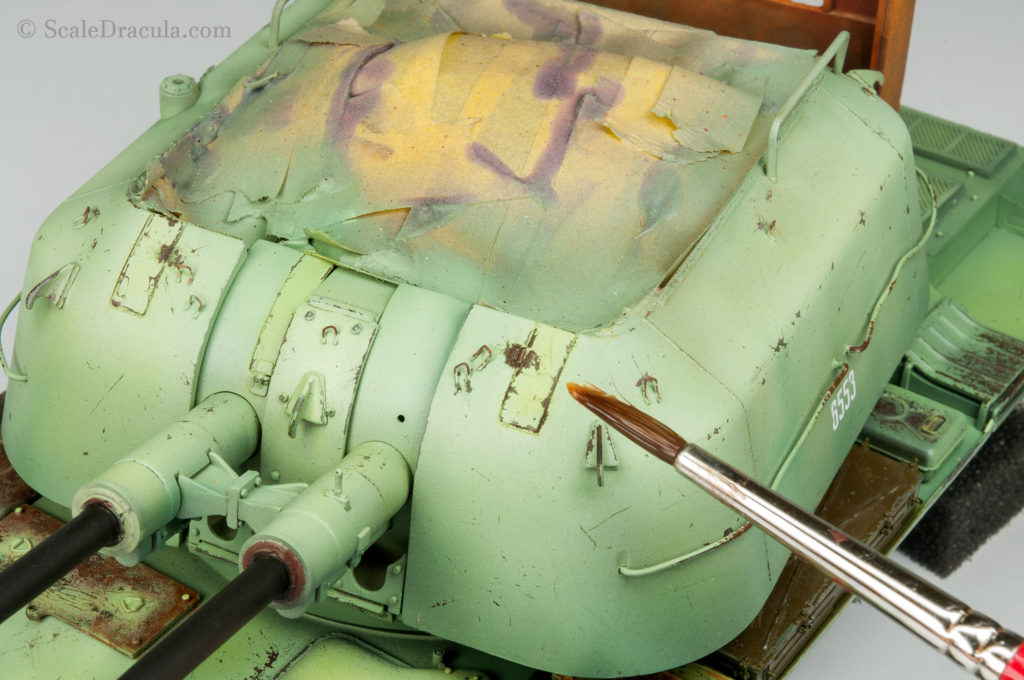
I also use the yellow filter to build up the transition between the rusty chips and green base colour. The fresh rust tends to create yellowish-orange residue on horizontal surfaces. I wanted to recreate that.
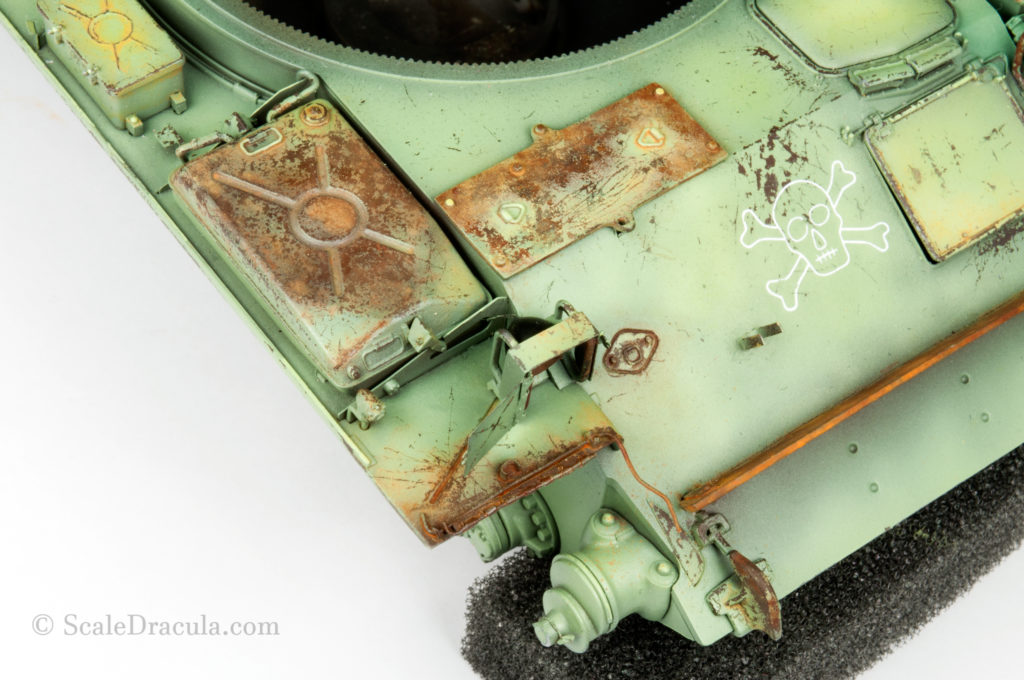

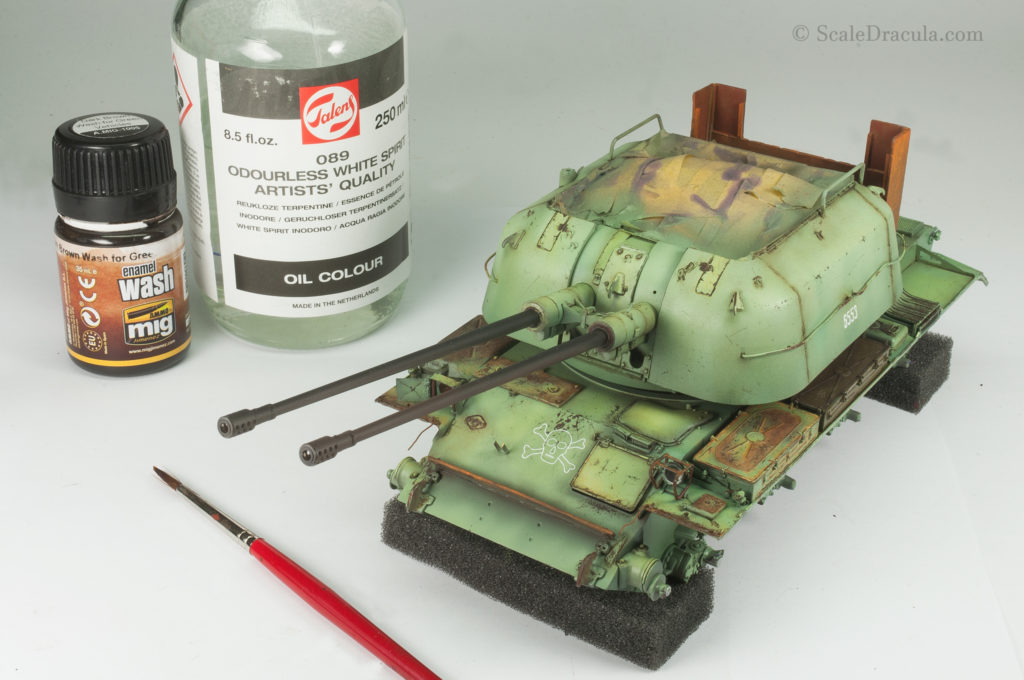
The next step is a classic enamel wash applied on the whole model. I’m trying to be precise and not to make any mess throughout the process.
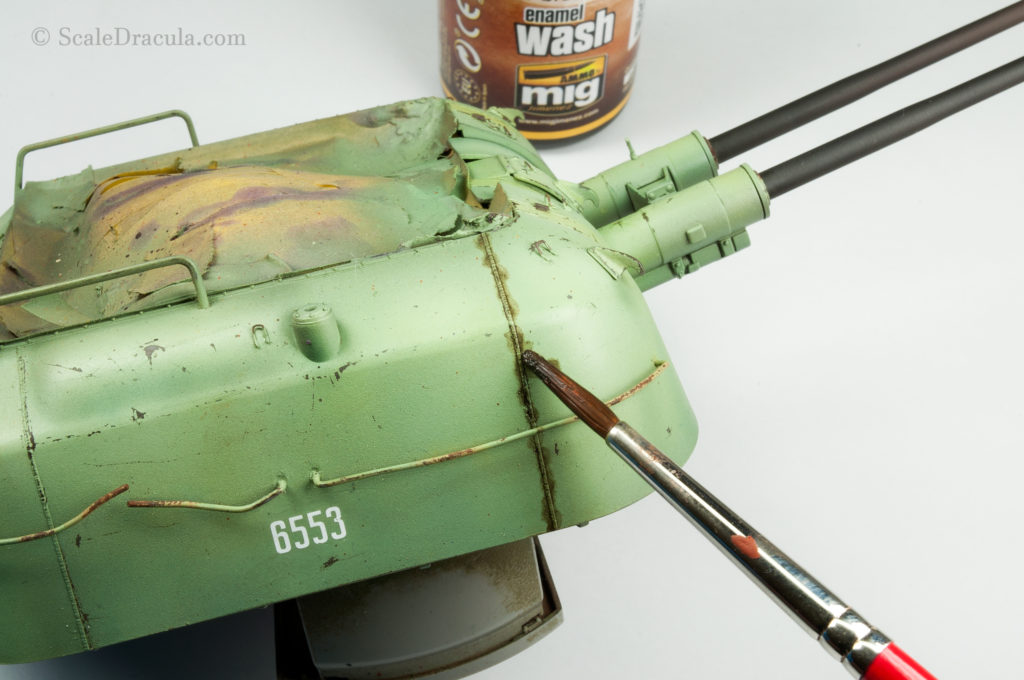
I give the wash literally a minute to dry and I remove the excess with a brush dipped in white spirit. After this step the model finally starts to look like a real thing.
Similarly, the ammo box is also treated with the same wash.
It’s time to return to the oils big time. I’ve chosen some more colours: green, blue, black and so on. I will try to build up contrasts on the model.
It doesn’t really matter if it’s rust, the green shade or whatever. I just examine the model to find places that can be enhanced chromatically. Then I apply a similar (usually darker) oil shade and I blend it with white spirit.
It’s pretty much the same thing Mike Rinaldi does with his oil paint rendering technique.

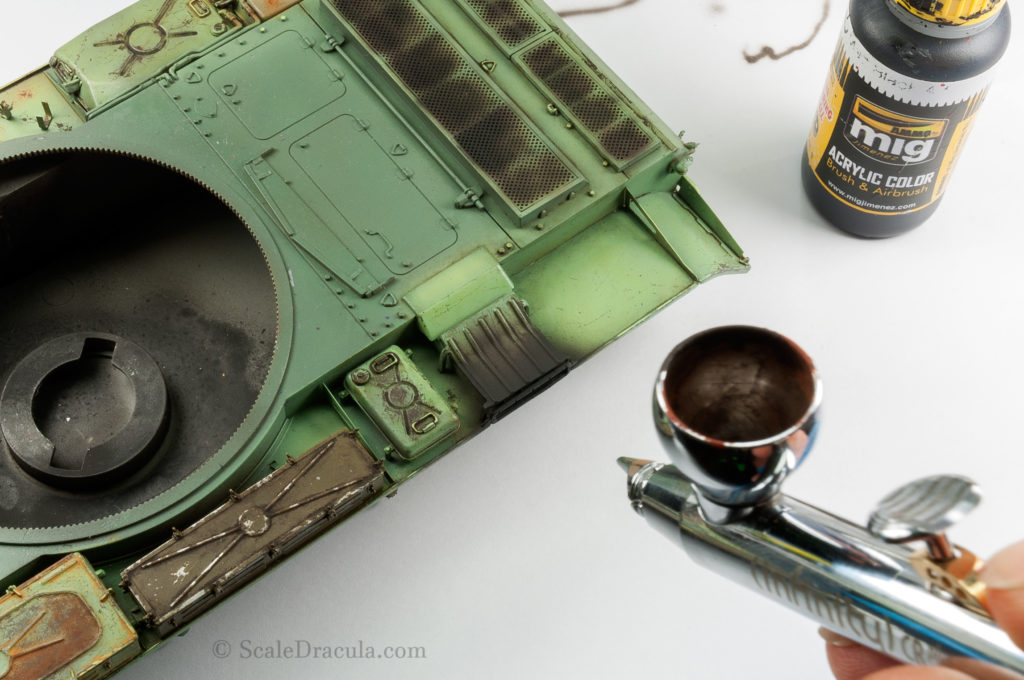
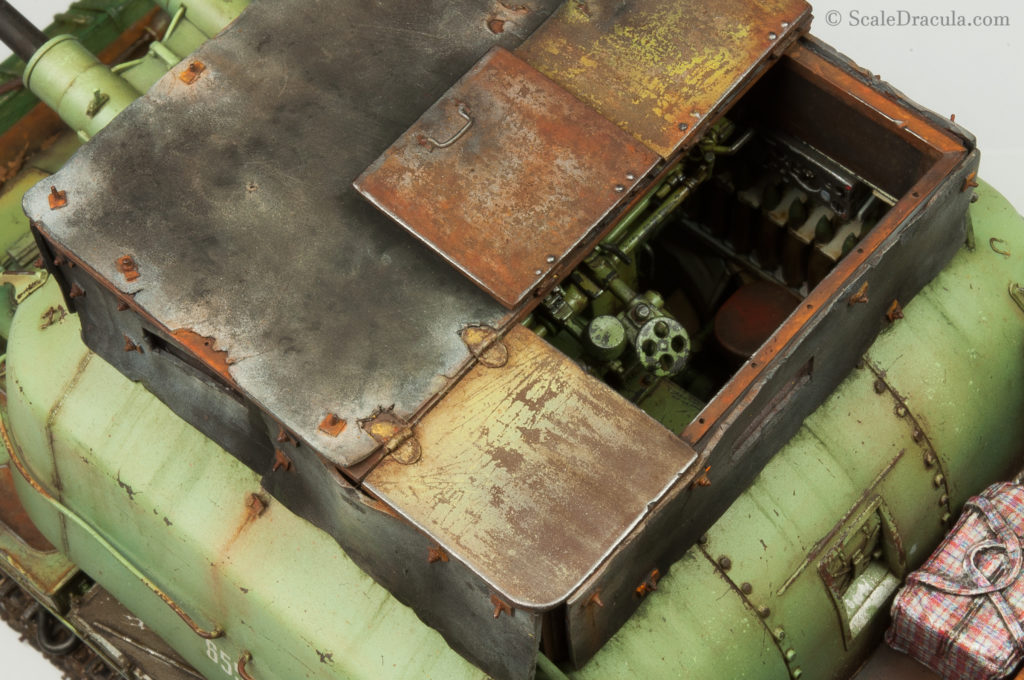
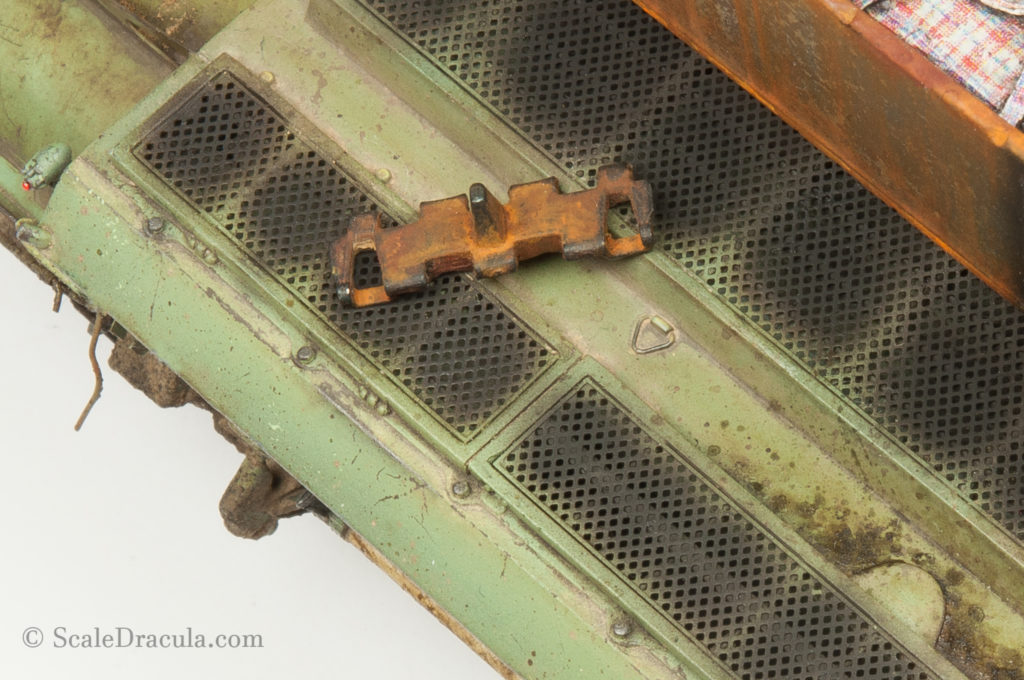
The next step is the smoke residue on the engine grills and the exhaust. I spray irregular patterns of Vallejo German Black Brown. I find this colour more convincing than just straight black. At least at the first stage.
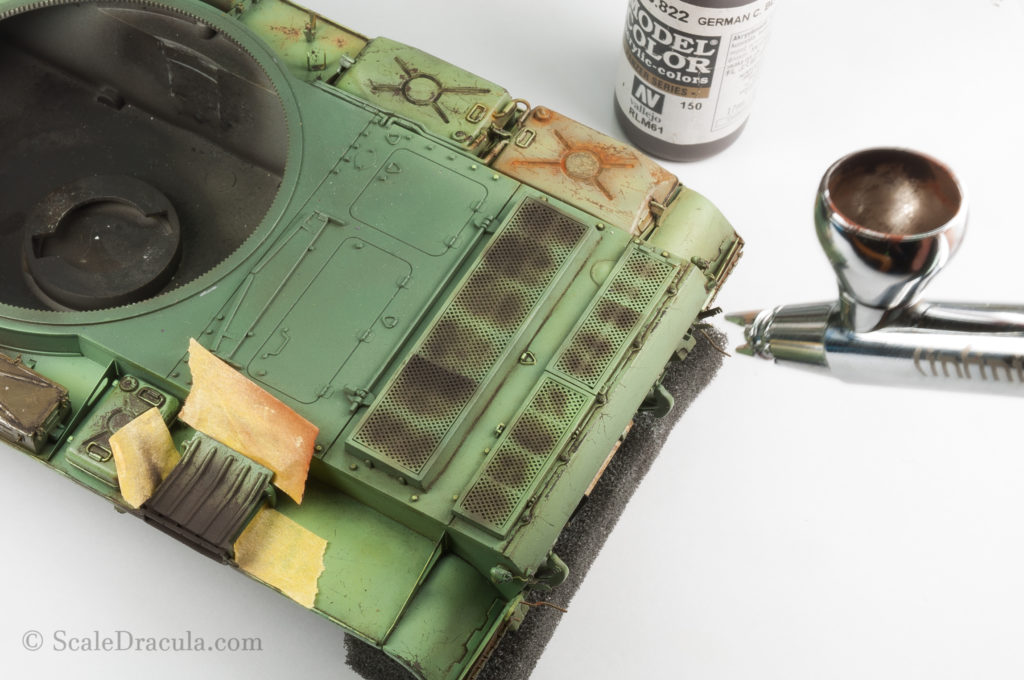
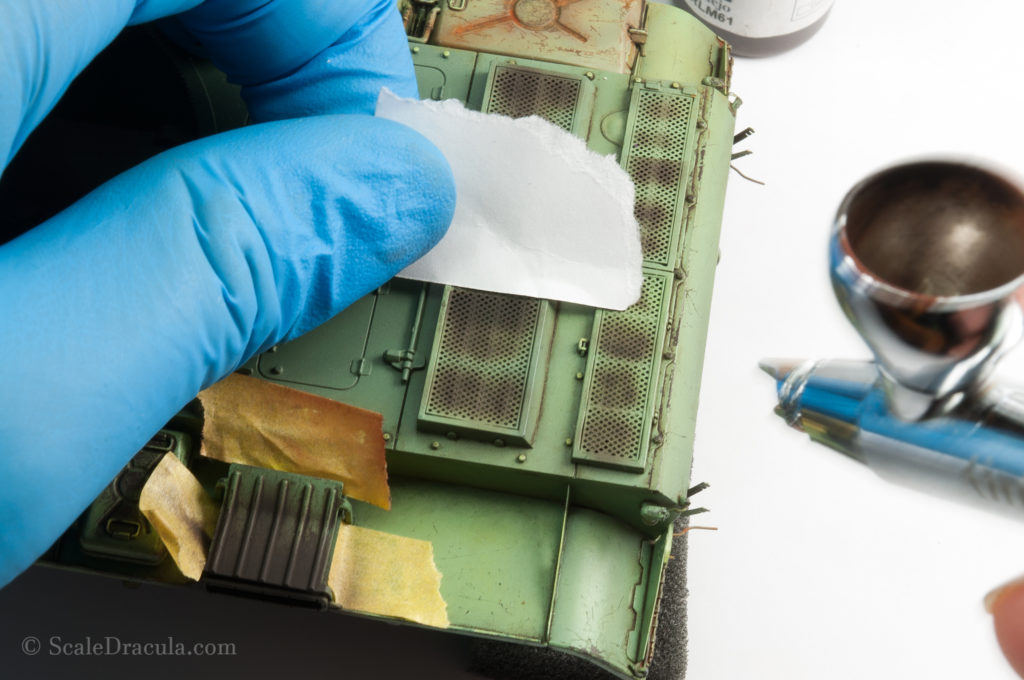
I use a piece of paper to create a very simple mask. This helps me to enhance the contrast between the panels.
On the exhaust I spray a little bit of matt black to intensify the effect.
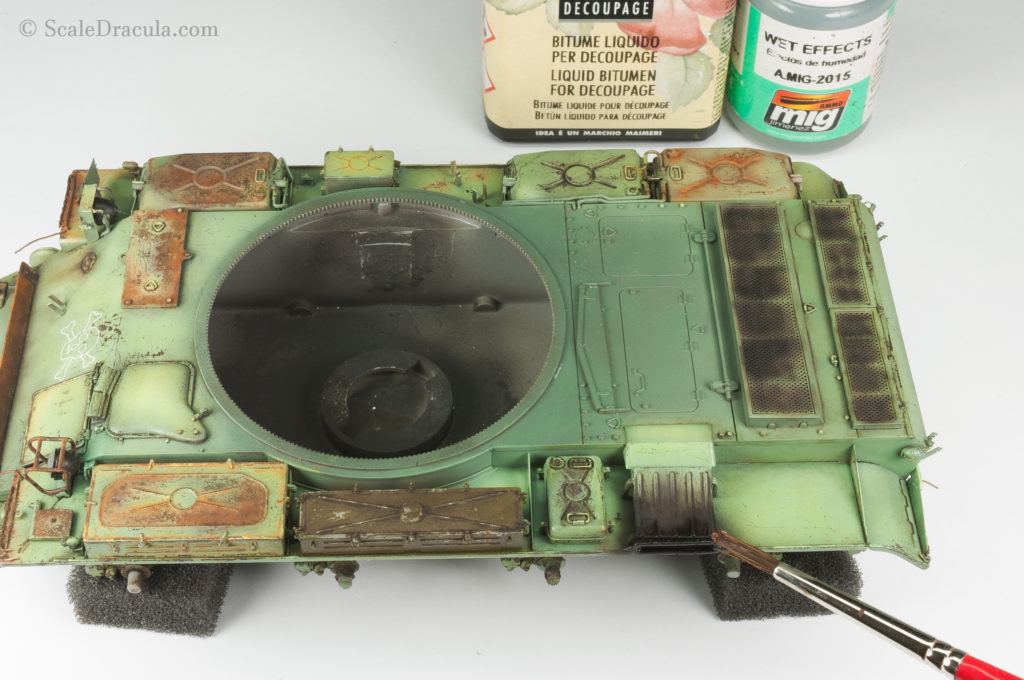
The exhaust of tank is often covered with glossy fuel stains. To recreate this effect I mixed a bit of Wet Effects by Ammo Mig and liquid bitumen. Bitumen is a product used sometimes in decoupage to patinate surfaces. It is basically liquid asphalt, so no wonder it looks realistic.
Make sure to blend the mixture with white spirit after the application.

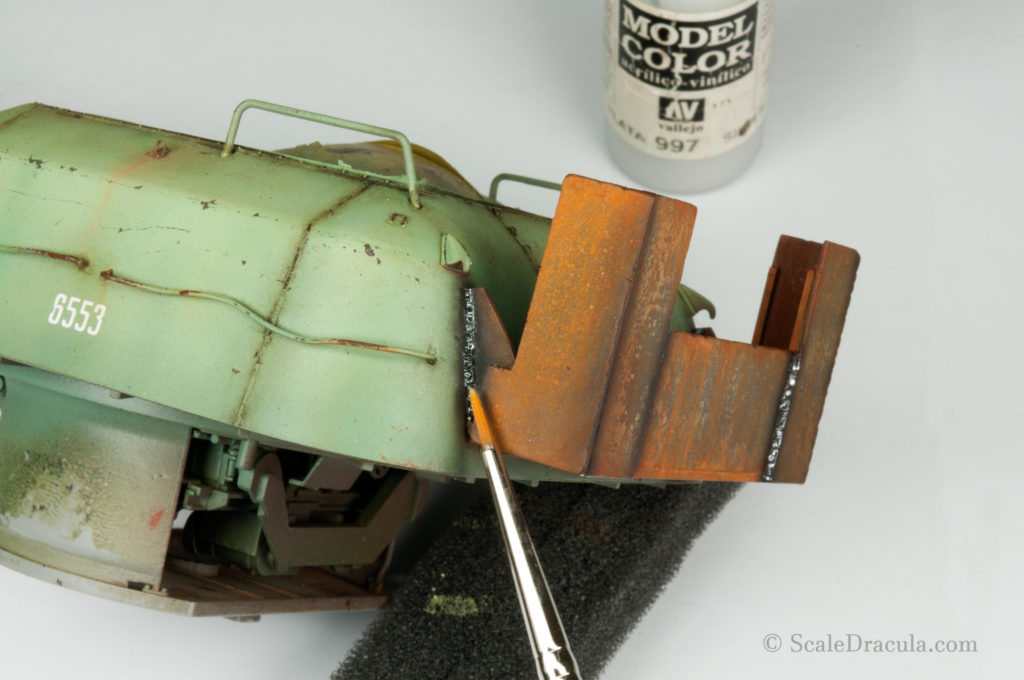
I had to go back to the rear structure to paint the weld marks. First I spray a thin line of matt black. It’s essential to be precise here.
Then I paint the weld itself with Vallejo silver.
It’s time to get the model ready for the mud. Meanwhile I painted the tracks. I’ll show you how I did it in one of the upcoming posts.

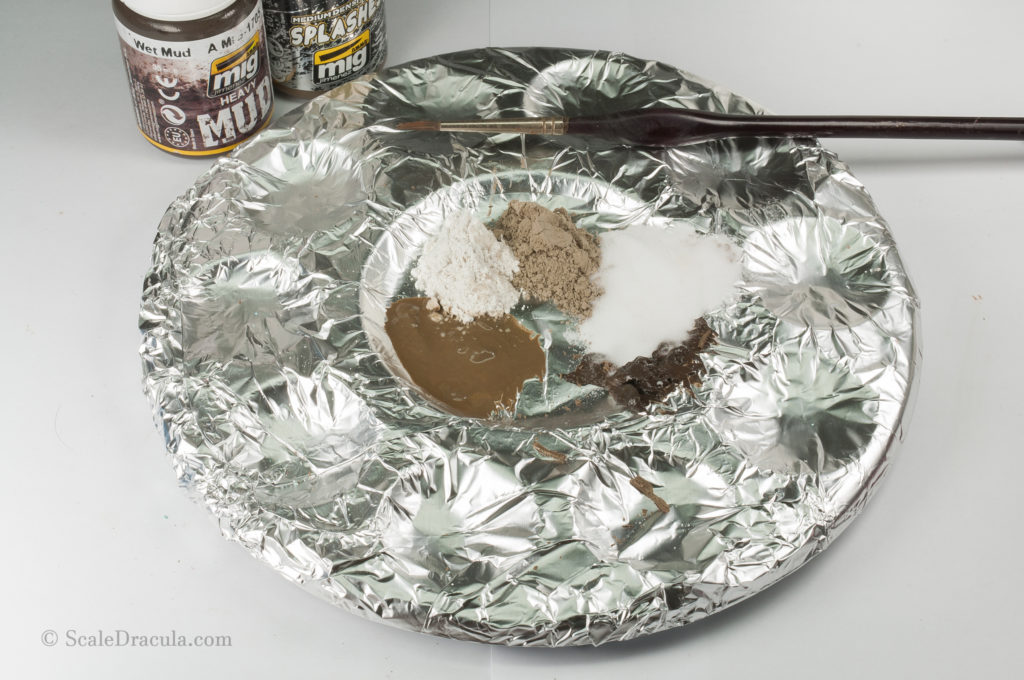
Here’s the recipe for my gourmet mud goulash:
-a bit of medium density Ammo Mig splashes product
-a pinch of thick heavy mud product
-a fair amount of pigments in various colours
-one spoon of microballons.
Mix everything well and apply fresh on the model. Bon appetit!
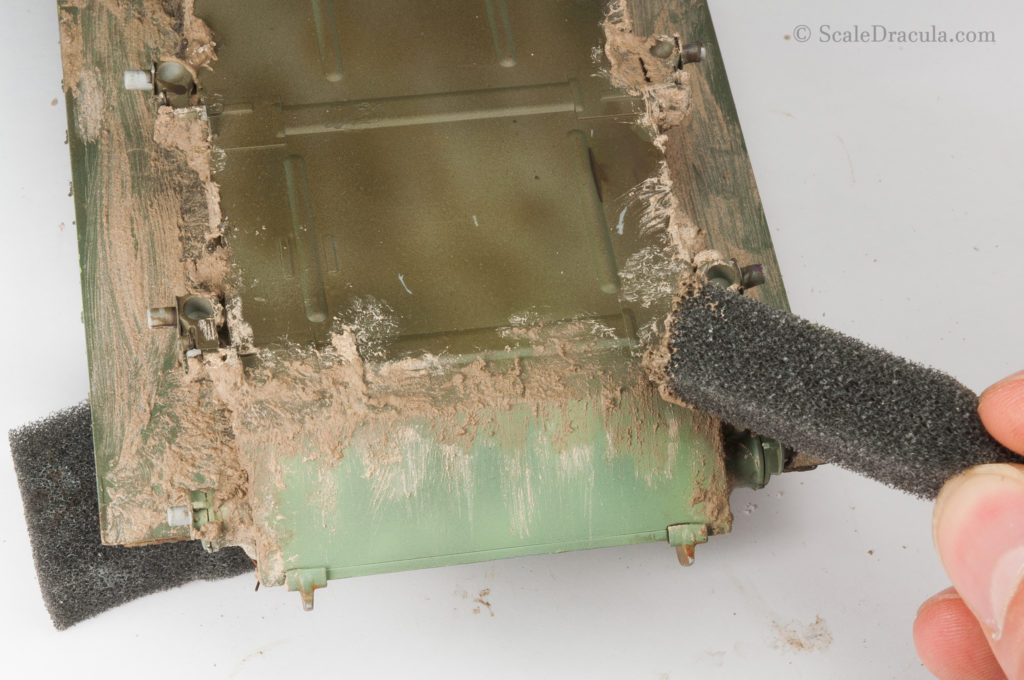
With an old brush I spread the thick paste in the lower part of the undercarriage. Because here is where the mud tends to accumulate.
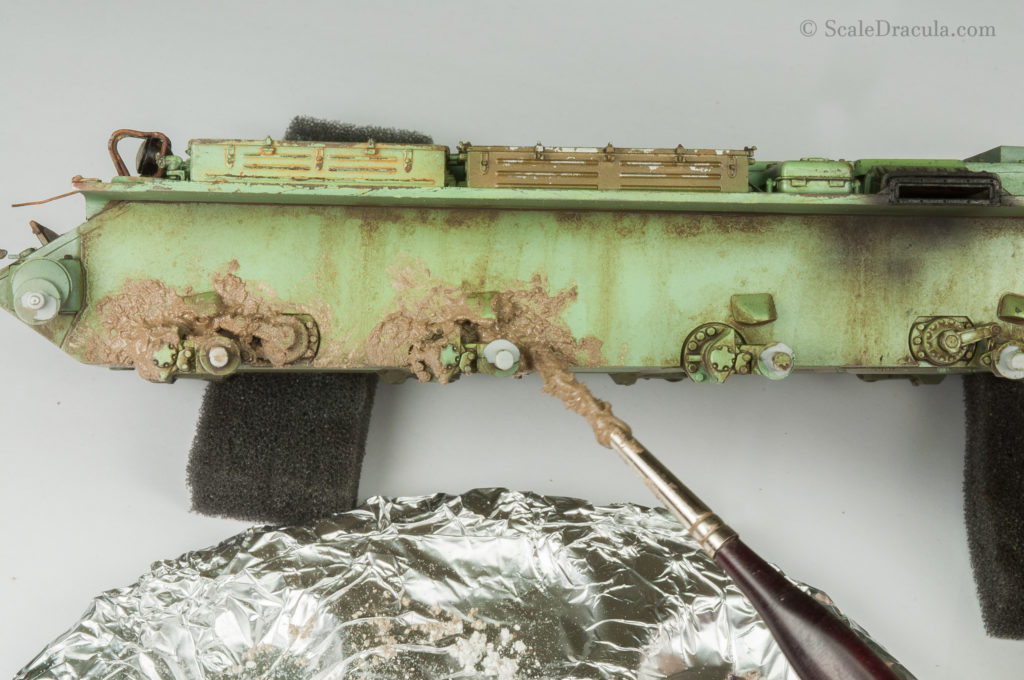
When the mud is still fresh I use a sponge to smear some dirt around and create texture.
Make sure there’s some logic involved in the process. The splashes on the side usually will be pointed towards the back of the vehicle.

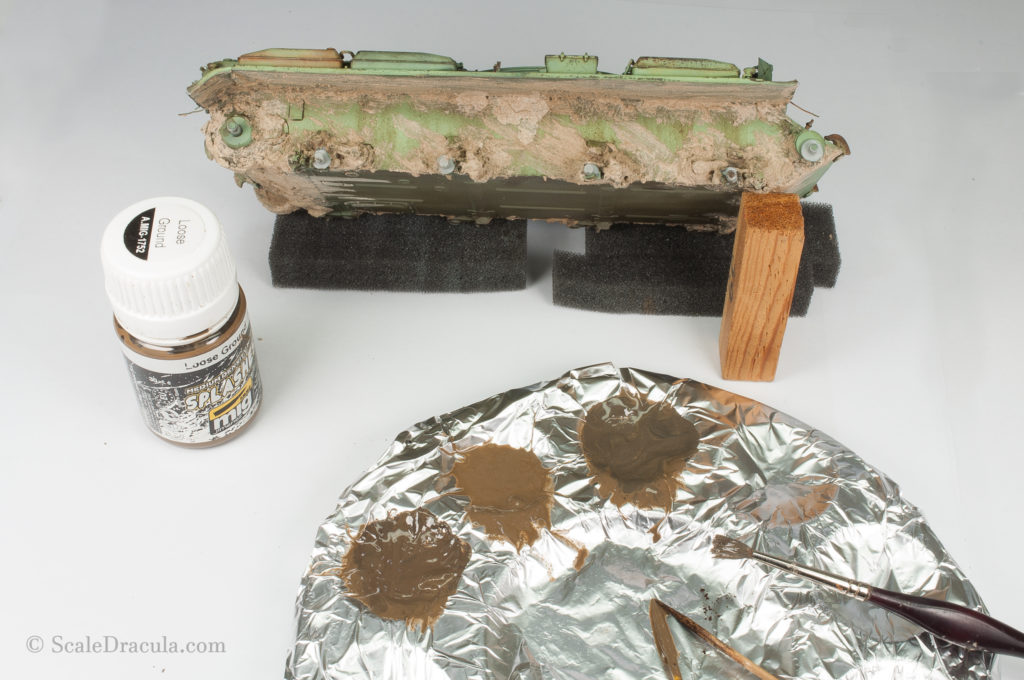
I create another mixture with just enamel products and pigments. As you can see I prepared 3 similar shades to get some colour variety. Use white spirit to obtain a desired density.
Notice also that the colours are now darker than the initial thick mud.
I shoot some air on the wet brush to create splashes. This technique is well known already and it works like a charm. The thicker the mixture the bigger splashes you will get.
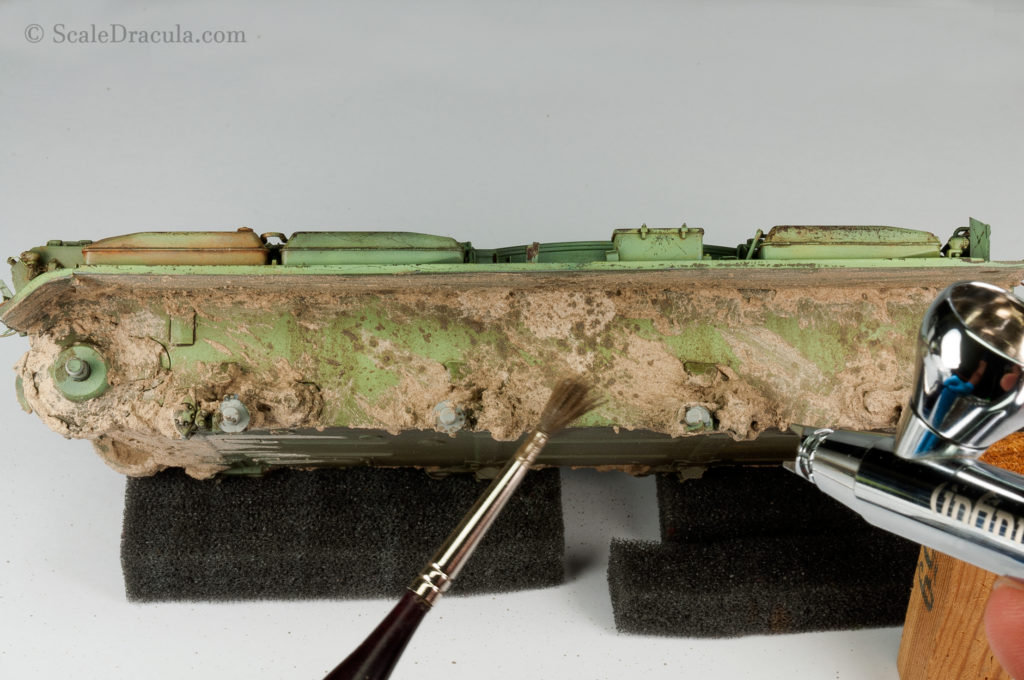
Again, you can work on the layer of mud as long as it is fresh. This time I use a brush to make a variety of effects.

Next I create a glossy thick wash from Ammo Mig Wet Effects and a little bit of dark brown oil paint. Then I apply it on the spots where the fresh wet mud usually accumulates.
Notice that the colour of this layer is even darker. With the mud I basically go from the lightest to the darkest shade.
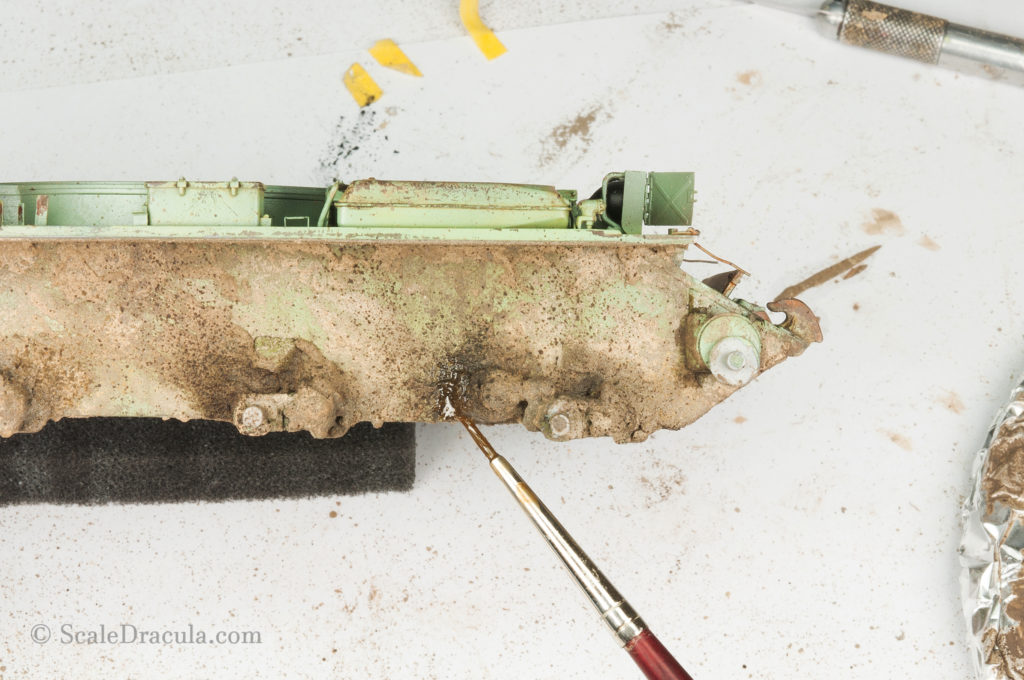
From the same glossy mix I paint some streaks going downwards.

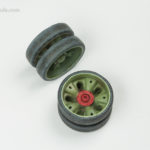
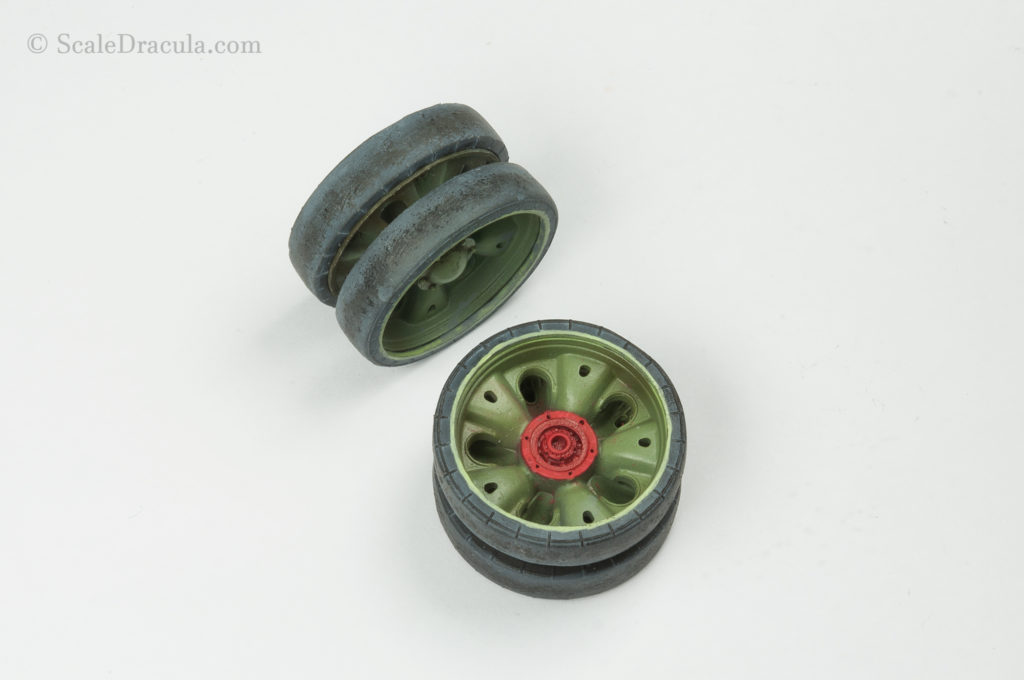
I’ve already painted and weathered the rubber on the wheels. I’ll show you how to do it on another occasion. This SBS is getting to long anyway…
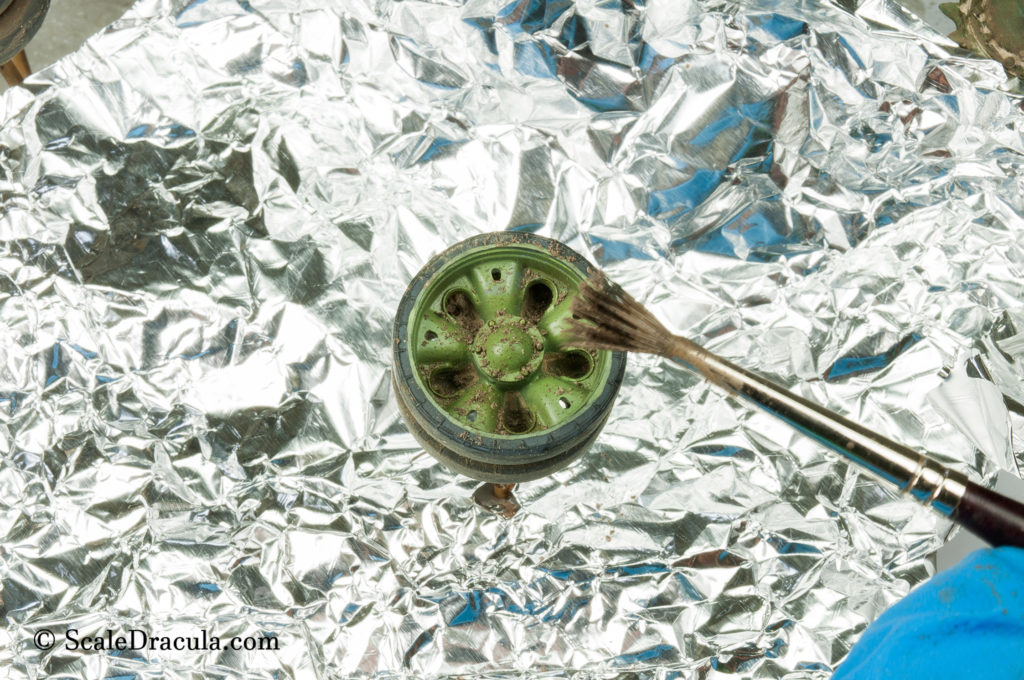
The wheels also get their portion of splashes. This time I use a brush and a toothpick.

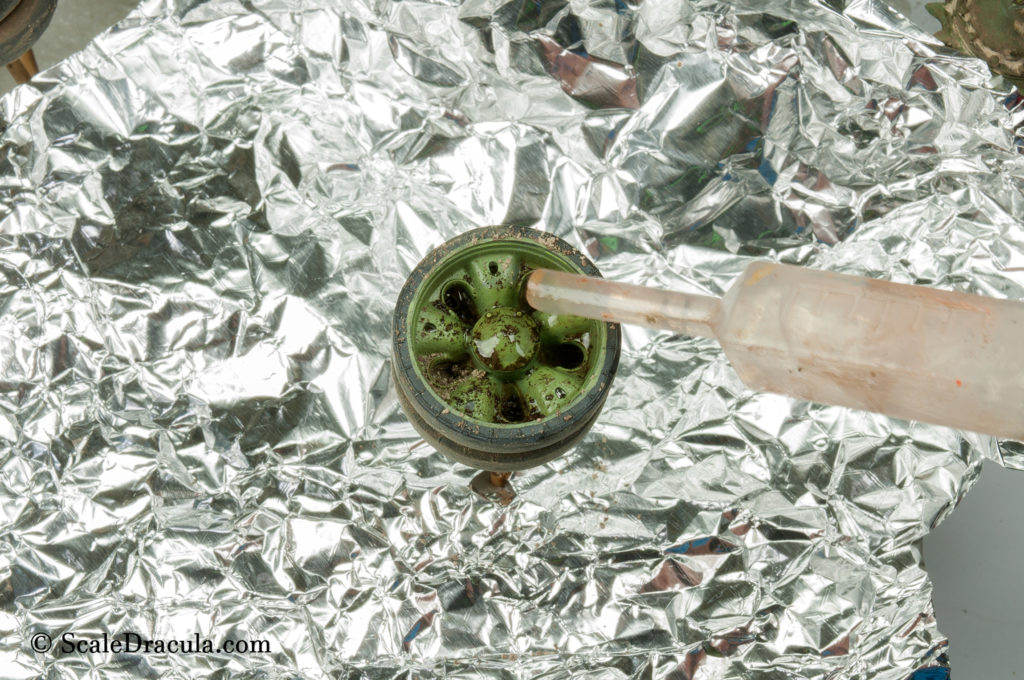
Then I sprinkle some pigment on the top of the wheel…
…And I fix it with white spirit applied with a pipette.
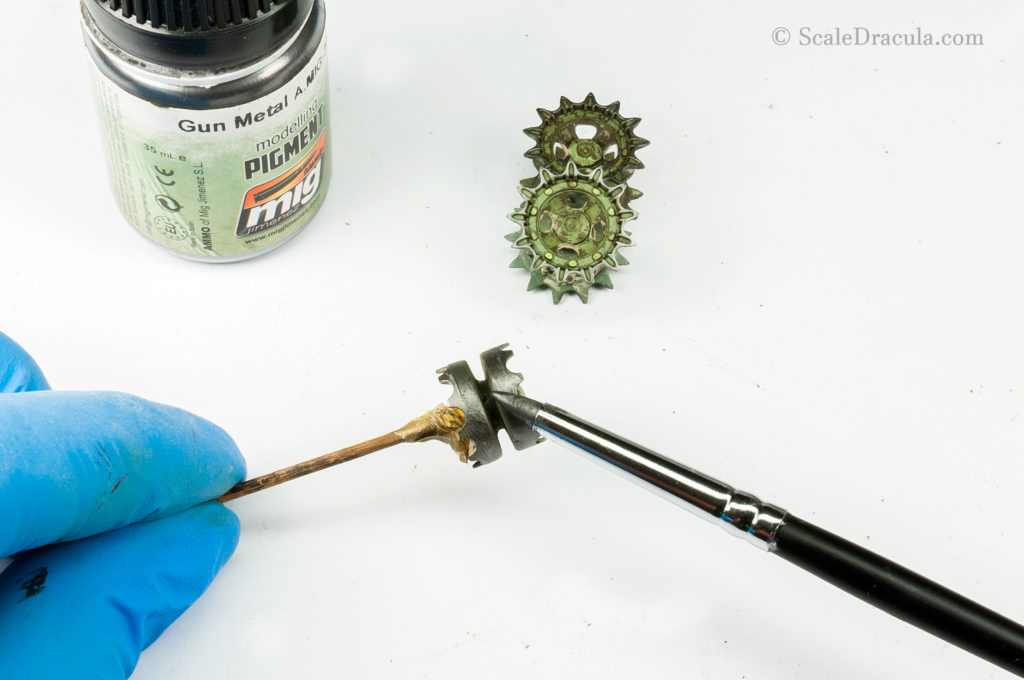
The last thing to do with the wheels is to polish them with Gun Metal pigment. I concentrate on the places that are prone to constant friction.
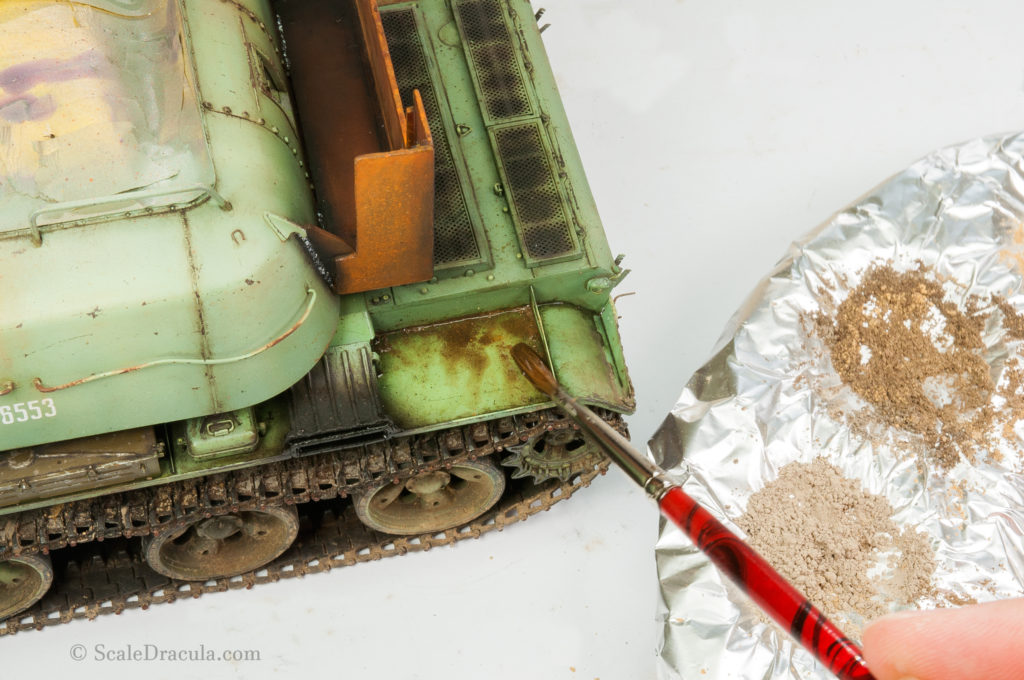
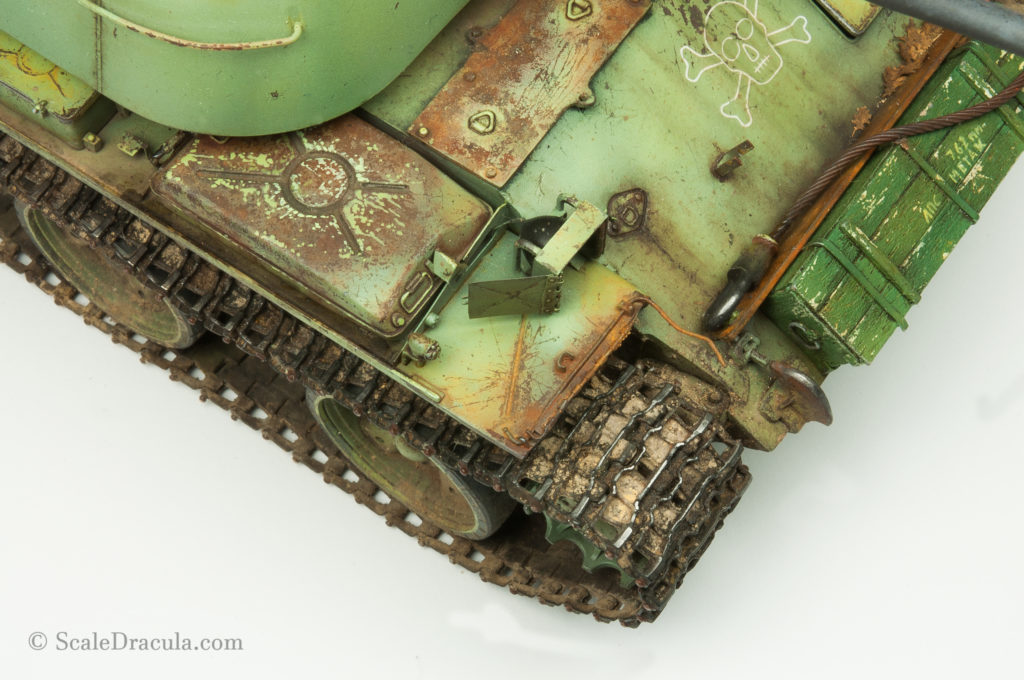
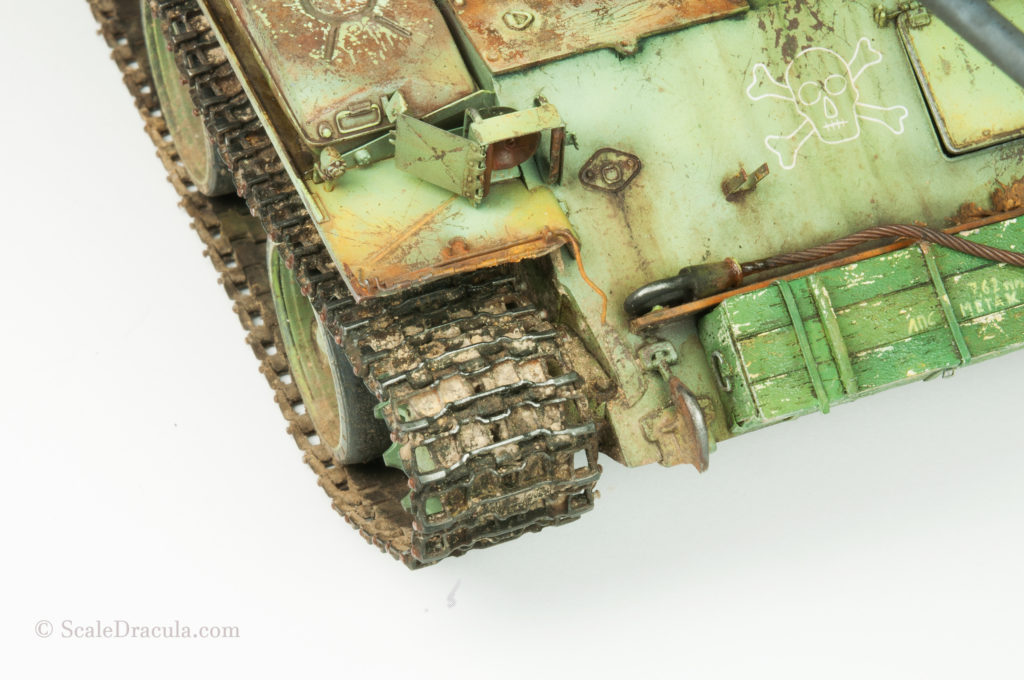
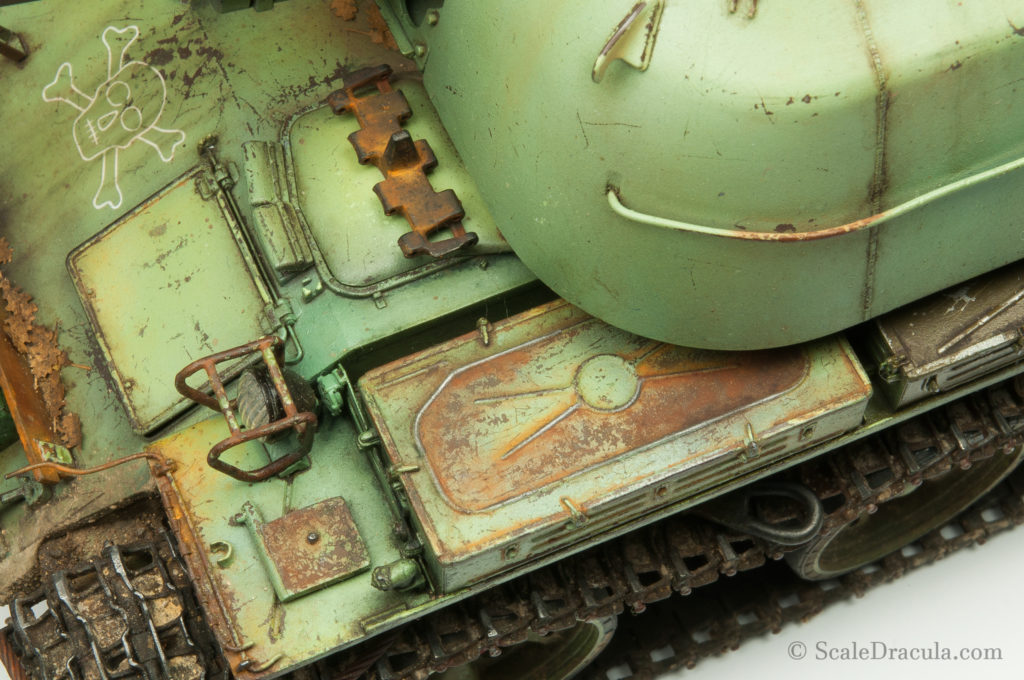
Back to the main hull. I decided to work a little bit more with the oils. This involved some rusty streaks on the front plate and some general brownish grime.

I add some pigments on the fenders to sort of blend the transition between the dirty undercarriage and the clean upper hull.
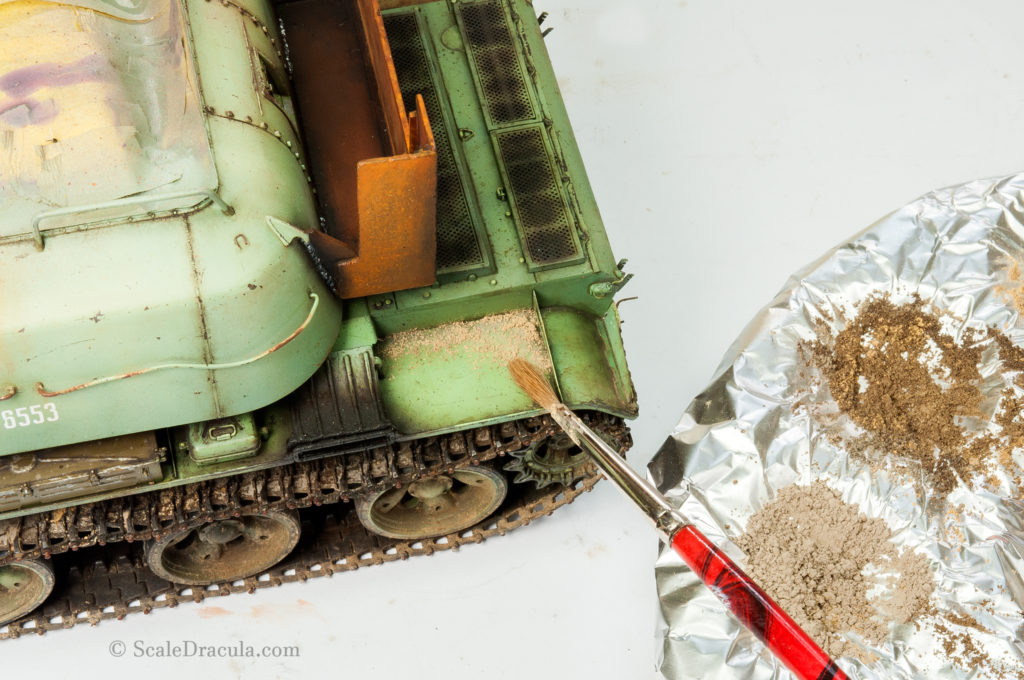
The pigment is blended and fixed with white spirit.
I wanted to create some round wet stains on the fender. So I found a plastic circle with a similar diameter to the bucket. Then I fixed the part in place with some Maskol.
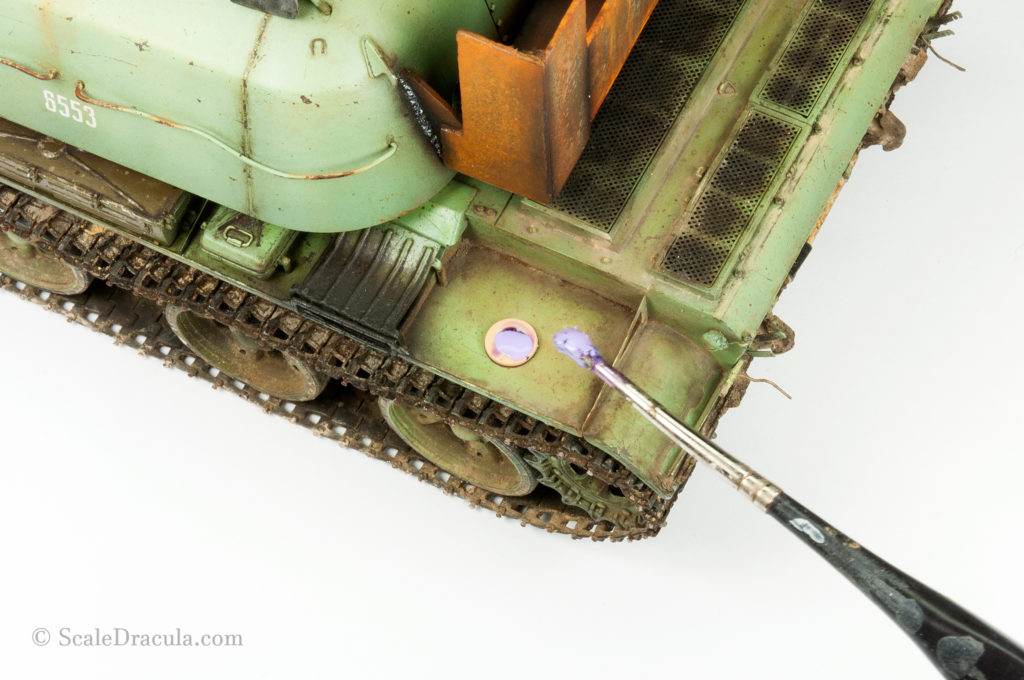
After that I used a thin pencil to draw a circle on the fender. It will guide my hand during the painting.

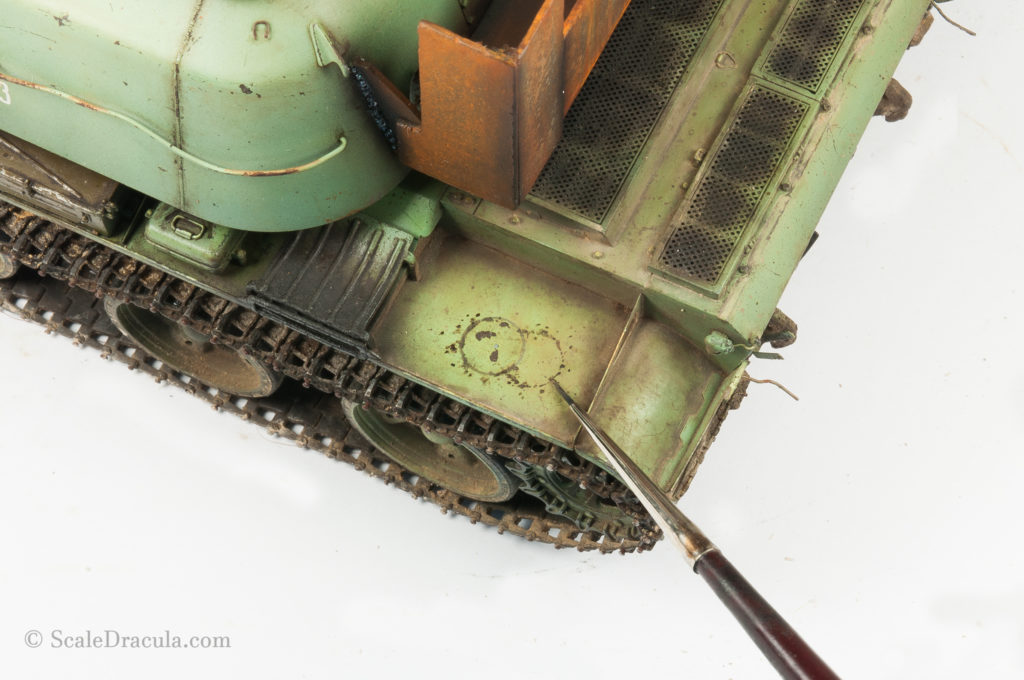
When I removed the Maskol the bloody goo took some paint with it. Goddamit! I probably let the fluid sit on the fender for too long. I painted the circle with a dilluted oil paint and I also added some stains.
The second circle I did free-hand as I didn’t want to risk further damage with the Maskol.
I used some more graphite powder, this time on the main hull. Silicone brush is a perfect tool for a precise application and polishing.
There is something very attractive to the eye in this matt rust/glossy metal contrast. I’m pretty much addicted to this effect.
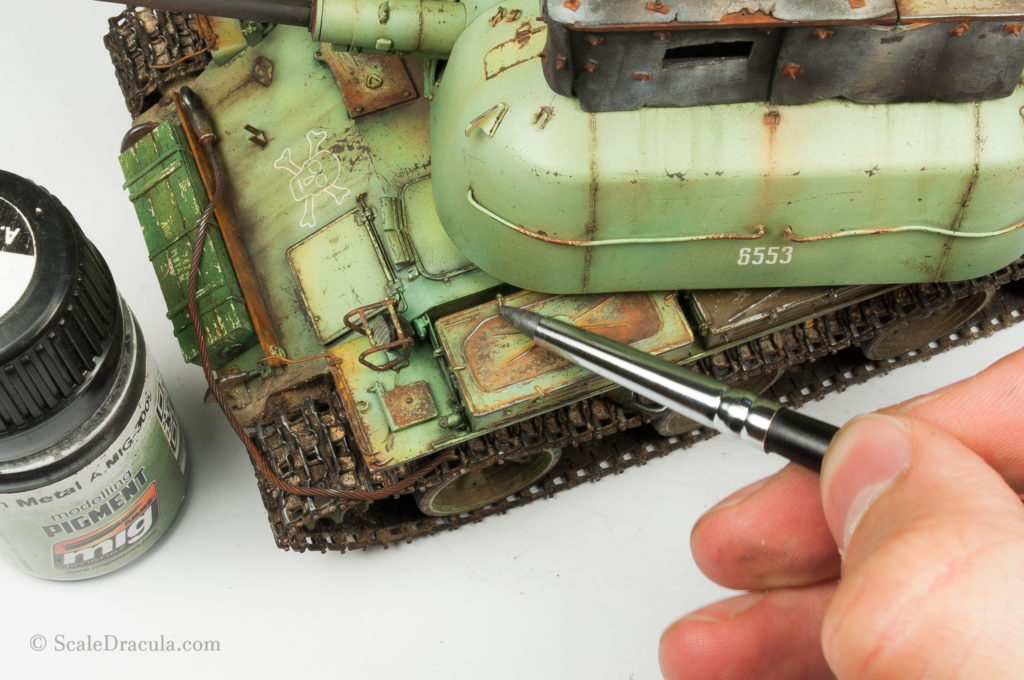
And yes, polished metal and rust are actually very likely to coincide. Look at the manholes in your town.

Moving on. I used a sponge dipped in dark grey paint to make some damage on the top of the barrel.

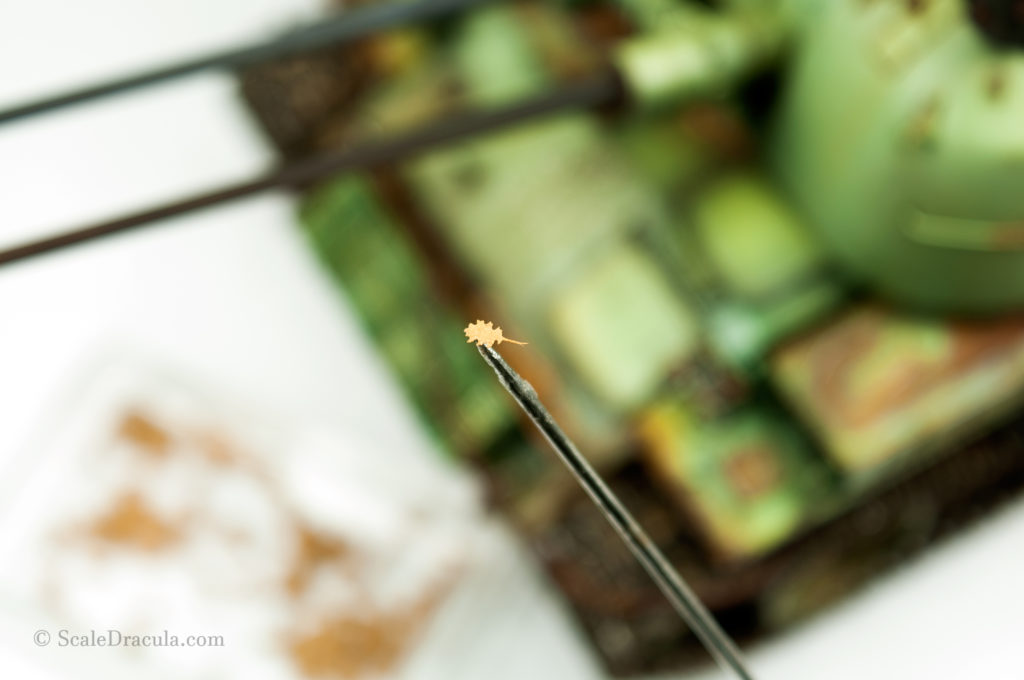
Then I took some laser cut leaves to give the model another interesting detail to look at. I glued them to the hull with dilluted PVA glue.

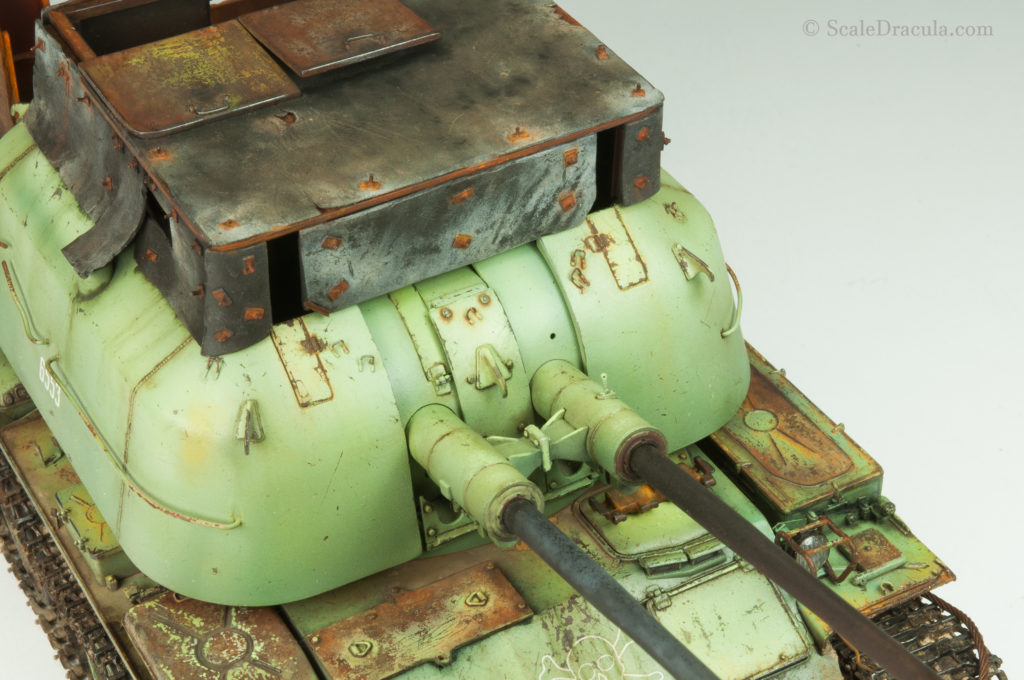
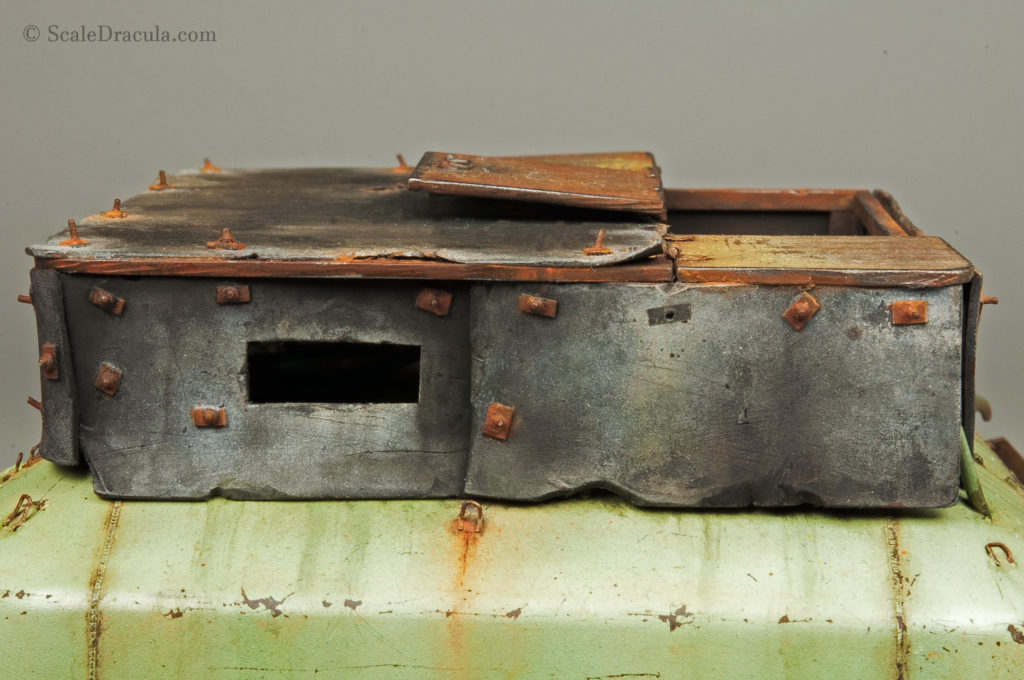
The last thing to do was to recreate the plastic bag that the barrels were covered with.
I cut out a rectangle shape of an ordinary re-closable plastic bag. Use the thinnest material you can find. If the plastic isn’t thin enough you can stretch it between your fingers to the point that it almost breaks.
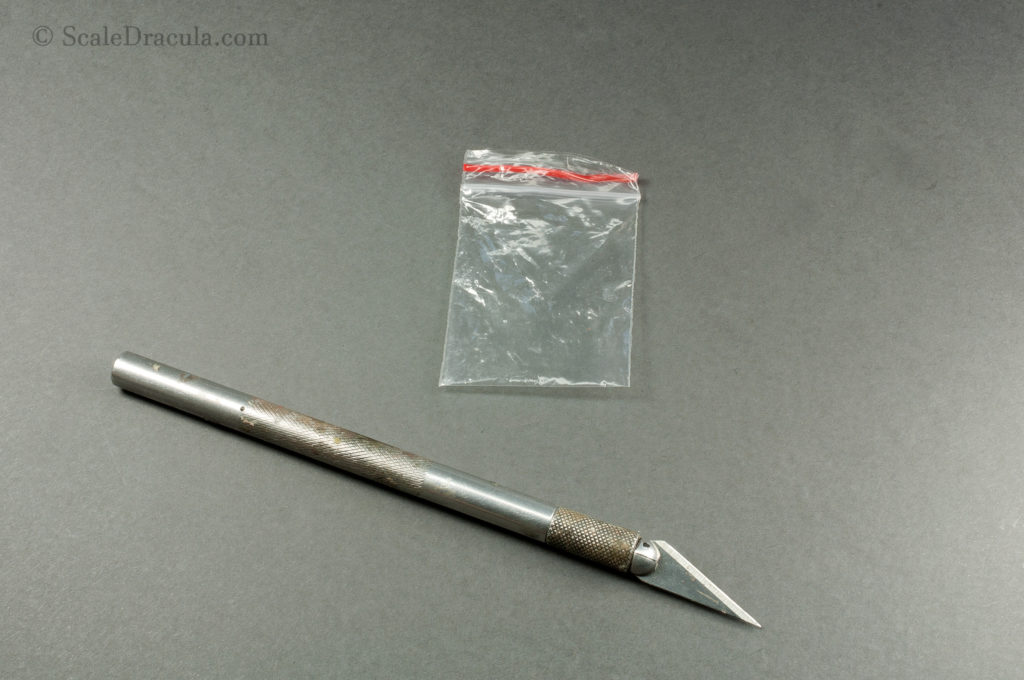
A clean plastic wouldn’t probably look realistic. I mixed a little bit of matt black paint with Ammo Mig Transparator and I sprayed a transparent and uneven layer over the plastic.

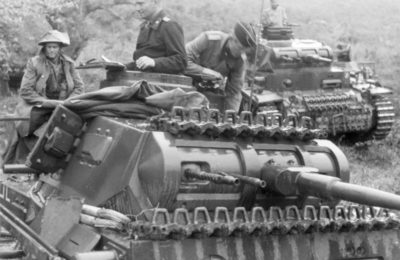
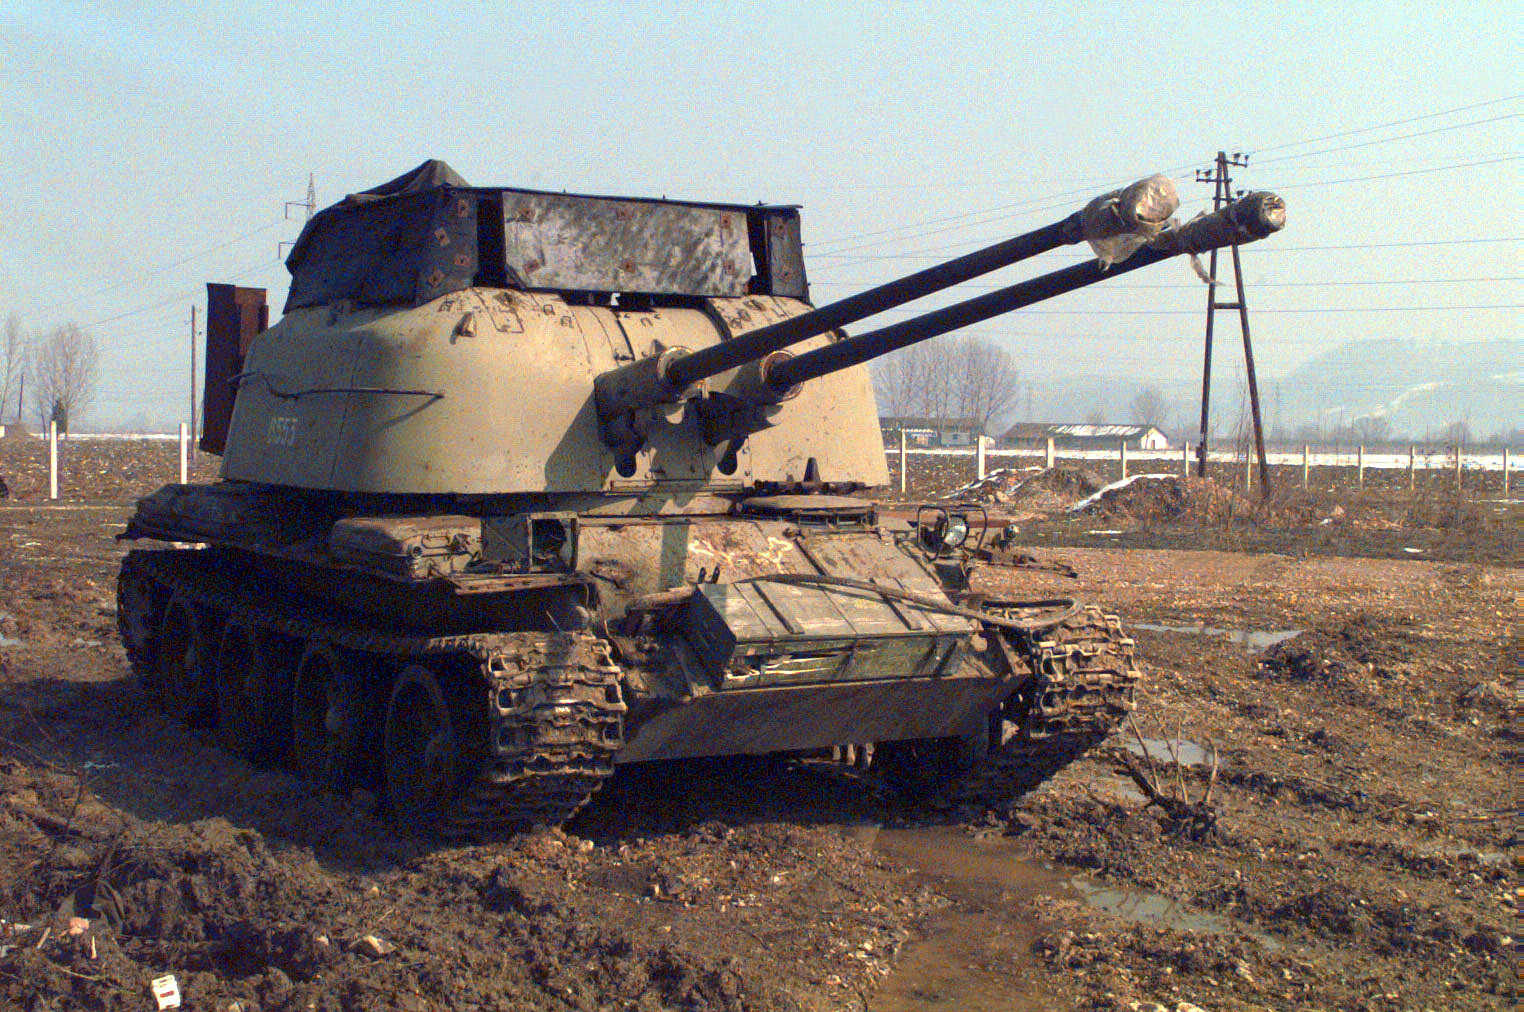
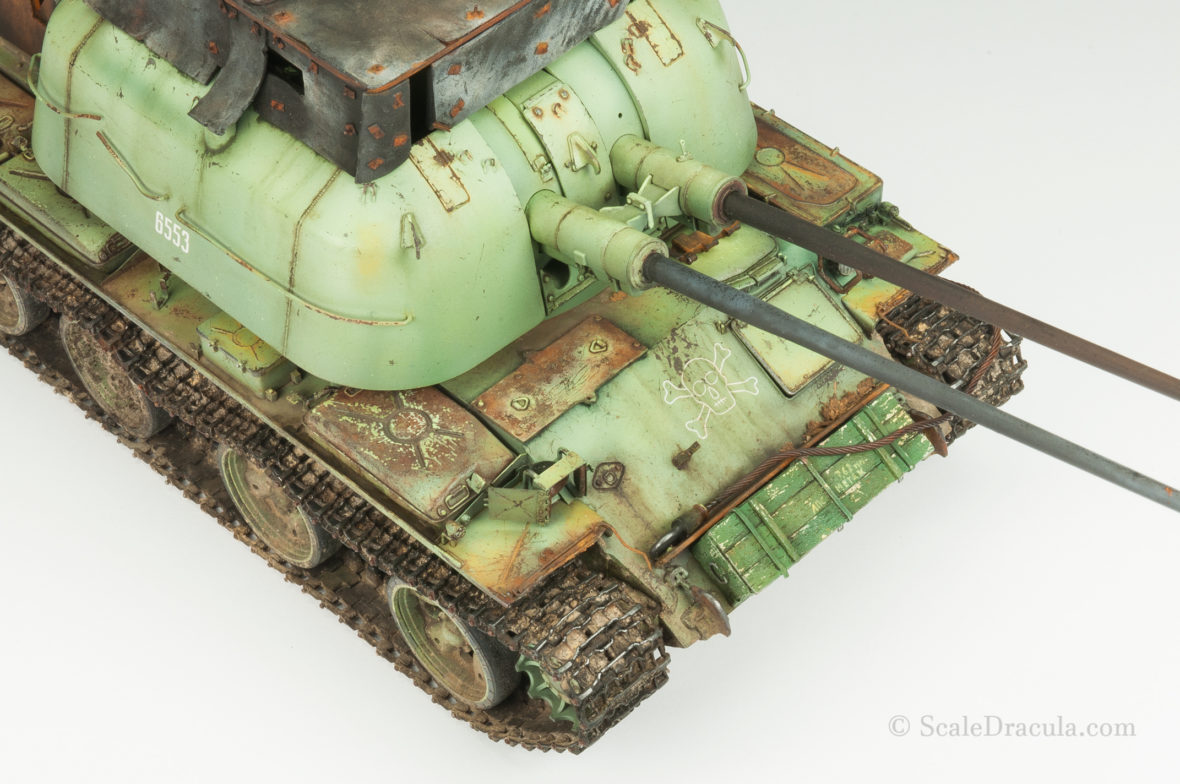
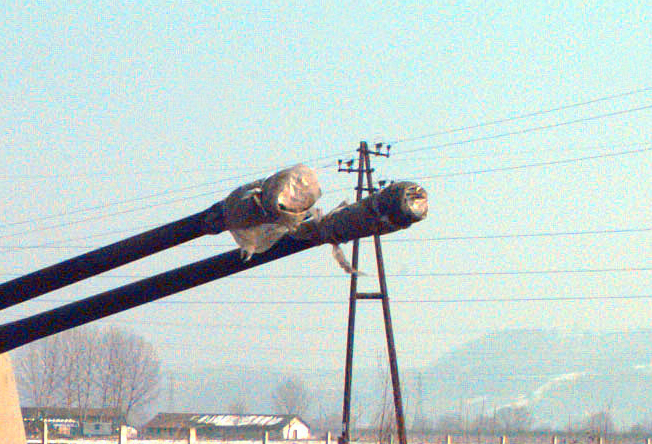
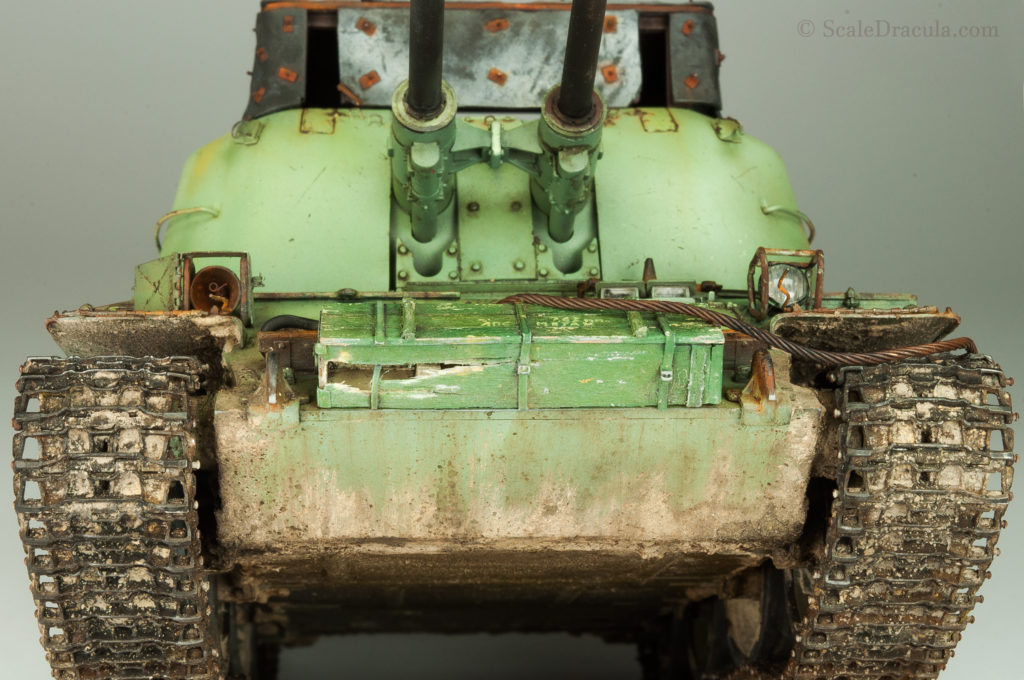
I wrapped the plastic bag around the barrel with a CA glue. The original reference photo shows both of the barrels covered but I couldn’t make myself do the same. These muzzle breaks look to good to hide them both.

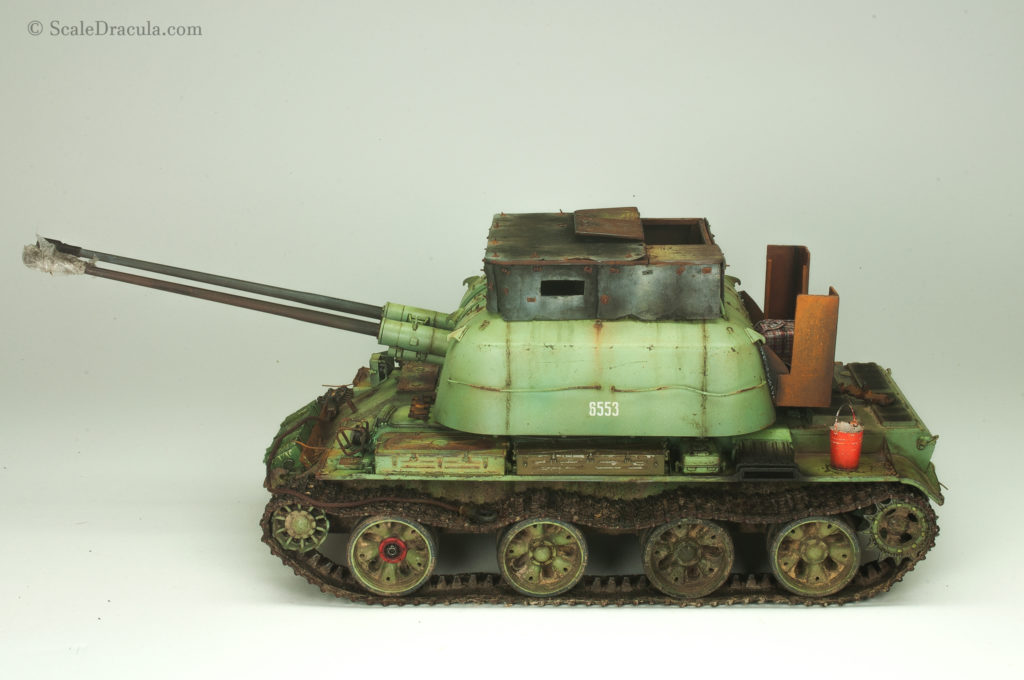
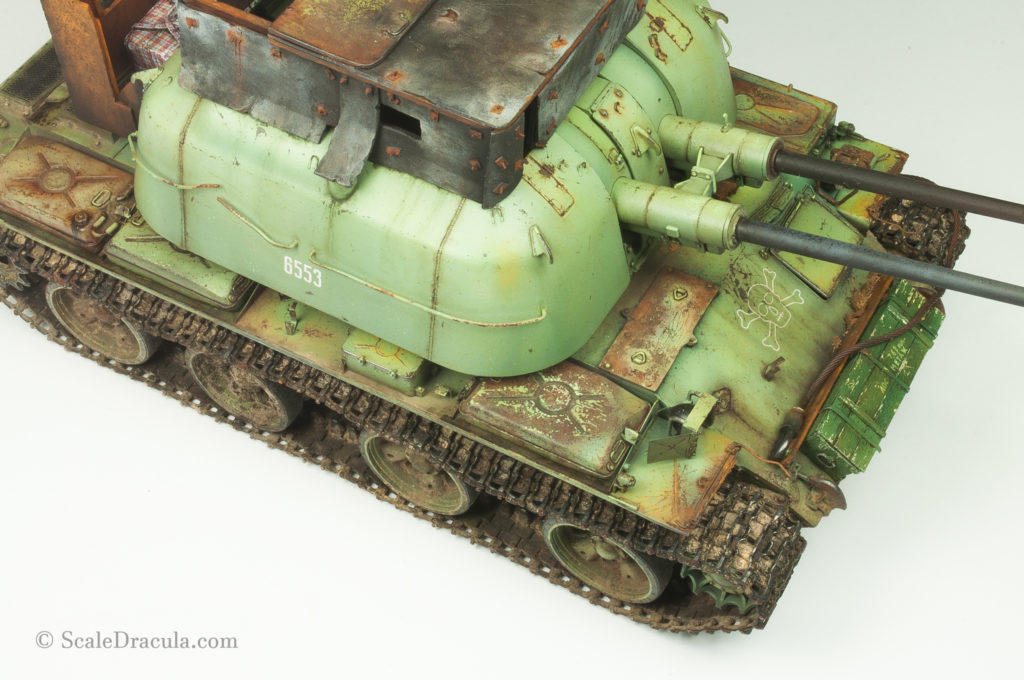
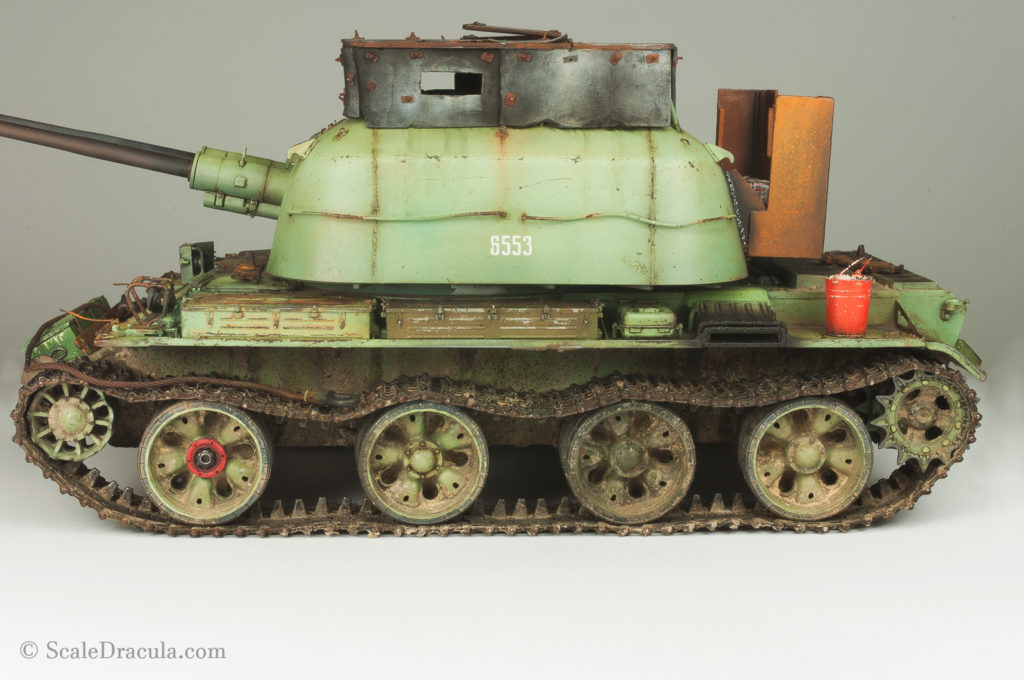
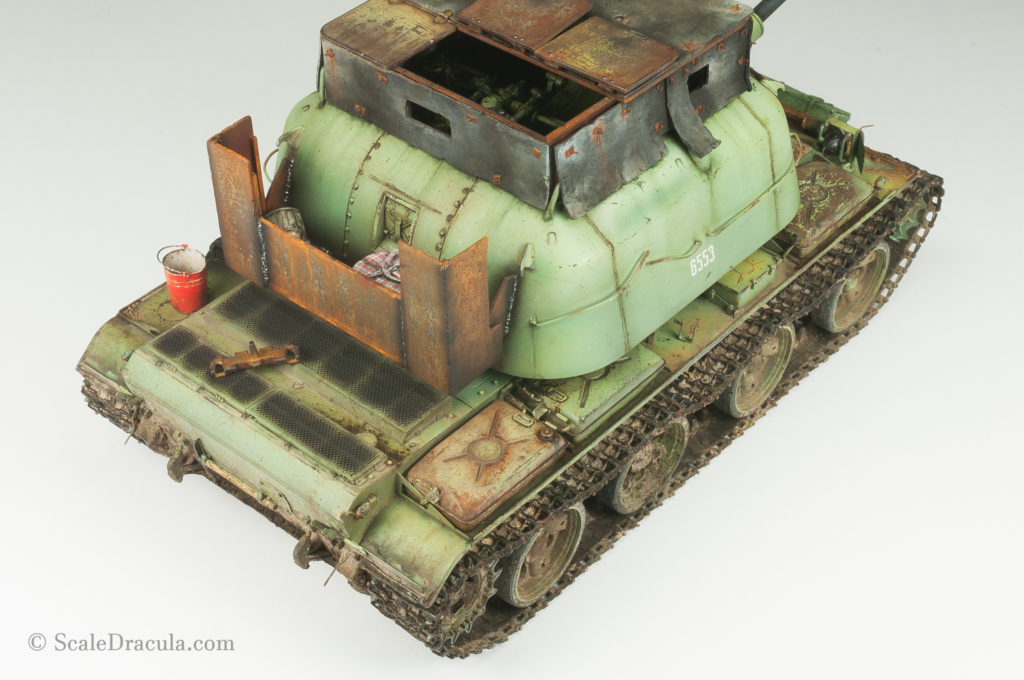
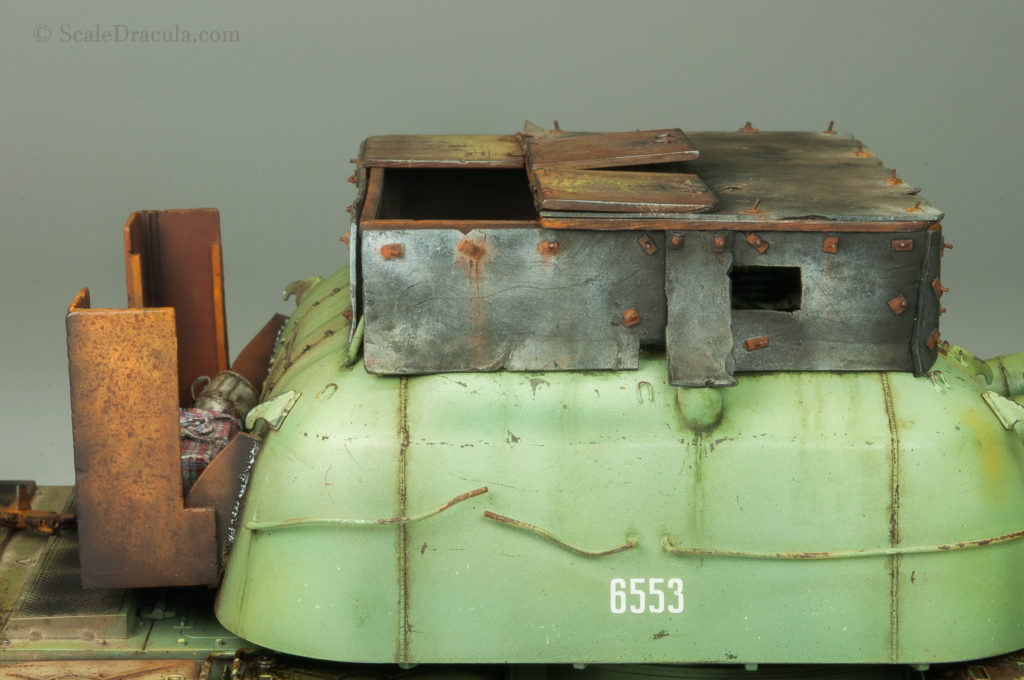
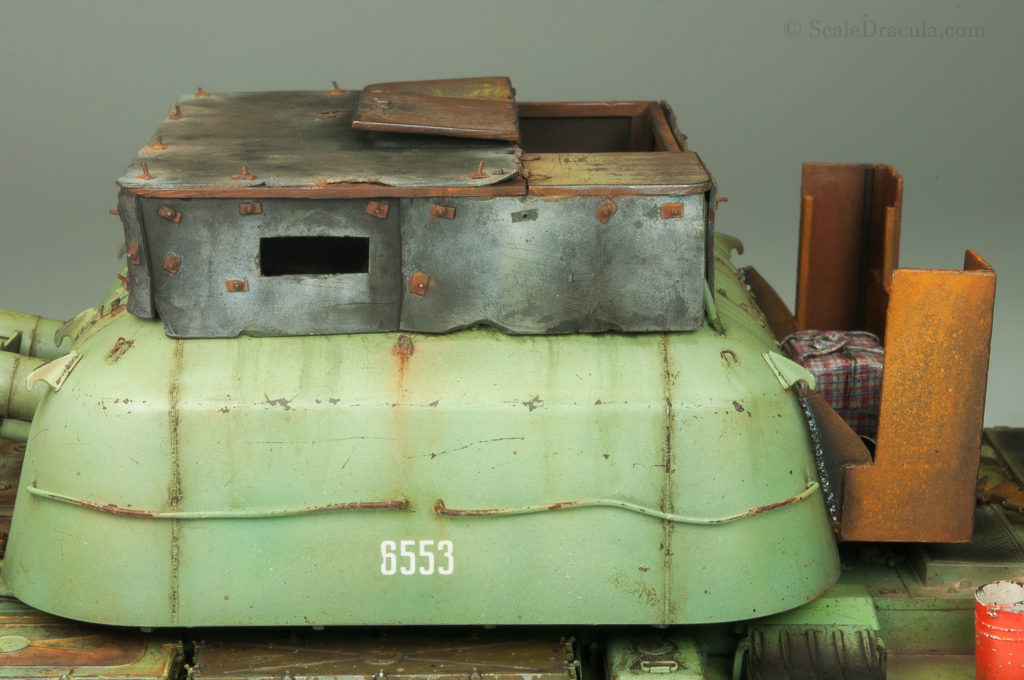
And here it is. My ZSU-57-2 is finally ready!!! I must say this project has been a long journey. Much longer that I initially had expected. But I think it was worth it.
As you can see I wasn’t 100% precise in recreating the original photo. I decided not to build the machine gun hidden under the tarp. Also, I didn’t cover both of the barrels with plastic bags. But I’m fine with that. If I see an opportunity to make the model more attractive I will gladly modify my initial concept. And if I’m bored with the construction and I just want to start painting, I have no problem with sacrificing some of the details to move on to the the fun part. Because that’s what our hobby should be all about: fun.
Enjoy the final gallery and I wish you all happy modelling!


previous