Last time I was able to put together the legs of AT-ST only with some minor modifications. On the other hand, the cockpit is still in pieces waiting for the paint. Thanks to the high quality of the kit the construction stage was really enjoyable and effortless. But here’s where the real fun is about to start- the painting. As I’ve already mentioned in the previous chapter- this sci-fi project will be an occasion to get creative and spontaneous. No reference photos this time…
If you’ve missed the first part, you can find it here:
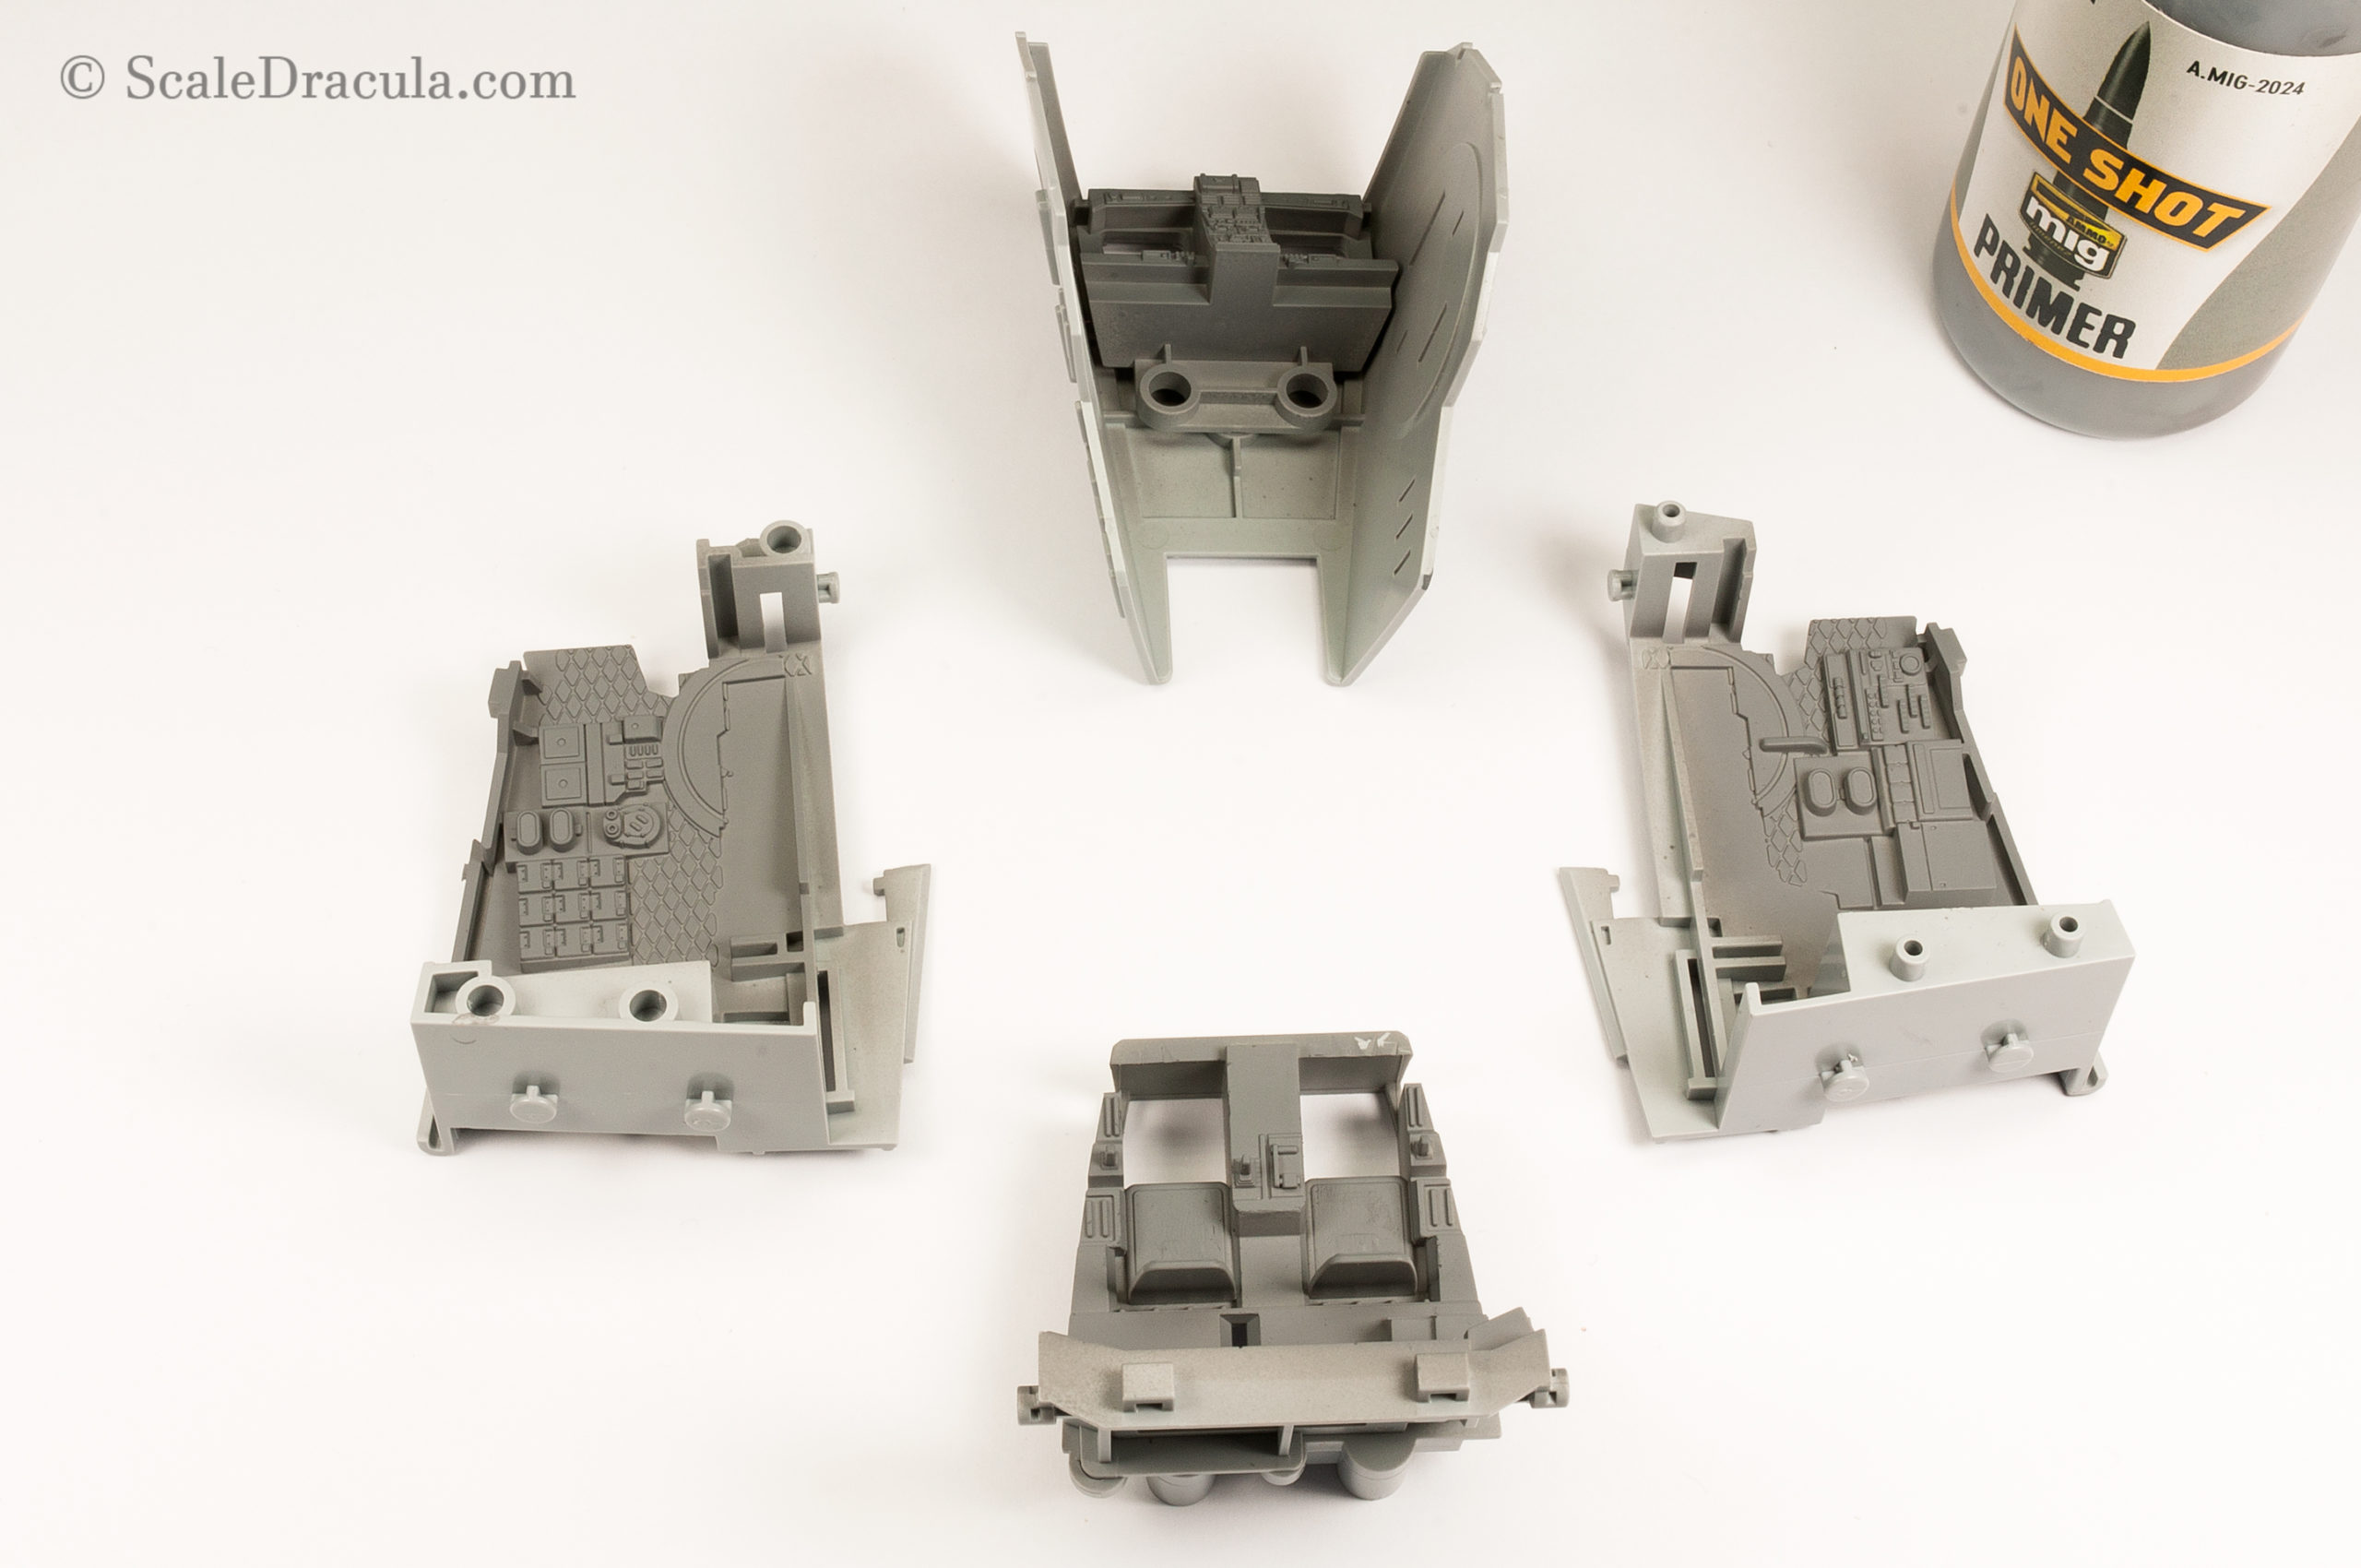
Just a quick reminder – here’s how I left the cockpit after the previous part. I’ll start with its interior as it needs to be taken care of before the final assembly. To make the painting as easy as possible, I divided the cockpit into 4 parts.
As usual, the first step is to prime all the parts.
I wasn’t sure what was the appropriate colour for the interior of the AT-ST. And I didn’t bother to research that. I just chose a blue-grey shade that I liked.
If you are a die-hard Star Wars nerd, your eyes are probably starting to bleed right now… But yeah… I don’t care about your precious saga. Sorry about that…

I sprayed a couple of very similar shades to make the surface more interesting. These were applied free-hand.

But I also used masking tape to cut off some panels and give them more definition with a lighter colour.

A darker shade was also used to create some fake shadows.

And here’s the result. A surface with slight tonal changes that is a good starting point for the weathering.

I used oil filters to make some further chromatic shifts. A variety of colours can be used here as long as the paint is properly diluted.

Random details of the cockpit are painted using the brush. Again, sorry SW purists. I have no idea what I’m doing…

I usually make my washes myself from oil paint and white spirit. Here I decided to test Tamiya’s Panel Liner (a enamel product). I like the way paint spreads around the details. But for me the wash is too thin and it doesn’t give me enough contrast. I had to apply several layers to get what I wanted. Back to the oils, I guess…

Finally, all the parts of the interior are put together. And as usual, none of this hard work will be visible eventually…

After the assembly the cockpit is pretty heavy and the legs seem kind of unstable. To avoid any accidents I decided to paint those two separately. I improvised a handle to avoid touching the cockpit during painting. The styrene base supplied in the kit was used to stabilise the legs.

The first layer of paint is the usual dark brown- the base for the chipping. I didn’t cover the places that weren’t going to be chipped. My general rule is to apply as little paint as absolutely necessary.

Then the model was covered with Ammo chipping fluid. Two thin layers will do.

I decided to build up the basic colour gradually beginning from the darkest shade. A dark grey is applied on the lower parts of the panels.

With Ammo 063 Pale Grey I started to introduce the main colour. This shade of grey has a distinct blue hint which actually works for me. A classic grey colour usually looks pretty dull.

You can clearly see the transition between the two colours on the leg below. The darker shade can easily work as a artificial shadow and I’ll leave some of it as it is.

I lightened the basic grey with a bit of white paint. Then the main panels and raised areas were highlighted.
From time to time, I use masks to achieve a contrast between parts. Sometimes you need to be creative while preparing them. A circle cutter can be helpful for the shapes like this side turret below.

When the base layer was finished, it was scratching time. As always with the hairspray technique, you need the moisten the surface with tap water.
My favourite tool for making paint chips is an old airbrush needle. It gives the maximum control over the process which otherwise gives very random results.

Another interesting tool is a dental brush you can buy in a pharmacy. It tends to give more unexpected results.

Last but not least, a regular brush offers a good balance between the control and the randomness. Enough to get the job done.

To break the rather uninspiring base colour I decided to paint one of the legs differently. A bright yellow was an obvious choice for sort of a non-regulatory field replacement. However, I started with orange to give my yellow a nice darker colour to work with.
I used Citadel paints here which is a rather unusual choice. But I really like the intensity and opacity of their pigment. I can’t get used to the names though. ‘Trollslayer orange’, seriously? I know, these are Warhammer fantasy names, but come on…

Now I’m using Flash Gitz Yellow (that’s it: Flash Gitz Yellow) to establish the main colour.
What I’ve found out over the years is that the acrylic paint manufacturers have a real problem with prime colours, especially yellow and red. For some reason yellow will often have a greenish tone and basic red is usually more similar to a bluish crimson shade. But I must say, Citadel did a really good job on their… um… Flash Gitz colour. Finally a clean, vibrant yellow I’ve always been looking for.

I added a little bit of Necromant-Orc Skull White to the mix and I made some highlights to give definition to the panels. Masking out certain areas makes this whole process much easier.
(just kidding- Ceramite White)

Citadel paints don’t react well with the chipping fluid so I had to think of something else for the yellow. Luckily, the sponge technique works just as well.

I took some time to work on the leaf springs – these parts would logically chip a lot.

And let me stop right here. The painting isn’t technically finished, there are still some details left. But I’ll deal with them during the weathering stage. So… See you in a while I guess…