


I’m a huge fan of military history and I usually try to base my models on real fighting vehicles. However, sometimes it’s nice to distance yourself from the dull reality and just let your imagination run wild.
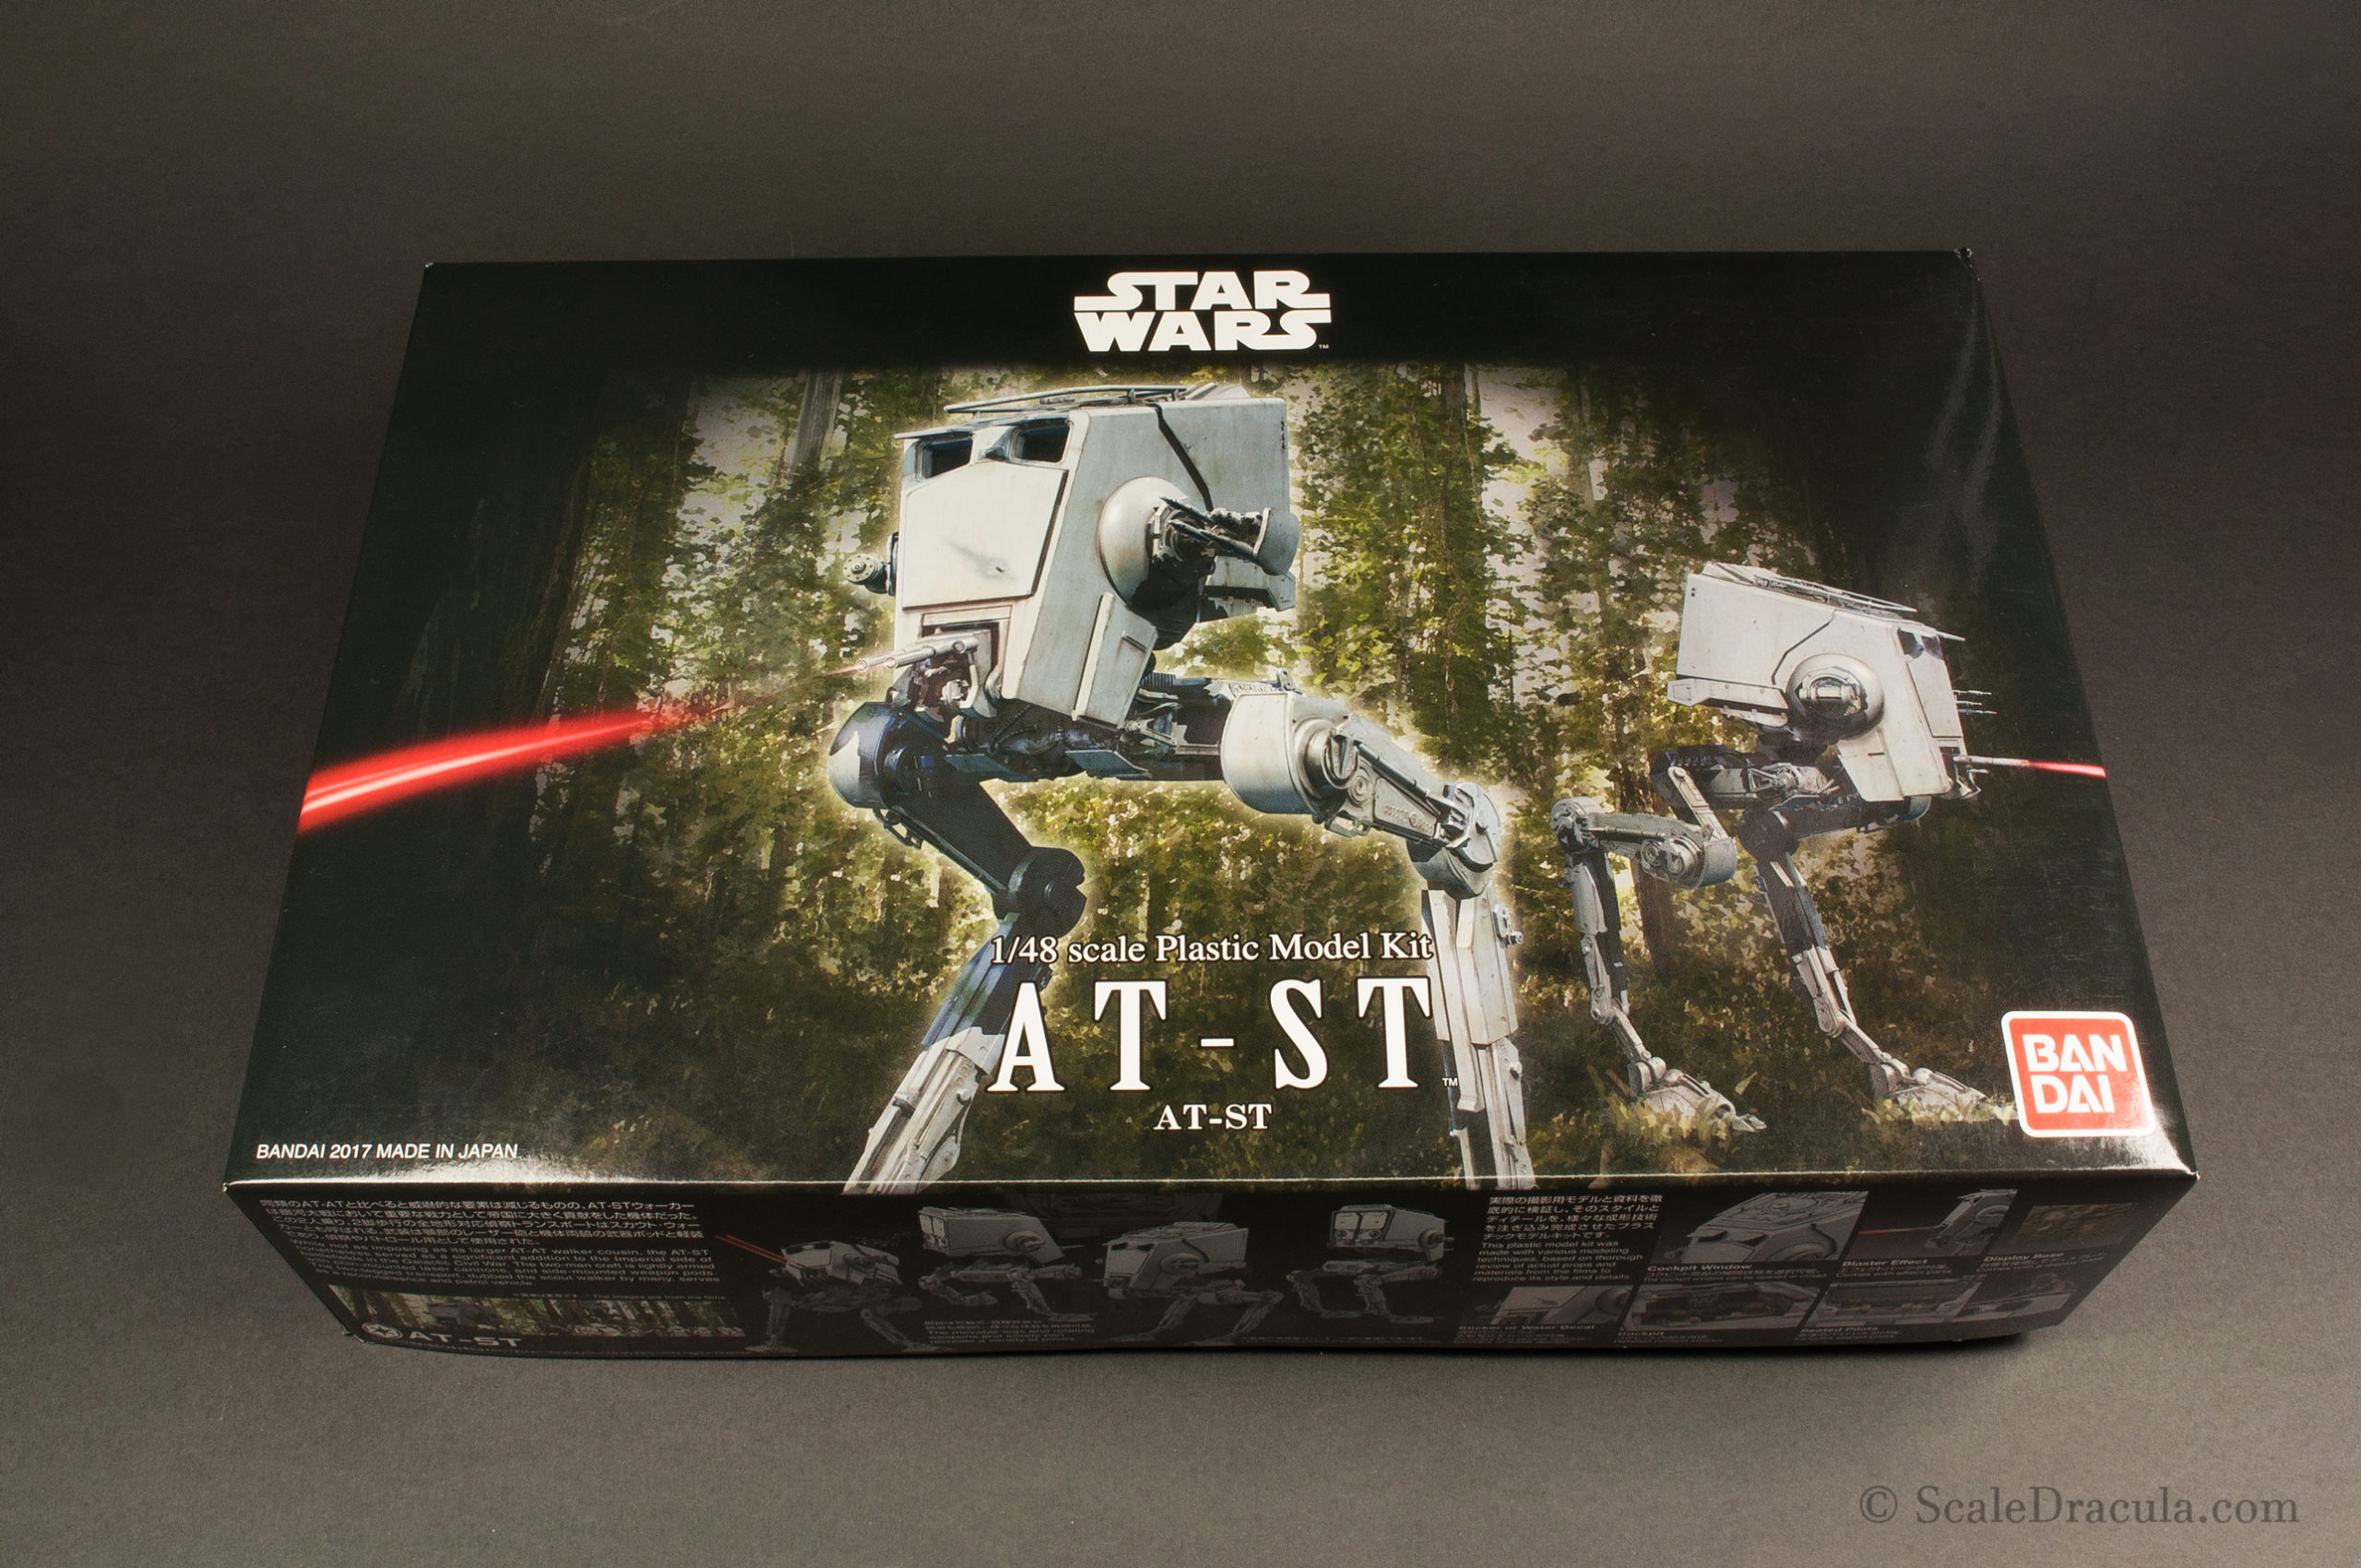
So here’s my first attempt at a science-fiction subject. I actually wanted to build an AT-ST for a long time. I’m not a die-hard Star Wars fan but I kinda like this wacky design and I’ve heard that the Bandai kit is nothing but a pleasure to build. Most of the AT-ST models I’ve seen online are just plain grey like in the original trilogy ( you know, the only SW trilogy that actually exists… 🙂 ). But as this is the science-fiction anyway, I decided to make it a little bit more interesting and colourful.
History? What history? This is a made up vehicle. Watch Star Wars if you want to know more. Moving on!
Bandai kit is famous for its high quality and for the fact that it can be fully assembled without glue. As much as I appreciate the design, I decided to put together the kit the regular way.
A quick glance at the sprues and I already see the good details the kit is known for.
Bandai included some figures which is a nice addition. Chewie’s looking good. As always.
The kit is designed for a wide group of customers: both nerdy middle-aged sci-fi modellers and kids. If decals are too much of a challenge for you, you can always use stickers.
I’m not going to get into details here as the kit pretty much builds itself with no major issues. It’s true that the model can be assembled without glue but I wouldn’t recommend it. Unless of course you’d like to play with it like it was a toy…
I just want to talk about one thing though. To make my AT-ST a little bit more interesting I decided to open one of the panels. Here’s the easiest (although not the quickest) way to do that.
I’ll be working on the triangle panel in the middle.
The first step is to drill holes along all the edges. The closer they are to each other, the better.
Next I connect all the holes using a hobby knife. The point is to get rid of the middle part.
Finally I clean the edges with sandpaper.
And here’s how the hole is ready. I will add the interior parts later.
Putting together the legs is a quick and pleasant job. Technically, those are movable but restrained to certain positions. You can easily make them fully poseable though. Check out the page where a guy explains how to do it.
The only modification I made on the legs was replacing those leaf springs with thinner metal strips.
The interior of the chicken’s head needs to be painted before assembly. I just put together the inside details and primed the surface with Ammo One Shot primer.
And that’s it for now. Next time I’ll be painting the interior and putting together the rest of the chicken. Take care!

previous


2 Comments
Mike Keeffe
6 June 2020 at 14:13Your work represents another level of modeling I didn’t know existed before coming here. Downside being knowing my work is barely worthy the trash bin, lol. I’d love to see you do a machinen krieger kit. If you aren’t aware, it’s like futuristic battle armor in the form of a powered suit
Cheers
ScaleDracula
6 June 2020 at 23:02Thanks Mike! I know what Machinen Krieger is. Maybe I’ll build something like that one of these days. Sci-fi subject give a lot of liberty that I really enjoy after my photo-recreation projects.