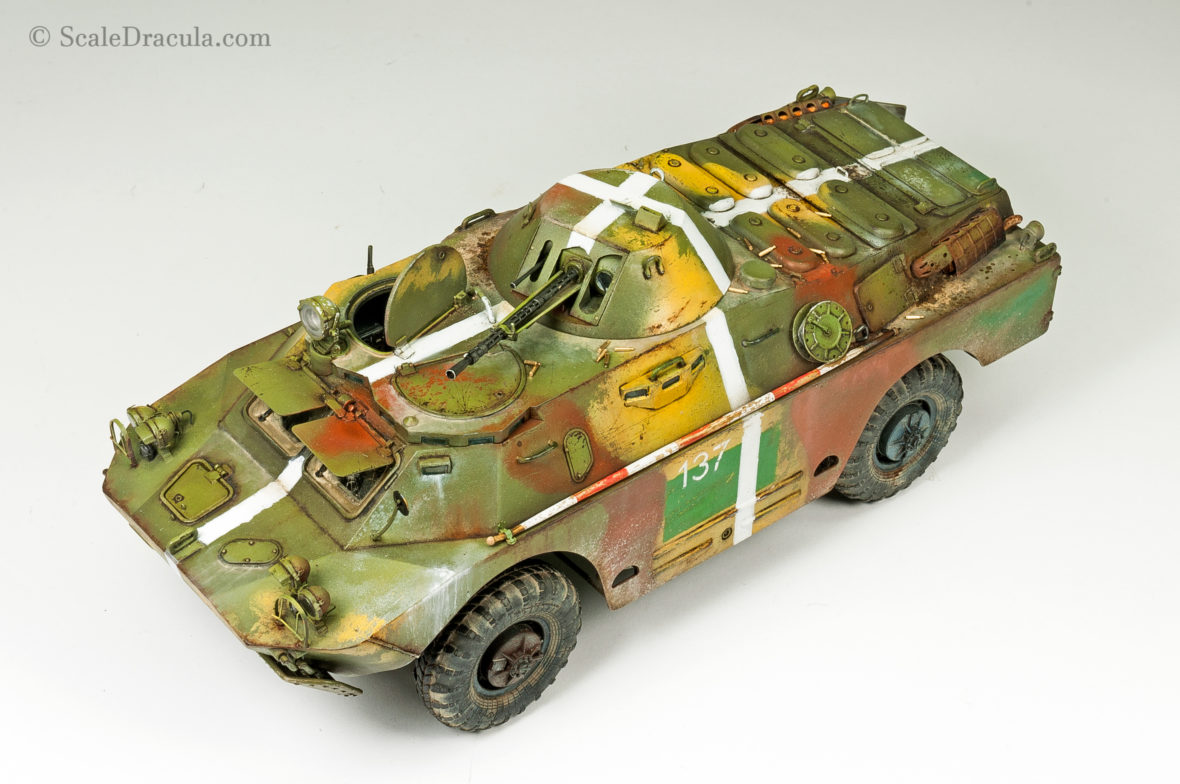
I finished my BRDM-2 a while ago but it still needs a base. I decided to create a very simple scene with a road block – something very typical of the recent Ukraine-Russia conflict. Here I’ll show you my method of painting and weathering concrete. Another SBS on creating an asphalt road is coming soon. The road barrier I used here belongs to the Concrete & Plastic Barrier Set by Meng. If you’re interested in…
Improvised warfare: the introduction
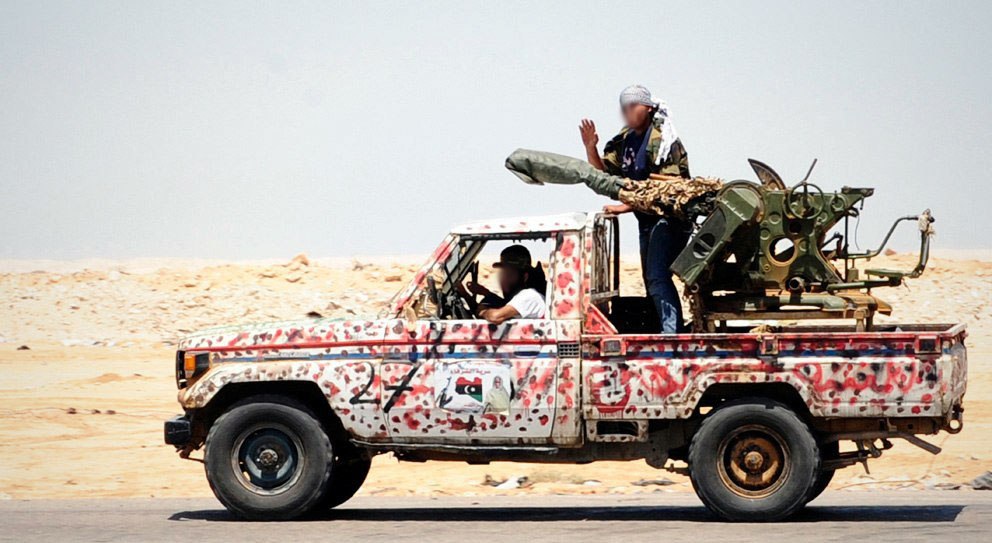
For my third in a row photo recreation project I decided to do something totally different. At first I considered building a civilian car, an old truck or something. But then I came across the photo above and I immediately fell in love with this crazy improvised camouflage. The photo was taken during the war in Libya where there was plenty of technicals like that. From the start I knew this weird camouflage will be…
What can a modeller learn from the history of art?
Can scale modelling be considered art? That’s a question that I often see debated on Facebook or hobby forums. I’ll deal with this subject another time as I’d like to ask a different question: what can we learn from the history of the actual art? Although little tanks and aircrafts can rarely make their way to the famous galleries, there’s a lot of things that tie our hobby to the world of art. Pigments, oil…
How to: make a realistic broken glass
A broken glass is always a cool effect in scale modelling. No matter if it is a windshield of an armoured car or a window in a wrecked house diorama – the viewer will be dying to know how you did it. There’s a couple of ways to achieve this effect but using a real glass seems like the best solution to me. With this technique we can replicate a normal glass and possibly bulletproof…
How to: paint and weather rubber wheels
Let’s see how to paint and weather some military style rubber wheels. There’s a lot of ways to do this obviously and lots of different effects to reproduce. I’ll show you how to achieve a dusty flat look typical of vehicles operating in the modern urban environment. I’ll be using oil paints for this mostly as I’d like to show you how versatile and effective they can be. This SBS is a part of my…
Panzer bathtub: the weathering part 2
So this is it- we’ve come to the last part of this project. With my ZSU-57-2 I took a lot of time scratch-building stuff and upgrading the kit. With the BRDM-2 I wished to concentrate more on the painting and weathering. And I think I’ve got what I wanted. Check out how I finished the weathering of my BRDM-2 and how I created some additional details. You’re new to this SBS? You have a lot…
Panzer bathtub: the weathering part 1
If you follow this blog, you already know that the weathering is my favourite part of any project. I like the whole process of building the model but those finishing touches are usually the most satisfying for me. Before the weathering, the model looks like a nicely painted toy. After the weathering, it turns into a miniature war machine. In this part of the SBS I will concentrate on the oil paints. I’ll show you…
Panzer bathtub: the painting part 2
Once the basic green coat was finished I started to plan the next steps. From the beginning I wanted to paint this model in a chronological order – exactly how the paint was applied on the actual vehicle. Each of the colours has its meaning and history which determine the final look. I took the challenge to replicate every layer faithfully, so the camouflage on this model will be really demanding. But hey! If I…
Panzer bathtub: the painting part 1
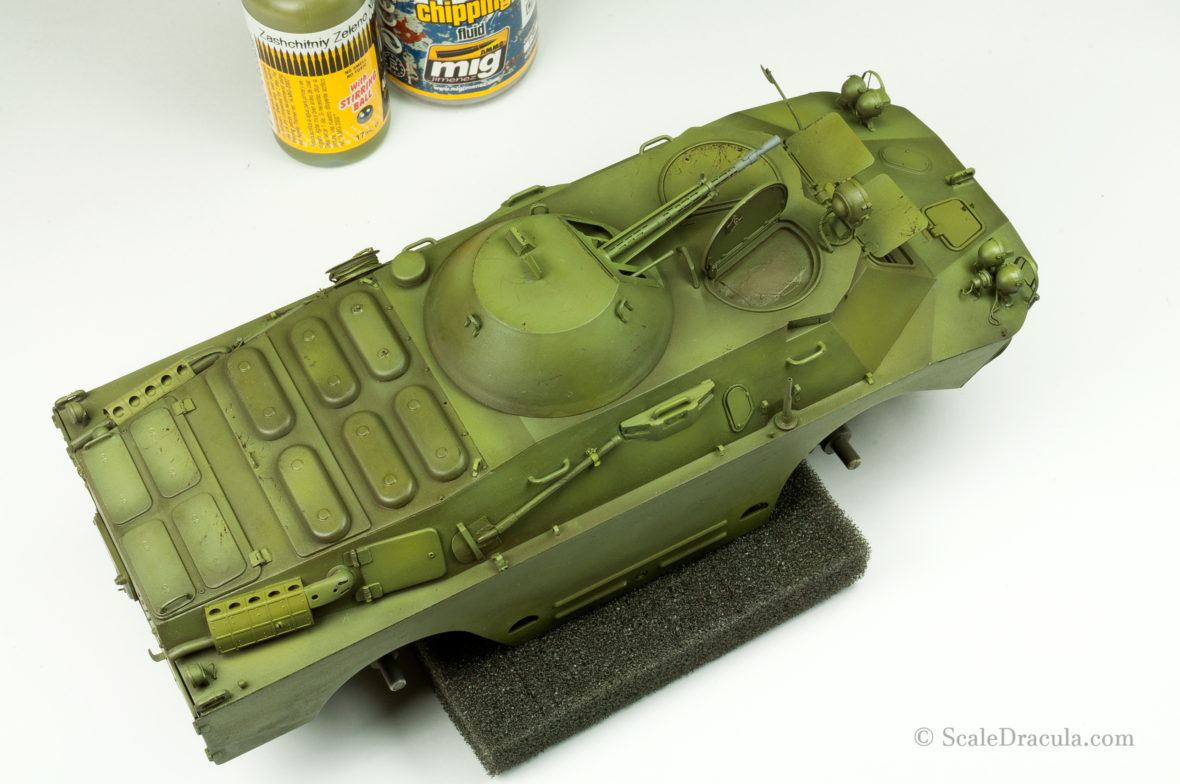
Finally, I have the model ready for painting. I love this moment. Don’t get me wrong, I like building, but to me painting and weathering is the true essence of this hobby. In this part of the SBS I will focus on the base green colour. I’ll show you how I’ve done my slightly modified version of the colour modulation. There’s going to be a camouflage on my BRDM-2, but still, having and interesting base…
How to… make weld marks
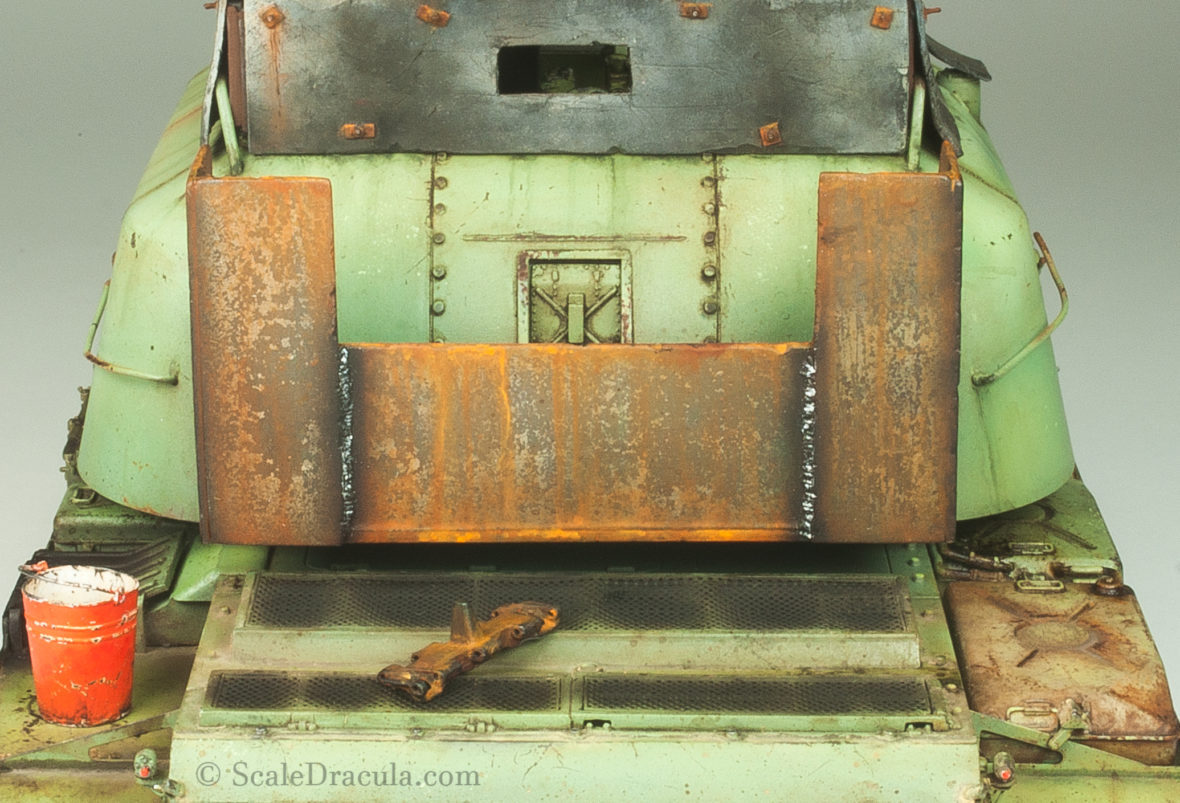
I’ll be extracting some ‘How to…’ tutorials out of my full SBS projects. I realized it’s not really convenient to browse through a long article just in search for a quick tip. This way I will also be able to add some more comments on the subject. So here it goes: the weld marks SBS which comes from my ZSU-57-2 project. Step 1: Get yourself a two-part modelling putty. I use Milliput Superfine but…

